When I told you all about our BIG DOWNSIZE and everything that we had in store, I promised that the transformations you would see in our mobile home would be very very budget friendly. I feel like I completely held up to that, and as I was looking around my kitchen the other day, I was amazed at how many kitchen DIY’s I managed to pull off for hardly any money at all!
You see, this home is very temporary, but temporary does not have to mean bland or boring. I still wanted it to feel like home, a place I could come in and feel relaxed and happy, surrounding myself with a pretty space, no matter the length of time.
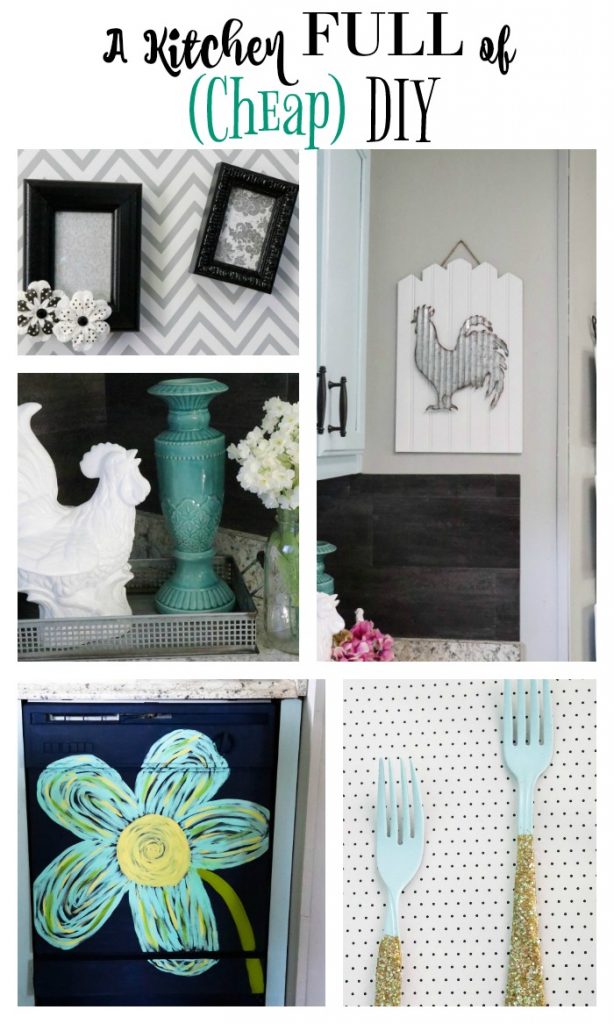
I wanted to share them all of the kitchen DIY’s in one post (up to this point- because there are still more to come!), so that you could see just how affordable some updates to your outdated kitchen can truly be!
Let’s start with the before pictures of the kitchen to just remember where we came from:
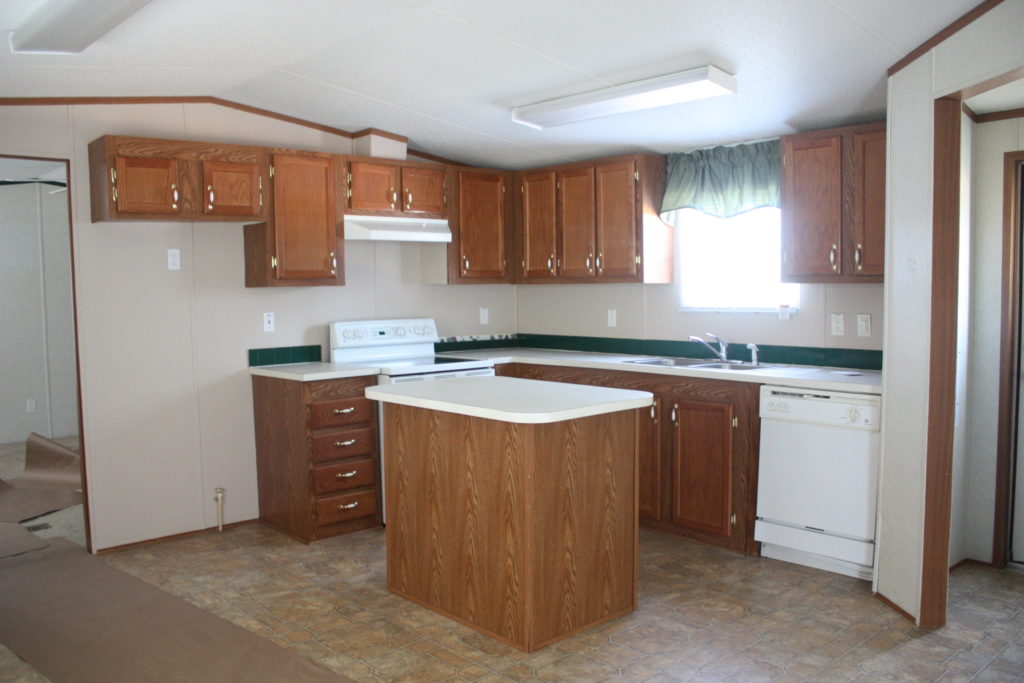
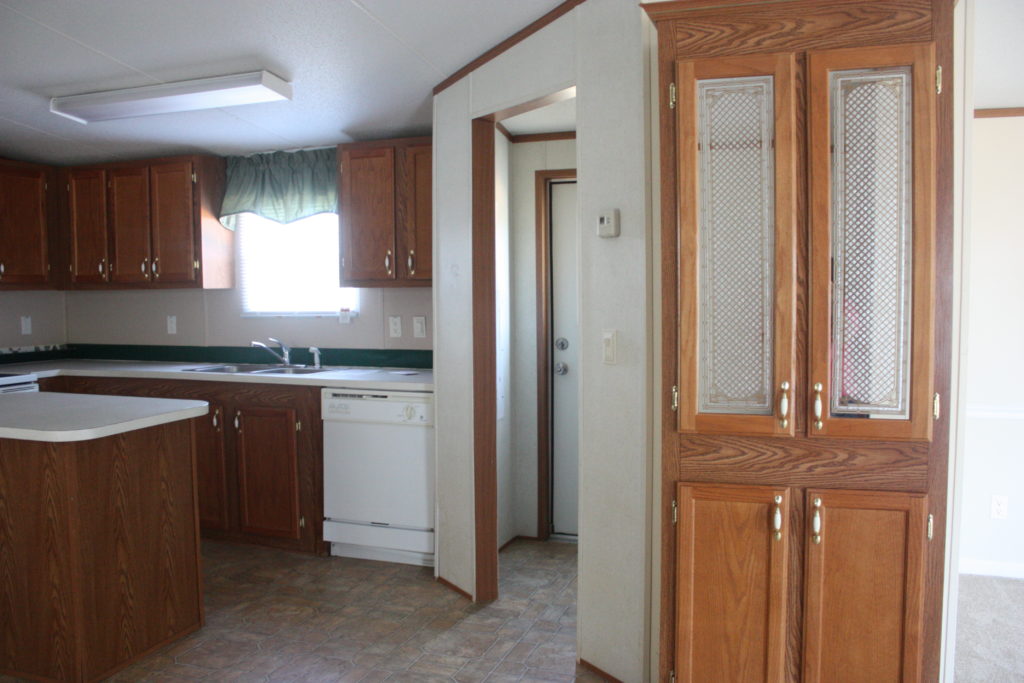
WOW. A LOT has changed in here…like a whole whole lot. But we have not spent much money at all! We made do with the appliances that were here, and we stayed as budget friendly as possible, still giving us a huge change in the look like we desired.
The very first thing I did was go in and paint the cabinets. I wish so bad that I had taken step by step instructions on what I did and what I used, but I didn’t. I hate that! I was so ready to paint that I never even thought about it. In fact, there was no easy way to get into our home in the beginning, so I walked through MUD that was insane. I had this whole kitchen covered with mud, plus myself. I fell with the kids while trying to carry them in to paint, and we were ALL covered from head to toe in mud. By the time I finally got in to start painting, pictures were the last thing on my mind LOL.
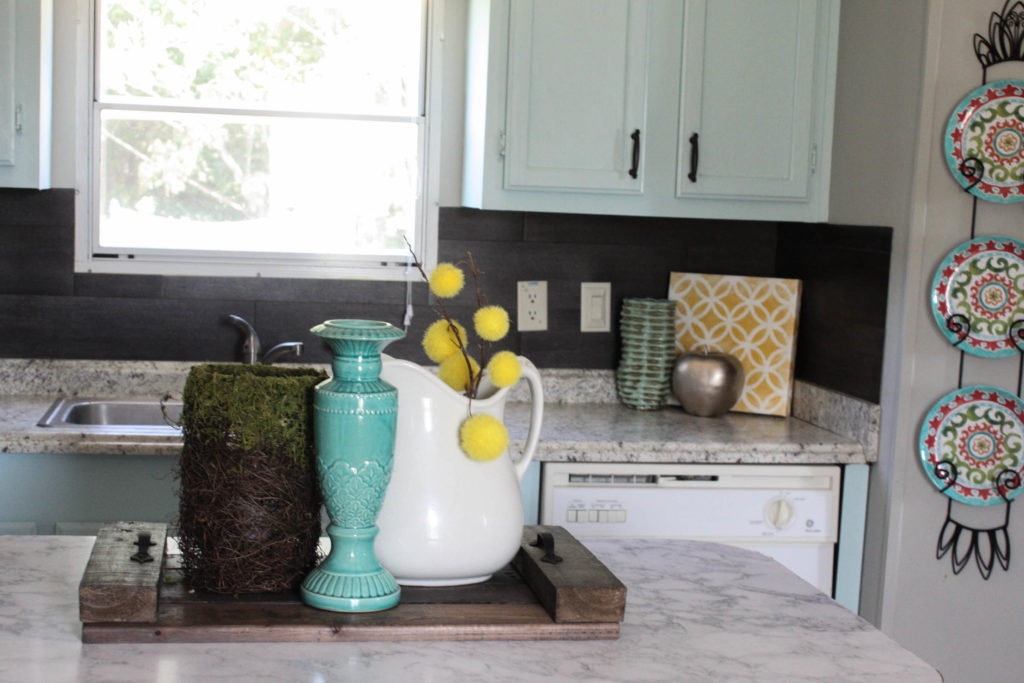
But, I did paint. The color is Mint to Be by Sherwin Williams, and I LOVE it. Truly. I do. I am not tired of it at all, and I would choose the same color 1000x over.
Here is a pic of the painted cabinets, which cost roughly $50 in paint (only took 1 gallon) and around $90 in hardware (including the stand alone pantry, which is not pictured).
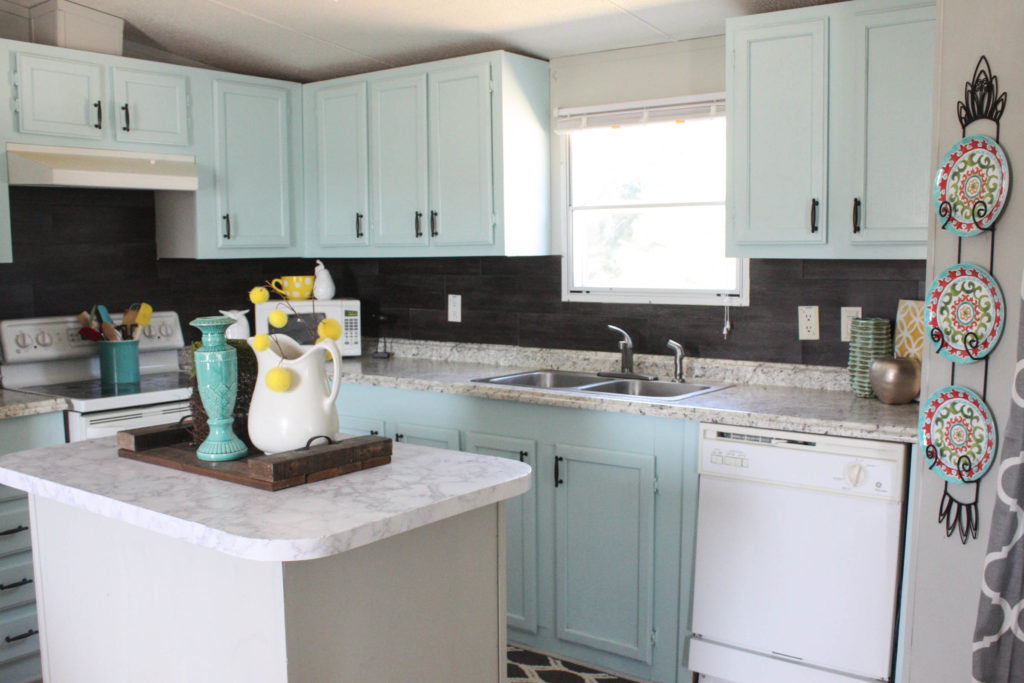
Do you see that back splash? Well, it is my FAVORITE DIY of the entire room! It was under $40 for the entire thing, and it is vinyl flooring! See that entire post/tutorial right here!
And do you see that outdated dishwasher in the background of these pictures? I said we kept the appliances, and we did. But, the dishwasher actually doesn’t work. I don’t mind. I just do them by hand for now, but I didn’t want to remove it because it would leave an empty eye sore. SO….I did what any savvy decorator would do, I PAINTED IT! (See that full post here!)
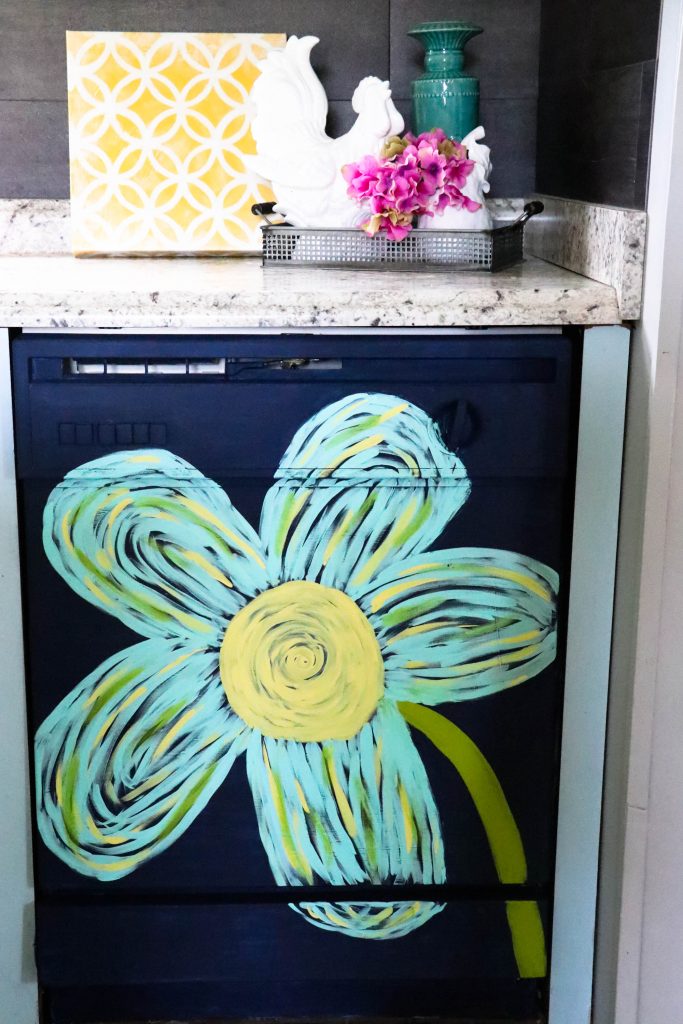
I seriously LOVE the new look and how much character it adds to our kitchen! It literally cost me nothing out of pocket, because I already had all of the supplies on hand. If I had to purchase them new, it would have cost me around $5.00.
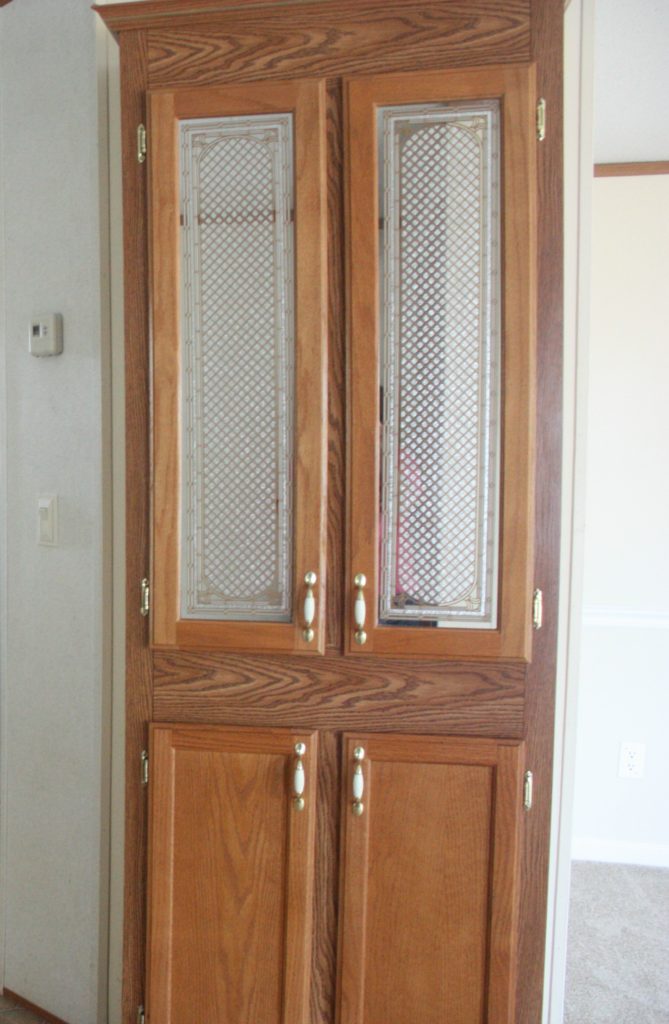
The stand alone pantry is a nice addition to the kitchen because it provides much needed storage space for food, but those mirrors were killin’ me folks. Who needs to look at themselves when they are going to the pantry to grab a star crunch?
Here they are BEFORE:
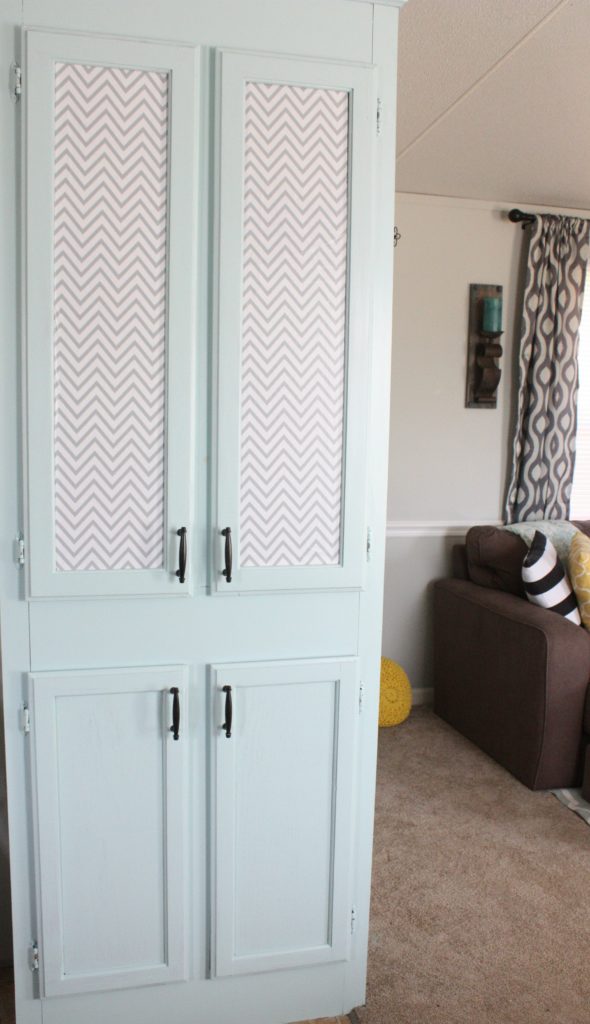
And with a little cheap DIY’ing, here they are NOW! I used adhesive vinyl, and this stuff is amazing! I completely recommend it. You can see my FULL POST about this transformation!
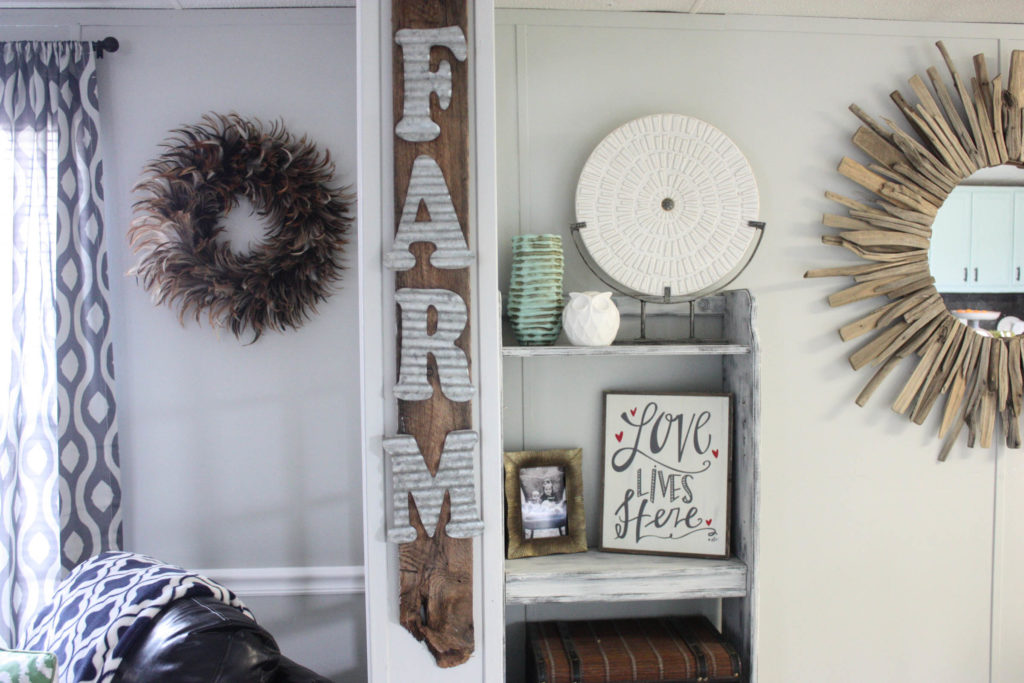
I have also made countless signs for the kitchen to spruce it up and add some DIY flare…plus I just love to make signs!
This Farm sign was $6 total, and about 3 minutes of time! (FULL POST here)
This sign is very similar in that it did not take hardly any time, because it isn’t what you would think of as a “true” DIY per se, but it is still something that was brought together to create a sign that was not originally a sign. It doesn’t matter how easy or thoughtless it is, when you create something, it is a DIY folks…and doing that and creating budget decor for my home is my favorite!
See THAT POST HERE!
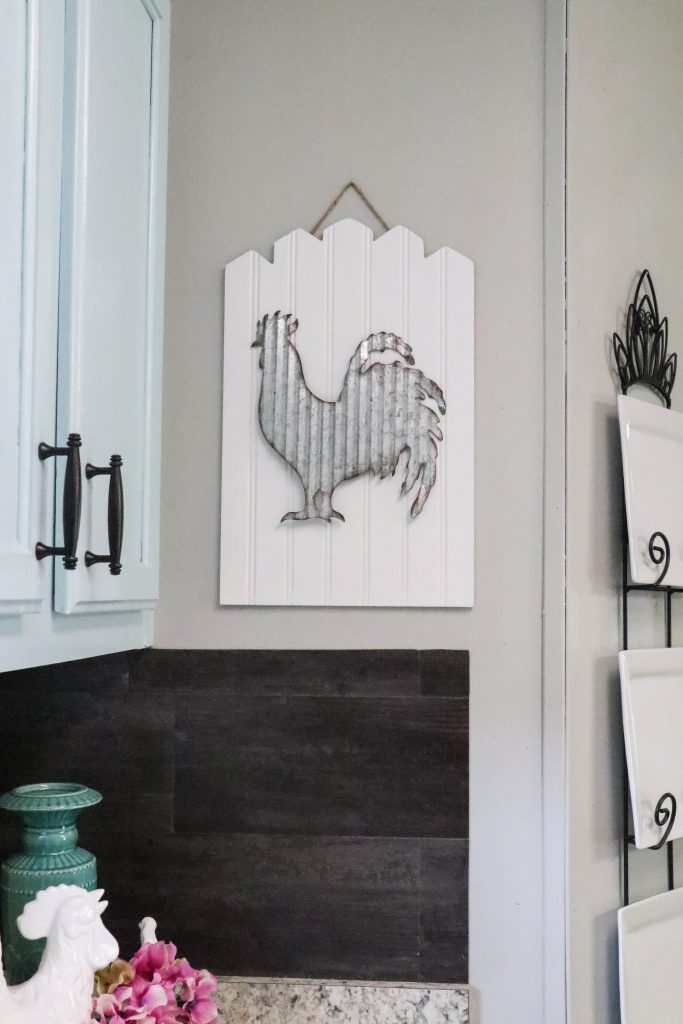
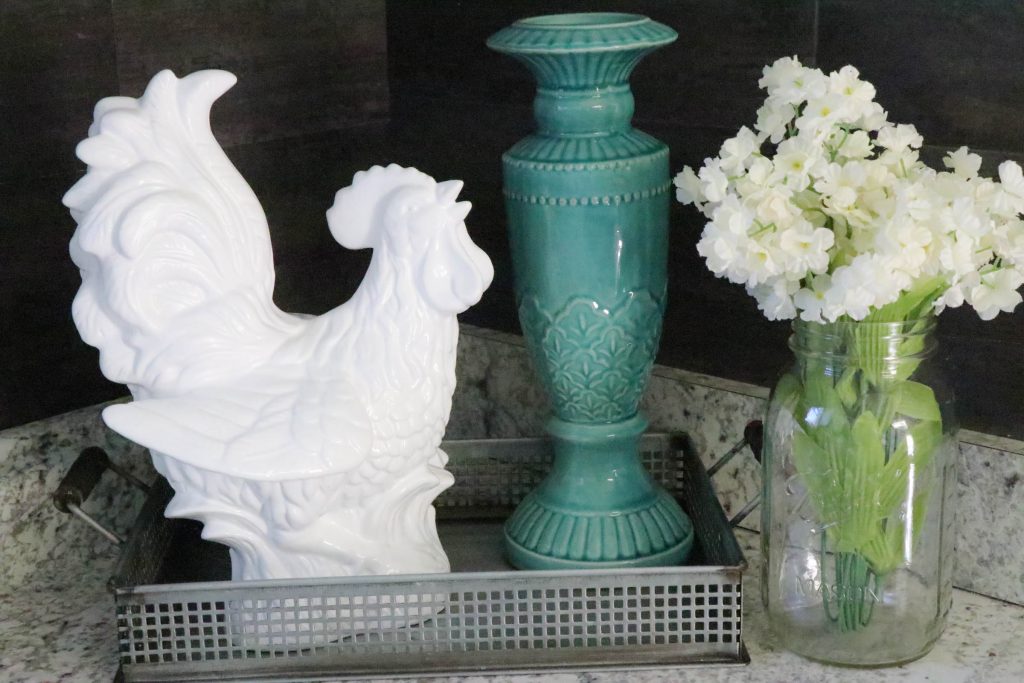
And speaking of roosters, check out this painted one that you would NEVER know was painted! See what I did HERE!
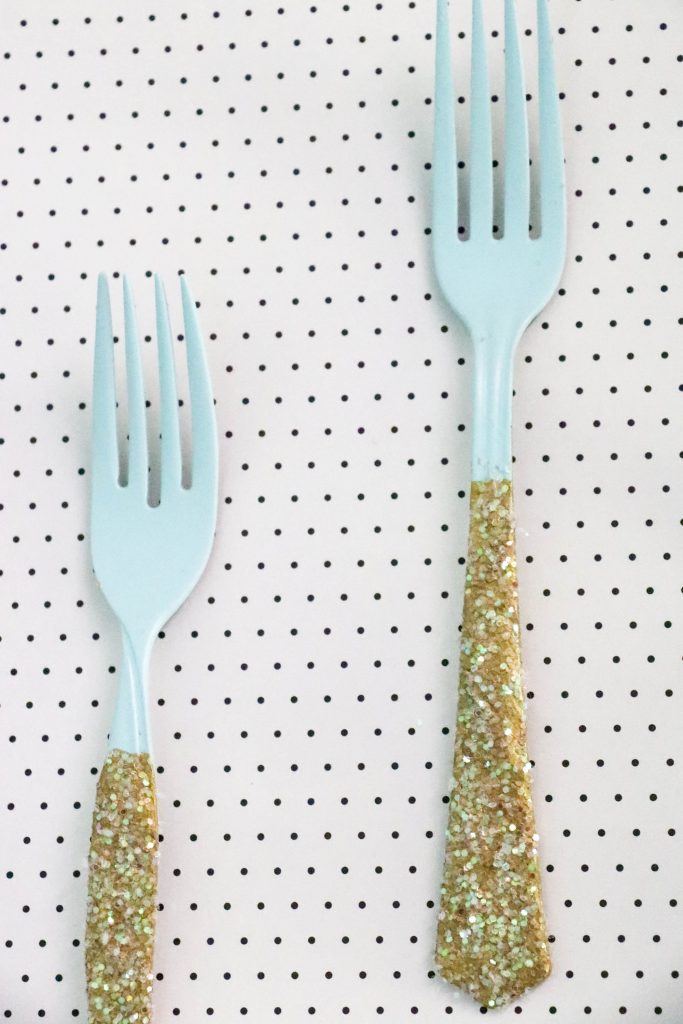
I almost forgot another fun DIY that I loved…my gold dipped forks!
And let’s not forget the refrigerator. We have a used fridge that we bought because the mobile home didn’t come with one, and I hang art work from the kids, along with all of the sports and school schedules so that I don’t forget what the heck is going on! Magnets are my friend, but I didn’t have many “cute” ones, and let’s face it…a cute magnet is important.
So…I DIY’d some! See what I did HERE!
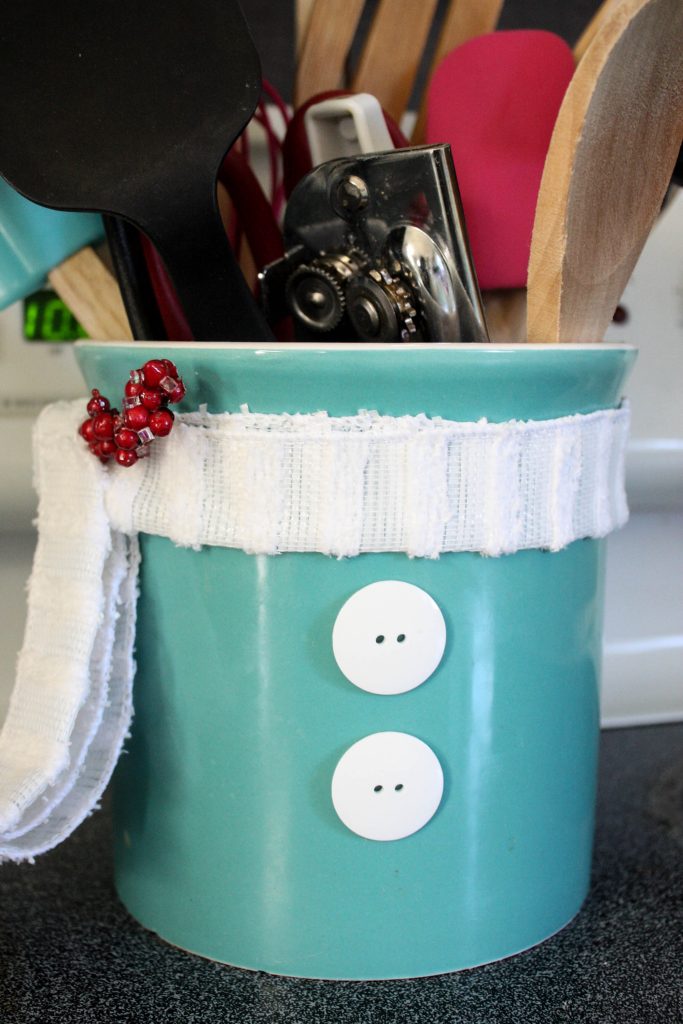
There are also some holiday DIY’s that I did around the kitchen to spruce it up! Feel free to check them out too!
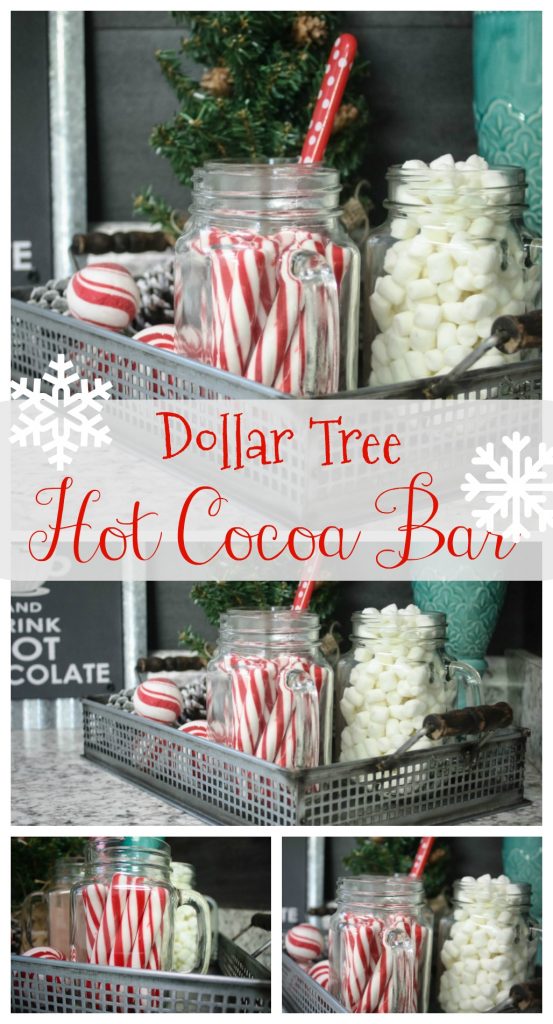
Kitchen DIYs: Snowman Utensil Holder!
As you can see, my kitchen is full of DIY goodness. Sure, it is not a magazine worthy kitchen by any stretch, and it is not fancy…but it IS a far cry from where it was on a super tight budget- and I absolutely love it! I hope this post inspires you to tackle some of your DIY’s so that you can enjoy the difference too!
You may want to hang onto this post for future reference!
PIN FOR LATER!
Follow Along on Social Media!
Facebook/Pinterest/Instagram/Twitter
Last Updated on July 10, 2018

Hi Brooke!!! I love your style!!! I live in a manufactured home and my kitchen cabinets look like yours. The grain on all the cabinets is different, when you painted yours did it hide the grain?