Sometimes inspiration strikes with the oddest of items. That is what happened with this project.
If you follow me on Facebook, you may remember a video I did a month or so ago of me showing my thrift store haul. If so, you may remember my bag full of wooden napkin rings! They were dirt cheap…like maybe $.50 for entire bag or something crazy.
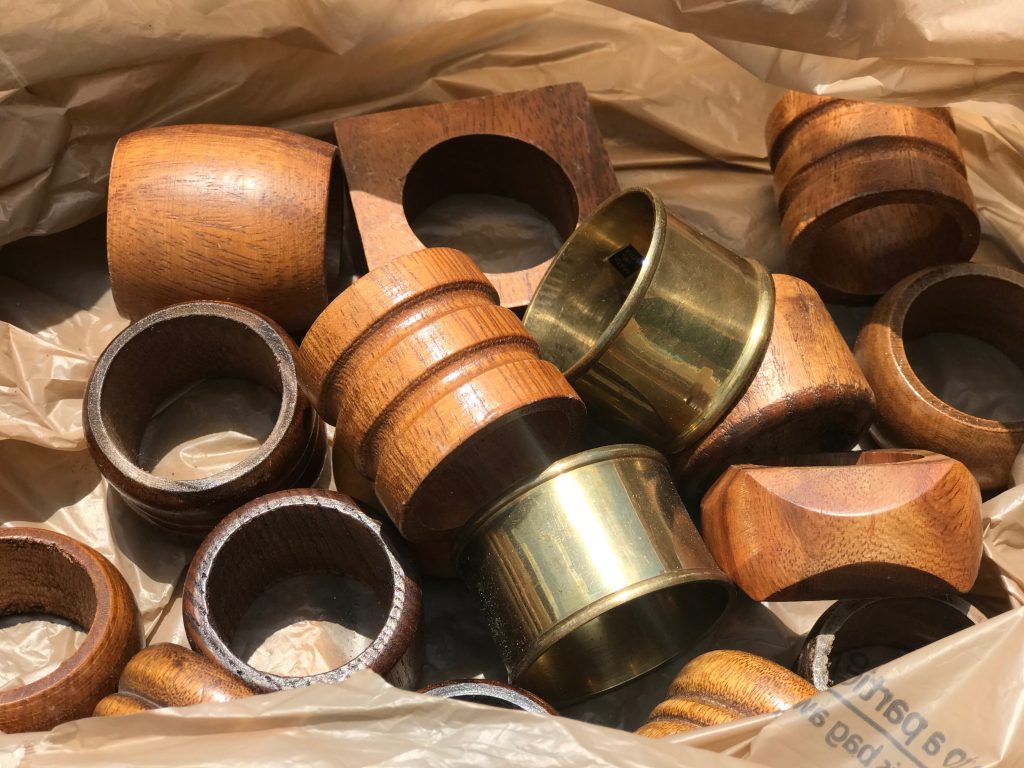
Well, I bought them having ZERO idea what I would do, but they were too cool to turn down.
As fall is approaching and my little creative brain is in overdrive, I decided to take them and make them into something that screams fall…PUMPKINS!
Odd, right?!?! Well. I do agree…but I am thrilled with how cute and different they turned out!
So, let’s get to what I did!
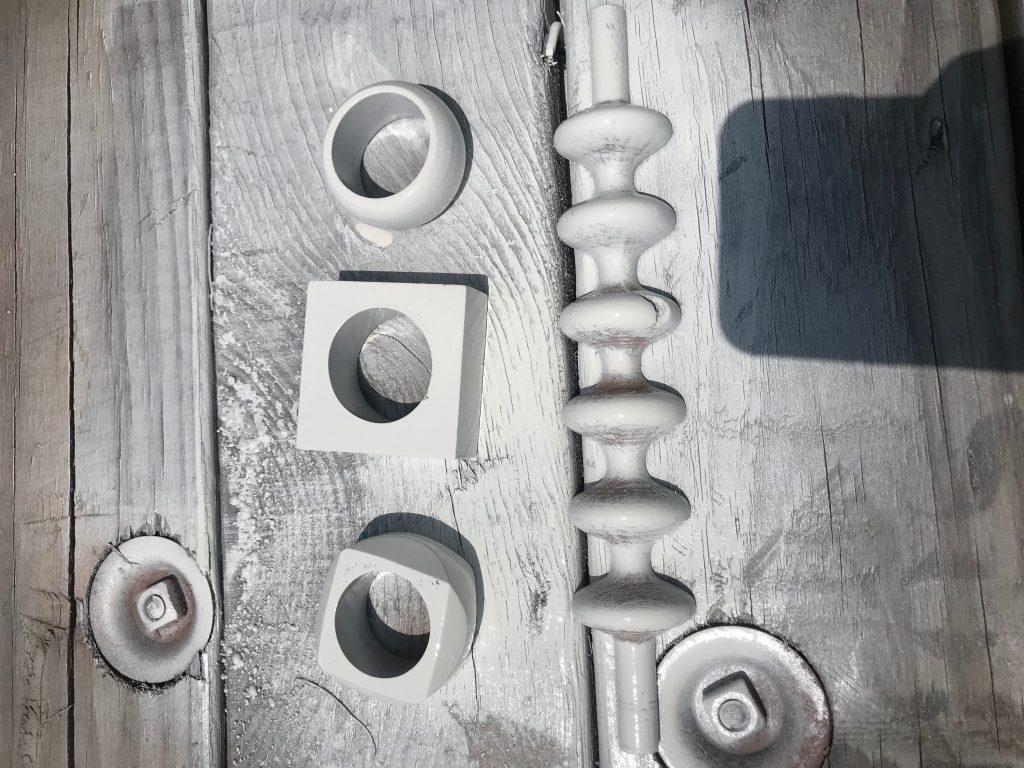
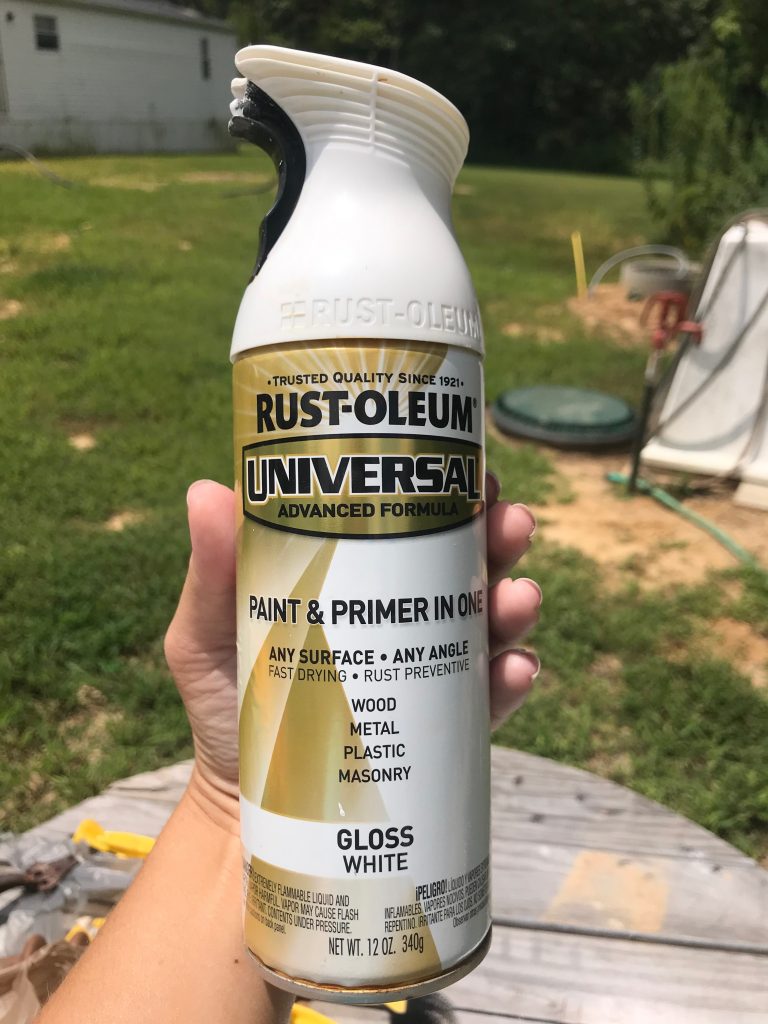
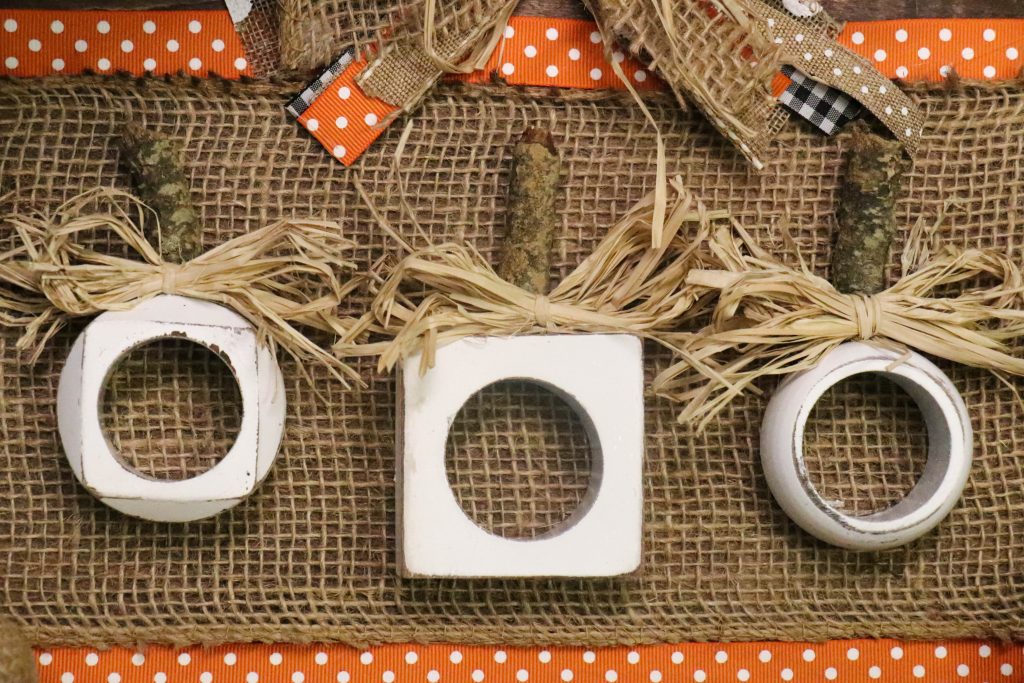
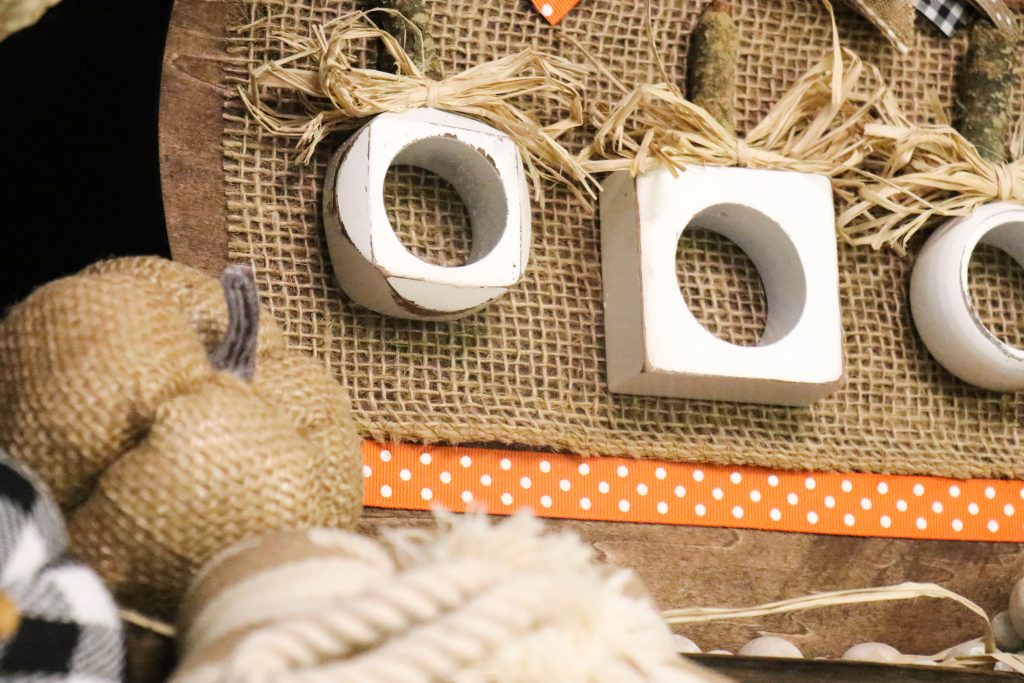
I first took three of rings that I thought had a cool look to them and spray painted them white! (Ignore the bottom piece…I decided to use it for something else!)
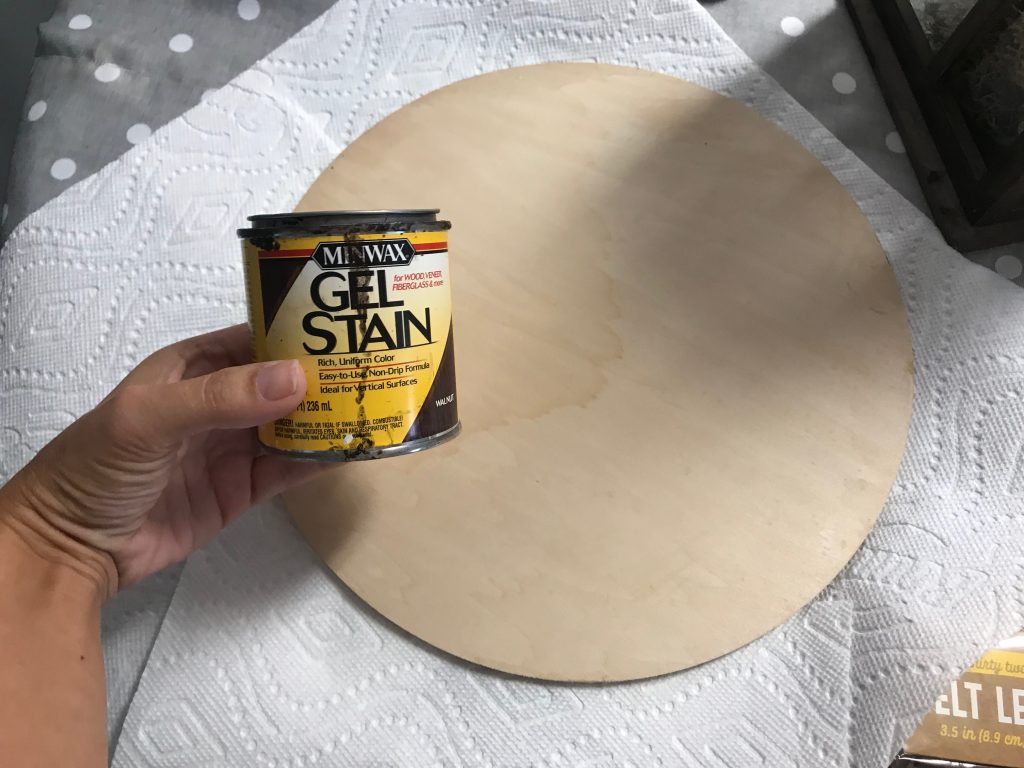
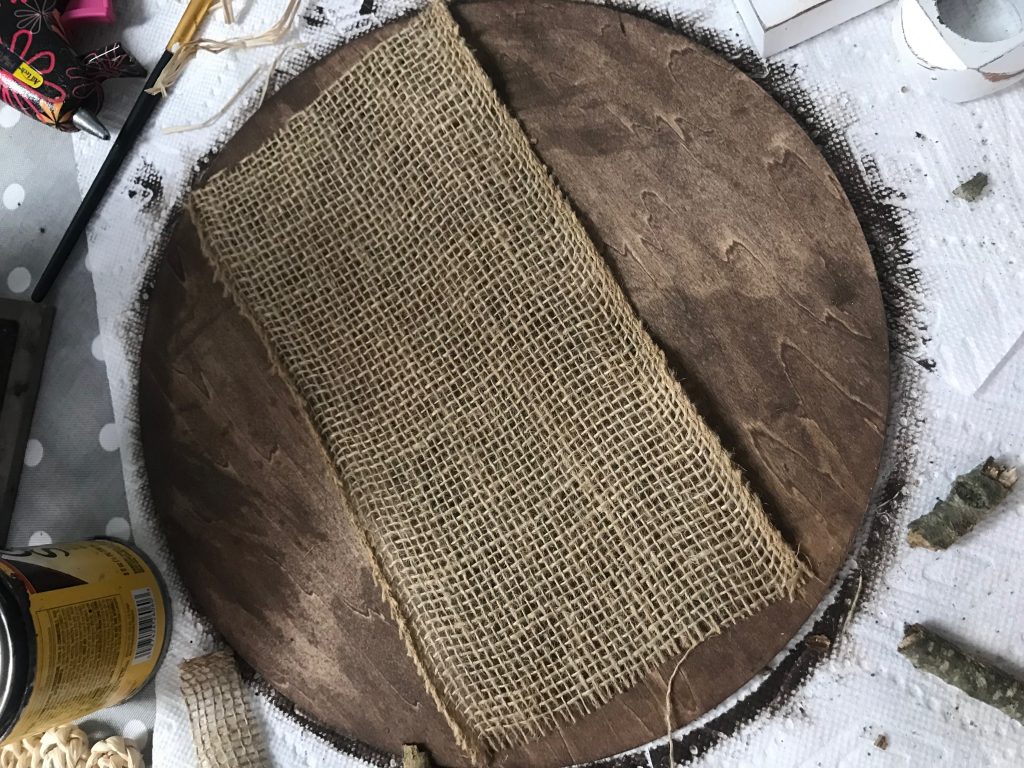
While the wooden rings were drying, I got to work on the base of this project- my wooden circle!
I stained the circle with my fave gel stain ever….Minwax Walnut!
After my circle was stained, I cut a large piece of my burlap ribbon to go across the center for added texture.
I hot glued it on for the base of my “pumpkin patch”!
(I forgot to take a pic of this part- oops!)
I laid my painted wooden napkin rings out across the burlap to see how they looked, and then I took my sanding block and distressed them…because let’s face it- everything looks a little better with some distressing! (even napkin ring pumpkins!)
After that, I took my stick and broke it into several pieces to make the stem!
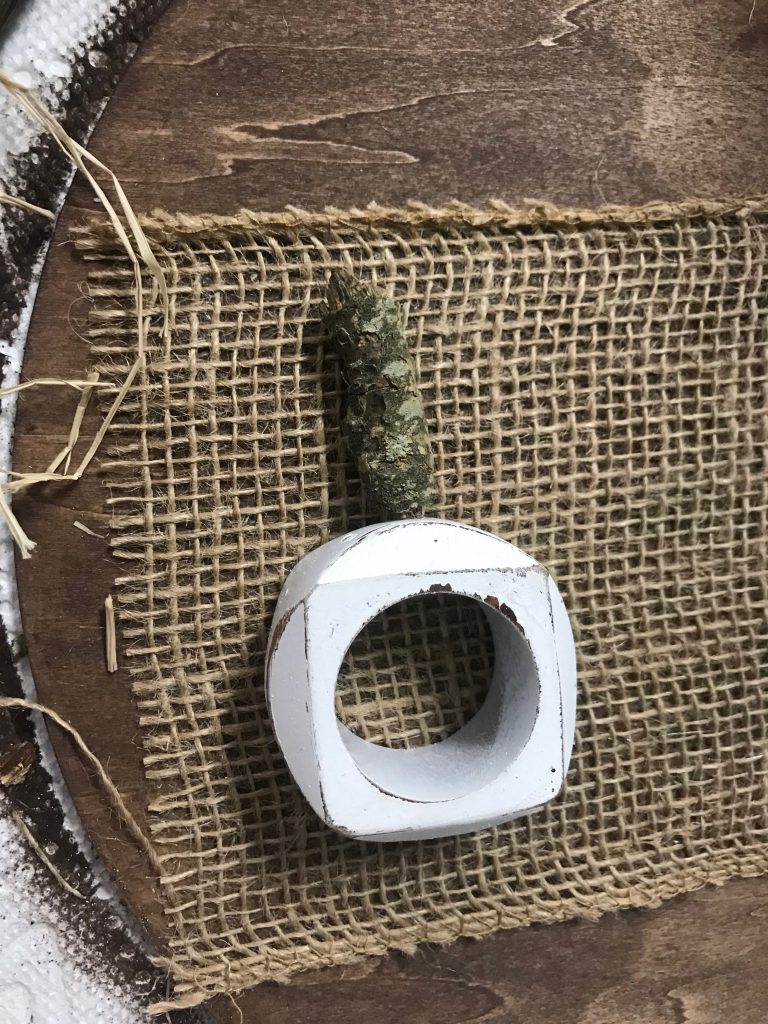
Once I did this process for all 3 pumpkins, I hot glued them onto the burlap, along with their sticks or “stems”.
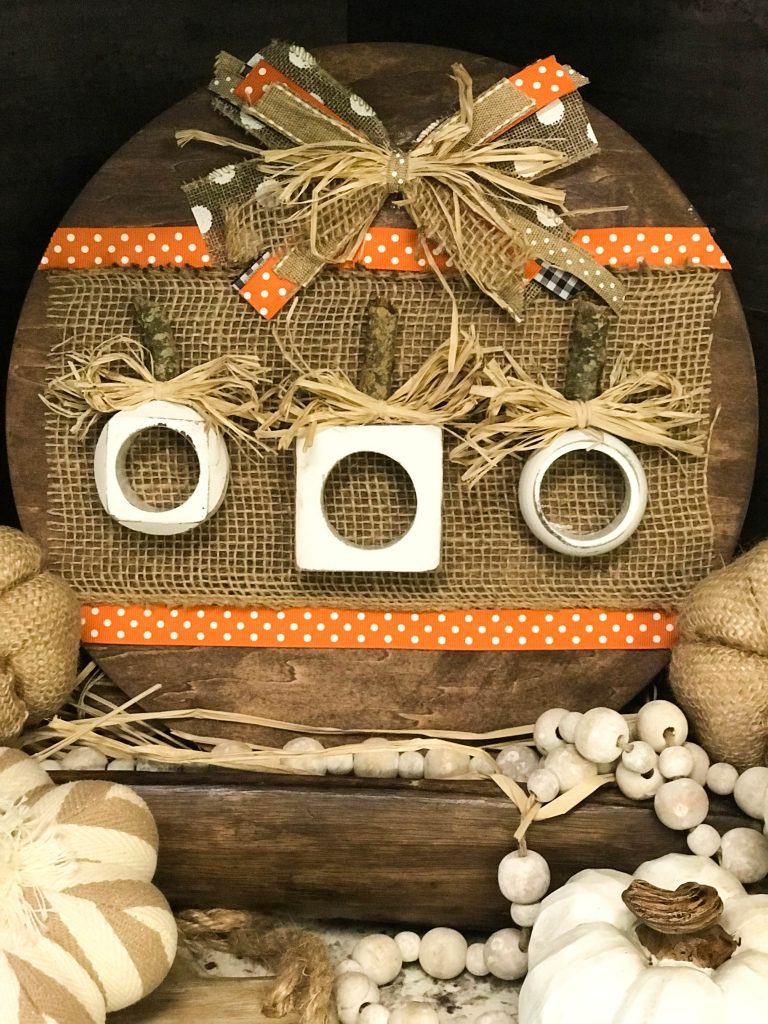
Once they were set, I took some cute orange polka dot ribbon and trimmed out the top and bottom of the burlap for some added color.
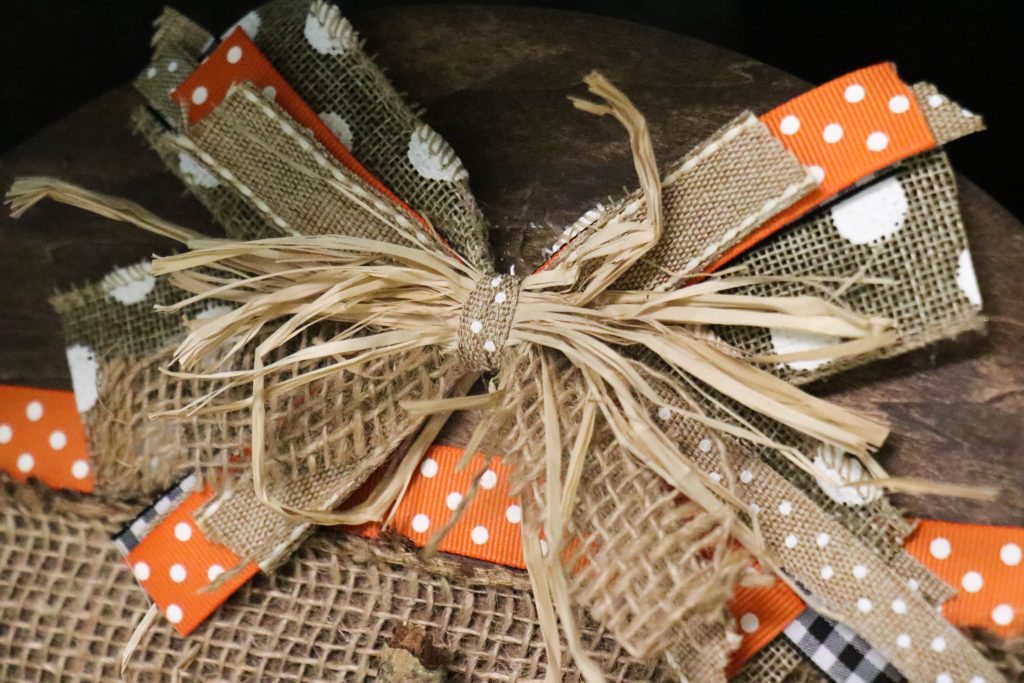
To finish out the look- I did what you have grown to expect…. I put a BOW! (Find bow tutorial here!)
And…..I was DONE! Here is the finished product!
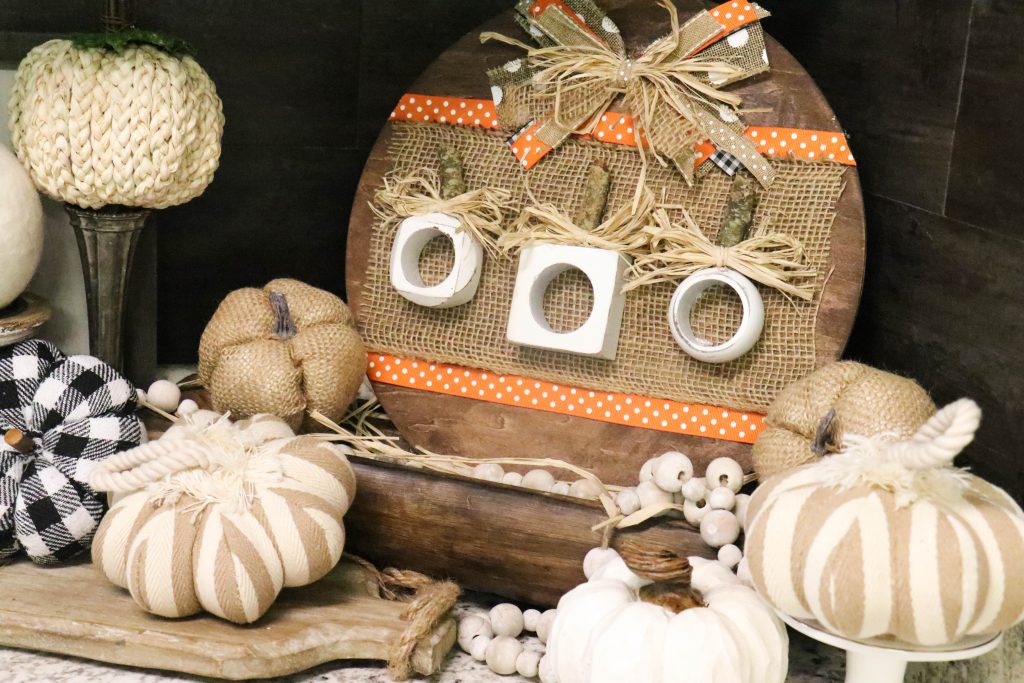
Well, what do you think??!! Nontraditional, but super cute- that is what I think!!
PIN FOR LATER!!!
FOLLOW ON SOCIAL MEDIA!
Facebook/Instagram/Pinterest/Email
Last Updated on November 4, 2020

Brooke. Those pumpkins are adorable!!. I have not seen anything like this. They look like they are setting on a bail of hay. What a great idea. Thanks for the inspirational. Sooooo cute.!!
Love it!
I love this!!????????
Thank you!!