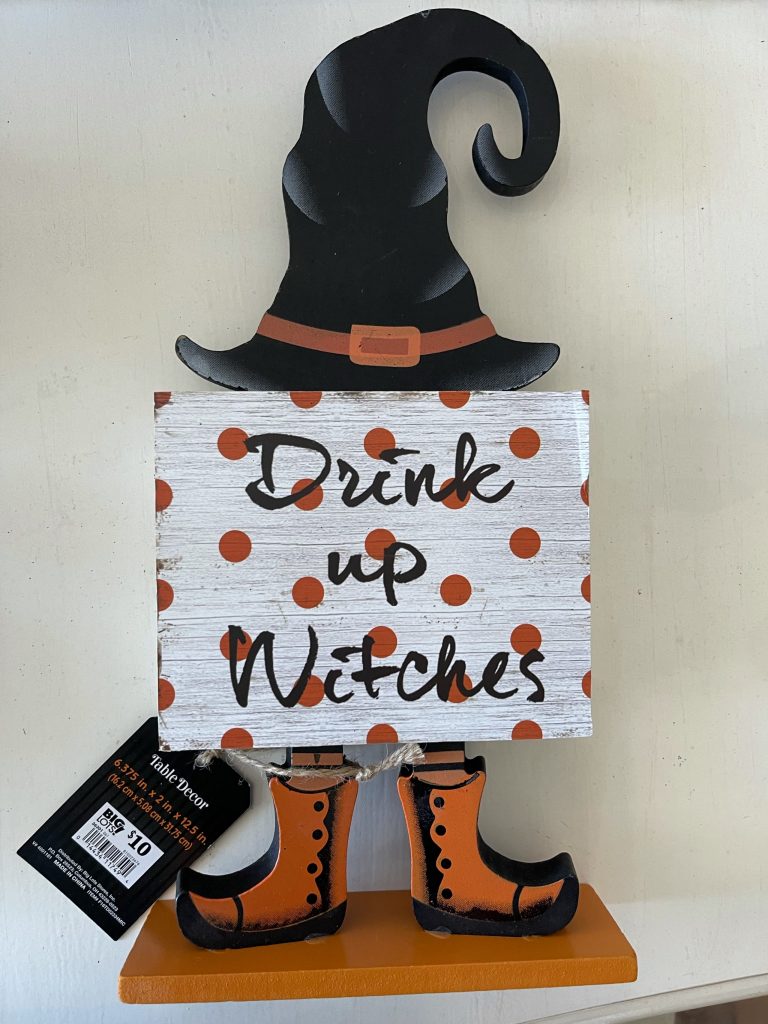
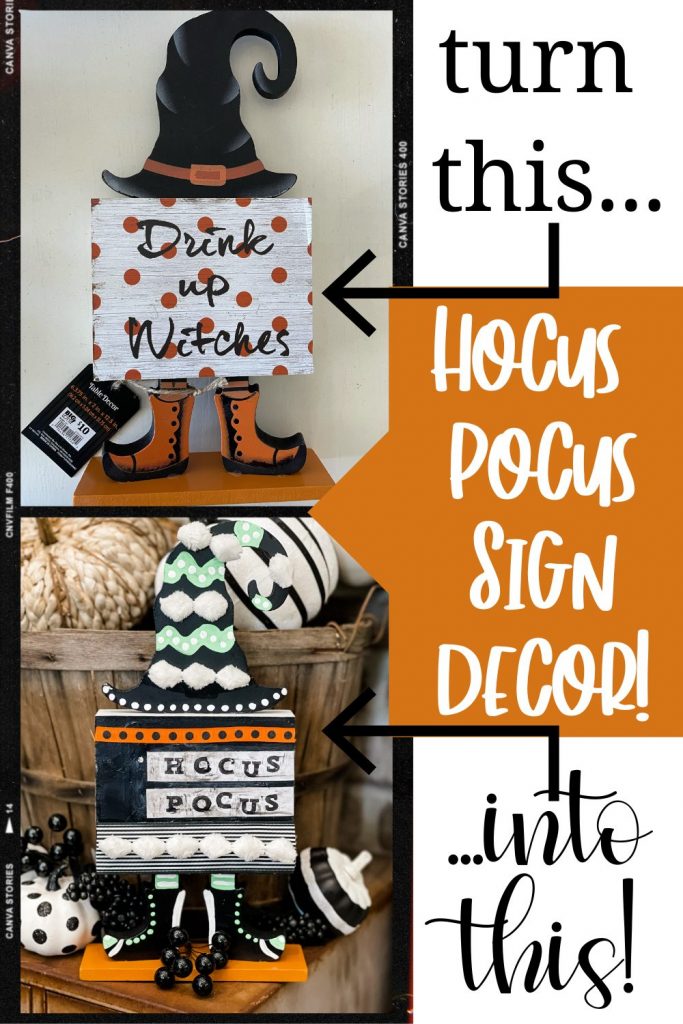
If you saw my post all about Fall and Halloween decor at Big Lots… then you know that I bought this little $10 sign!
If this sign fits your taste… that is absolutely okay. However, I don’t drink… BUT, I loved the structure of the sign. Soooo, I turned it into a DIY Hocus Pocus sign!
Supplies needed to give this sign a makeover!
*click on the bolded item to shop my affiliate link! By shopping through my link, may receive a small commission at no extra cost to you!*
- Sign from Big Lots
- Black, White, and Green paint
- Mod Podge
- Stamps
- Ink Pad
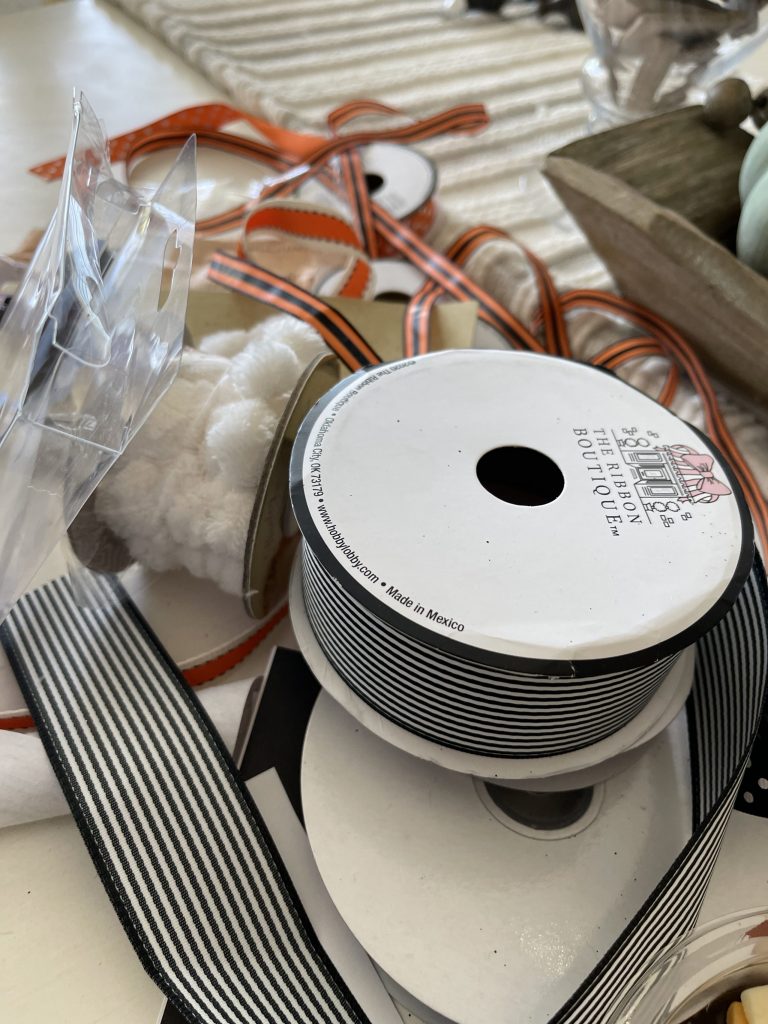
- Ribbon of your choice
- Printer Paper (or any paper you have on hand)
- Embellishments of your choice
- Hot Glue Gun
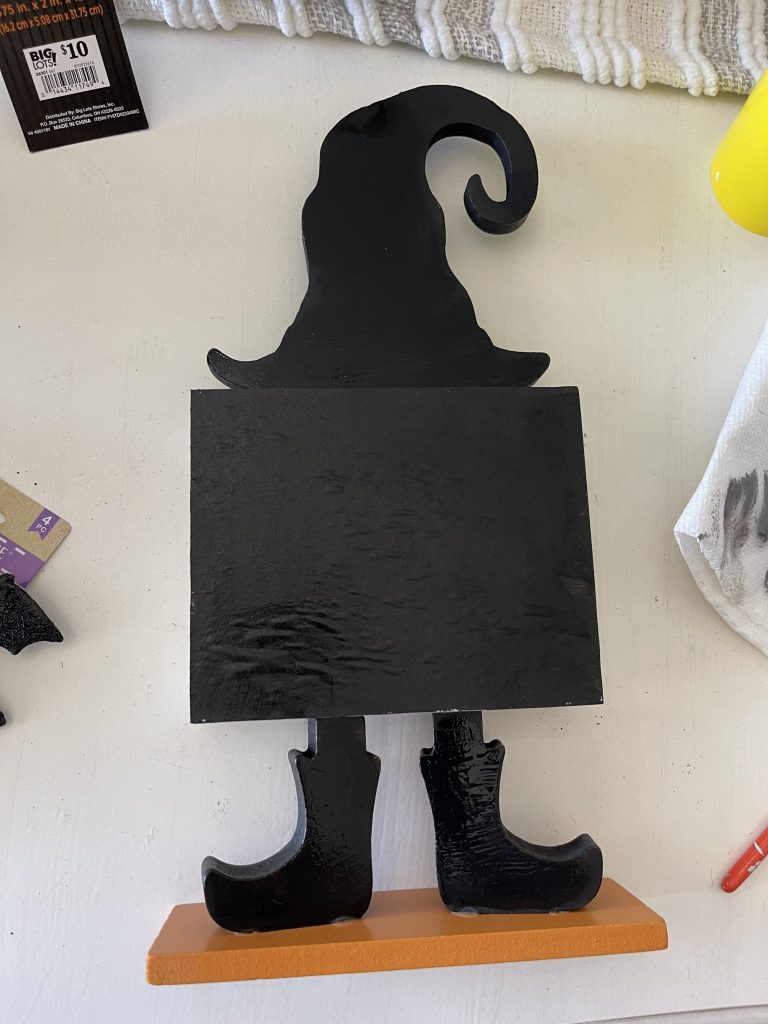
The very first step is to paint the entire sign black. Now, we have a good base to let our imagination run wild!
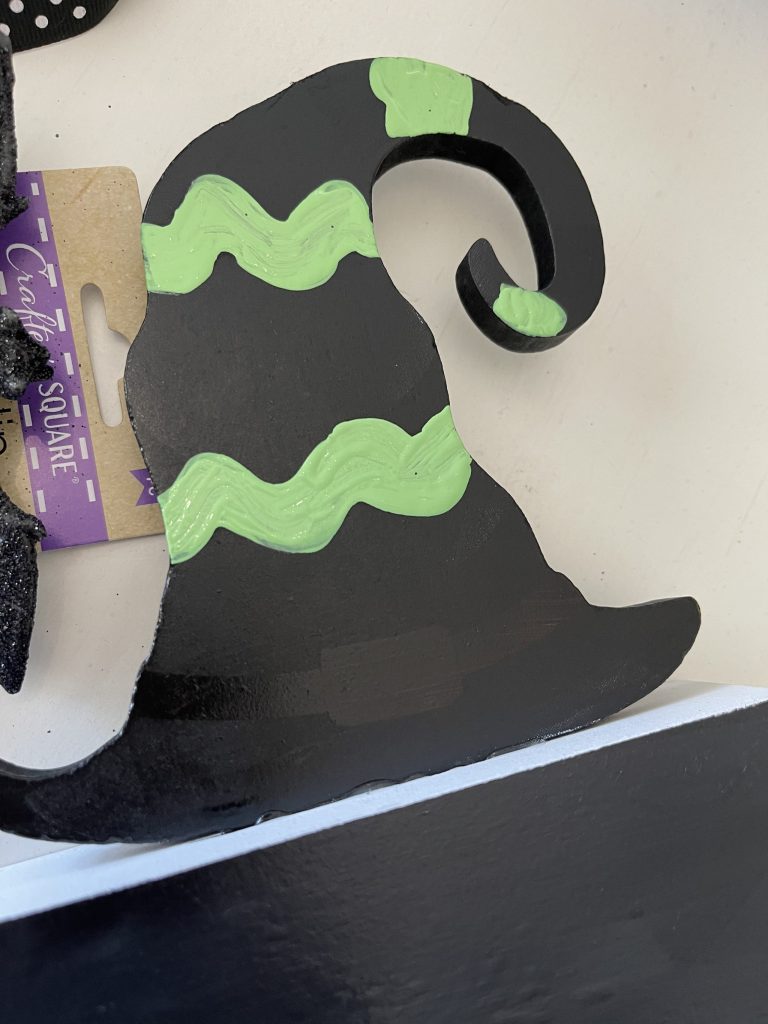
I took my green paint, and started designing the hat. We’re going for a “whimsy” look on this one… so don’t worry about perfection!
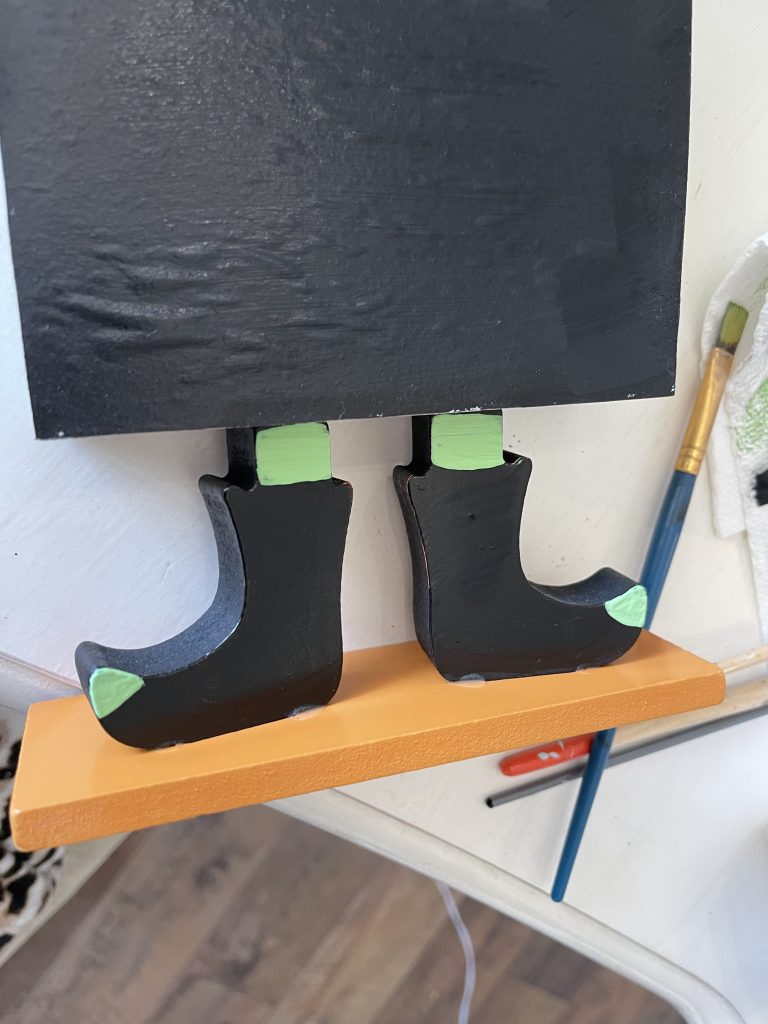
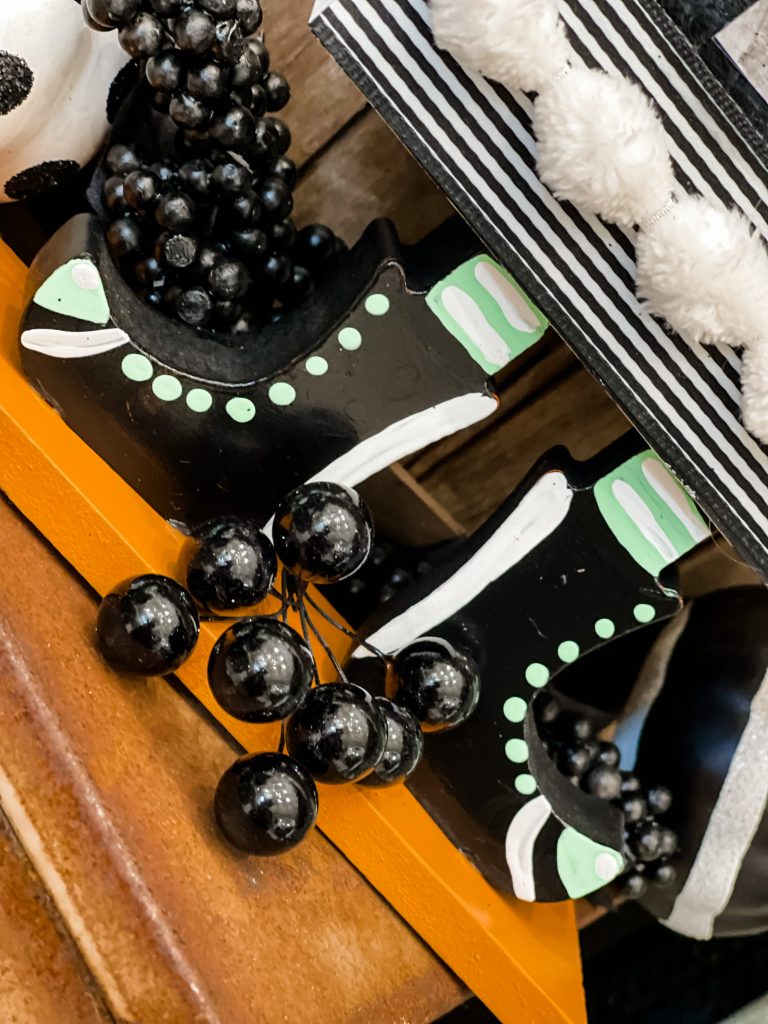
I also added green paint to the boots. Don’t worry, we’ll be adding more fun designs towards the end!
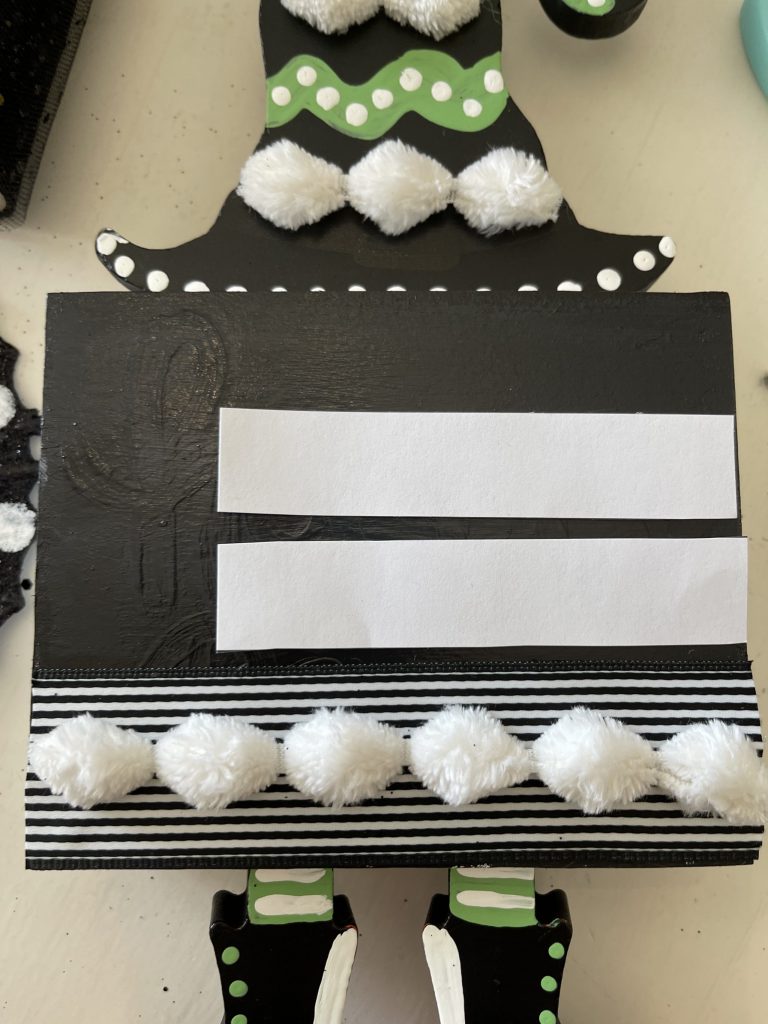
Time to decorate! I added this black and white stripe ribbon to the bottom, and added a pom pom ribbon right on top.
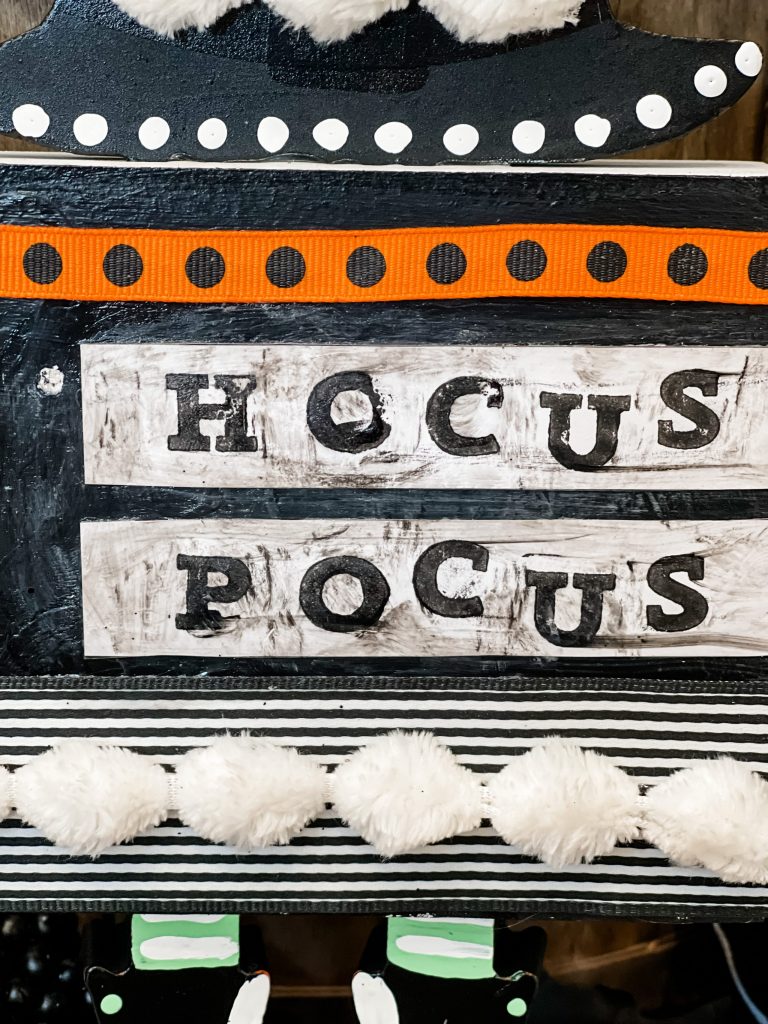
Go ahead and mod podge two pieces of paper to the sign as well… this is where our “hocus pocus” will be going!
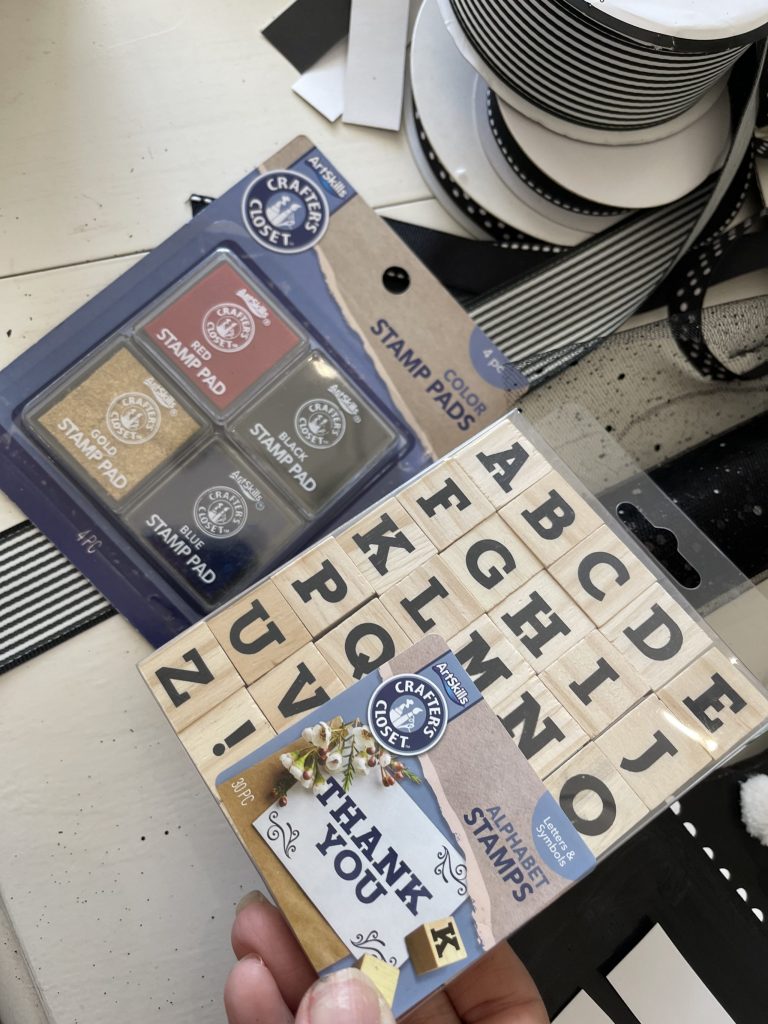
Here are the stamps that I purchased! They came from the brand Art Skills, but you can find stamps at any craft store!
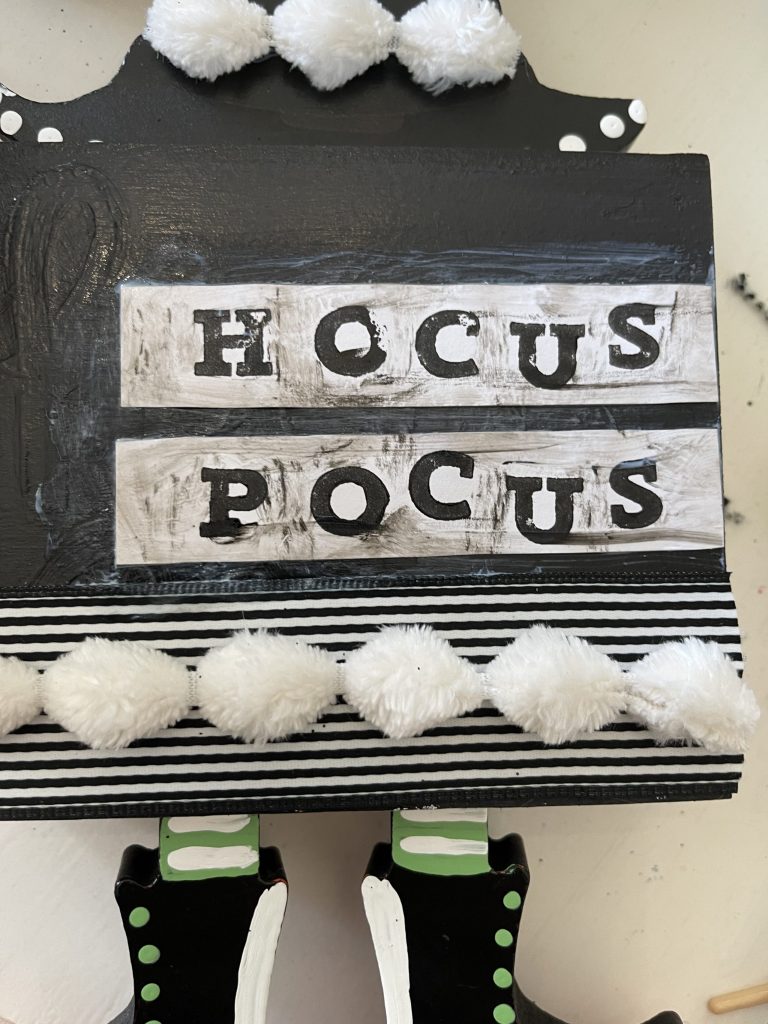
I used my stamps to spell out Hocus Pocus, but you could of course spell whatever you wanted!
I then dry brushed a bit of my black paint over top, and mixed it in with my mod podge. This just helps it look a little less perfect!
Polka dots are a girls best friend… or at least they are for me, LOL!
I added polka dots to the boots AND the hat! I also hot glued on this berry stem from Dollar Tree.
This craft is all about the details. From the ribbon, to the distressing of the stamps, to the polka dots… I simply just had fun with it!
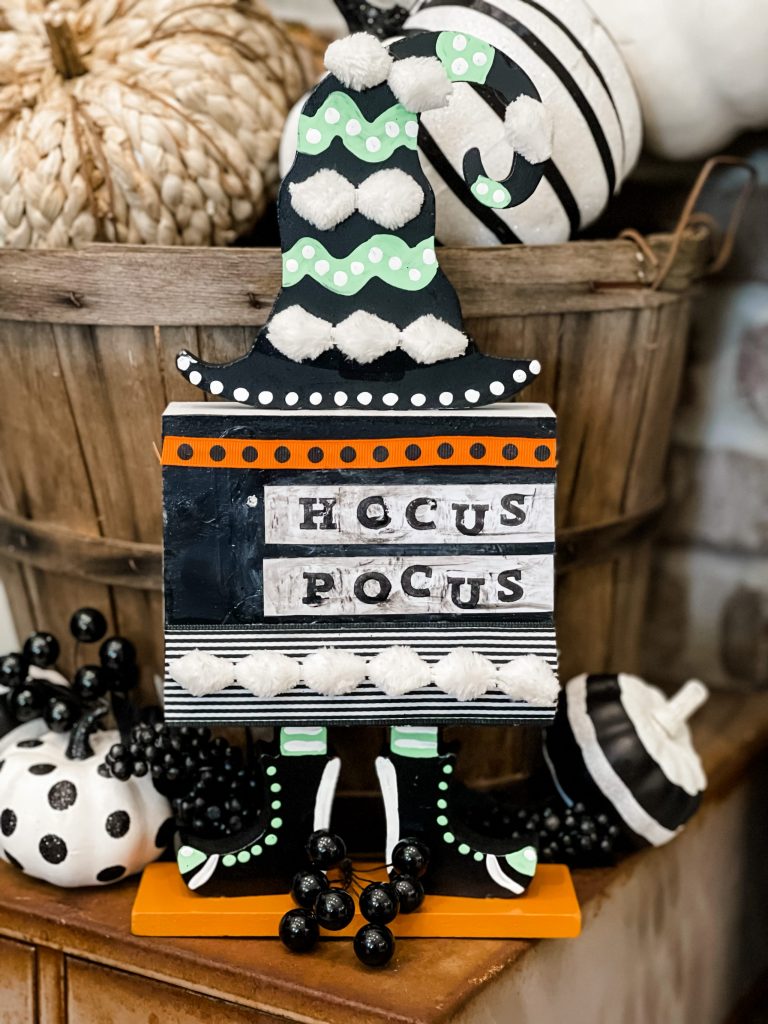
This is how the final result turned out! I could see this little sign perched up on a Halloween Mantel, or even a Halloween coffee bar!
Every time I look at this sign, I’ll be able to remember how it started off as something totally NOT my style… but with a bit of creativity, I could make it match my home! I hope this has inspired you to do the same!
PIN THIS FOR LATER!
Last Updated on September 7, 2021

LOVE IT!!!????????????????????????????
This is too cute! I love the makeover
Brooke, this turned out adorable! My oldest granddaughter was born on Halloween and she would absolutely love this!
I love how your mind works, I love this! It’s adorable.
Thank you so much! ❤️
Love this – an amazing transformation!!