It has been a hot minute since I have been able to share a furniture makeover on the blog with y’all! I am so excited to share this one!
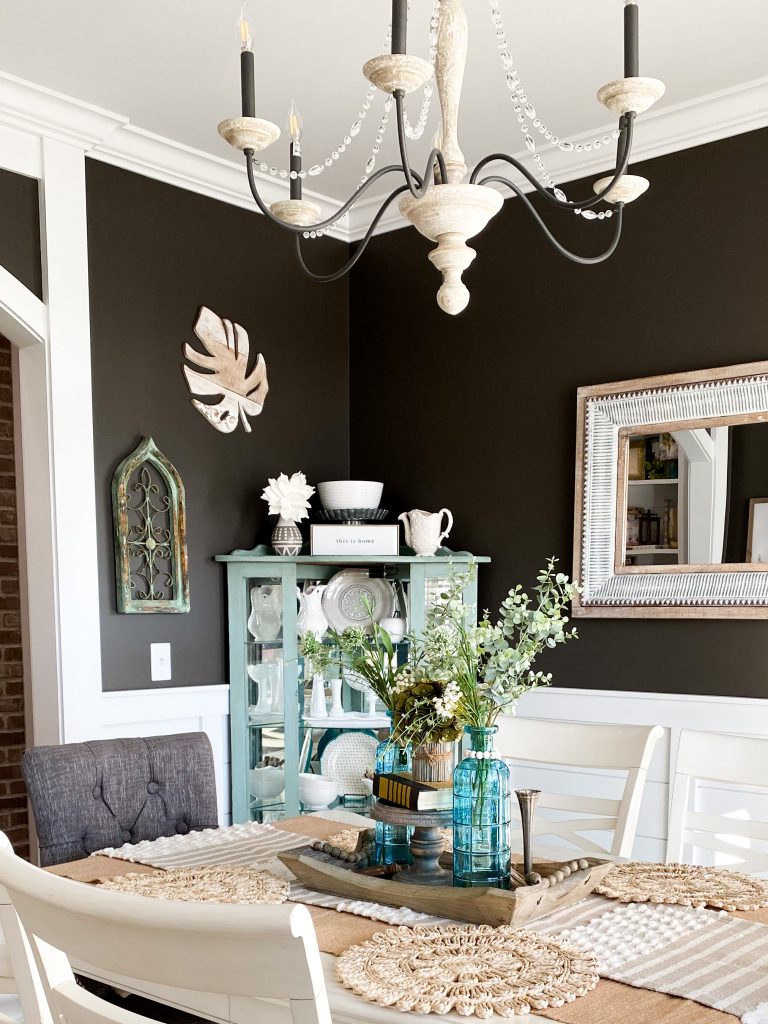
My dining room felt BARE after Christmas! I had my Christmas tree in the corner, and I loved it…but once I took it down, I felt like I was missing something over in that corner.
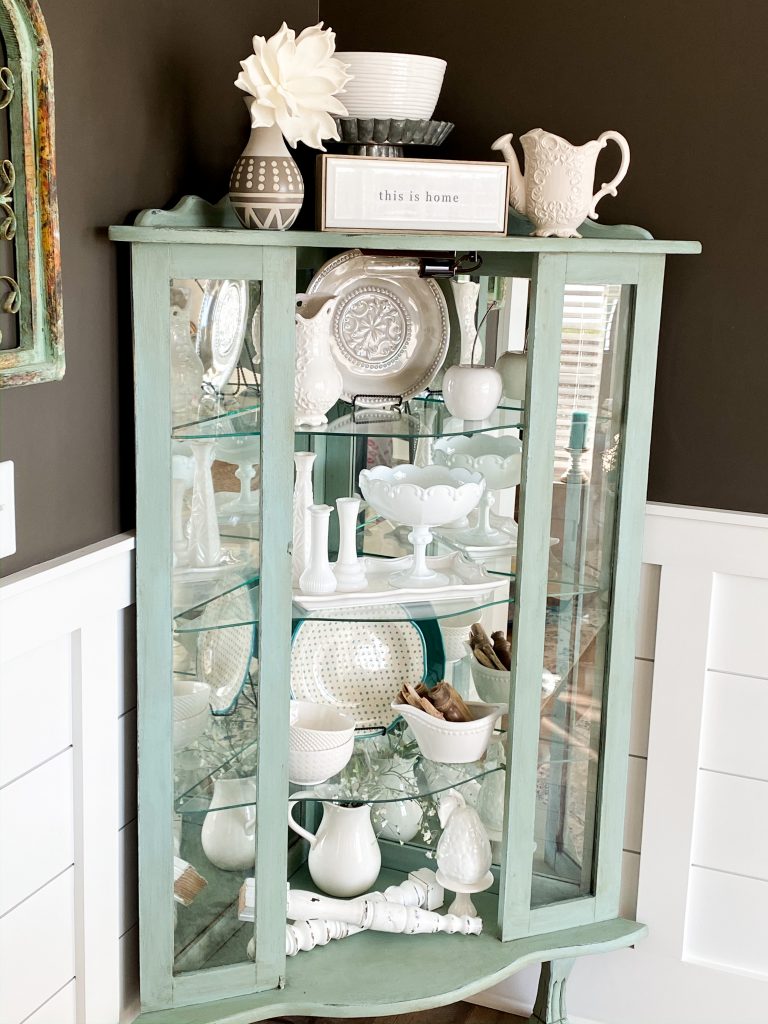
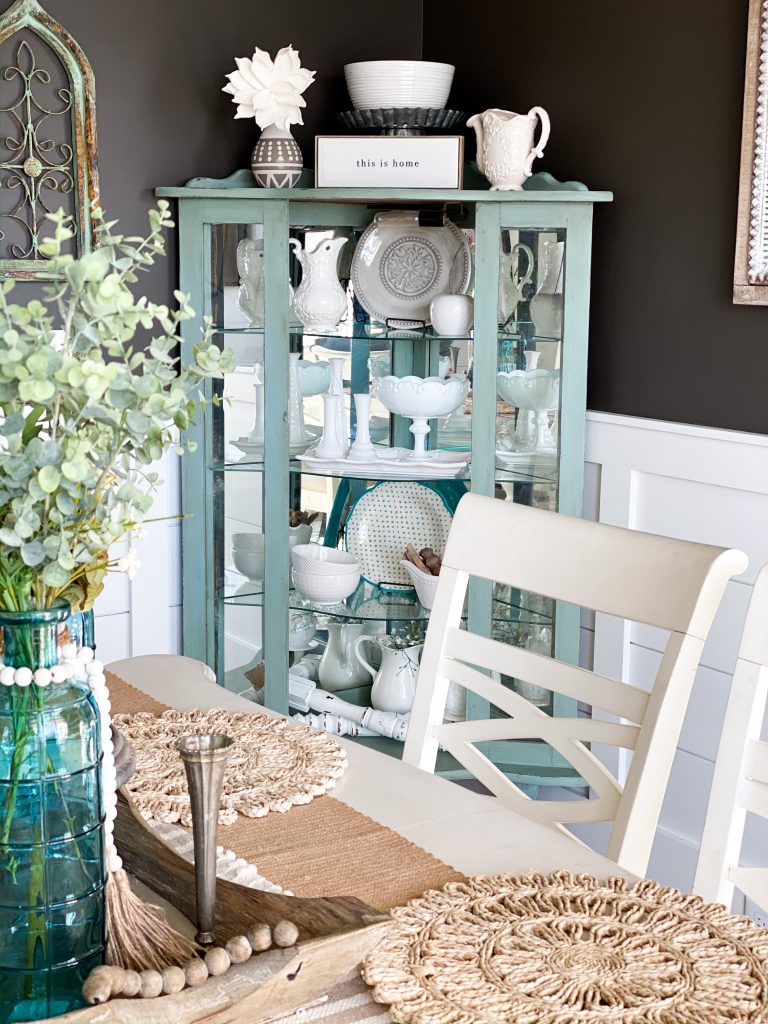
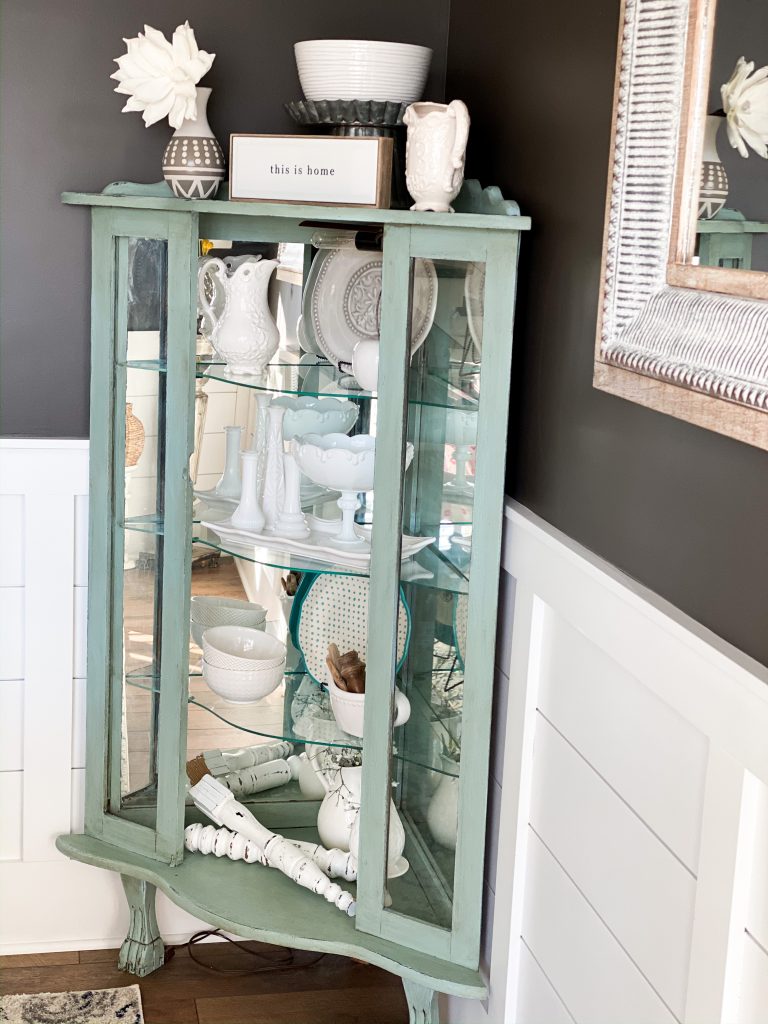
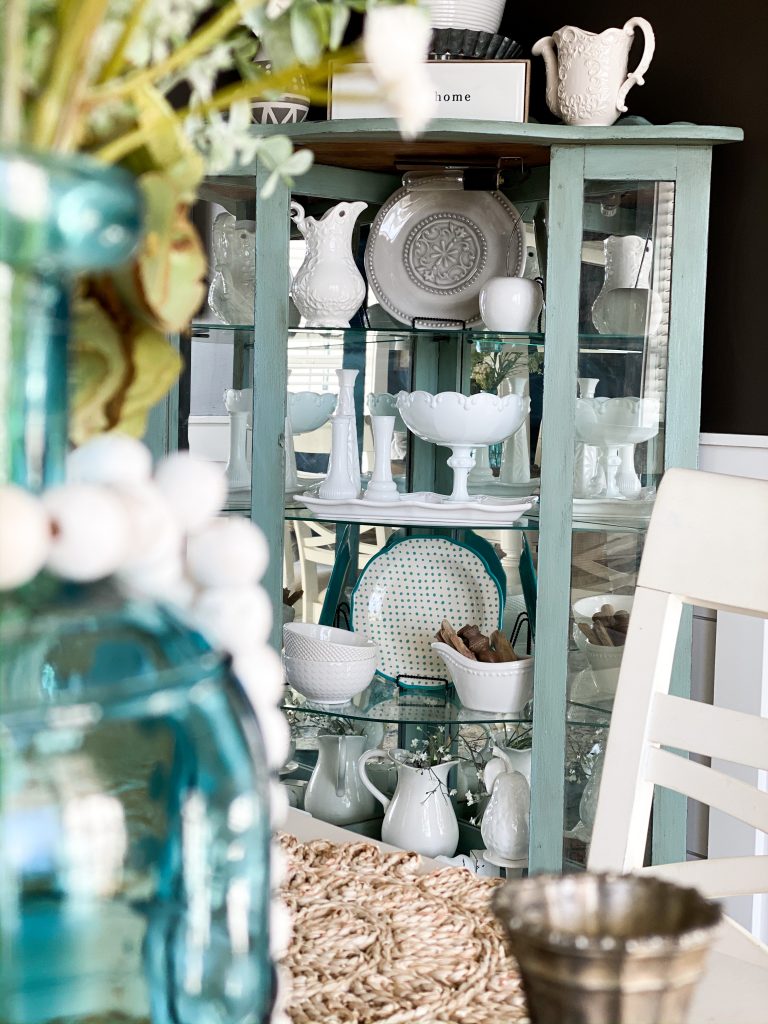
It is no secret that I love adding some punches of color around my home. My very favorite is aqua/teal and all shades of that color! Because of this, I knew that I wanted to paint my new corner cabinet a shade of that color!
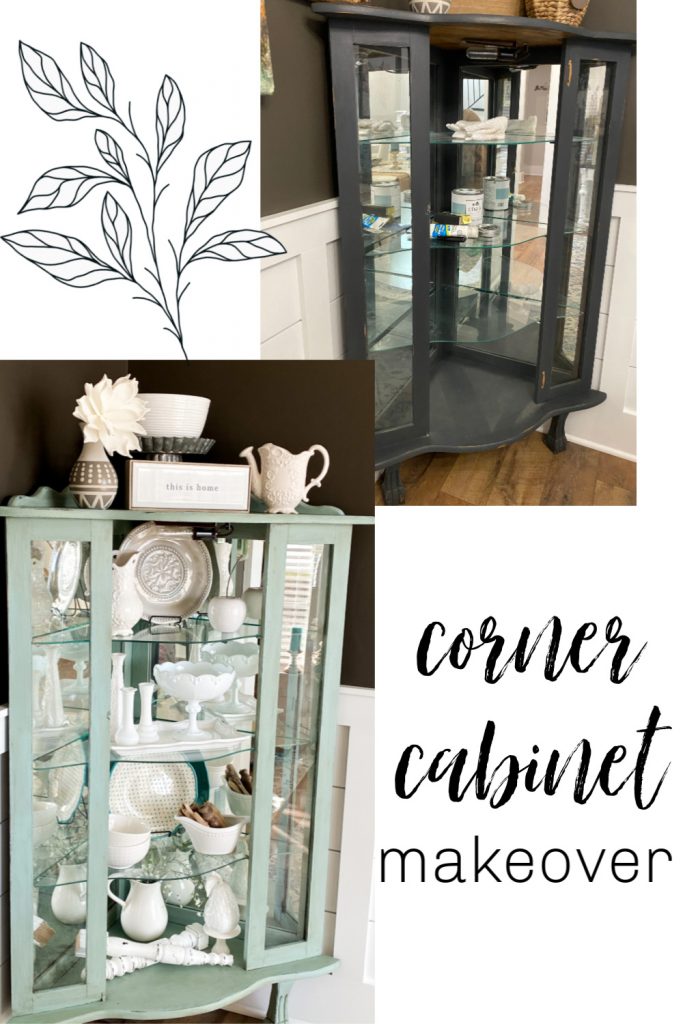
Let me tell you about my corner cabinet. I knew I needed something for my corner, but I was having a hard time finding something. Because of that, I did what any good decorator would do. I went onto Facebook and asked my buddies if they had anything!! (and guess what?!) My friend Sherrie had just the perfect piece.
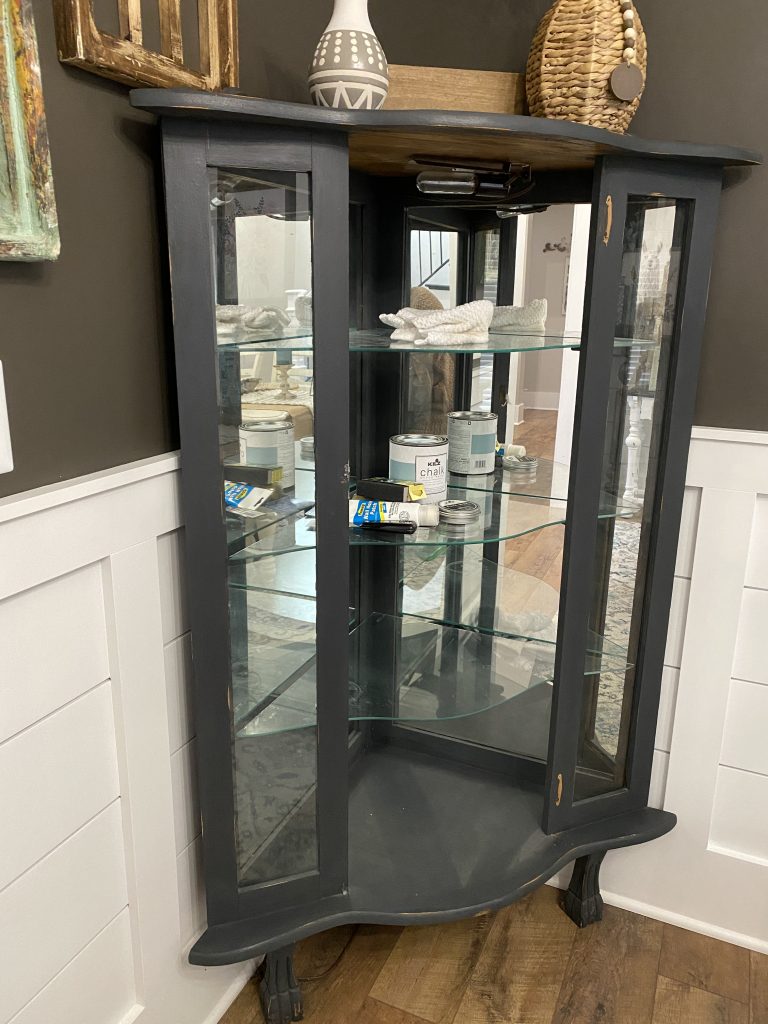
We went and picked up this corner cabinet a little over a month ago (you know it always takes a while to get things done lol), and when I brought it in, I realized it was a match made in heaven!
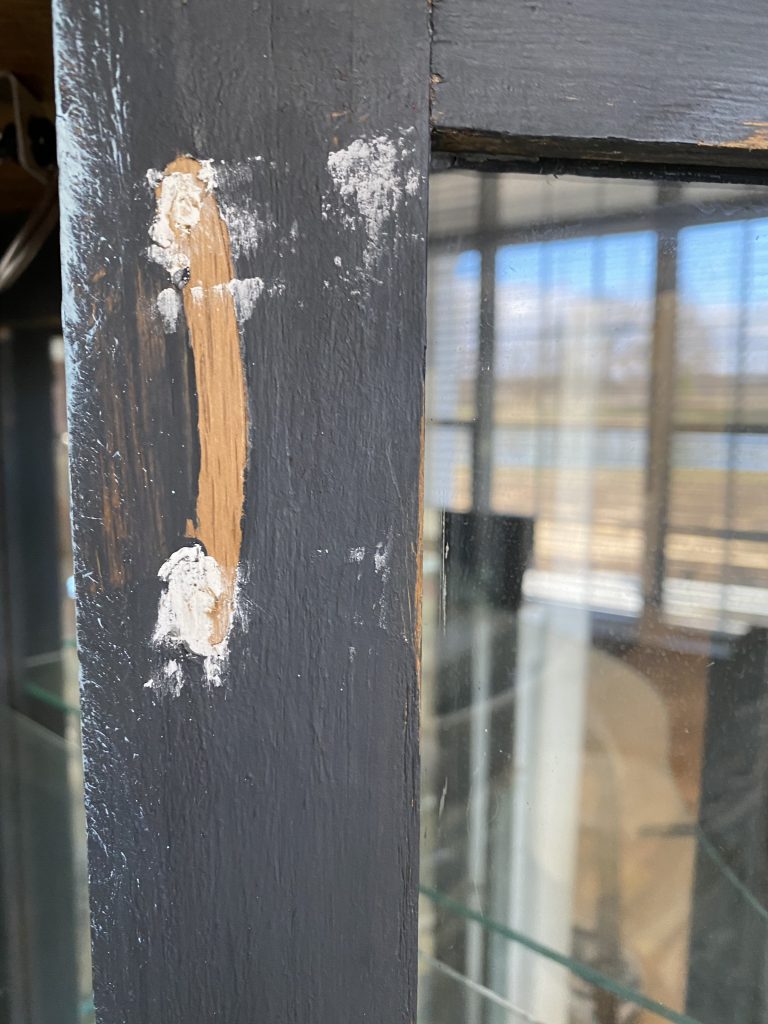
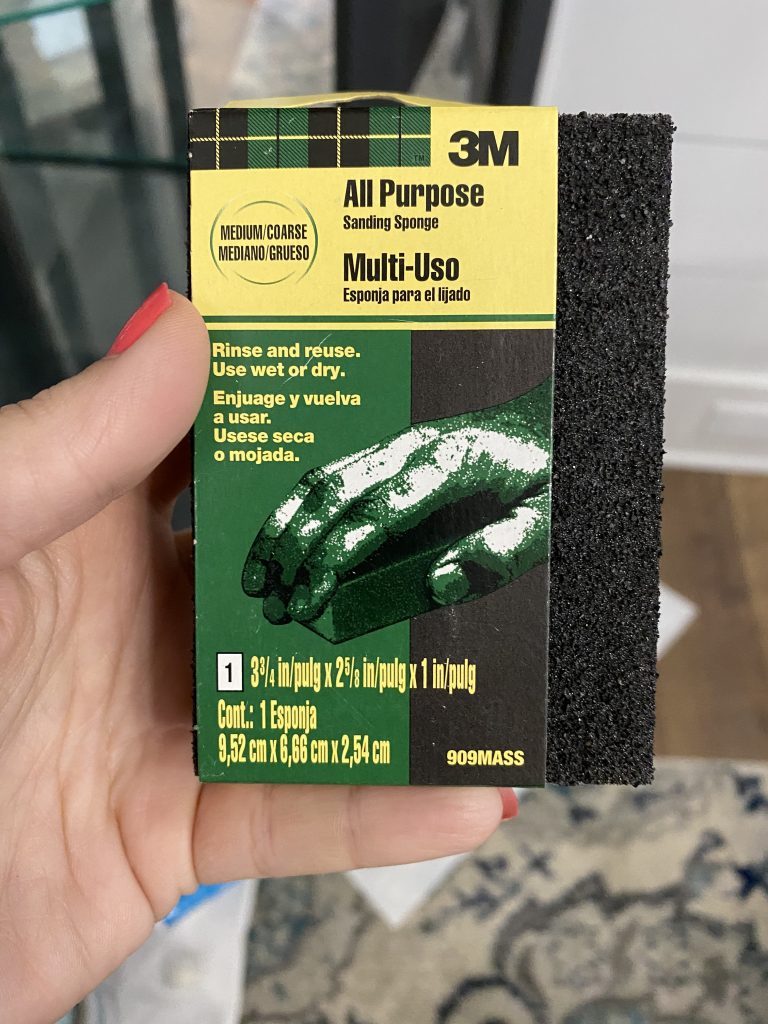
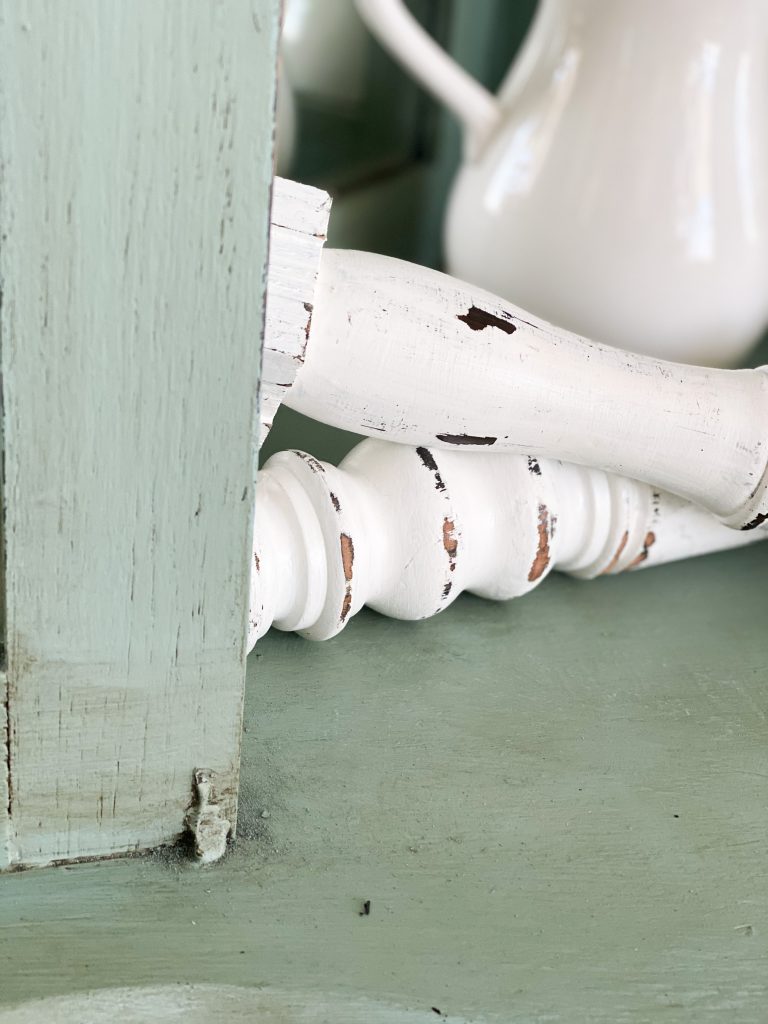
I didn’t need black, because my walls are black, and I also didn’t want the door because I wanted open shelving….so, I removed the door and filled in the holes and sanded it down really well.
After that, I proceeded to paint it with Blue Juniper Chalk Paint that I found at Walmart.
This was the first time I have ever used this kind of chalk paint, and I liked it! It went on smooth, and I loved the color.
Now, let me say, even though I loved the color…I didn’t want to keep it exactly this shade and look.

You can see the final blue on the right in this next picture before any wax was applied!
Next step…adding wax! You can see the start of that process above!
This is the wax I used! You have seen me use it ALOT on my Facebook lives! It is from Walmart, and I love it. If you don’t follow me on FB, you need to be! FOLLOW ON FACEBOOK!
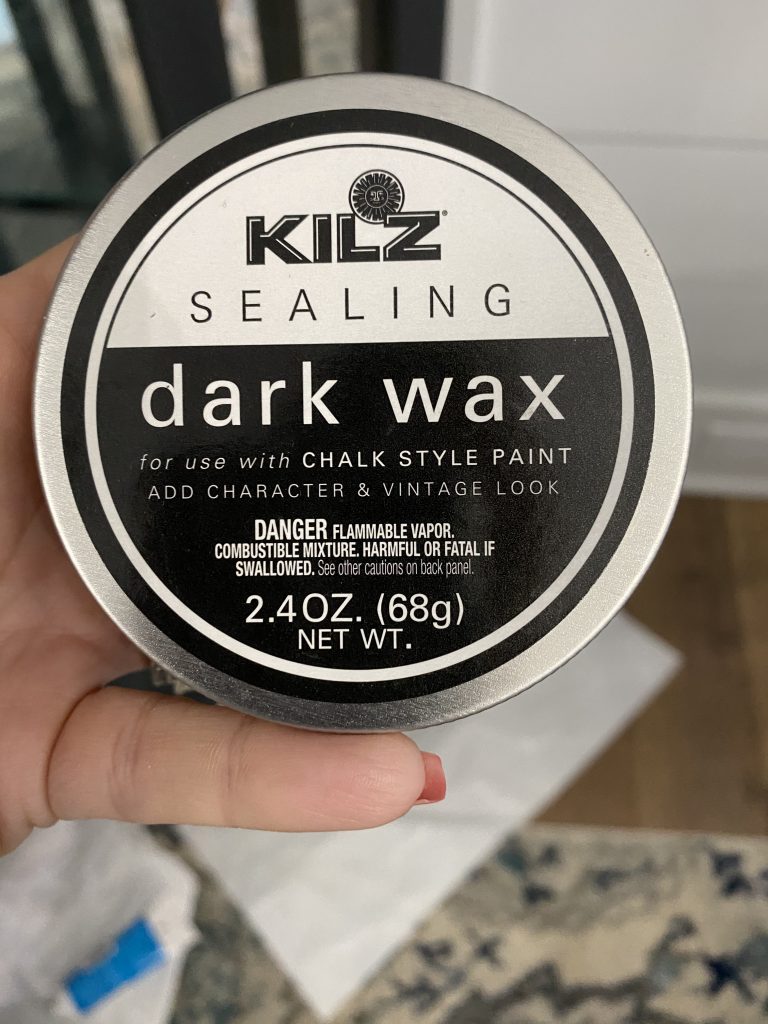
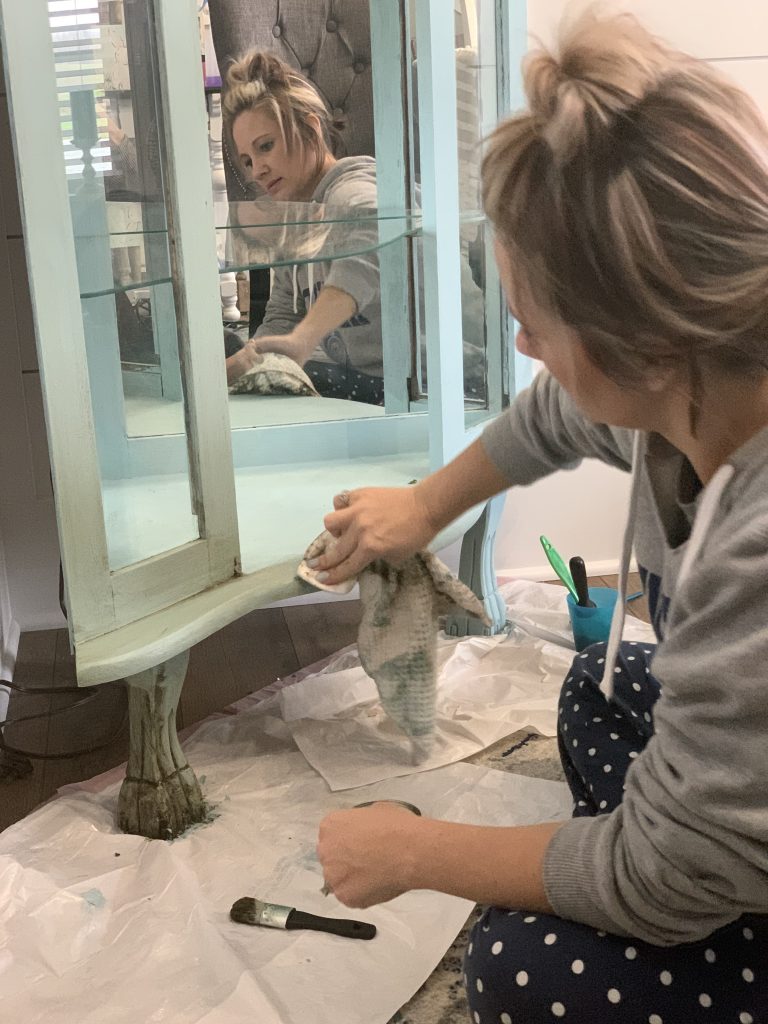
You see, I LOVE to add dark wax to my pieces to give them a more deep, textured look. I love how it changes the color when you add it directly to the piece…and I knew that when I added my dark wax to this piece, the color would be PERFECTION, and I was right! You just wait and see!
The process of waxing is easy. I simply brushed it on, then I wiped it off with an old rag! **As I said, I applied it DIRECTLY to the piece. It WILL change the color a little bit, which I wanted.**

I wax in portions, so that it doesn’t dry and set up right away. One it is applied, I immediately go back and wipe it off.
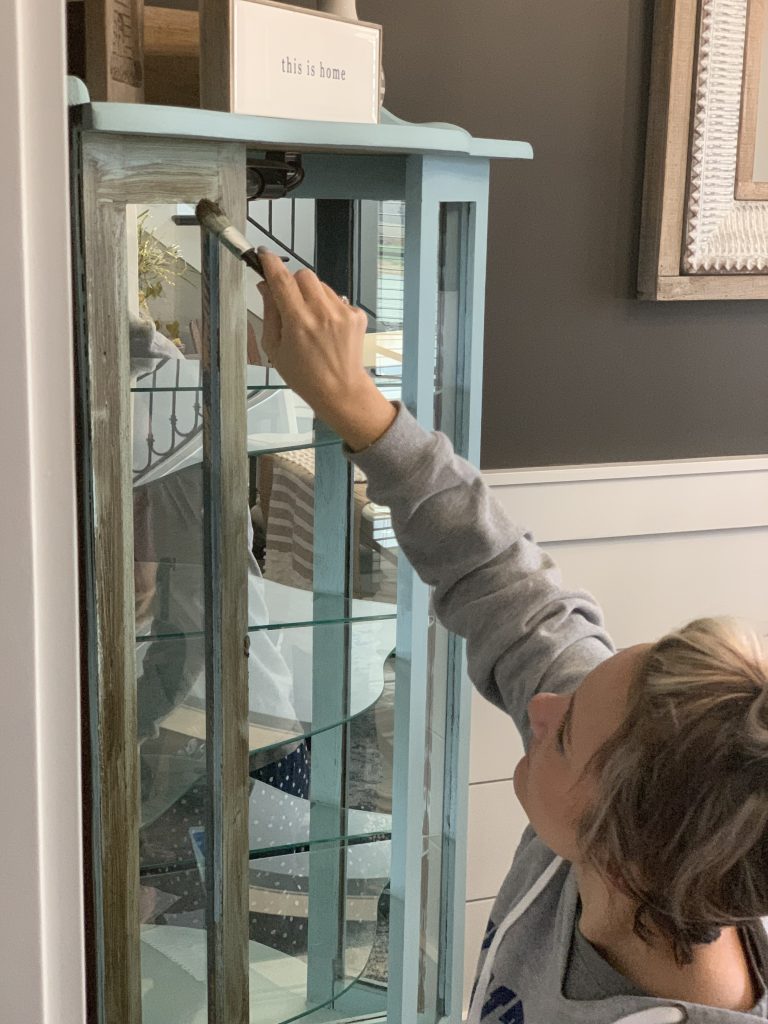
After I had done the entire piece, I let it set for a little while (day or so) so that the wax would be ready to have items placed on it!
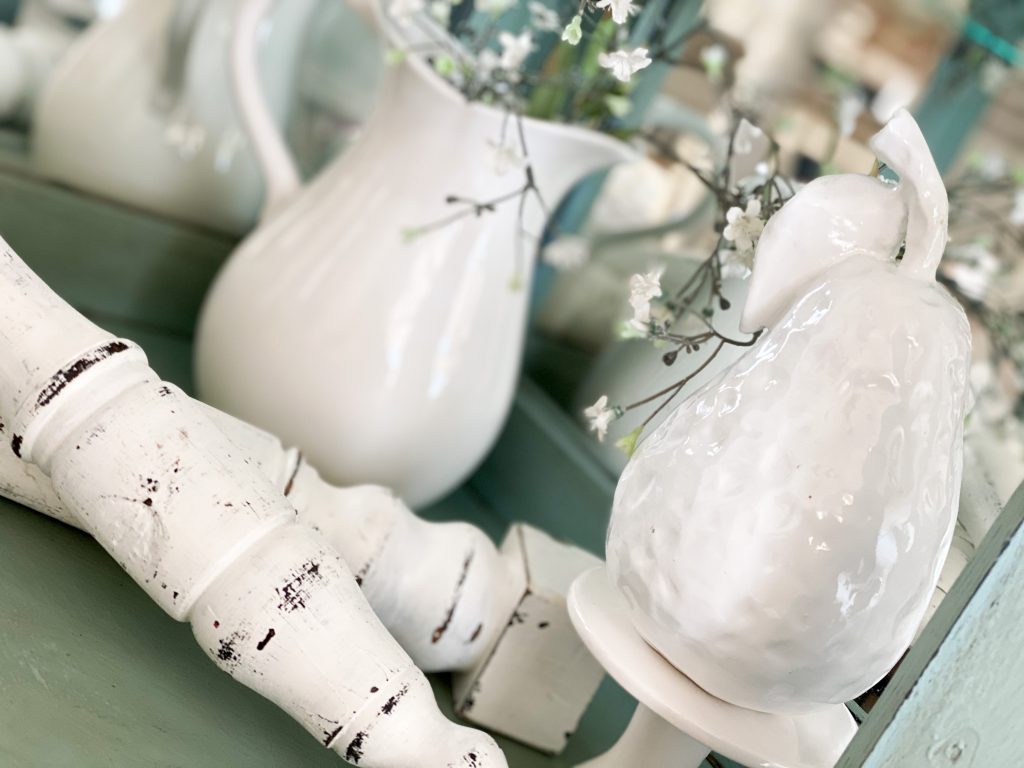
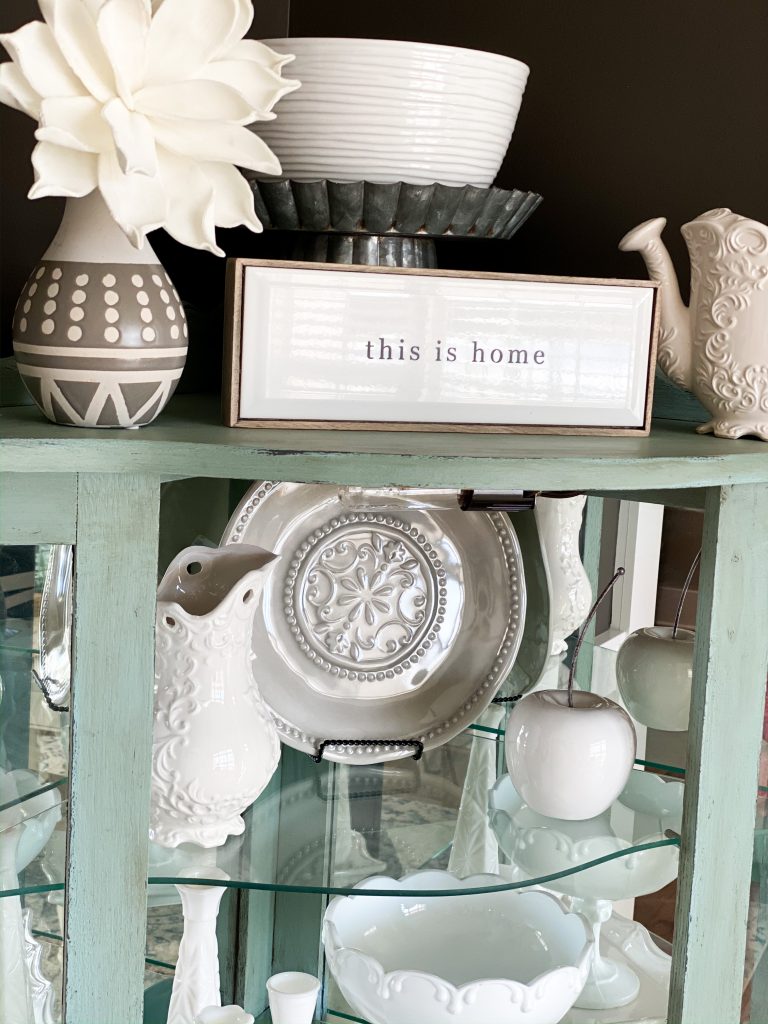
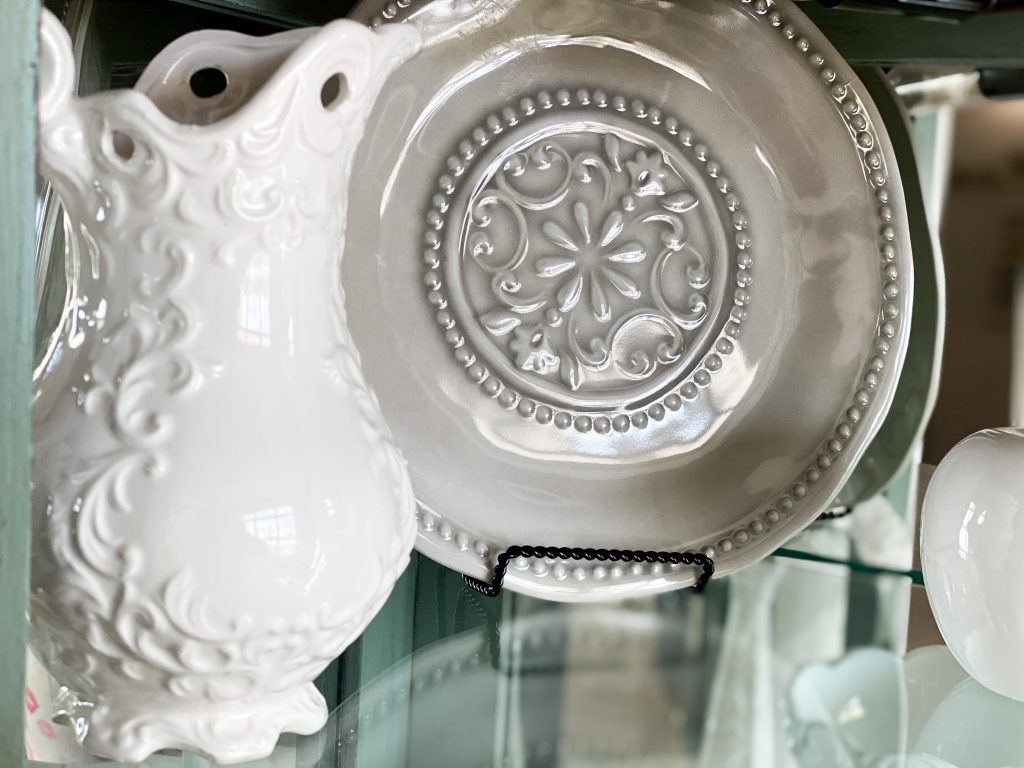
Then, I decorated it with my white pieces that I had been accumulating over the past 2-3 years! I AM SO IN LOVE.
Tell me what you think??? HUGE difference, huh??? If you love it, would you share it on social media and Pinterest???
PIN FOR LATER!
Make sure you are following on Social Media!
Facebook|Instagram|Pinterest|Email|YouTube
Last Updated on November 4, 2020

Definitely LOVE the second round. Good choice!! Looks great!
Love your craft ideas.
WOW, that is gorgeous! And putting the white dishes in it makes a grand look!
Love this makeover!
Beautiful, love the color it matches my furniture!
I love it Brooke! It looks gorgeous!
I love your eye for color. And using all white items in it is so classy. (I have that same wooden leaf on my wall)