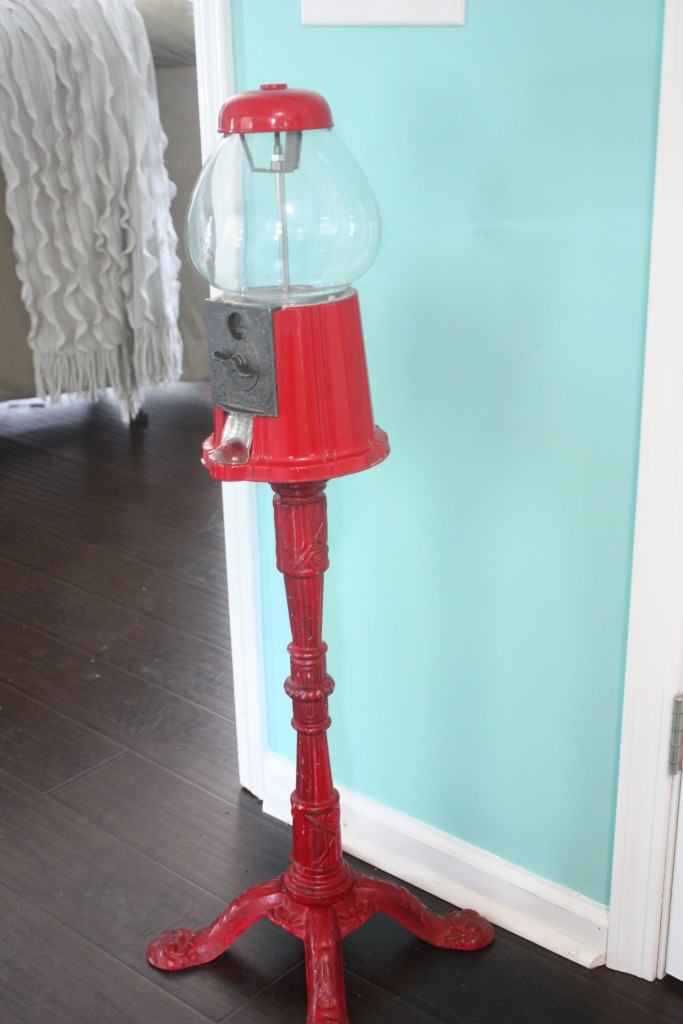
In the words of my neighbor, “Gumball machines are supposed to be red.” That may be what you are thinking, but I have never been one that felt like anything HAD to be a certain way, especially in the world of decorating!
I found this gumball machine on a local for sale by owner site, and I knew I had to have it. For some reason, I have always wanted a gumball machine in my home. I thought it would be a fun motivation for the kids to earn money to get candy/gum, and it would look super cute with our decor! (Although, I did not want red!)
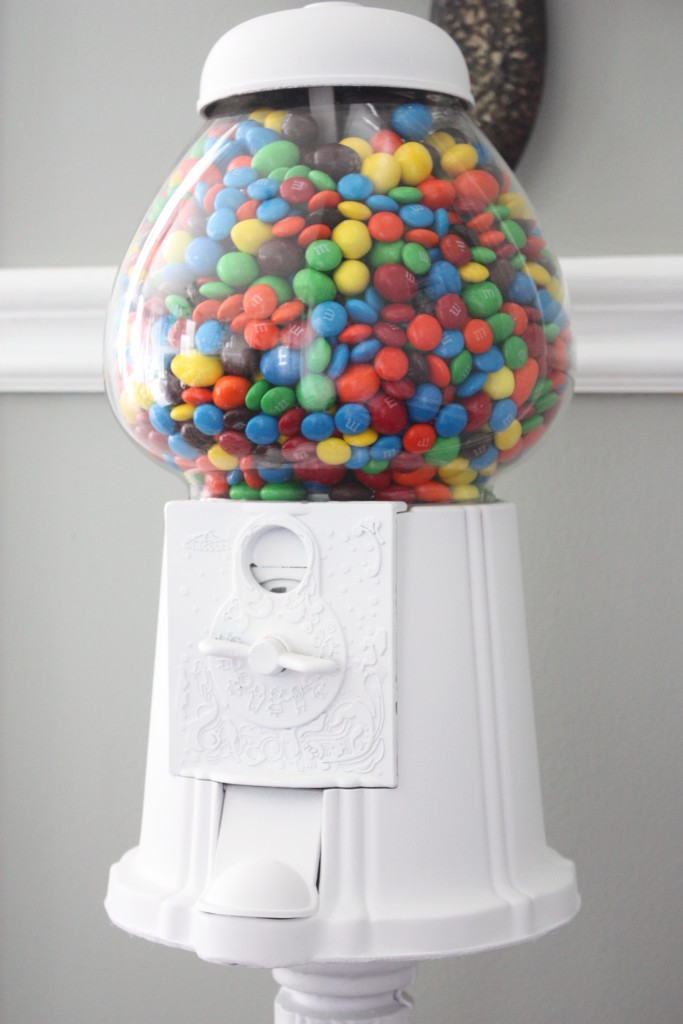
I had seen a few other people that had painted theirs along the way, and I knew I wanted this one to be white! A good crisp white! Oh, I could just see it…a beautiful white with bright colored candy or gum! It would be a great addition to our home. There was only one hold up…my husband was NOT on board. In fact, he said no. Whaaaaat?! What do you mean, no? I couldn’t imagine he couldn’t see the possibilities!
Well, after a few weeks, he said…”Yeah, I think white will be ok if that’s what you want.” After hearing that, I got the paint that day! No need to wait for him to change his mind!
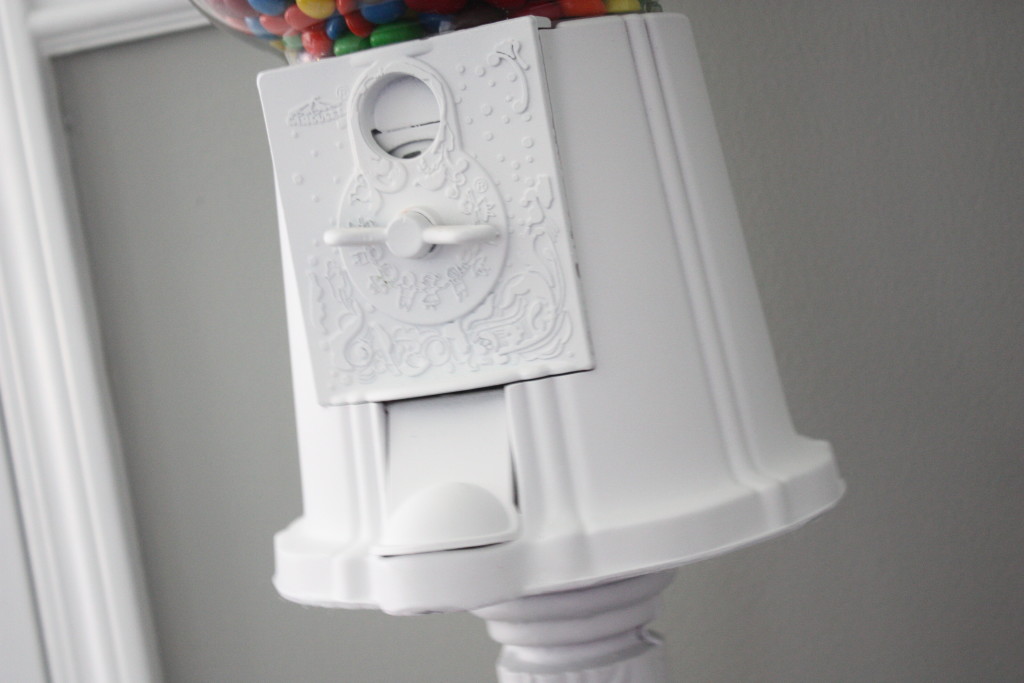
First, I took it apart and separated all of the pieces to see what I was working with.
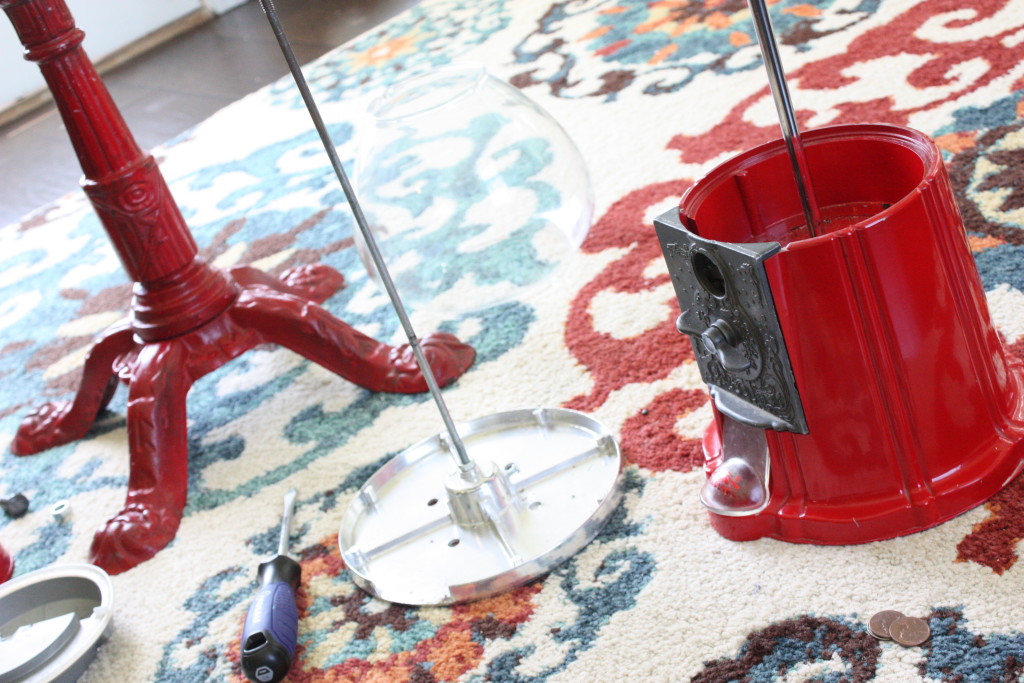
$.12 was still in the machine!
I then took it outside and put it out in the yard on a big drop cloth and sprayed 1 good coat of primer on it. I used Bullseye 1-2-3 primer for any surface. It worked fantastic.
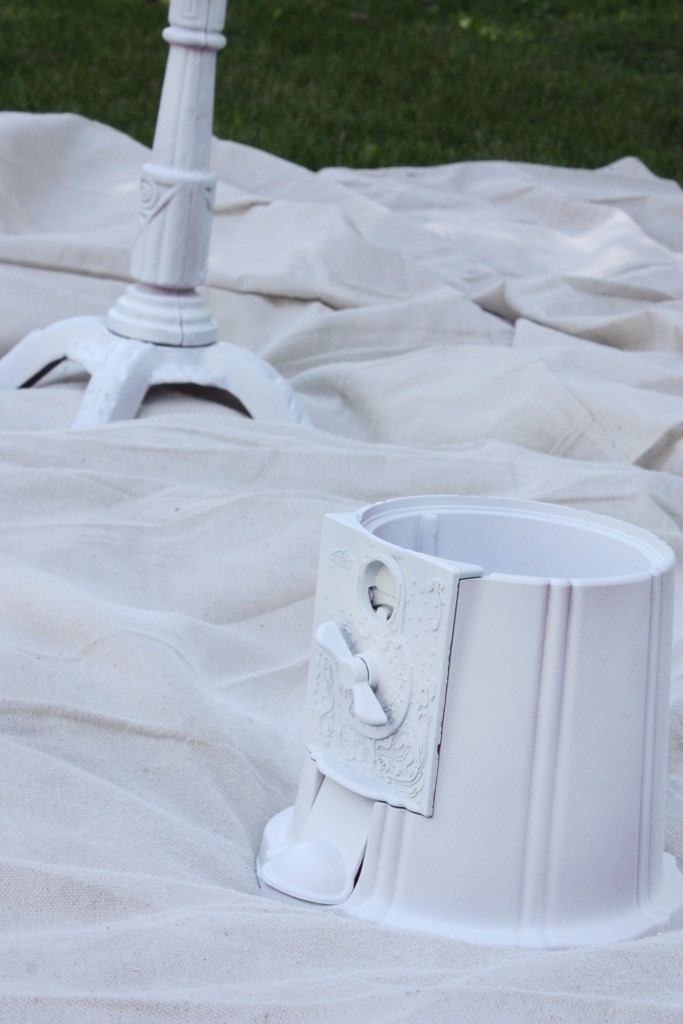
I let that dry for about 30-45 minutes, and then I sprayed on my first coat of paint. I used Rustoleum Satin in White. (Worked like a dream!)
*A little tip on spray painting something…Don’t stay in one place for long or you will get runs, and there is nothing more unattractive than runs! Steady even coats barely overlapping do the trick!
I went ahead and did 2 coats of the main paint, just to make sure it had covered the red completely. This process took about 1.5 hours.
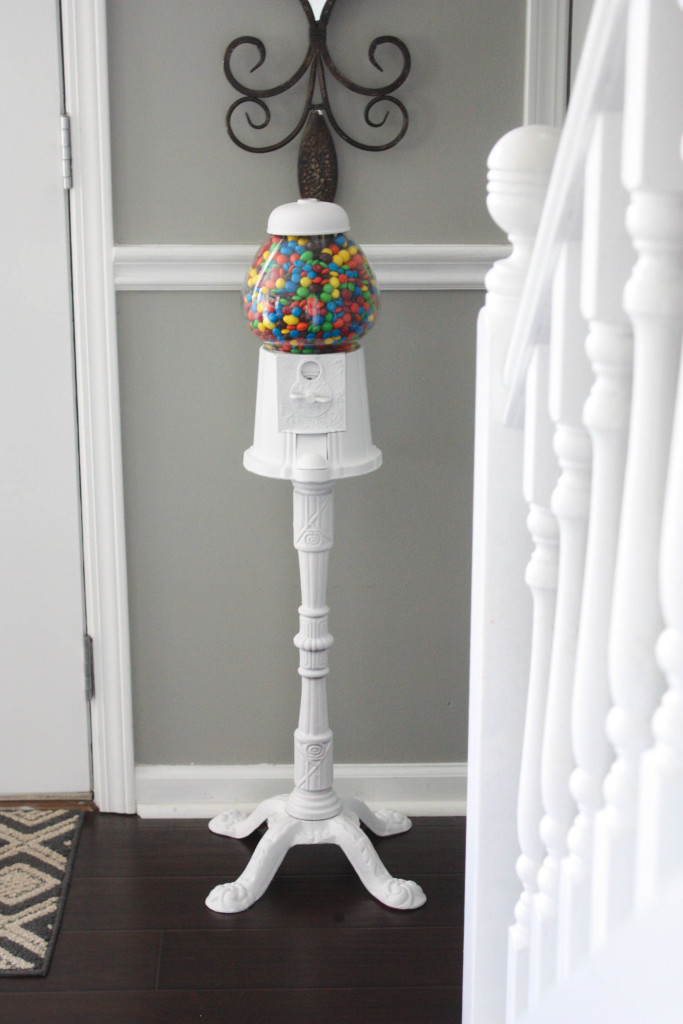
When dry, I brought in the house to put back together, and VOILA! Complete and GORGEOUS!
PIN FOR LATER!

I am so excited to have this piece! What do you think?
Make sure you are following along on Social Media!
Facebook/Instagram/Pinterest/Email
Last Updated on February 17, 2020

The pics turned out amazing, Brooke. I love how it looks with the stairwell in there. Awesome:-)
Thank you, Katie! I appreciate that!! Such a fun piece! Taking pictures of that glass globe was a boogar! 🙂
I love it white the candy shows up saw much better and looks better on your house. Great job as always
This is so cute! I’ve never seen a white one before and I love it! Hope your week is a happy one, CoCo
Thank you very much! I love the white- it goes great with our home and feels just like another piece of decor now!
So so adorable!!! Love this!!
Brooke,
I think every room needs a bit of whimsy and this is perfect! It would be fun filled with seashells in the summer and tiny ornaments at Christmastime…as long as no one tried to eat them 🙂
Lauree
Great ideas!!! Yes I love it! It adds the perfect but of whimsy, just as you said 🙂 Thank you!!
I am totally doing the small Christmas ornaments. I have never thought of that 🙂 I will give you credit for the idea!
I cannot wait to see those pictures. Now that my creative juices are flowing…those little candy hearts during Valentines would be cute and so sweet (pun intended) with the white.
Have a great night!
And candy corn for fall ?? Thanks girl!
And peanuts!
This is fabulous! I am going to a huge flea market tomorrow & now I am hoping I find one. It looks perfect & is such a statement piece! I am so glad you shared with #fridayfavorites! Have a great weekend!
Somehow I am just seeing this message! Thank you very much! 🙂
I love that you painted it white. It will look great with all kinds of holiday candies.
Thank you Sherry! Right now there is candy corn in it! 🙂 I agree…tons of possibilities!
This is just adorable. And you did right to paint it white. Now the candy pops right out with its rainbow of colors.
Hi, did you paint the mouth piece as well like where the candy falls. I have one that I want to repaint and the mouth piece would need to be painted. I wasn’t sure if this would be okay as I’m wanting to fill mine with candy? Thanks, yours looks beautiful
I love your gum ball machine. The candy makes it stand out. So many possibilities!
I love the white gumball machine. It looks great in your entry way. Your house is very nice.