Decorating for the 4th of July has never been cuter! I do love me some firecrackers, flags and all of the other traditional decorations that symbolize our great nation and freedom, BUT…sometimes I want something that is a little less common…and that is exactly what this is!
What you need for this project:
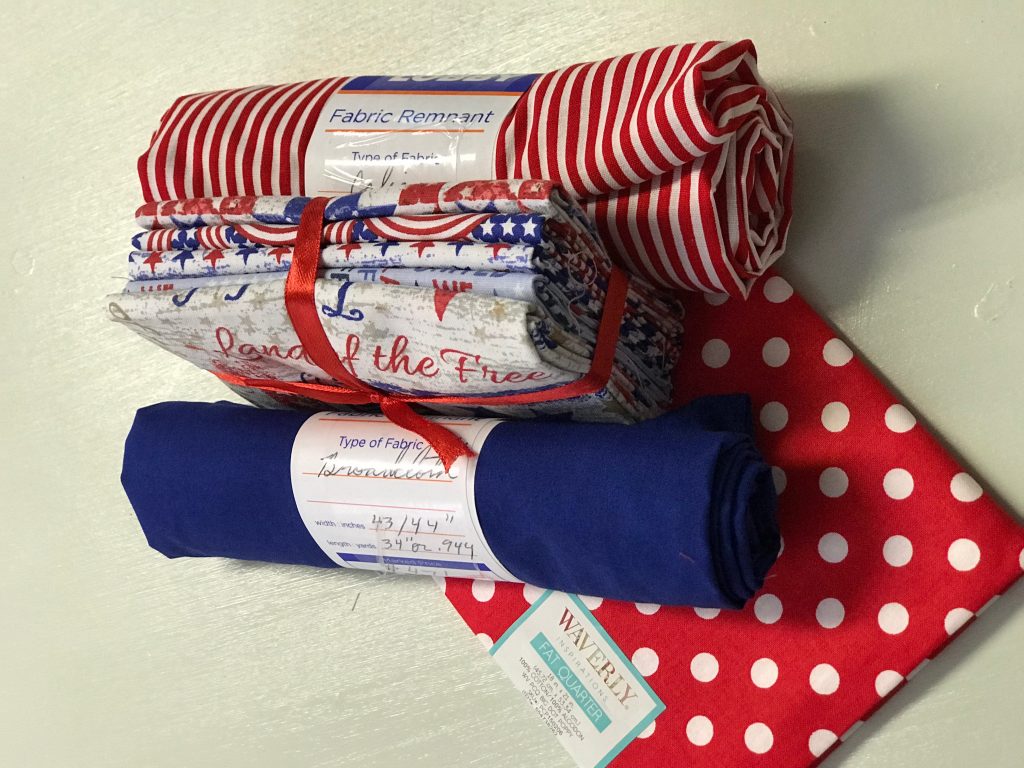
Fabric of your choice (this project uses patriotic colors!)
Scissors (fabric scissors always work best)
Hot glue gun
Embellishments for middle of flower and around “vase”
Burlap (you won’t need much…so some scraps will do fine)
Scrap Wood
Sticks from your yard
White craft paint
Here is what I did!
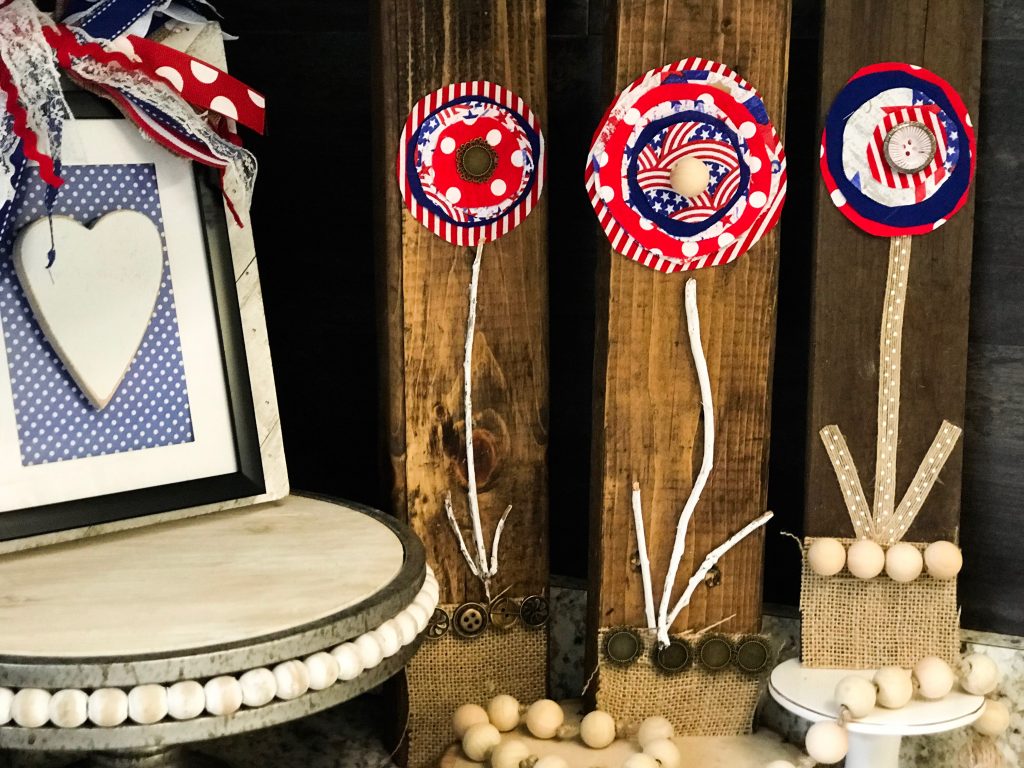
I wanted to make some cute flowers on scrap wood- and while I had never done it before, in my head it was easy! AND…in real life, it was easy too…so that is always a plus!
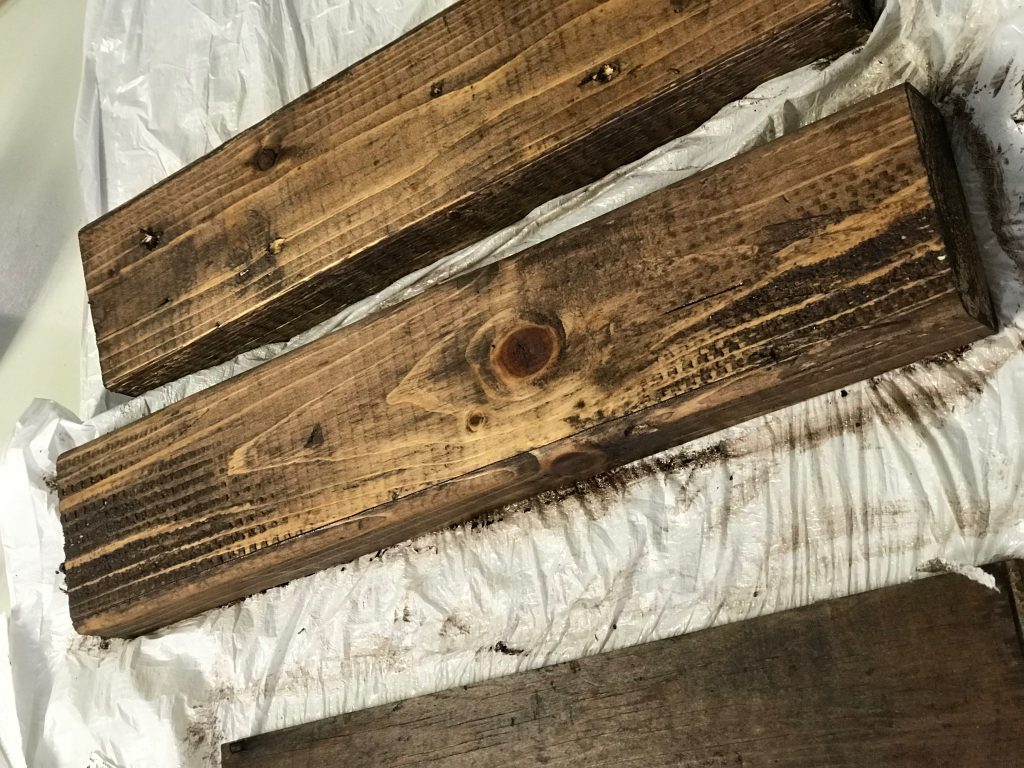
All I did was take my wood pieces and throw some stain on them with an old chip brush. I used the same gel stain I always use….walnut(affiliate link).
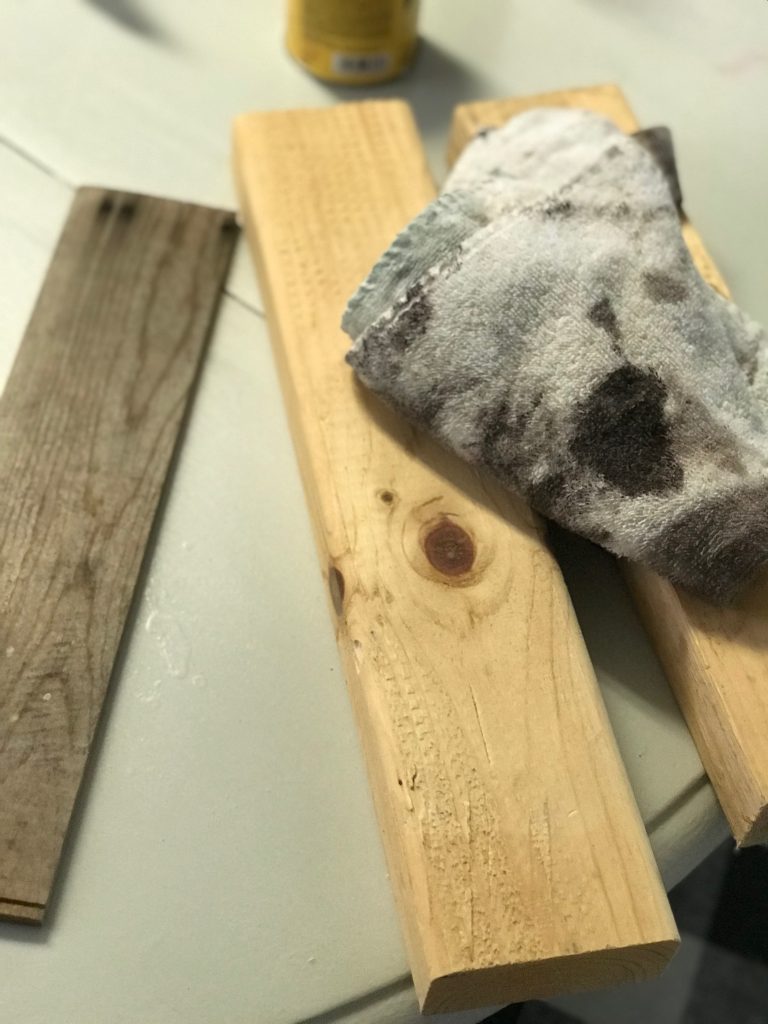
Once the stain was on, I just wiped it off, like always. I then set it to the side to let it dry.
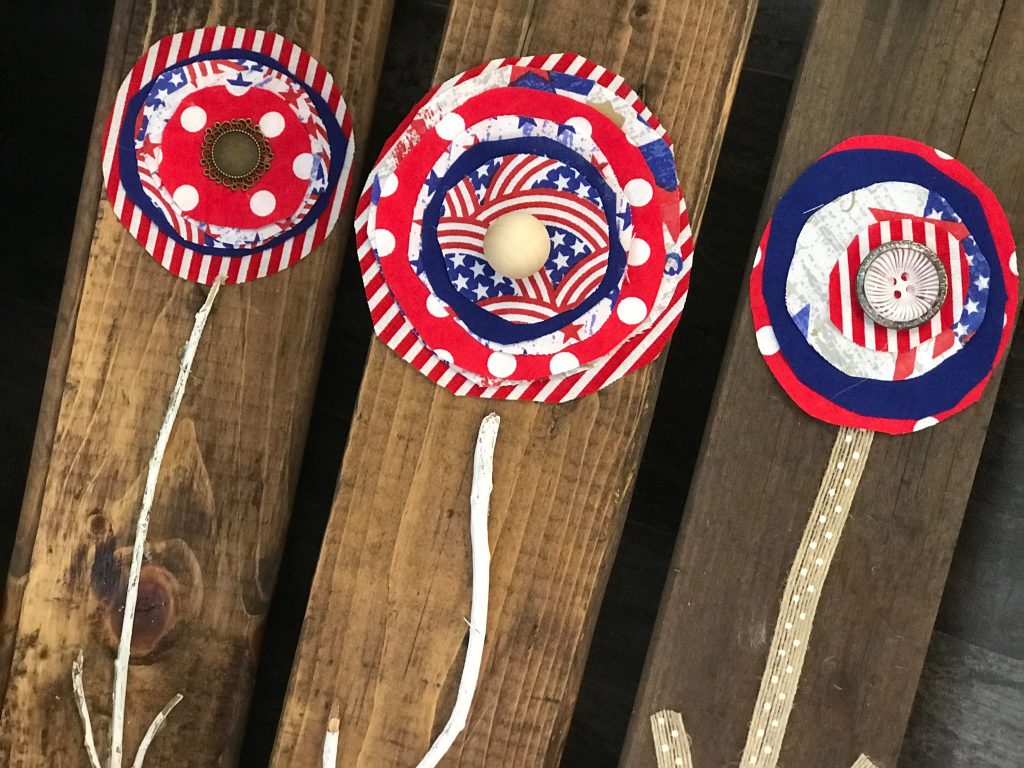
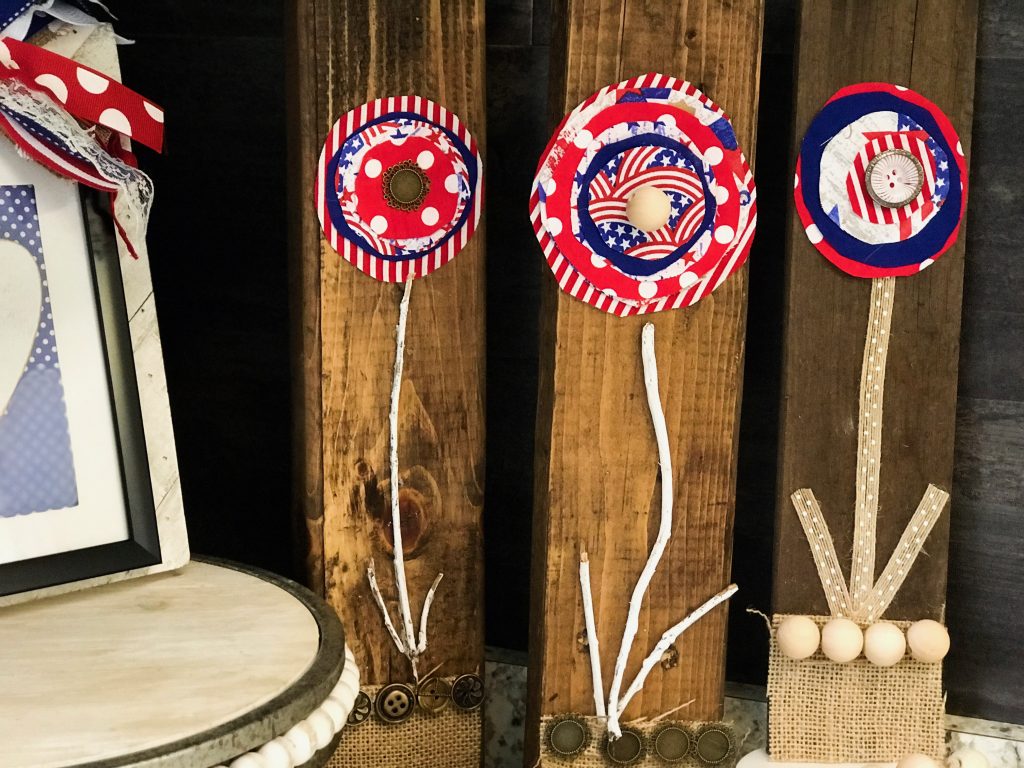
While it was drying, I took my fabric and cut it up into circles of different sizes, so that I could layer them!
I layered them up in different designs in a way that I felt looked best, and then (once fully dry) I started gluing them to my wood block.
I simply took thin lines of hot glue and glued around the edges of each piece as I layered them.
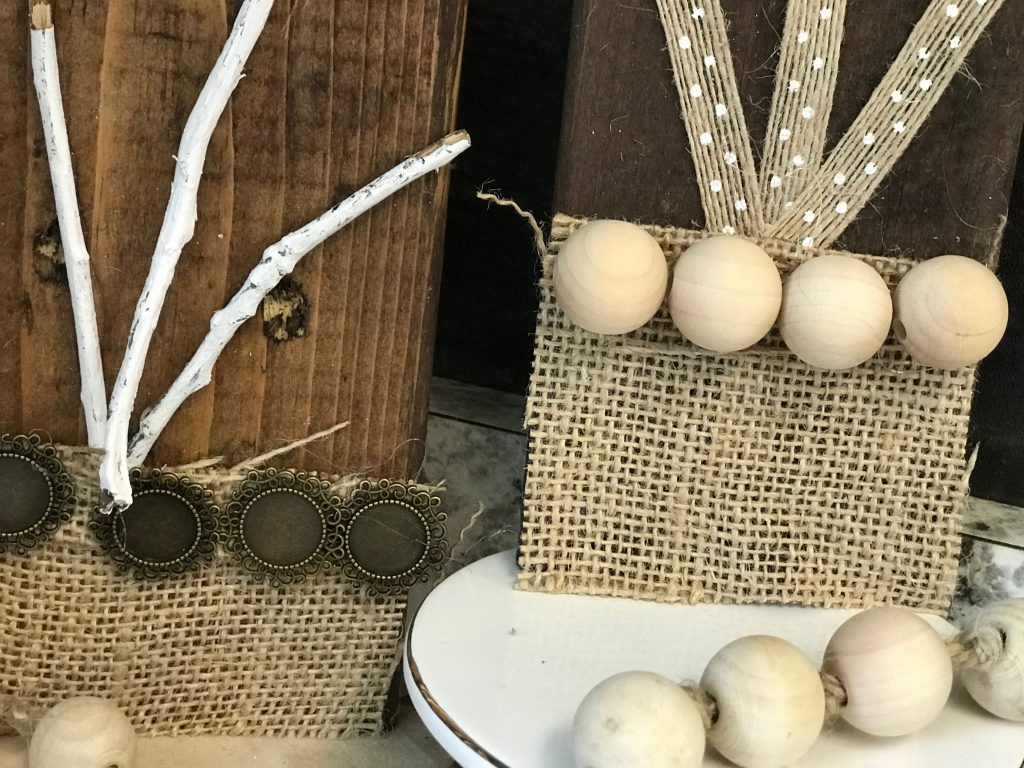
Once complete, I put a fun embellishment into the center for my middle.
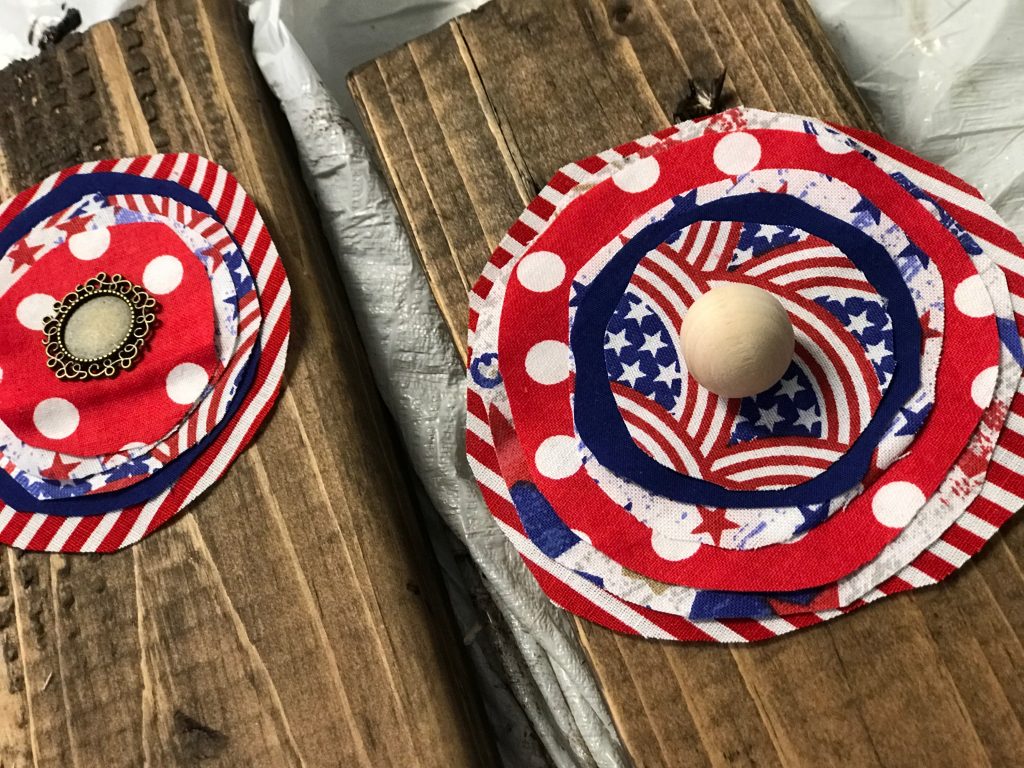
I used different items that I had on hand (a button, a wood bead and another fun embellishment that I don’t know the name of LOL)
After I had my flower on there and looking pretty, I painted the sticks that my little girl had gathered for me from the yard. They take like 2 seconds to dry, so pretty much immediately, I hot glued them onto my wood block as a stem for my flower.
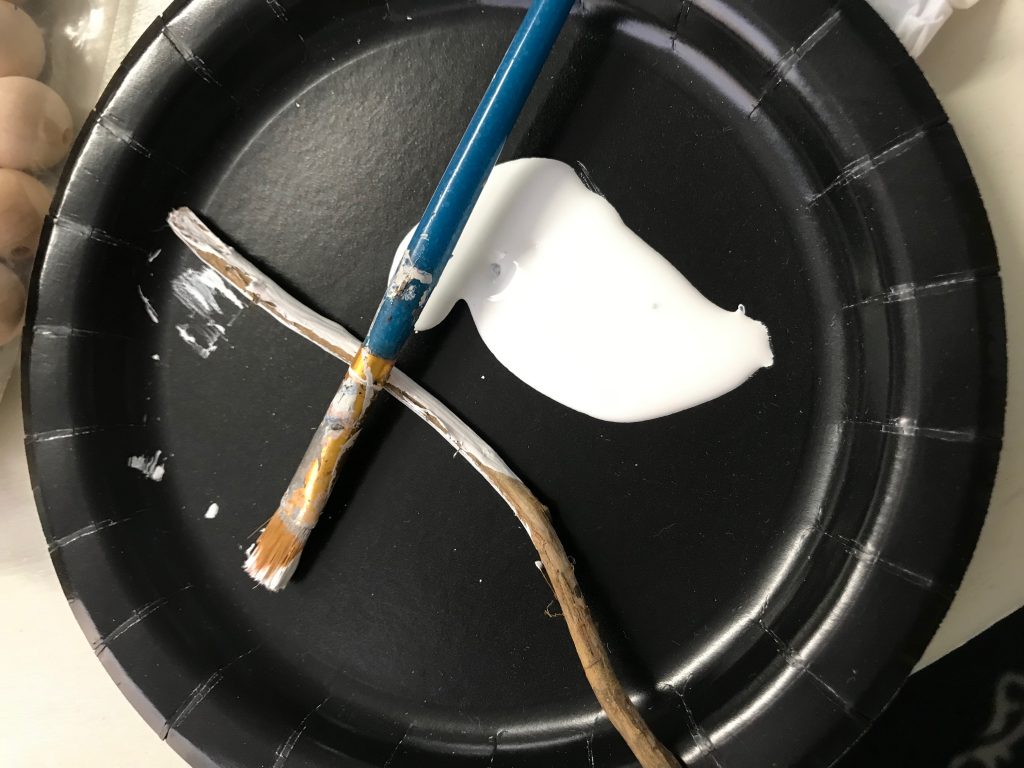
*to paint my sticks, I simply used a paint brush and some white craft paint…nothing over the top*
Once I had my sticks and my flowers all glued onto the wood block, I felt it needed a little something more. You may want to skip this step- it is up to you!
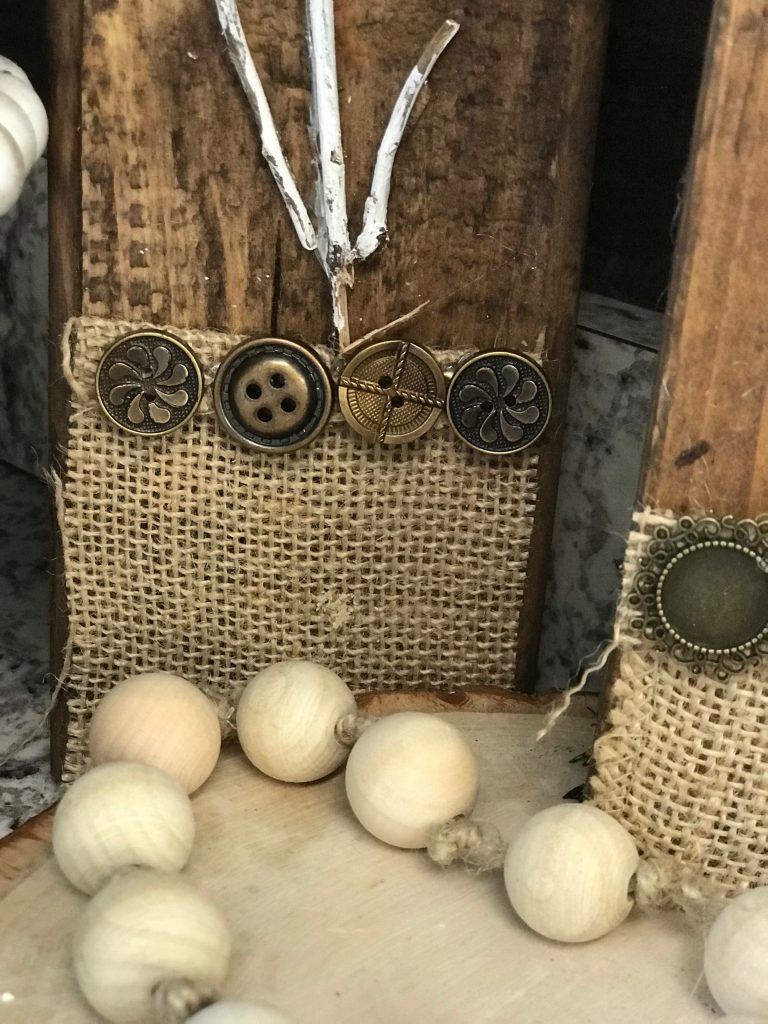
I decided to add a little “vase” at the bottom by using some scrap burlap that I had on hand and some more of the embellishments that I had used for the middle of the flowers.
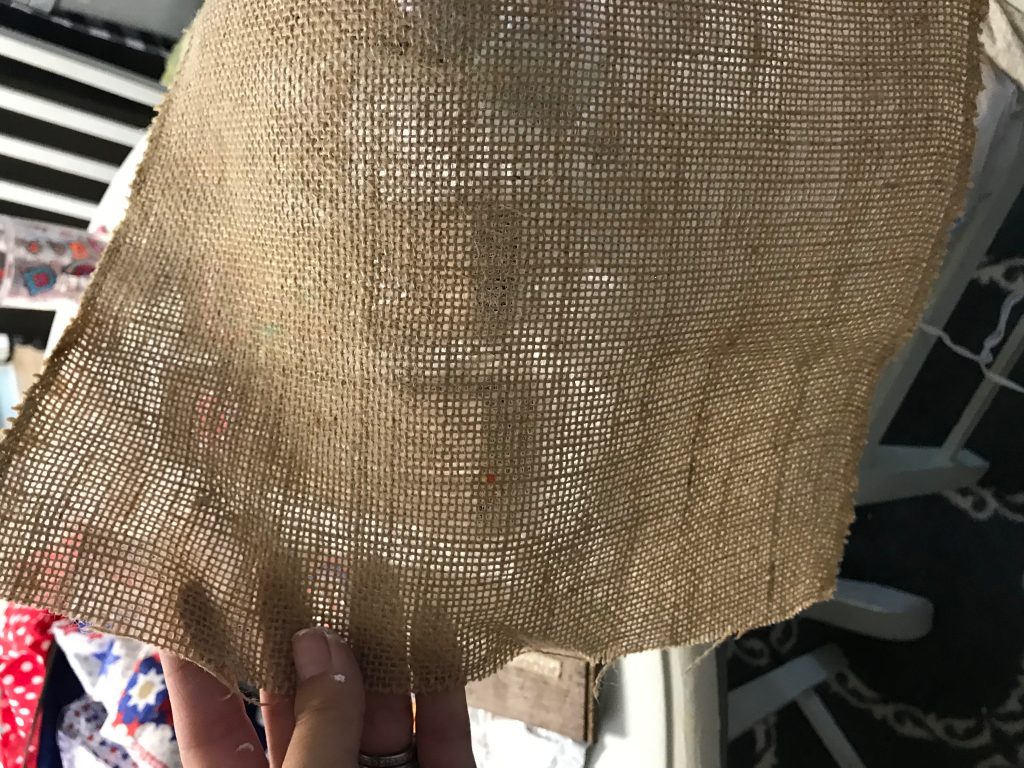
I simply took the burlap and cut to fit the bottom of the wood block and folded it over the top for a little extra dimension (then glued that part and the rest of the burlap down).
Once the burlap was glued down, I added some of the embellishments across the top of the burlap for extra texture.
Ta-Da~DONE! I truly think they turned out simply adorable! What a fun addition to your decorations…and what is even more awesome is that you can take this same tutorial and adjust it to ANY season or design!

Well, what do you think??? Aren’t they precious!?
PIN FOR LATER!
Make sure you are following on Social Media!
Facebook/Instagram/Pinterest/Email
Last Updated on November 4, 2020

These flowers are too cute and they look so simple. But make s big statement ?????
Super cute!! I love all your crafts using just simple things.
Brooke,this is so adorable. Love how easy it seems. Have a great holiday and thanks for sharing.
Those are precious, and so easy to make!!
Great flowers!!
Love these!!!! You are so smart!!
These are super cute Brooke ❤️????????