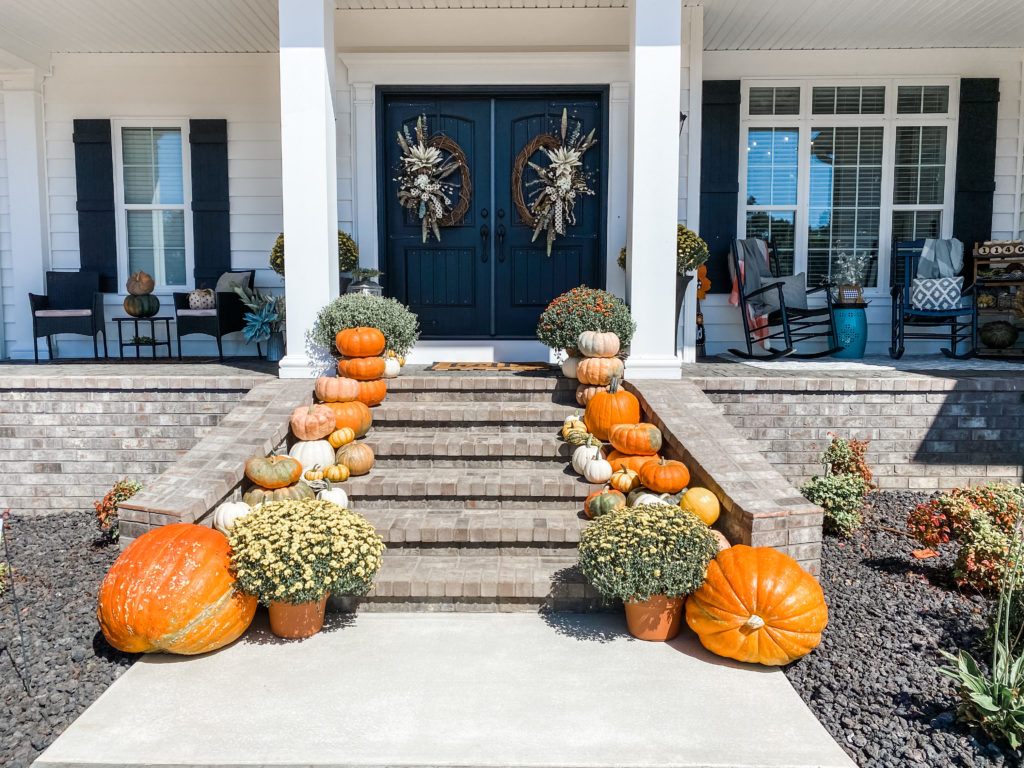
I’m not much on traditional decor. I don’t LOVE the look of “cookie cutter” decorations… which is why I’m a sucker for a good DIY project.
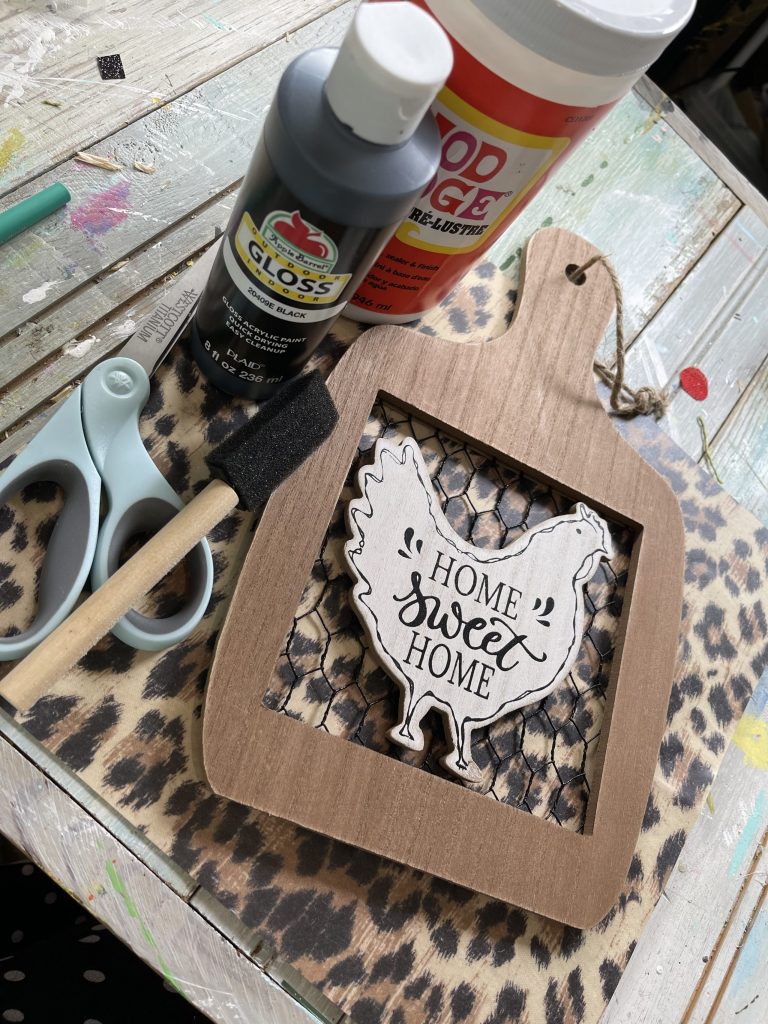
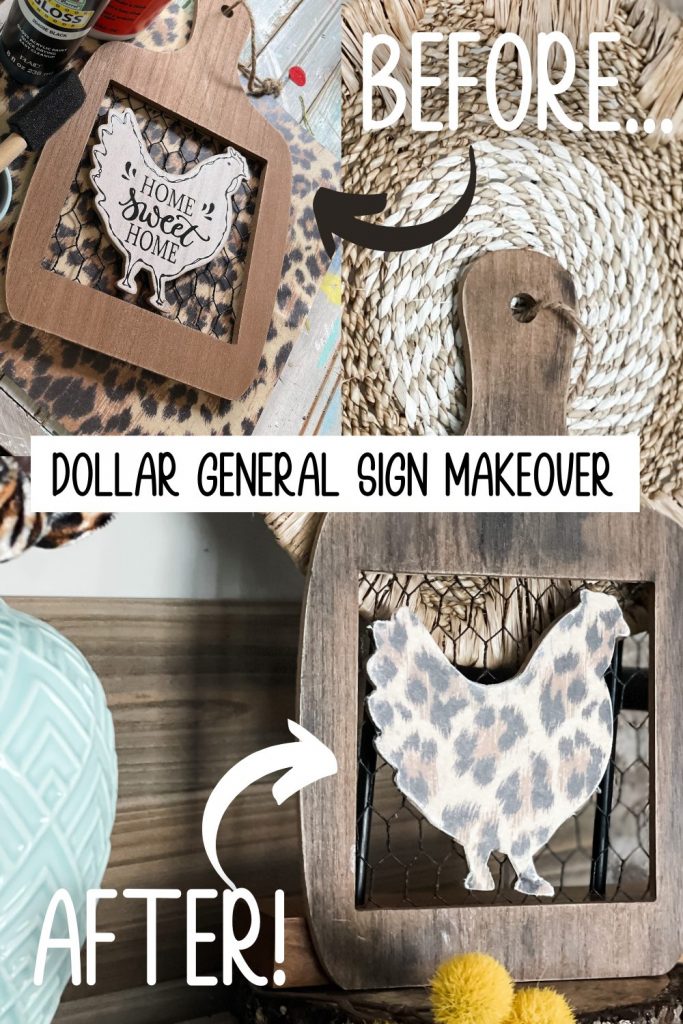
I found this adorable Chicken sign from Dollar General for $3 y’all. THREE BUCKS.
It’s cute of course, but… like I said earlier, it’s just a little TOO cookie cutter for me! SOOO… let’s fix that!
Here’s what you’ll need…
*click on the bolded item to shop my affiliate link!*
- Chicken sign from Dollar General
- One piece of scrapbook paper (I chose leopard print)
- Black paint (I used Black by Apple Barrel Paints)
- Mod Podge
- Scissors
- Sanding block
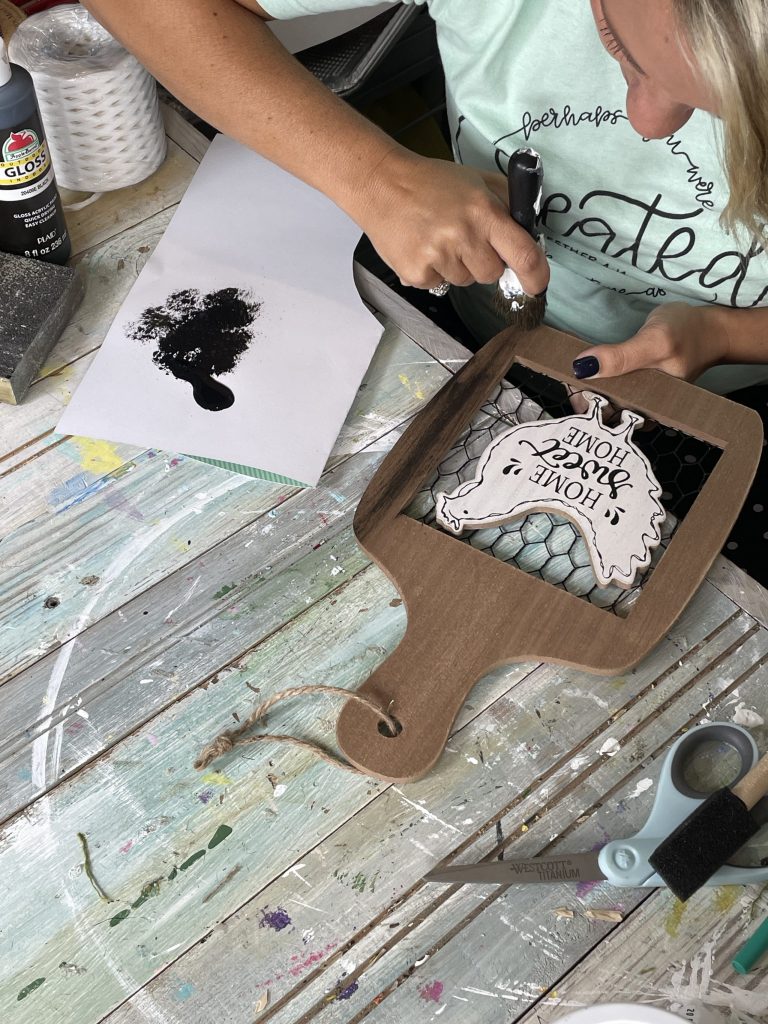
Start by dry brushing your sign black. The goal here was to still show some of the wood through the black- so make sure you brush the paint on VERY lightly.

This is what it should be looking like! You see how light handed I went with the black?!?! This was EXACTLY the look I was going for!
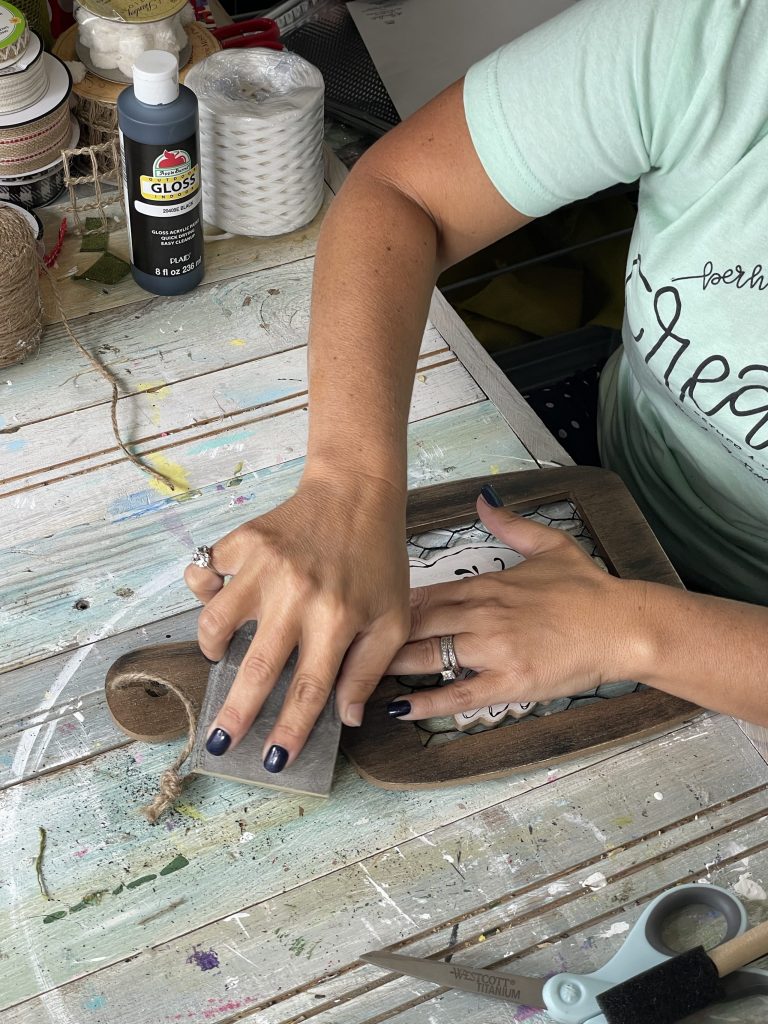
Go ahead and sand over the whole sign, just to mesh together the paint and the sign a little bit more.
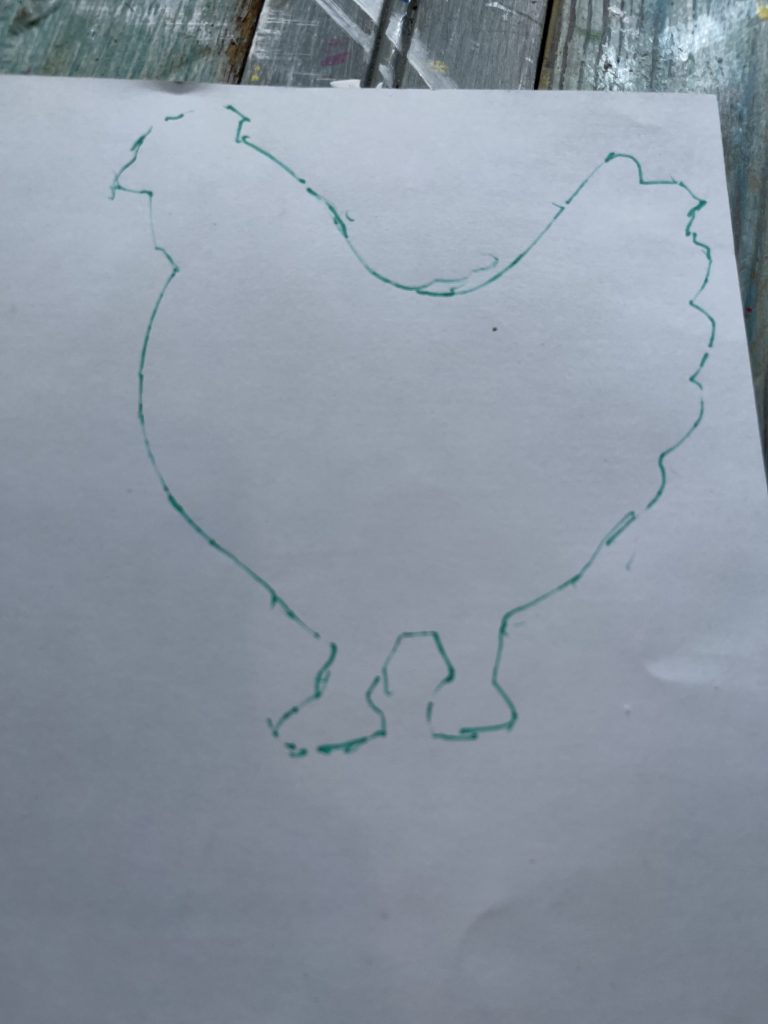
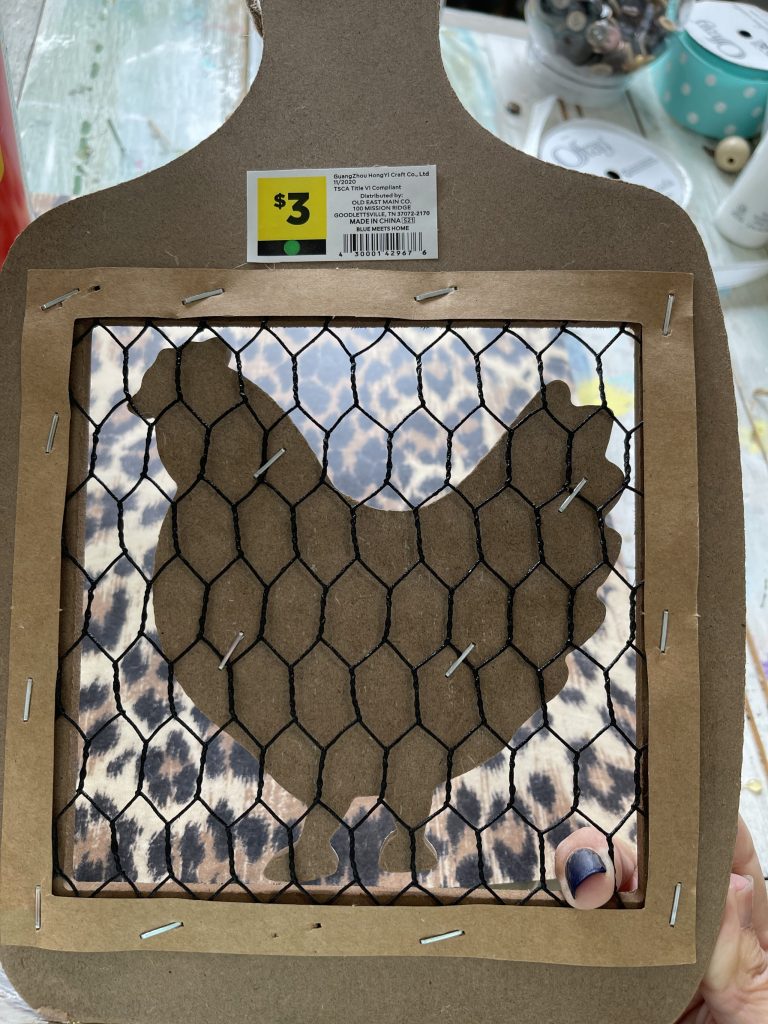
Next, trace your chicken onto the back of your scrapbook paper. Now… you could totally remove the chicken from the sign and trace it that way… but I just traced through the wire the best I could. It still worked just as good!
Cut out your tracing!
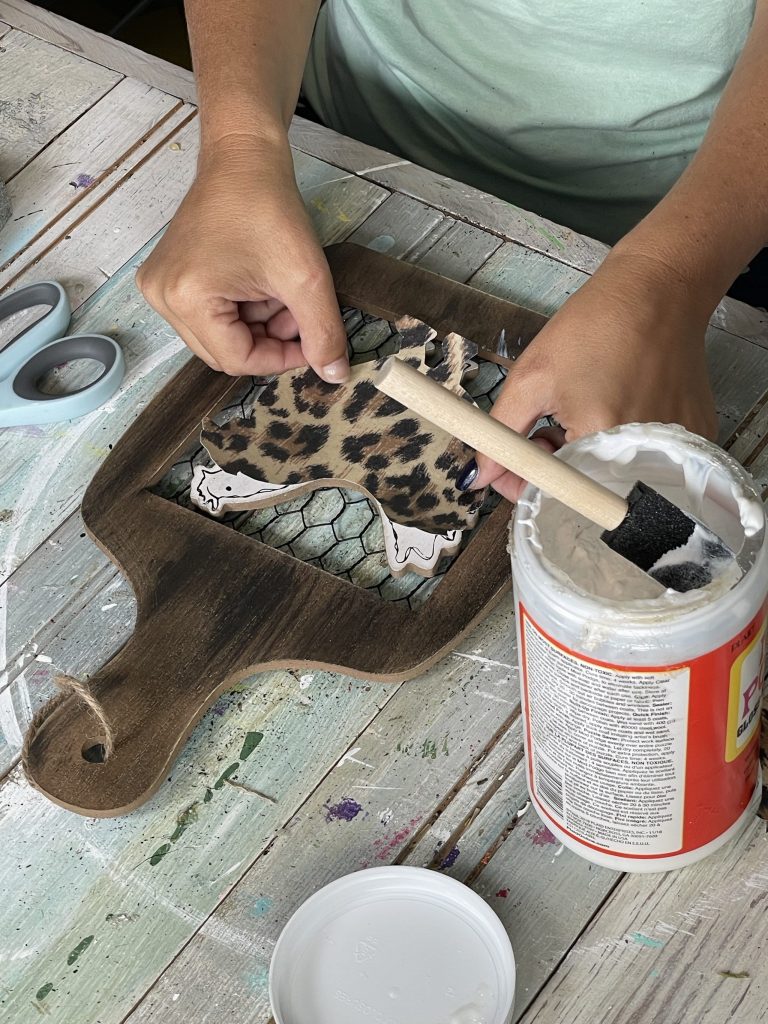
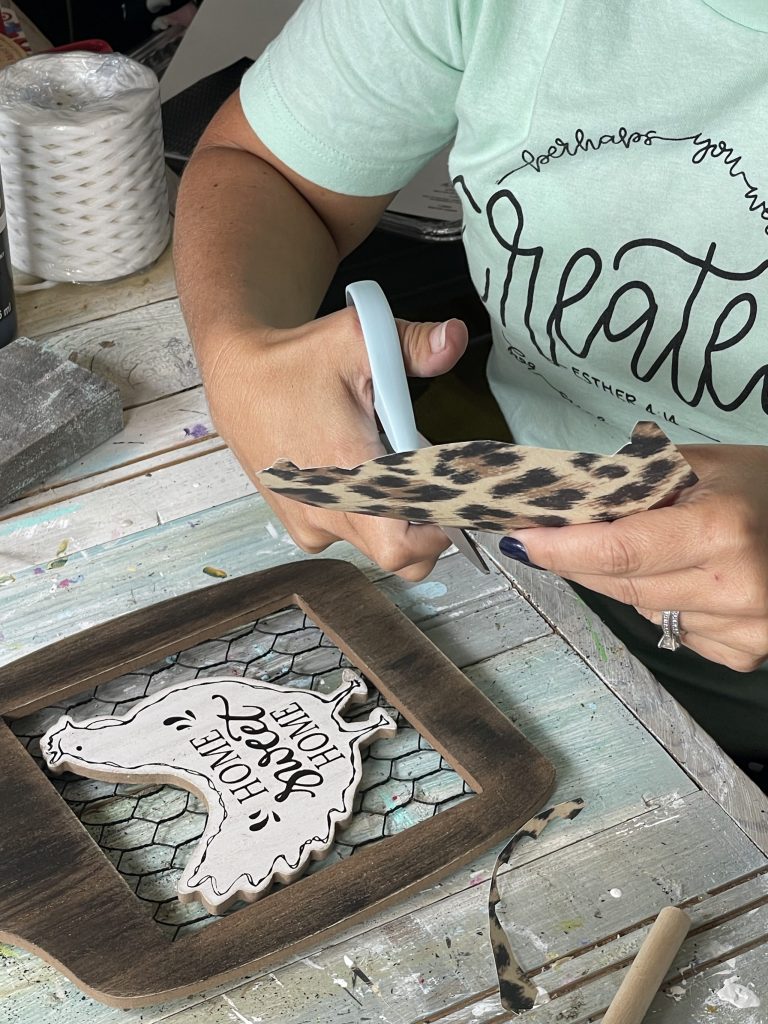
Now, mod podge your chicken cut-out right on top of the sign. Be sure to smooth it out with your hands to ensure there are no bubbles!
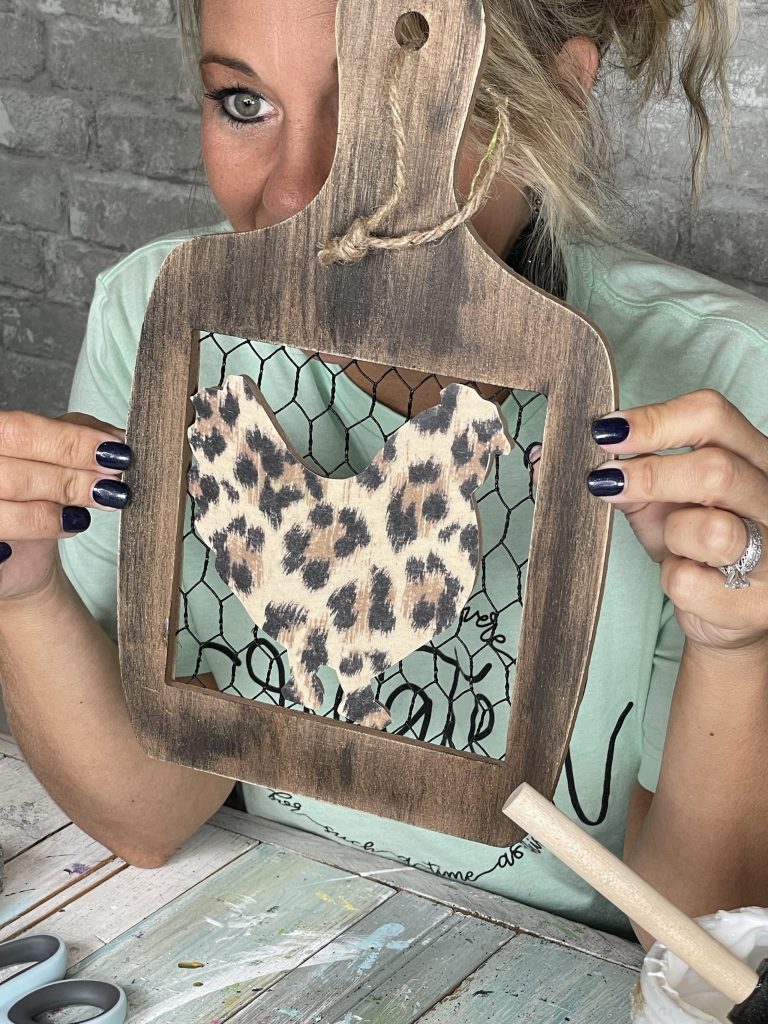
Here’s what it’s looking like so far! BUT- we are not finished yet!!!
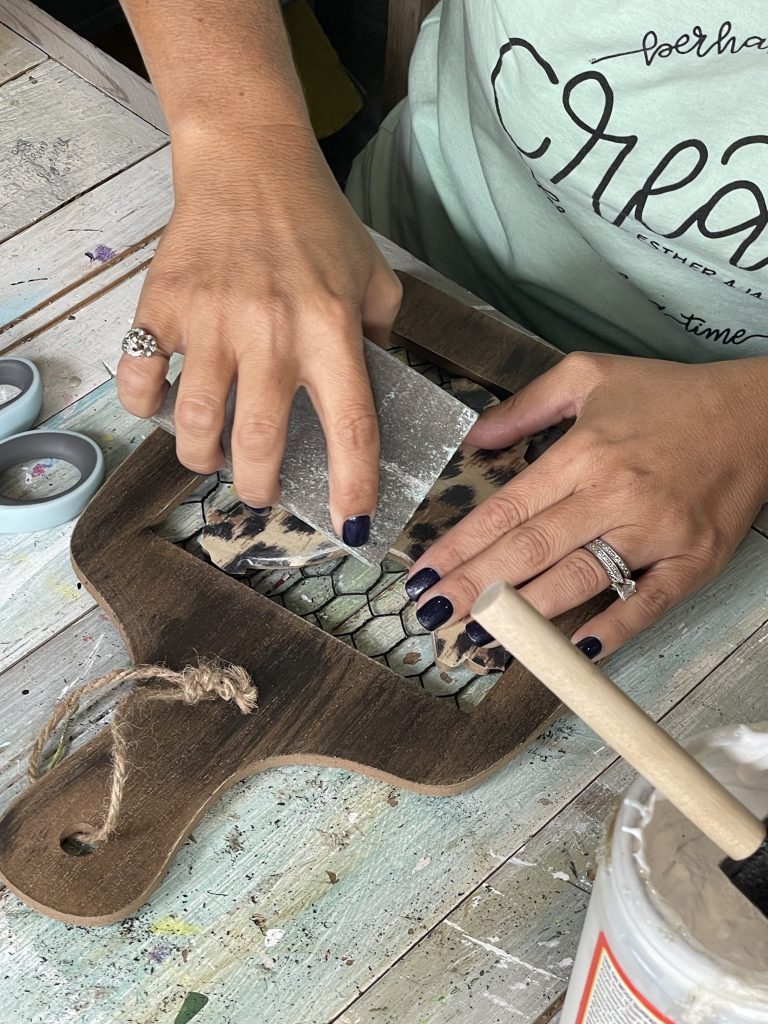
This step is CRUCIAL- take your sanding block, and hit the edges of the chicken. This helps with smoothing the paper to the actual sign… which makes it look much more uniform!
I ended up taking a small nail file and sanding the edges of the hard to reach places.
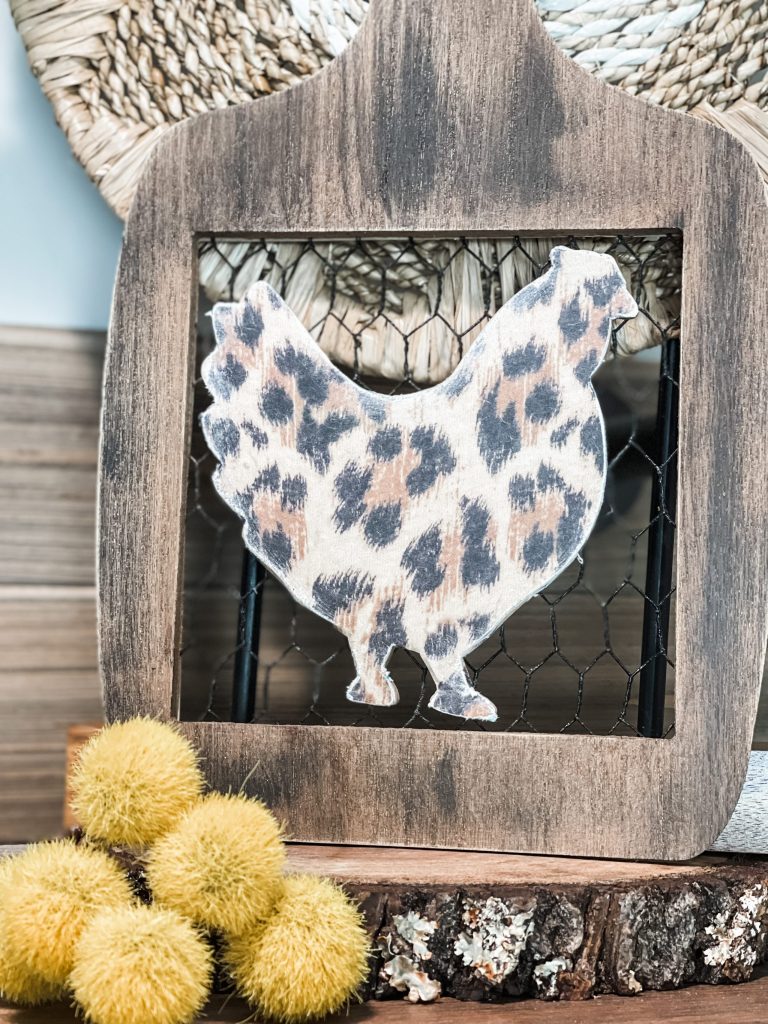
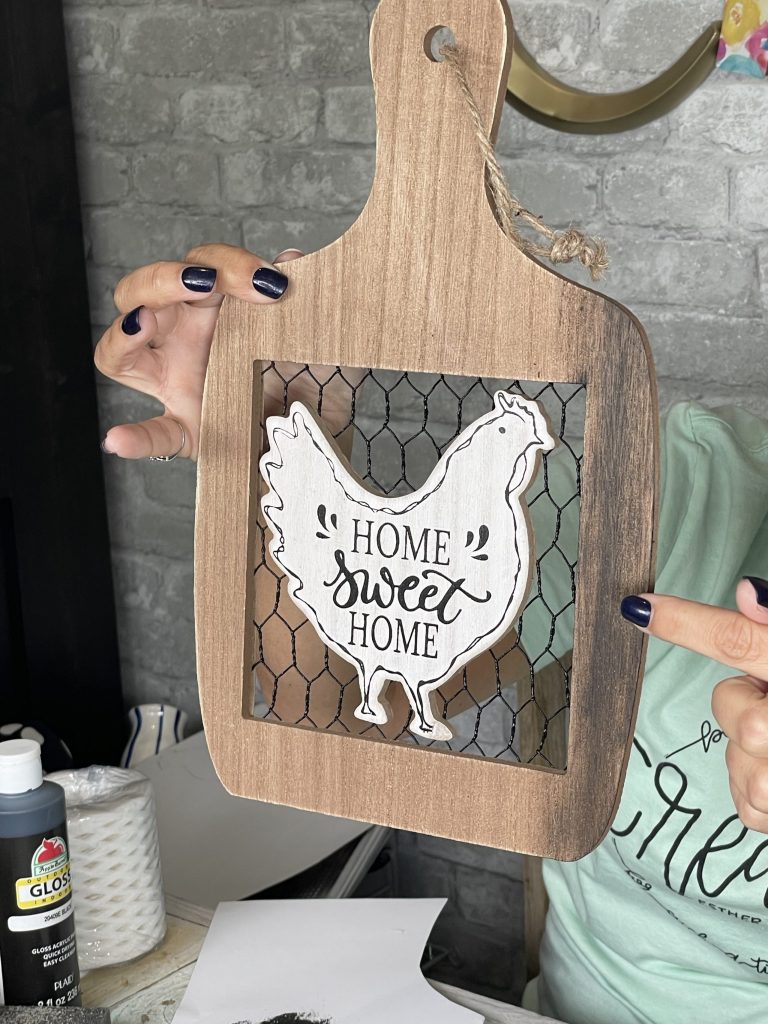
And there you have it!!! Now, this sign looks MUCH more my style… and WAY less cookie cutter!
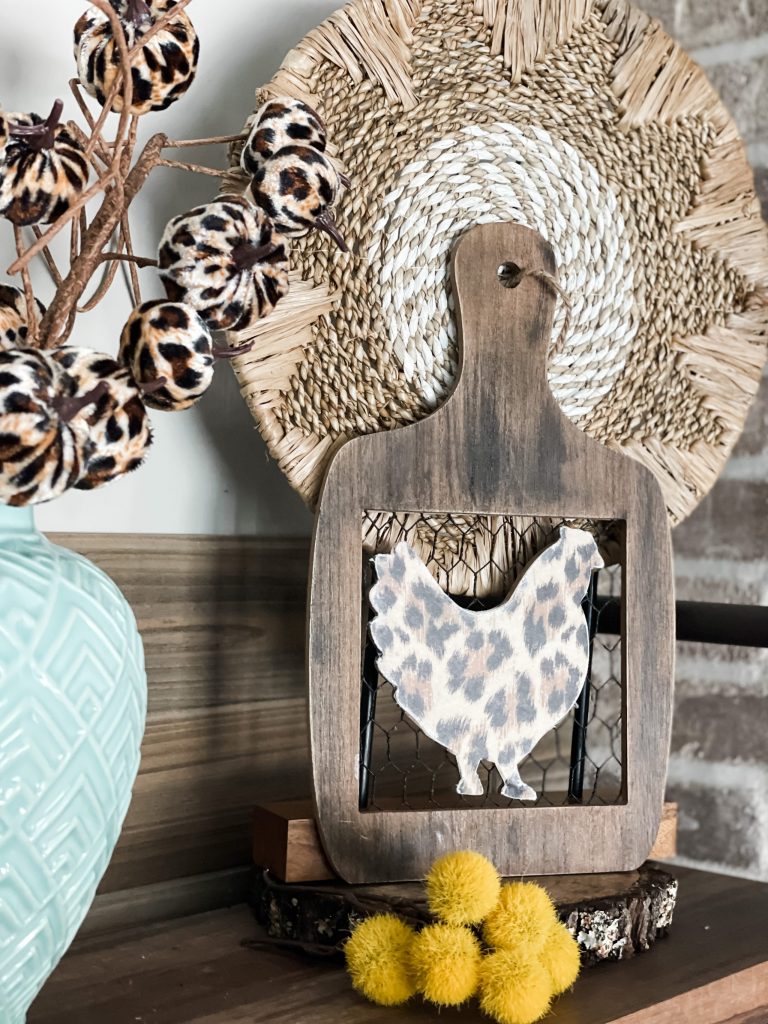
I already have it sittin’ pretty on my FALL COFFEE BAR… which I’ll be sure to share SOON!!!!
If you want to see the VIDEO TUTORIAL of this project, just CLICK HERE!
Want to see more Fall Inspiration from my blog?! Check out these three posts!
MAKE SURE TO PIN!!!


Last Updated on August 2, 2021

OMG…Cuteness!!! I’ve got to get brave and throw some animal print in my house!!!! I have an entire shelf of DG and DT I like this BUT…Too cookie cutter for me!!
I am really starting to love the fall projects. Im going t I miss summer. Thanks fir sharing
I did one too, but had to use a blue check
This is adorable! ????
Really cute
it’s so simple but a total difference that’s got me wanting to change up a few items in my own home.
Very cute makeover.