It happened again. I was minding my own business while strolling through the aisles of Hobby Lobby, and IT happened. You know… when you see something that you just KNOW you can turn into a beautiful craft??? That might be a little dramatic, but it’s true! As soon as I saw this gorgeous white yarn, I immediately thought “Christmas tree!!!” So… that’s what we’re making today!
Before we get into it, I just need to make a public service announcement… this is SO easy that ANYONE can do it!!! Whether your 9 or 90, YOU can do this!! Another great thing about this project? It literally cost me 4 BUCKS to make it. Yup. Talk about BUDGET FRIENDLY!!!
Okay. NOW we can get started. ????
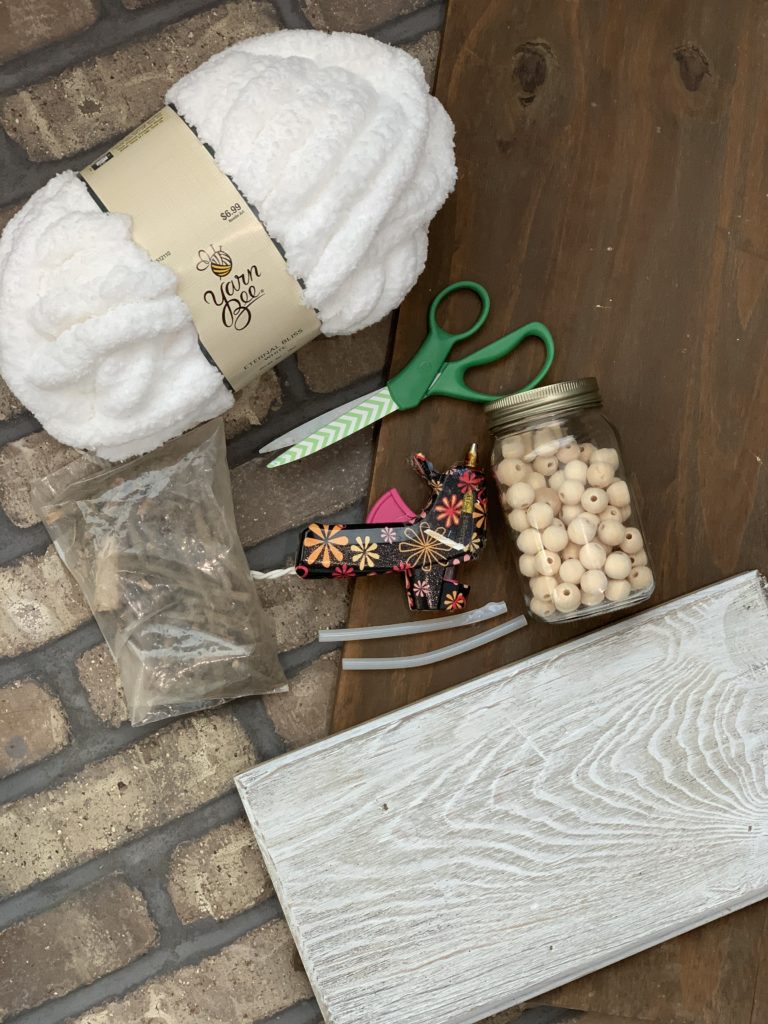
Here’s what you’ll need:
- thick yarn (I bought mine from Hobby Lobby and used my 40% off coupon)
- scissors
- hot glue gun (I’m using this mini one that you can find HERE)
- a piece of scrap wood
- little pieces of sticks that I found in my yard!
- one large wood bead
- a couple small wood beads (optional)

The very first thing I did was hot glued one end of the yarn down to my scrap wood. I tried to make this as centered as possible! This will be the top of our tree.
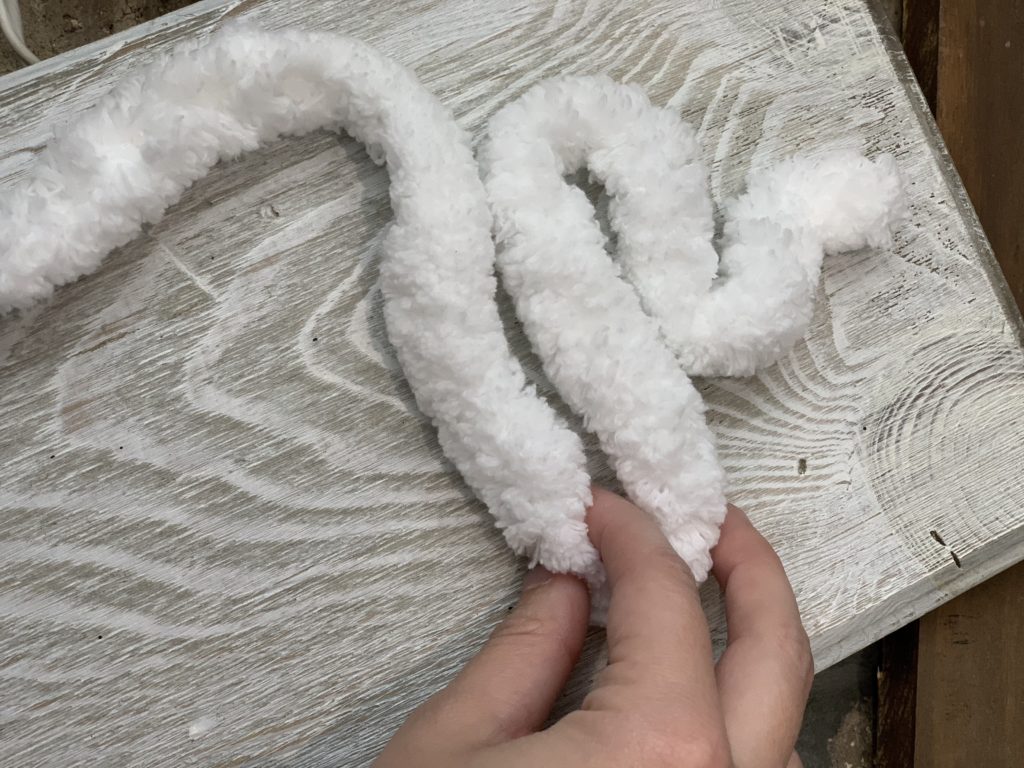
Next, I started shaping out how I wanted my tree to look… I wanted it to be whimsy, so I didn’t try and make it perfect! I basically just looped the yarn down through each layer, and made each layer of the tree a little bit larger than before…
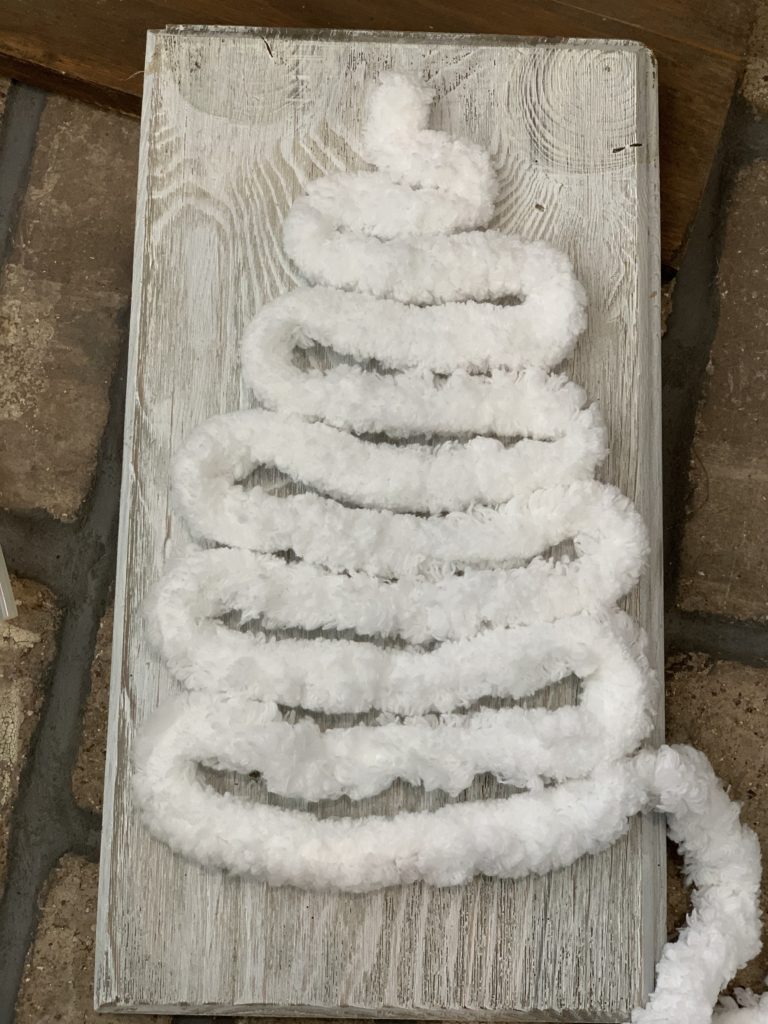
…like this! It’s important that you go ahead and lay out how you want your tree to look, so that way it’s a lot easier when you start to glue everything down!
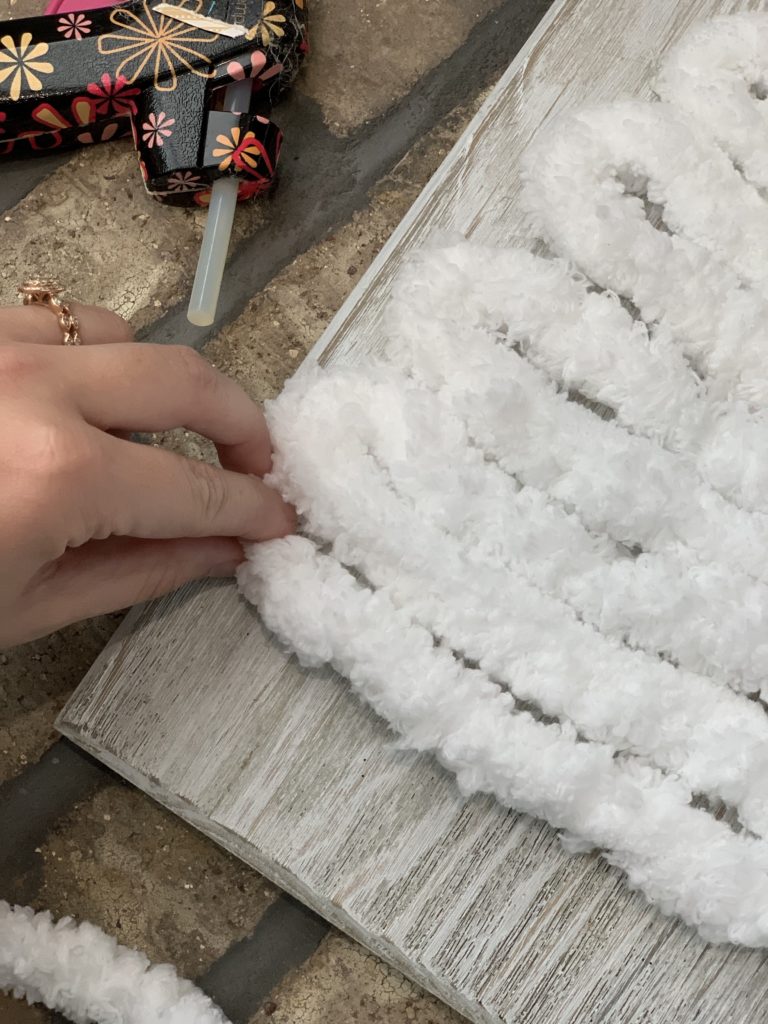
Go ahead and glue down your yarn! I only glued the edges of the tree because I didn’t want to change getting glue all over the middle of my yarn… but if you want to for that extra security, feel free!
When I got to the bottom of the tree, I tucked in the end of the strand so it wouldn’t fray!
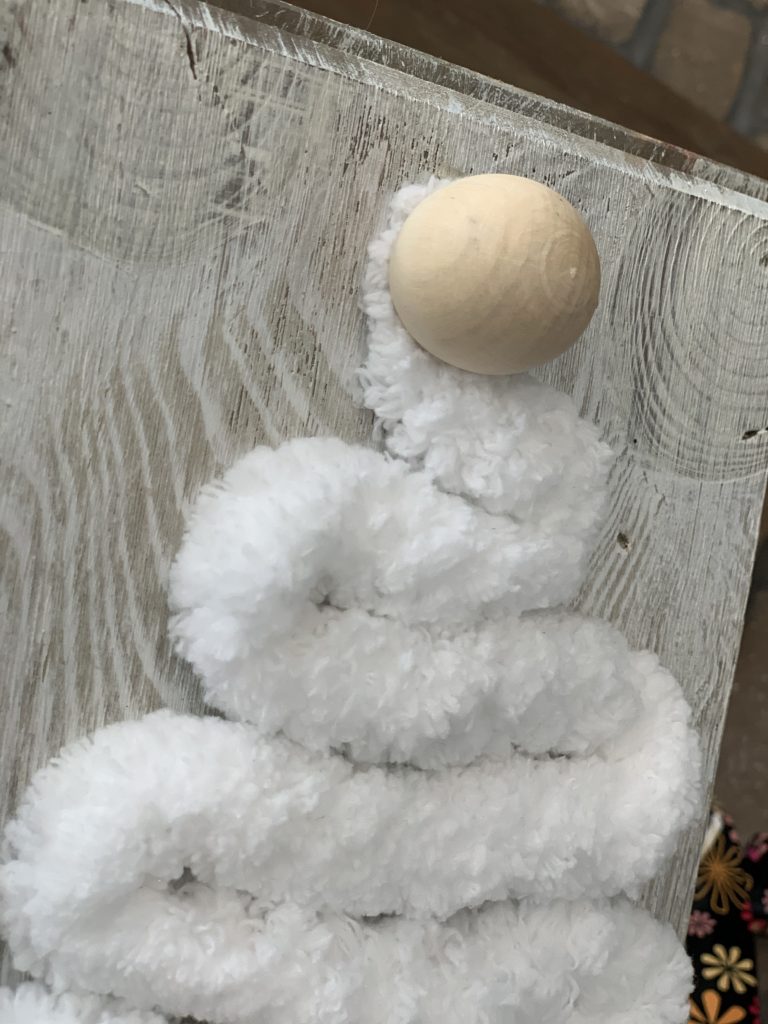
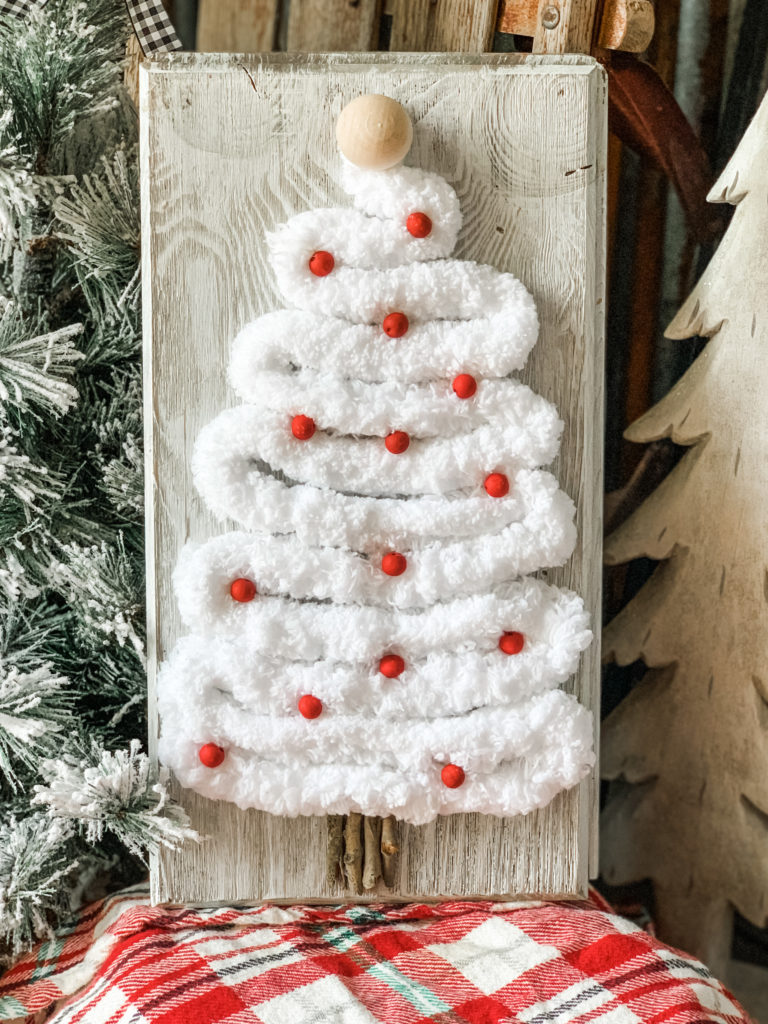
For the top of the tree, I added a large wooden bead that I bought from Hobby Lobby! I hot glued it right on top of the beginning piece of yarn.
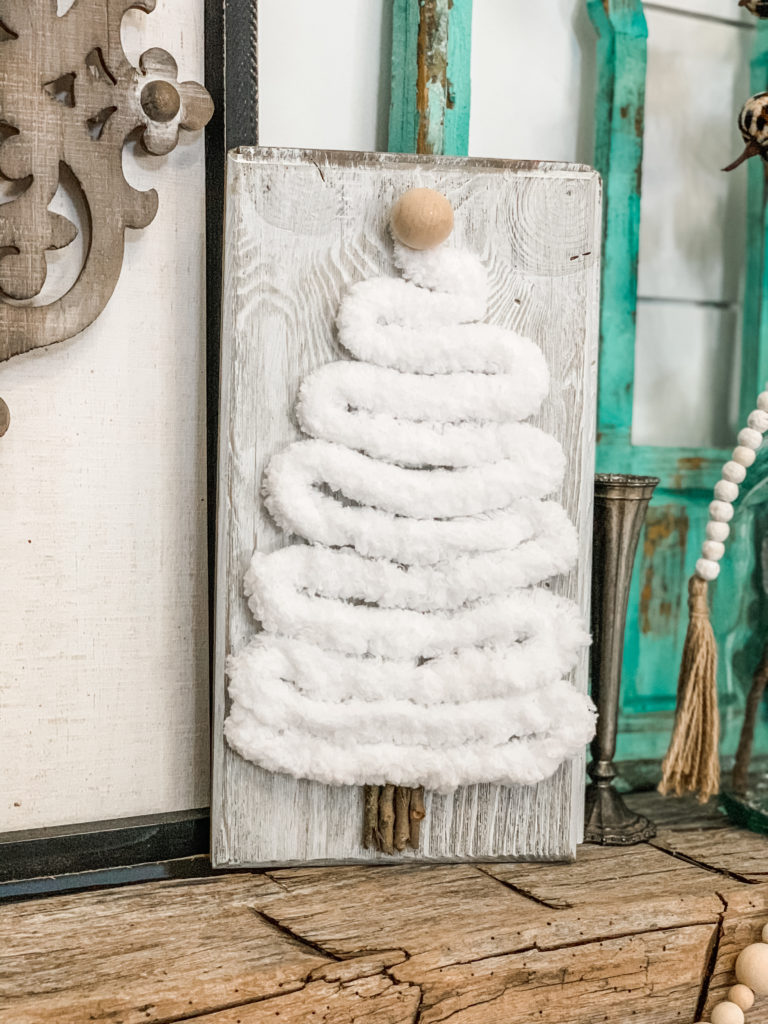
For the base of the tree, I added 4 teeny-tiny little sticks that I picked up from my yard… because what’s better than free crafting supplies? ????
Anyways- this is when I THOUGHT I was done!! It looks super cute the way it is, and if your home is mostly neutrals- then this would be perfect! BUT… y’all know me… and I just had to throw in some color!
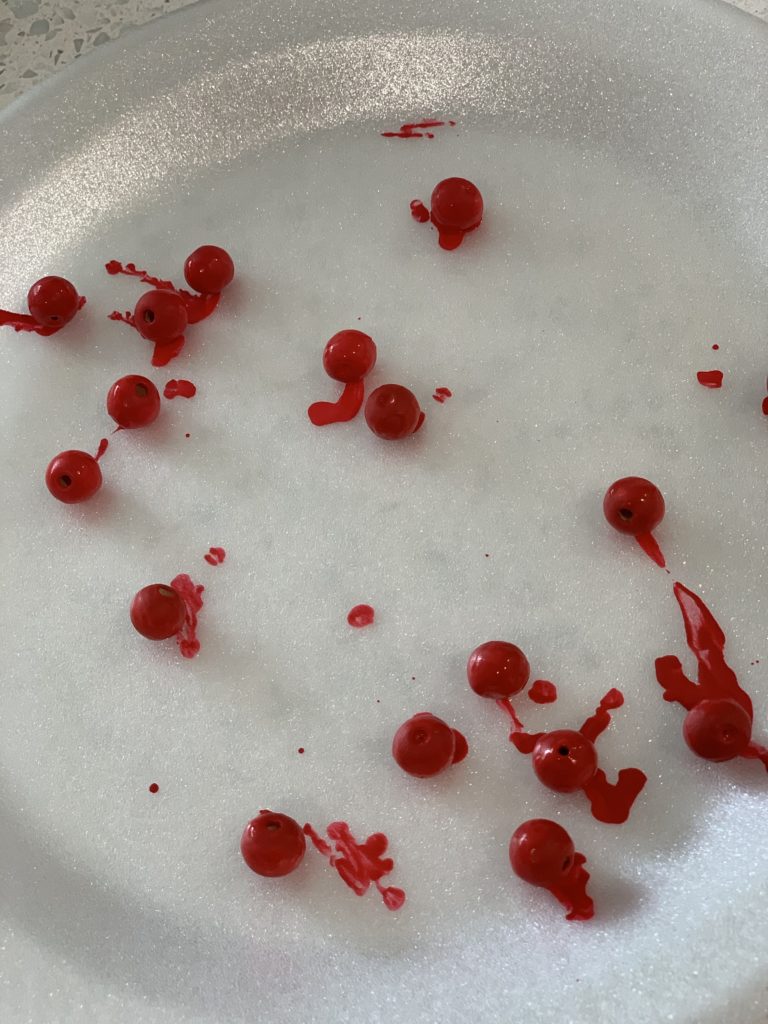
I decided to paint some little wooden beads red, just to add that extra pop of Christmas in there, and to resemble ornaments!! I followed my friend Stacey with Wilshire Collections tutorial on how to paint beads- and it was SO EASY!!! You can see the tutorial right HERE.
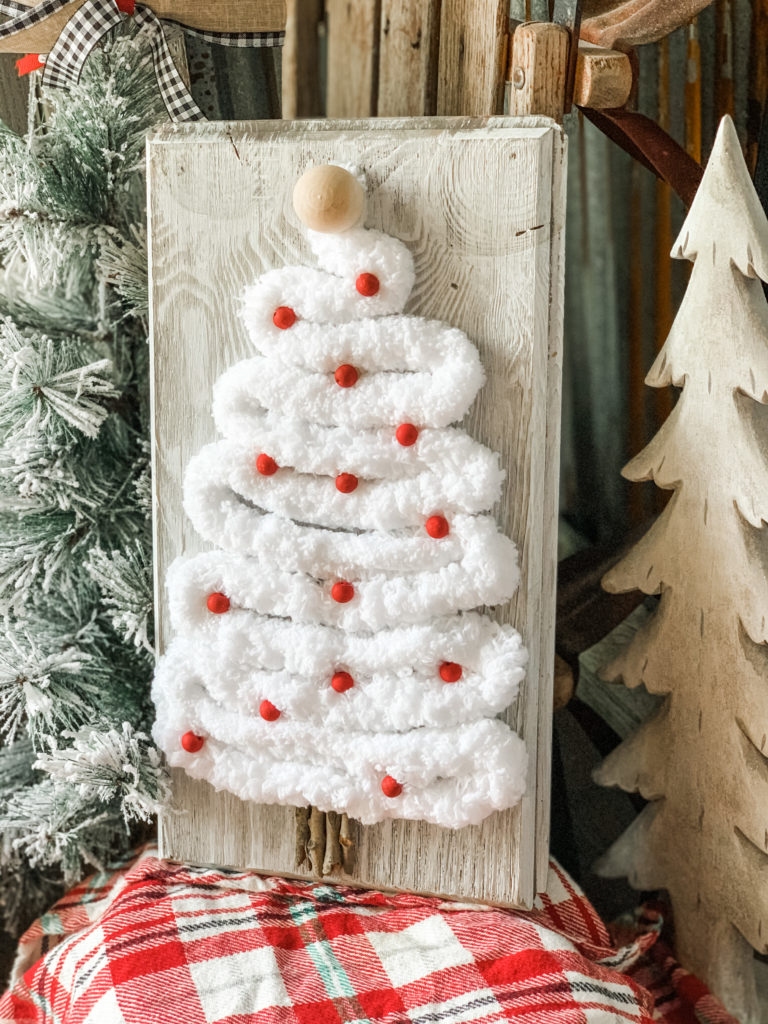
I put the little beads sporadically around the tree like little ornaments and BAM…WE’RE DONE!!!! I think the red ornaments completed this project- and you can even make your ornaments any color you want! That’s the best part about crafting… you get to make it YOUR OWN!
Can I just re-iterate how EXTREMELY easy this craft was, and how budget friendly it is too??? I bought the yarn for about $4 (and still have a TON left over), I already had all the wood beads on hand, the sticks and the scrap wood were FREE… so basically, this whole thing cost me a whopping $4!!! INSANE!
Tell me… did you like this project, and would YOU try it out for yourself?? I always love hearing when people try out my projects, so I would LOVE to know if you liked it!! ????
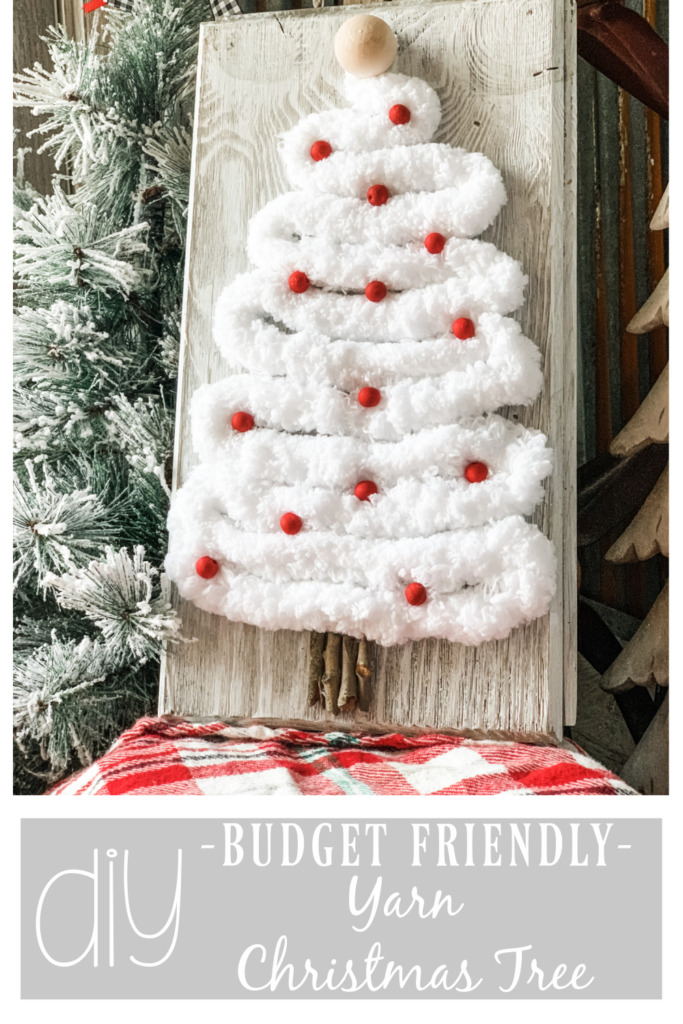
MAKE SURE TO PIN FOR LATER!!!

Last Updated on November 4, 2020

Nice project! And so quick and easy. I could also see that yarn wrapped around a Styrofoam cone…maybe 3 different sizes for a niche?
I loved this simple inexpensive craft!! I love the chubby white yarn with the red accents! I do think I will make it, and put a glitzy star on it. Not sure what little ornaments I will put on it. Love your style, Brooke!
Love, love this – I have this same yarn and going to do a pottery barn dupe with the Christmas houses. Wrap a wire wreath form in the yarn to look like snow and then glue the houses on and add some glitter.
I loved this the first time around as I thought it looked familiar and went to my Pinterest page and there it was. Thanks Brooke. It’s another great craft!!!
That is stinking cute! Keep the ideas coming. I’m not one who can think up the craft out of thin air. But once I see one, I can recreate it no problem.
So pretty!