Some ideas are just too easy and cute to keep to yourself. This is a short post that gets pretty much straight to the point, but I just LOVE this Christmas project! I mean, who doesn’t love a quick, fun and SUPER cute project that cost around $1?! In fact, you may have all of the supplies on hand!
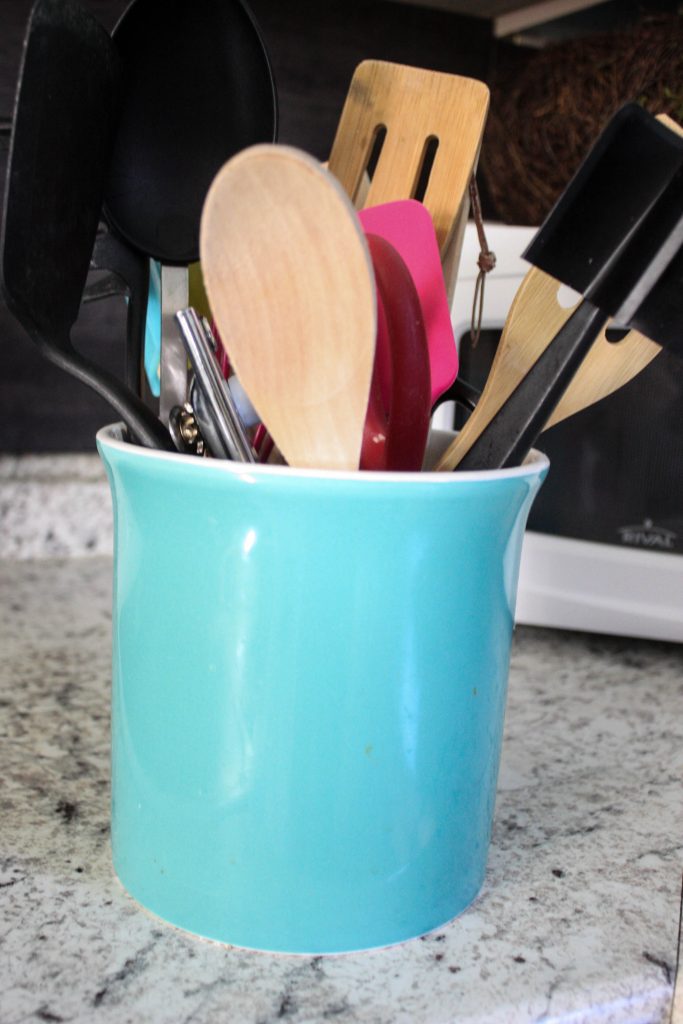
My utensil holder has been with me for about a year now. I had it at our foreclosure home, and it matched my kitchen perfectly. I found it at Gordman’s (one of my ALL time favorite stores) for a mere $2.50, so it was a no brainer to purchase it. It has served me well and stores tons of utensils, which I love. I hate having to search through drawers, so I keep the ones I use the most right there. Sure, it doesn’t look “cute” or super organized, but it is functional and every now and then- that just has to win out! Can I get an amen?!
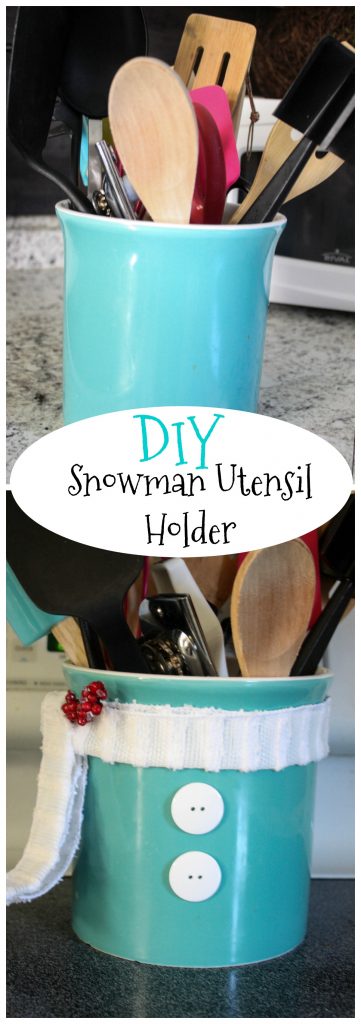
So anyway, I had this utensil holder, and it seemed so bare as I was doing some decorating for Christmas in the kitchen. I had seen mason jars made to look like snowmen, so I thought, “I can do that!” It was a little unconventional because my holder isn’t white like a snowman, but I am loving it- and I hope you do too!
Supplies Needed:
Utensil Holder
Ribbon
Buttons
Here is a picture of my utensil holder before I did anything to it:
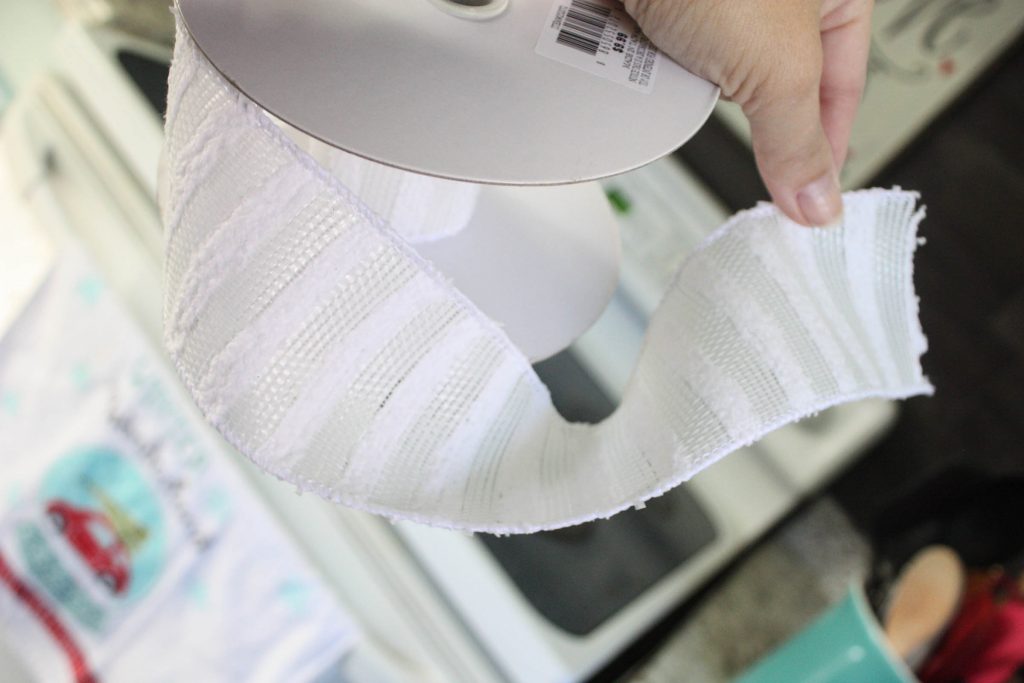
Here is the ribbon I used. I had it on hand from making my wreath, and it was wider than I needed, so I ended up folding it in half to make it thinner.
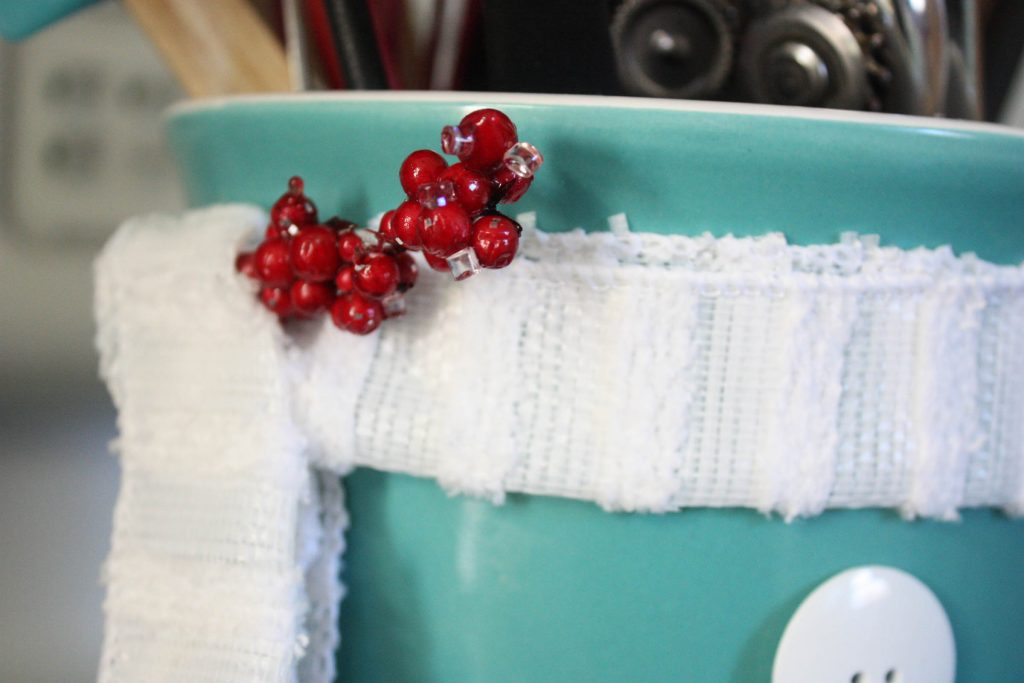
And here is my finished product!
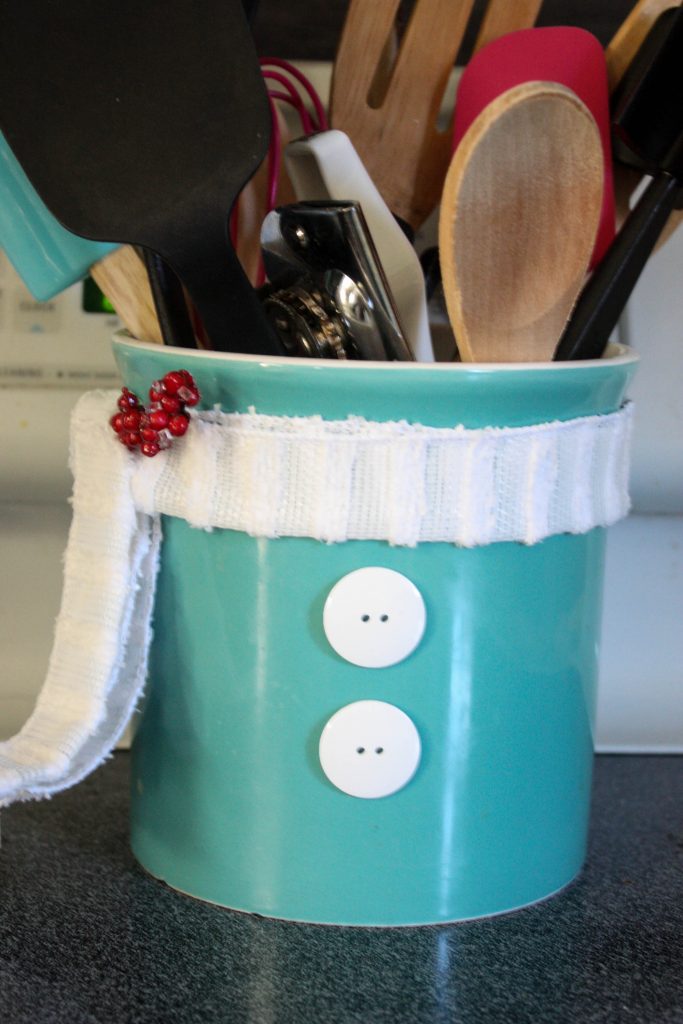
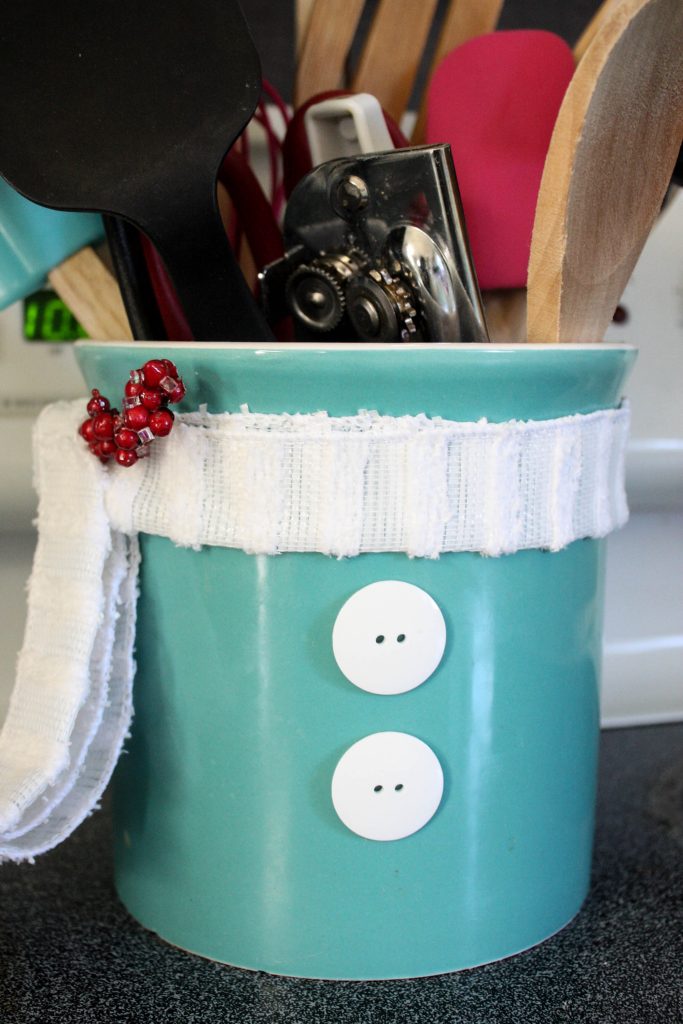
I simply took my ribbon, folded it in half to make it thinner (also took tiny dabs of hot glue to make the ribbon stick together), glued the ribbon to the holder and folded the one side over 1 time to look like a scarg, took my 2 buttons and glued them on…and BAM. You are done! I had a little extra piece of red berry stem from a wreath that I cut off to stick in the scarf just for good measure, but it isn’t necessary. Just do whatever makes you happy!
This is just a simple little 3 minute project, but isn’t it the cutest?! Go make one! {And what is great about this project is that when the holidays are over- you can just take this off and use it plain for the rest of the year–and do it all over again next year!}
Save this fun little project for later!
Follow Along on Social Media!
Facebook/Pinterest/Instagram/Twitter
Last Updated on November 20, 2016

Cute!!
So cute! ⛄️ Thank you!