I am a sucker for picture frames. I can’t help it. I buy too many. But here is the deal…I rarely see any that stand out to me as just SO cute that I can’t resist for the HOLIDAYS! They are all just kinda basic…and if they aren’t, they cost an arm and a leg- and I prefer those limbs.
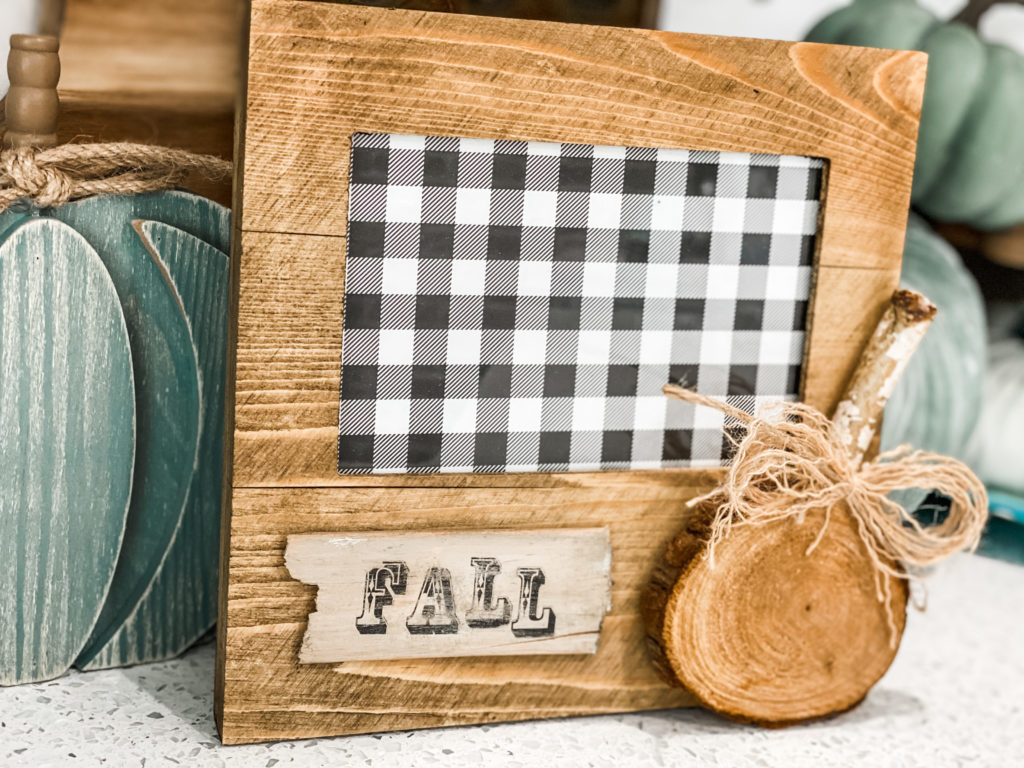
So…in saying all of that- I have a SUPER CUTE and SUPER CHEAP picture frame idea for you today for FALL!
A few supplies that you probably have on hand (at least mostly) is all you need!
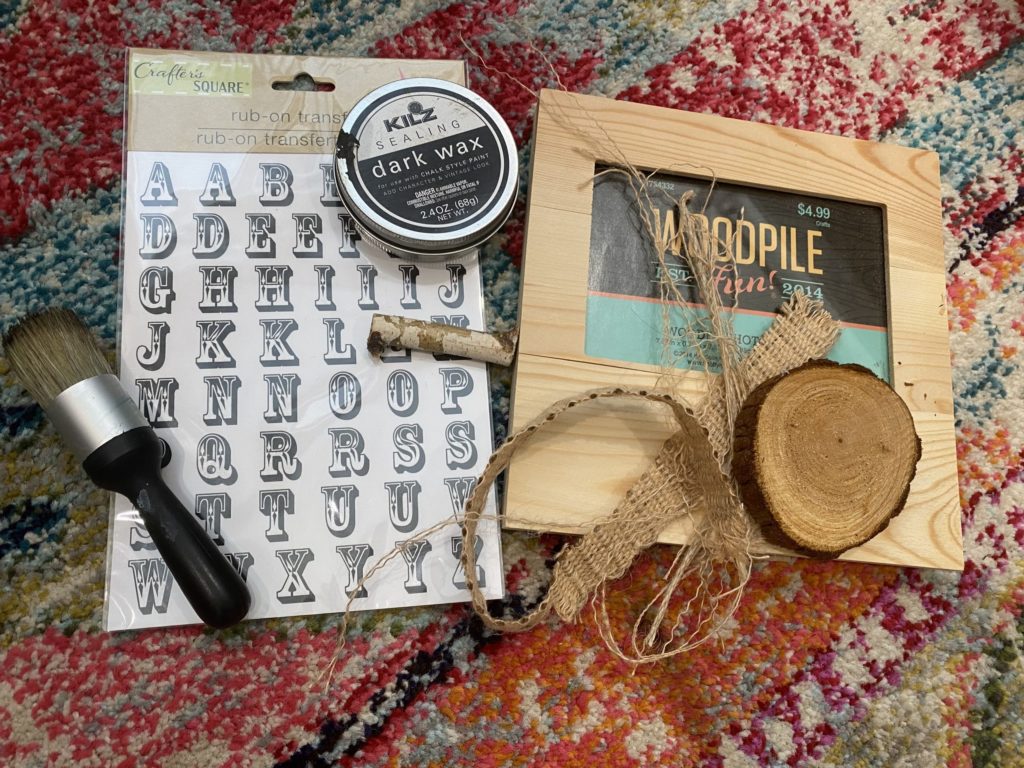
First step, I took the glass out of the frame so that I could stain it with my Kilz wax!
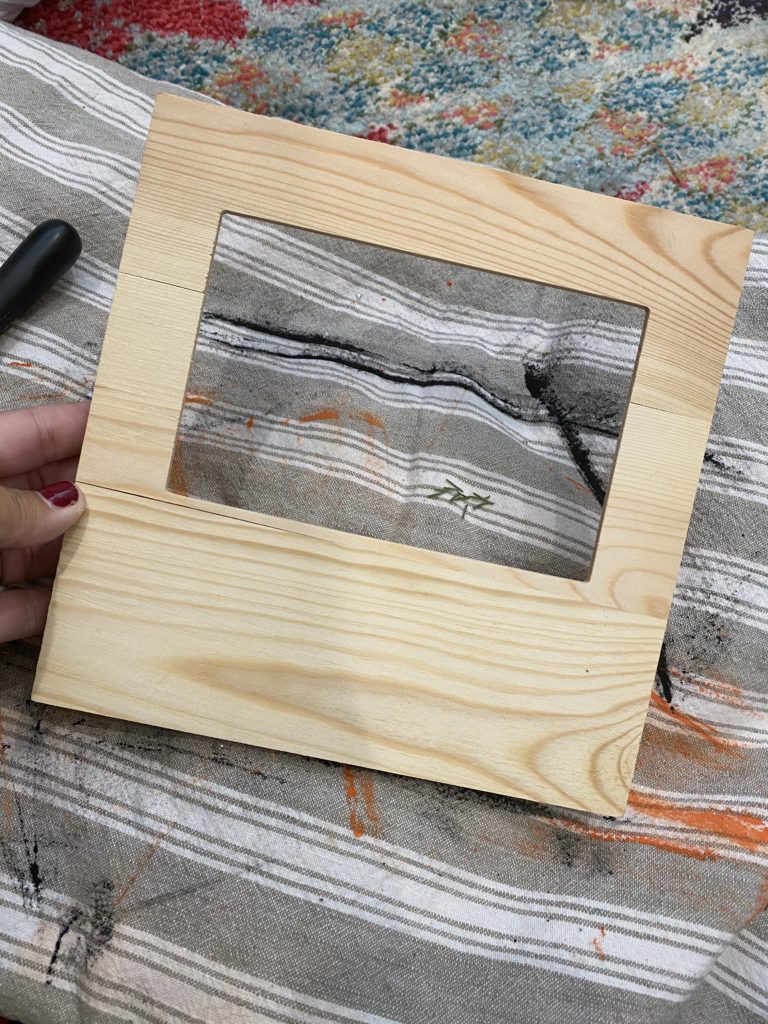
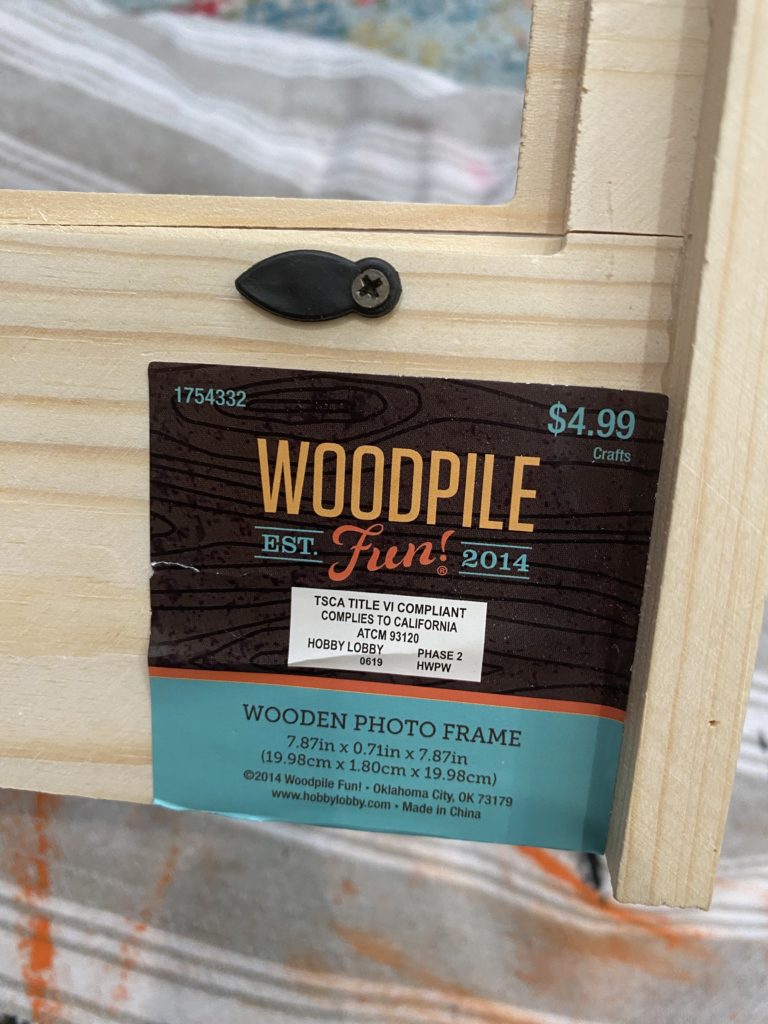
This frame was from Hobby Lobby, and it was 40% off $4.99 so super cheap!
Oops. I forgot a picture of the staining process! BUT…it is so easy. Just paint it on there and then wipe it off. SUPER easy.
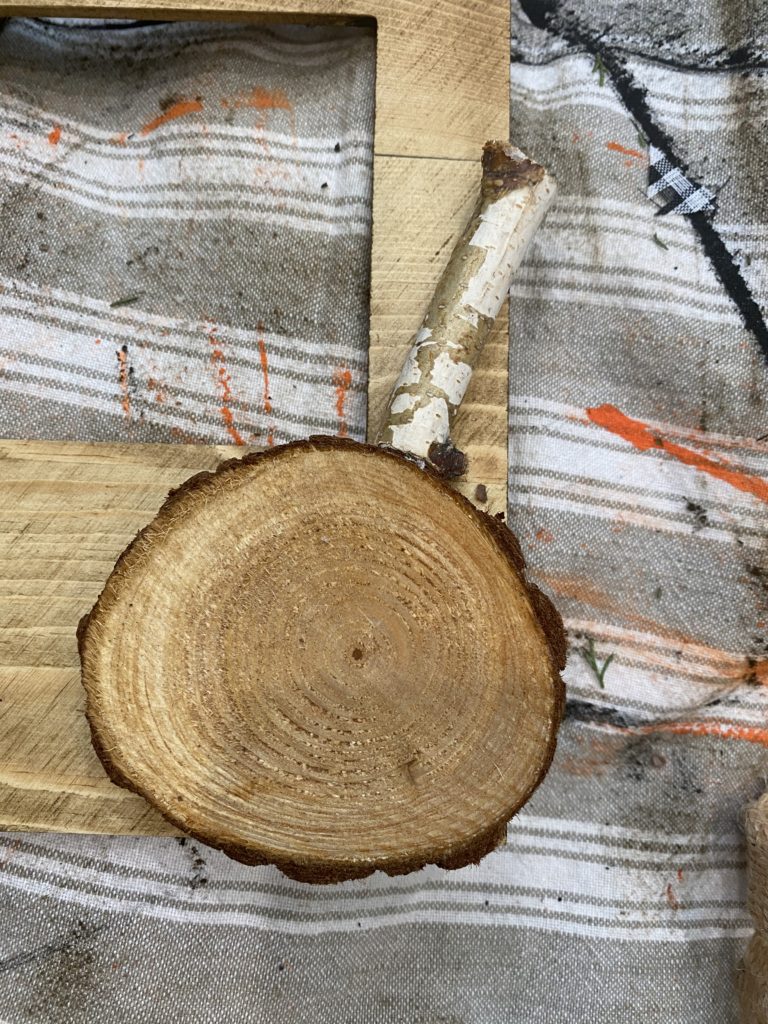
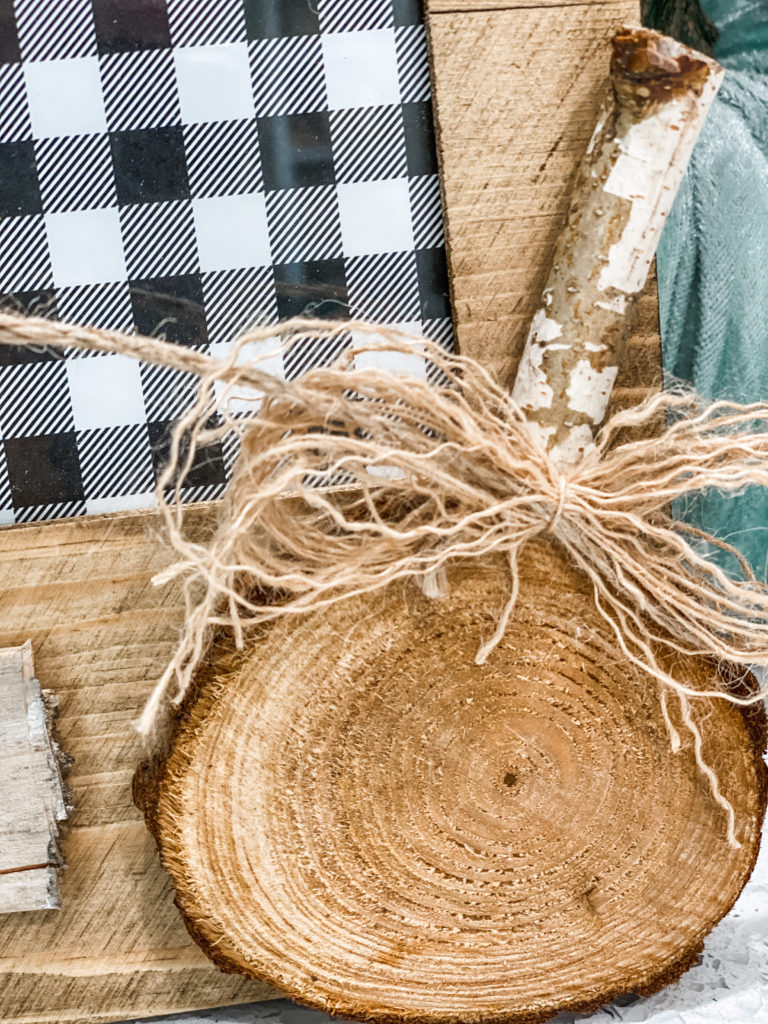
Next step, I took my wood slice (I got a bag of them at the yard sale a couple weeks ago for like $1) and hot glued it in the corner. I then took my stick and glued it on the wood slice for my stem.
Next step was to take my leftover frayed edges from my Facebook live “thankful sign” and make a bow! I LOVE how cute it is, and it is just something different! Great way to use that leftover!

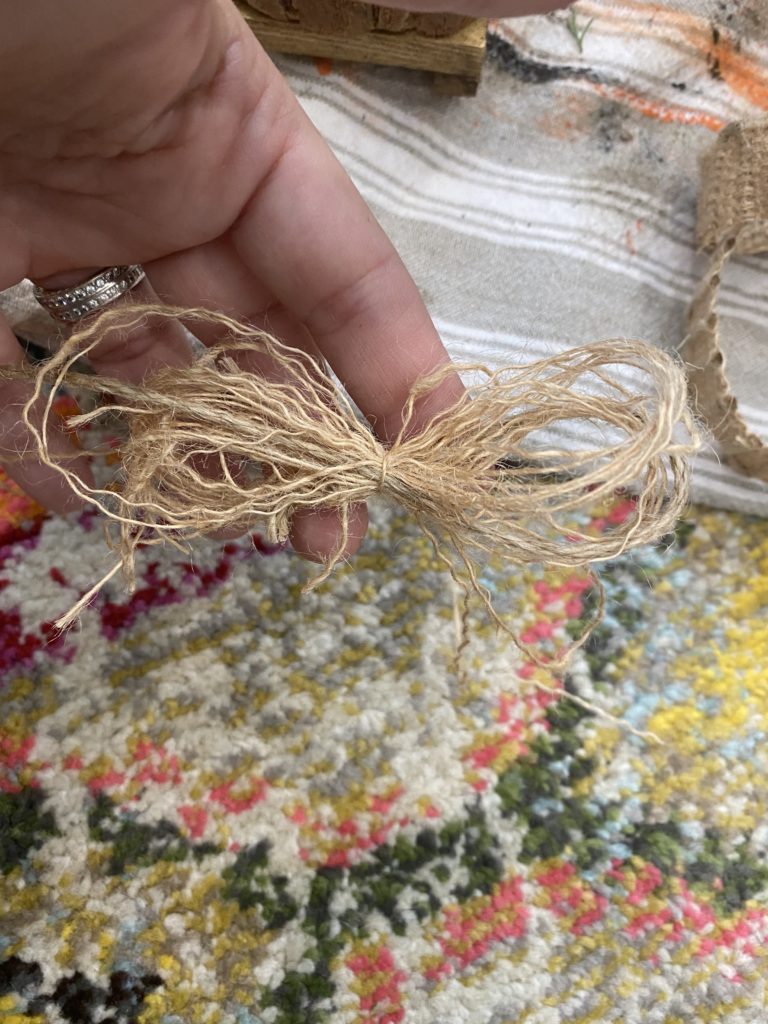
After I hot glued that on, it truly looked so cute…but not “complete”.
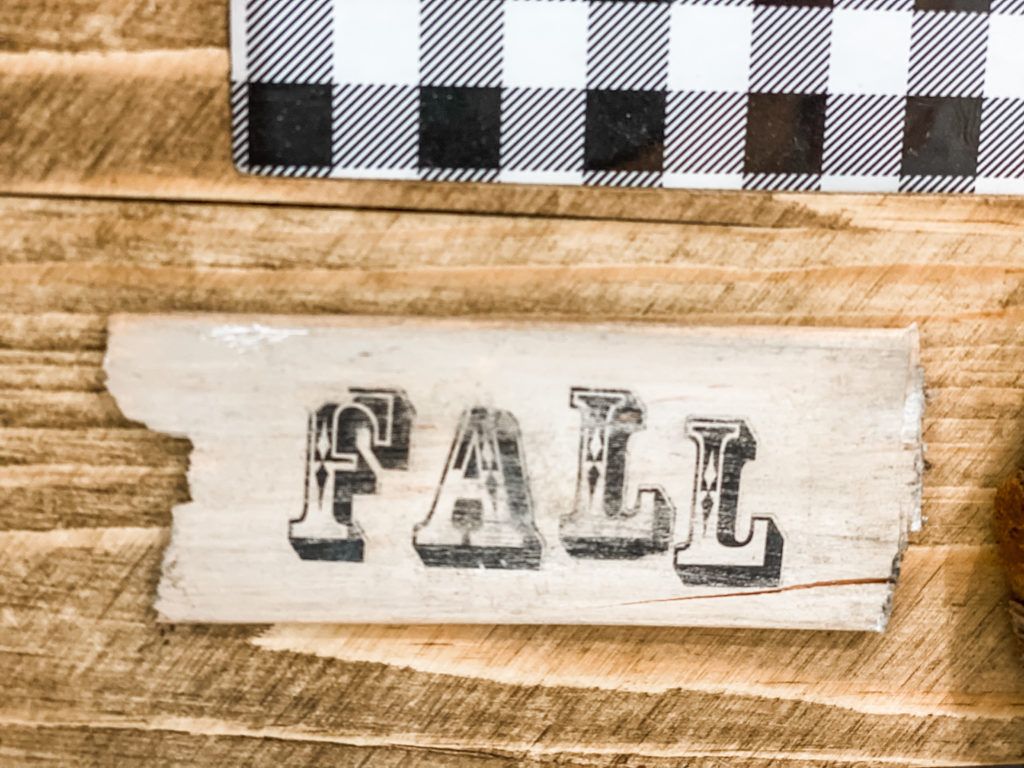
I took an old wood slat I had on hand and broke it in two so I could have a “base” for my word…
I took some white paint and the same brush I used for my wax and brushed it in to give it an antique look.
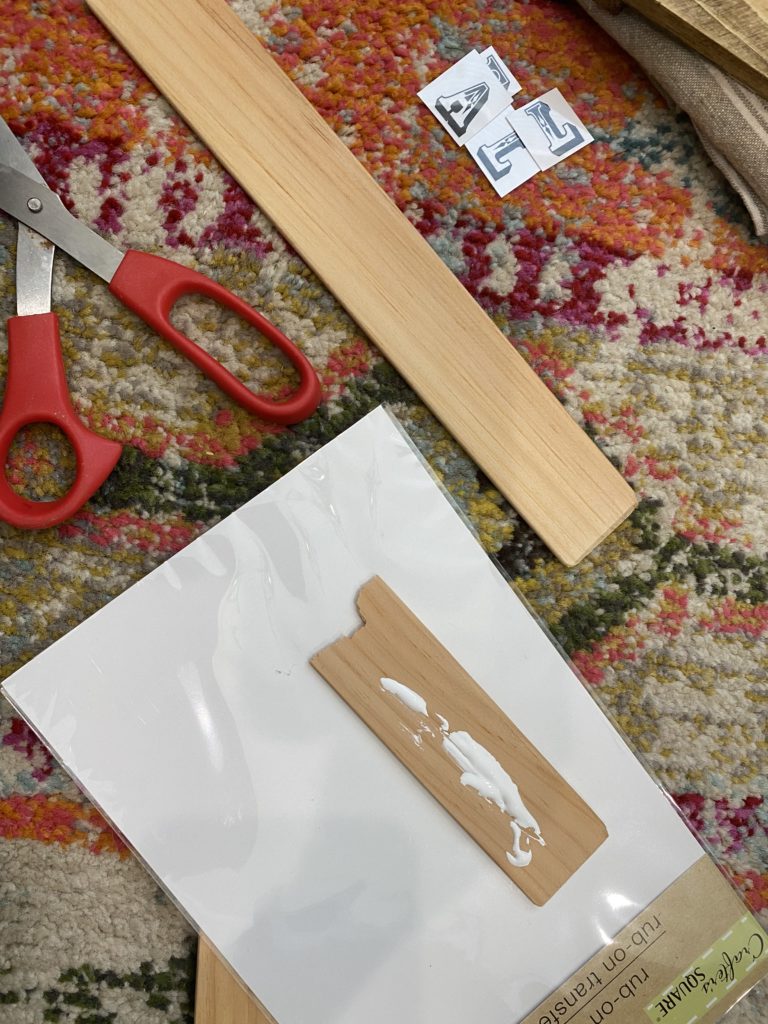
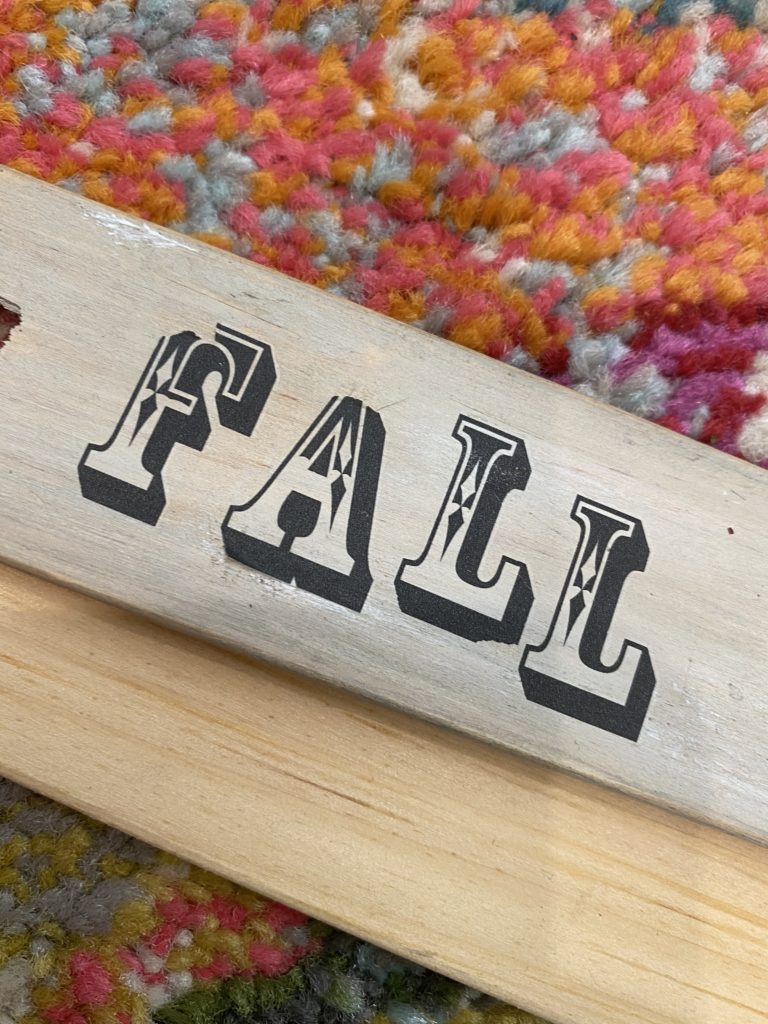
Once that dried, I took my transfer stickers (from Dollar Tree) and spelled FALL.

To rough them up and help them not look so perfect, I used my sanding block to sand them down a bit.
Then I glued my slat onto my frame!
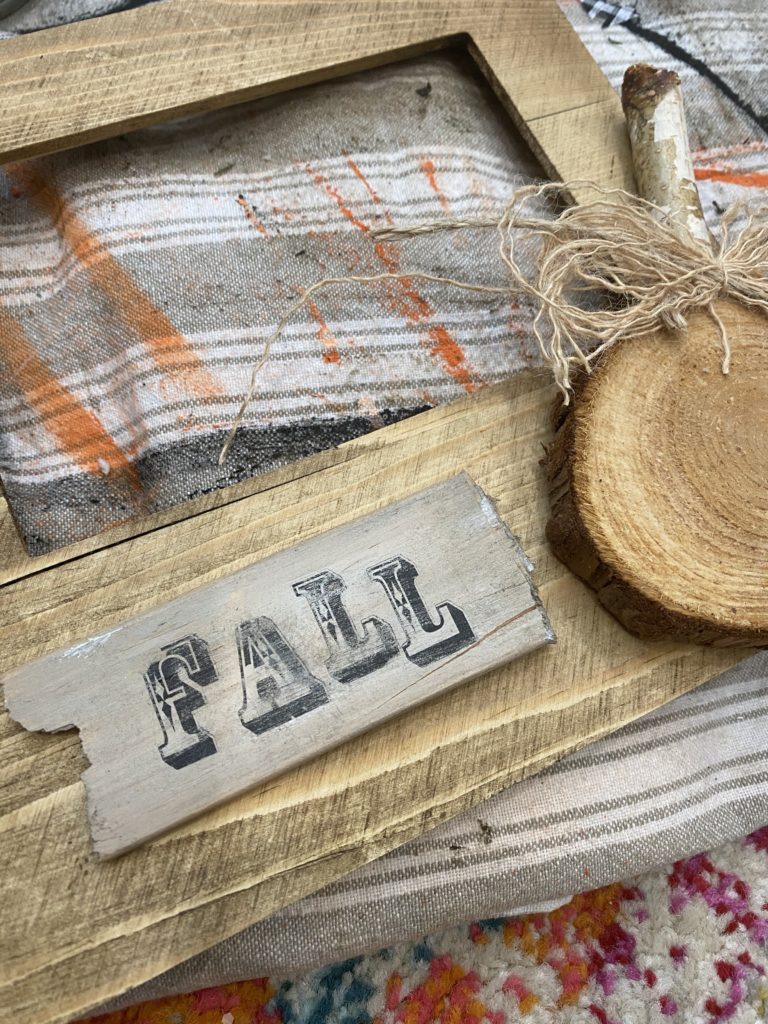
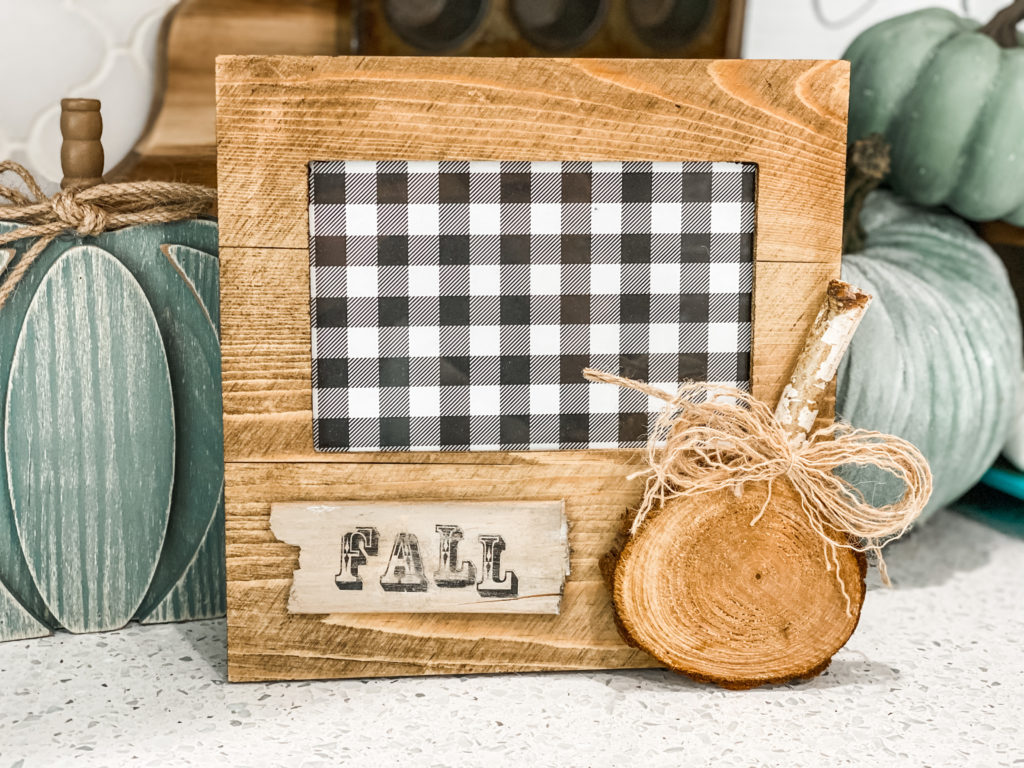
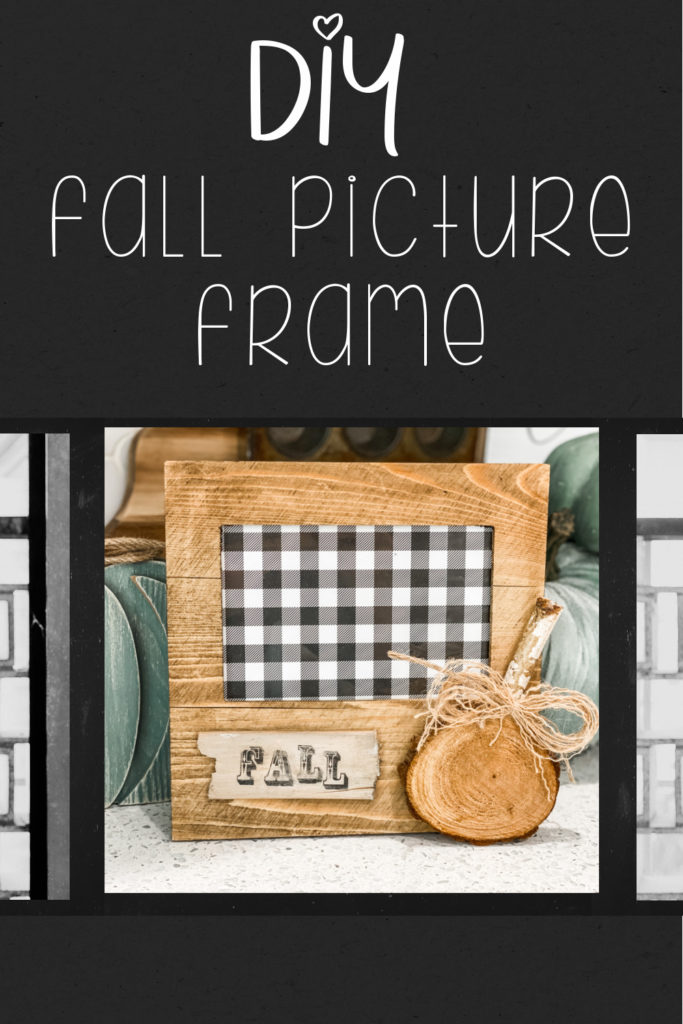
To finish it out…I framed some buffalo check scrapbook paper for the WIN!
Y’ALL. I am in LOOOOOVE. This is simply ADORABLE! Soooo cute, and so much more budget friendly than it looks! I had maybe $3 TOTAL in this frame.
PIN FOR LATER!

Last Updated on November 4, 2020

This is so cute! I may just have to try this one!
Thank you!
I love this one! I picked up some supplies and will be making it.
Yay! Send me a pic! ❤️