Furniture makeovers are always going to be one of my favorite things to do, but I feel like they are few and far between at this point in my business. Today, I have a super fun makeover that I actually did a few years ago, but somehow…I forgot to ever share it with you! Oops!
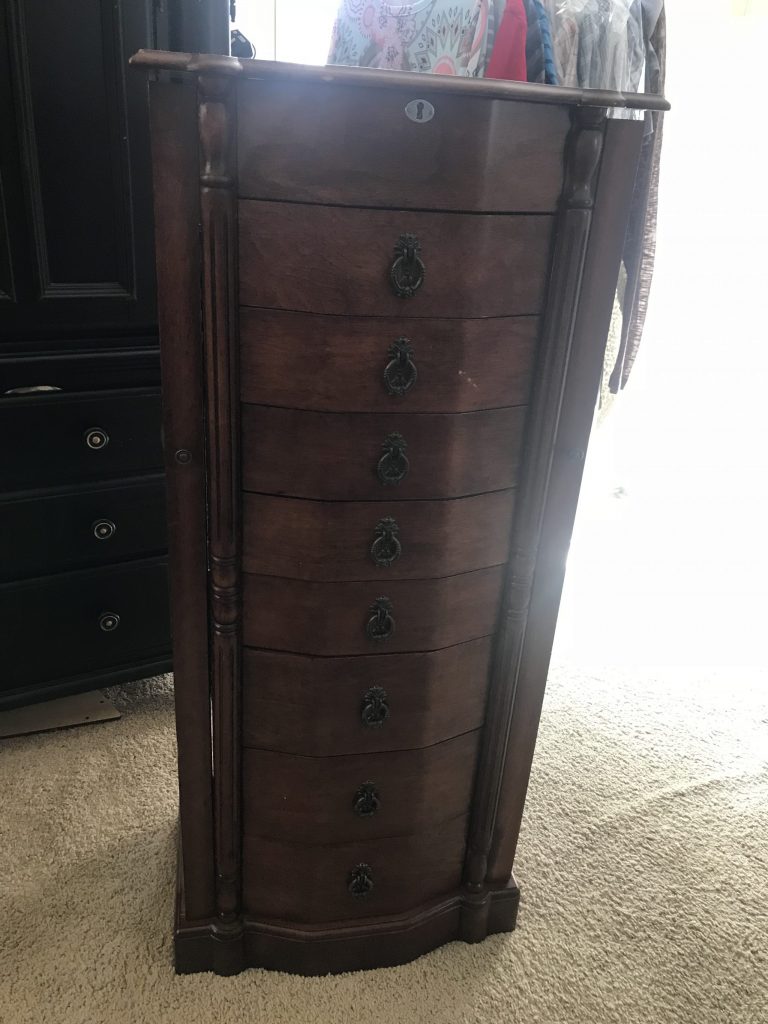
This jewelry armoire was a gift, and it was beautiful exactly the way it was! Dark hardware against a deep cherry finish… how could it be anything but perfect?? After several years of using the piece exactly like it was, though, I decided it was time for a little update! I am sorry for the poor picture…this was taken while we were still in the temporary home, and my options for picture placement were super limited!

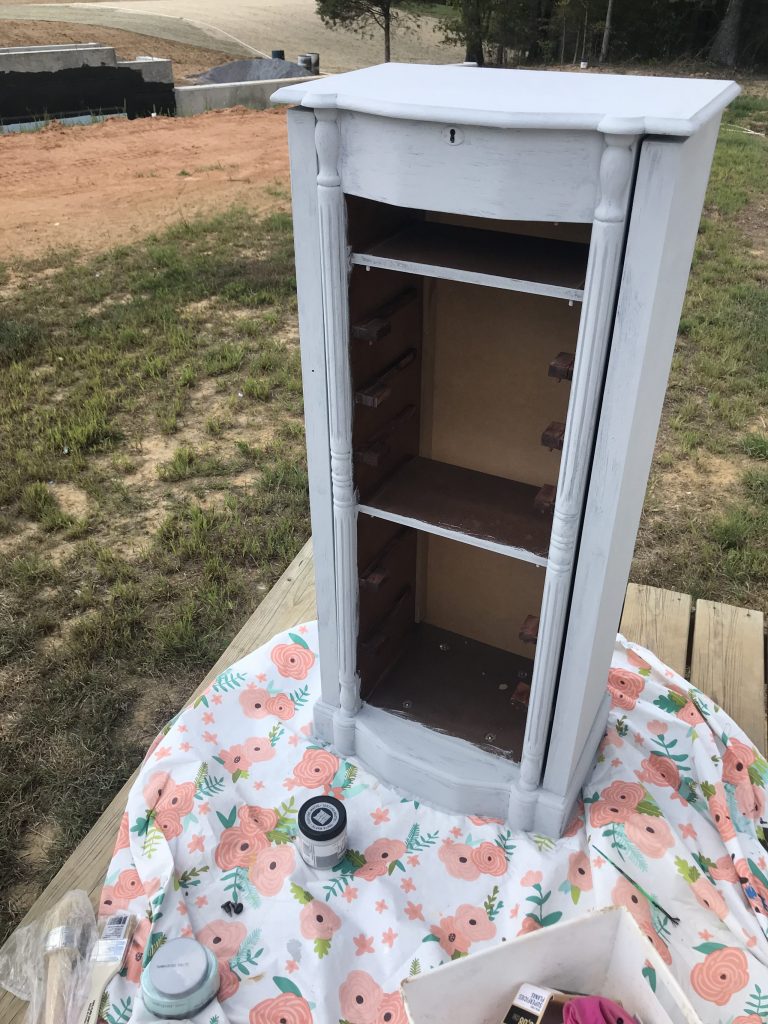
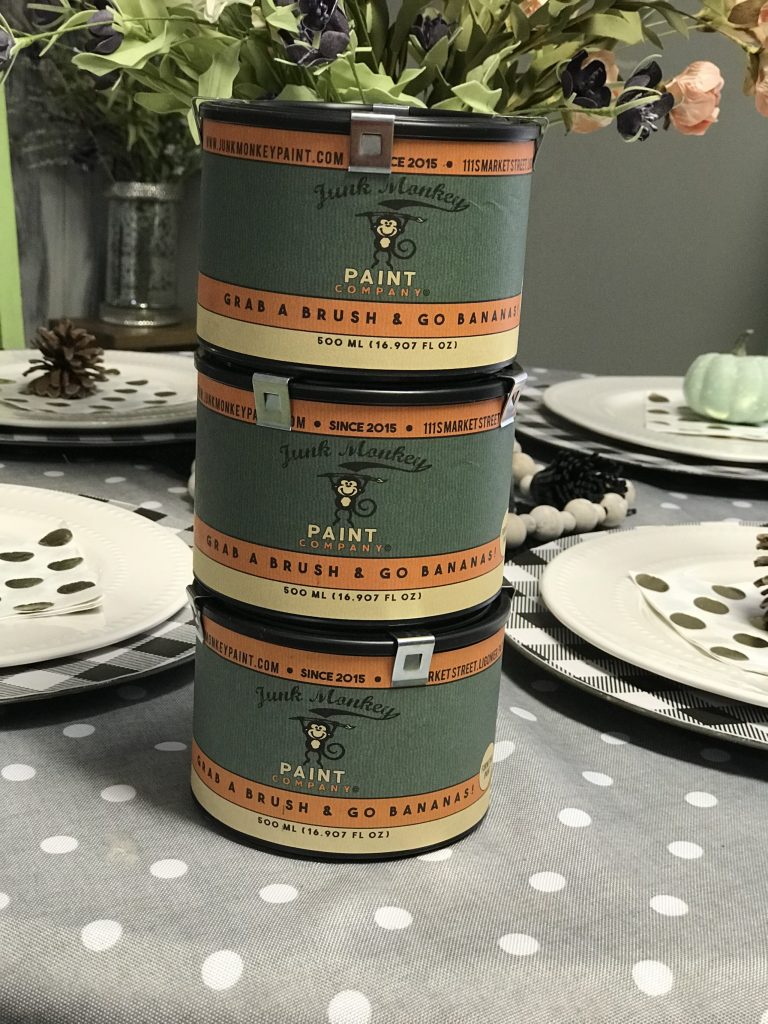
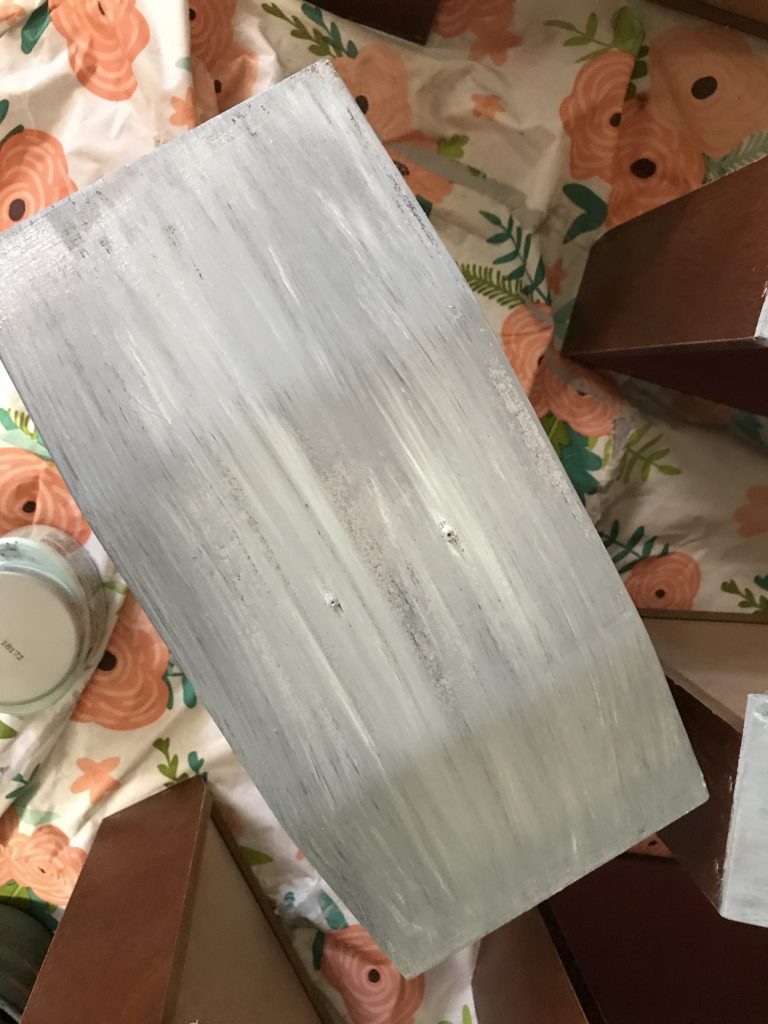
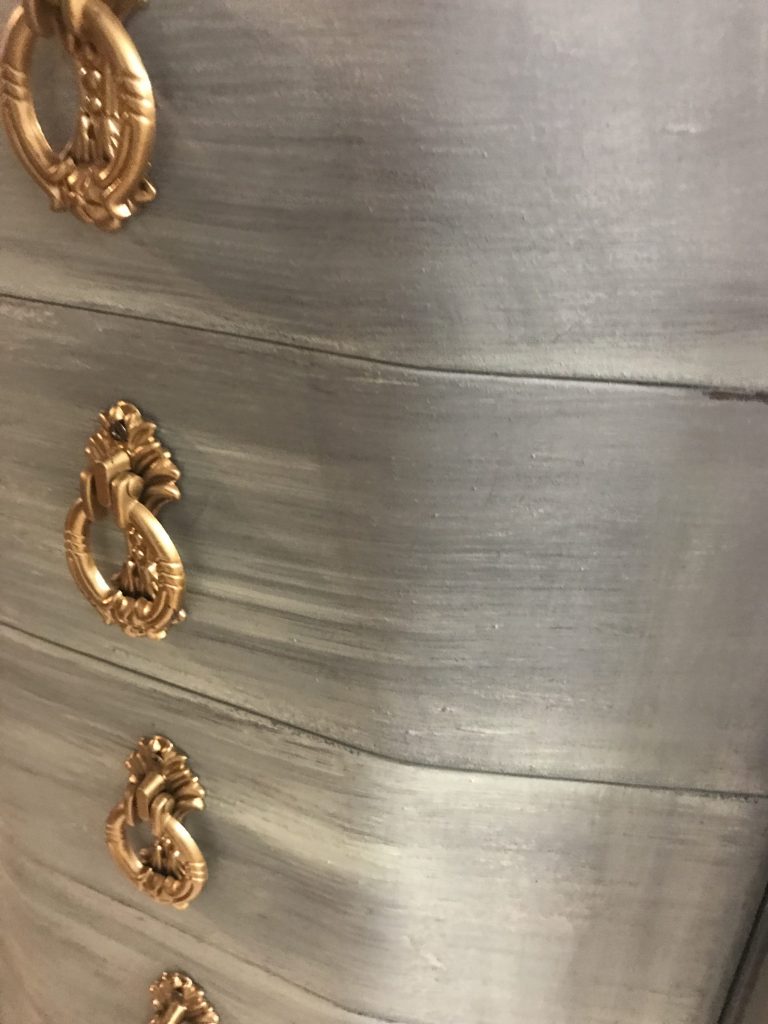
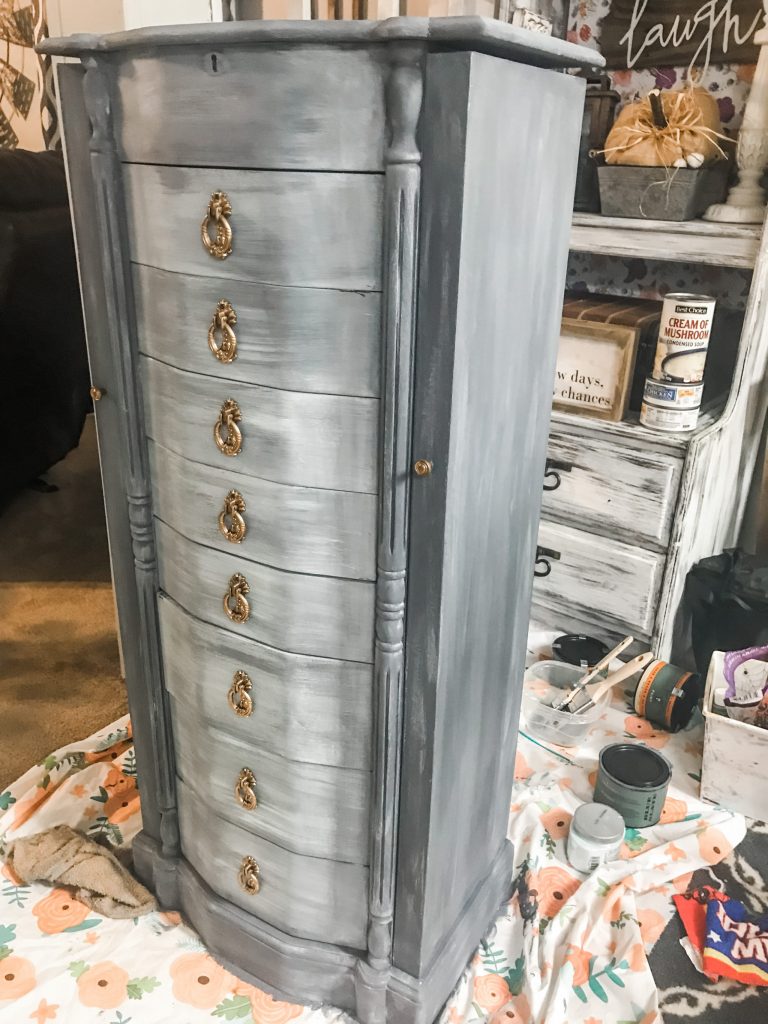
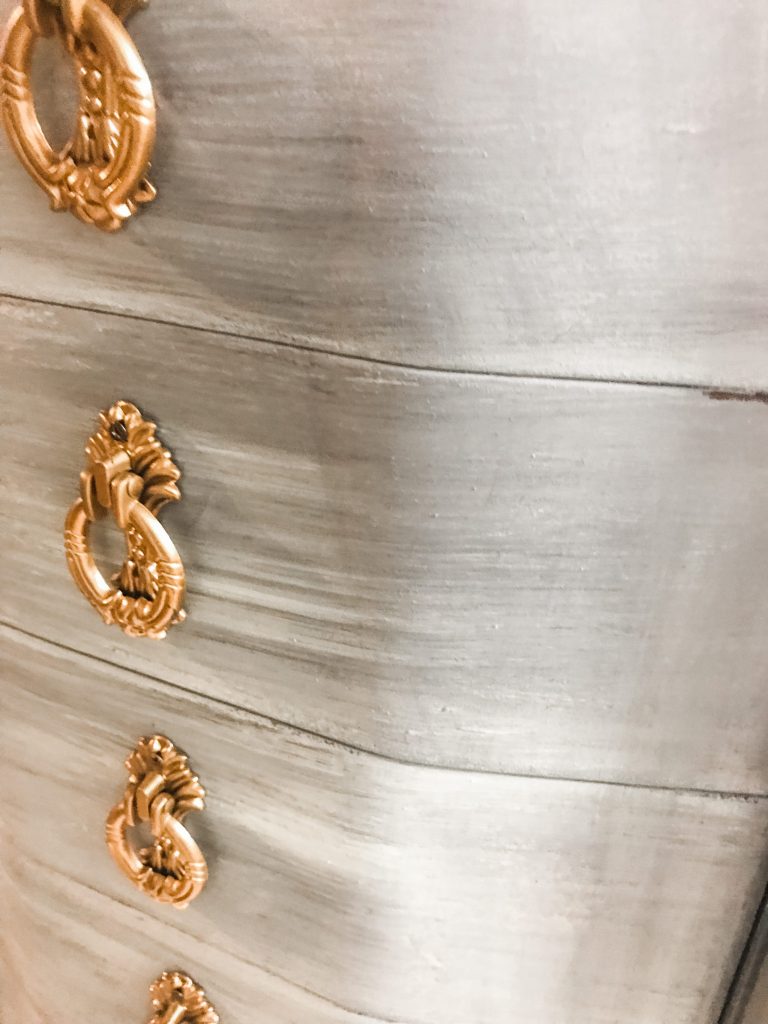
I started by removing all the drawers and hardware. I painted the entire piece and the drawer fronts with a beautiful neutral light gray matte chalk paint. Once that layer was dry, I wanted to try a dry brush technique with Junk Monkey clay and mineral hybrid paint. Have you ever heard of this brand? Is the name not fabulous?? They market this product as a paint that “sticks to pretty much anything under the sun” and the label reads “grab a brush and go bananas!” Stinking adorable, right?? I picked a blue- gray color, kind of like a denim shade, called Blue Slate.
I dipped the tip of my dry brush in the Blue Slate and used linear strokes to add that texture to the drawer fronts and the armoire. This part is so fun! There’s no need to try to do anything perfectly because the whole point is to be random!
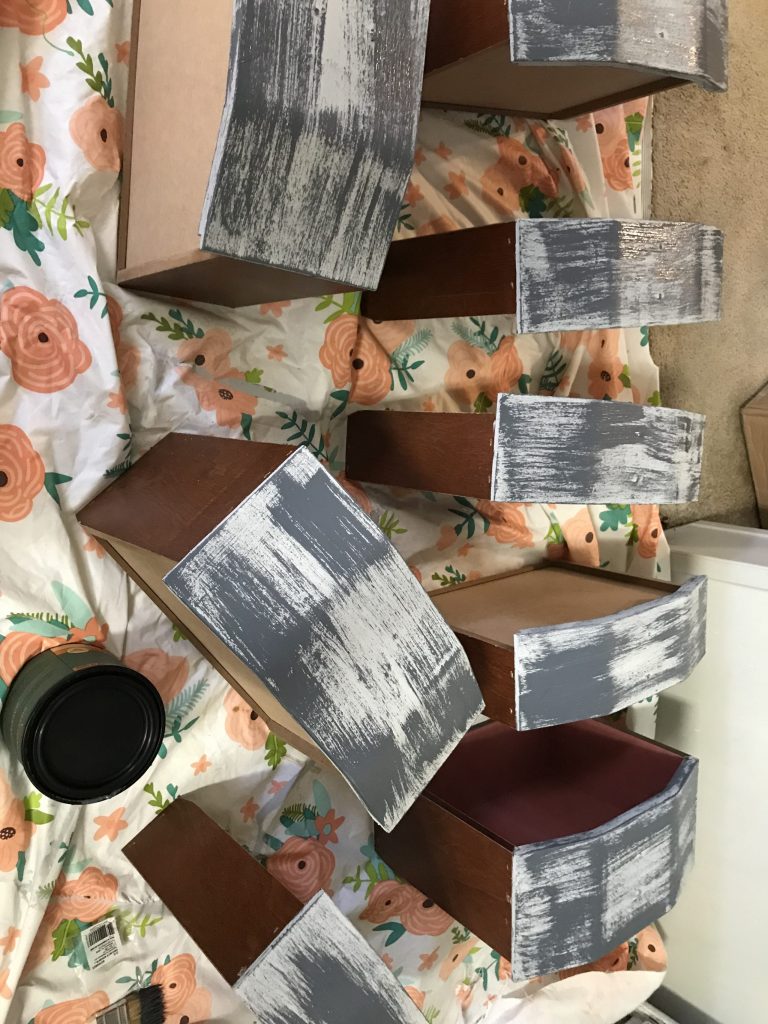
Next, I painted a thin coat of the light gray chalk paint over top of the dry brush strokes. This blended the two layers together so beautifully! Such a beautiful texture emerges from all those layers blending together. Pictures can’t really do it justice!
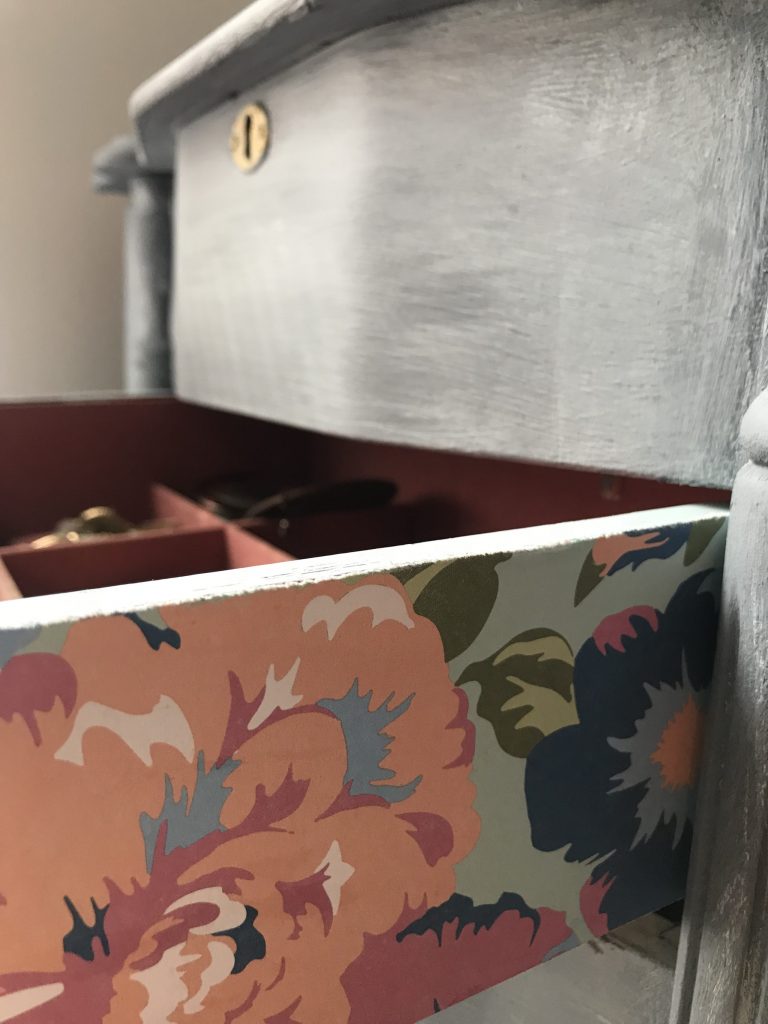
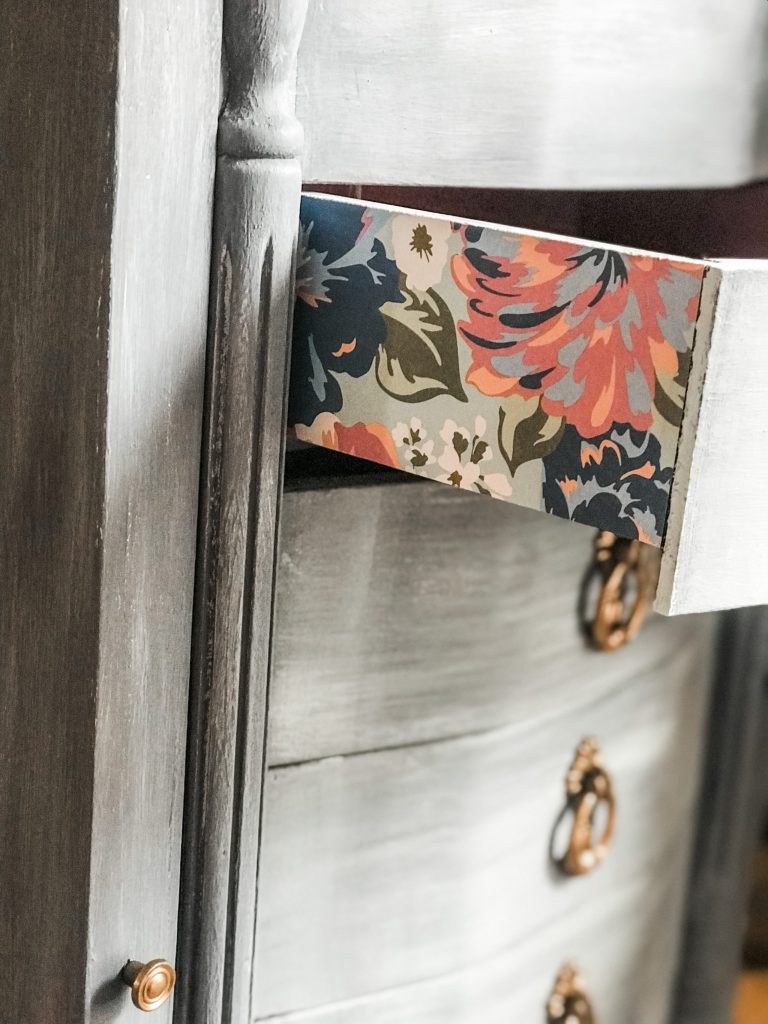
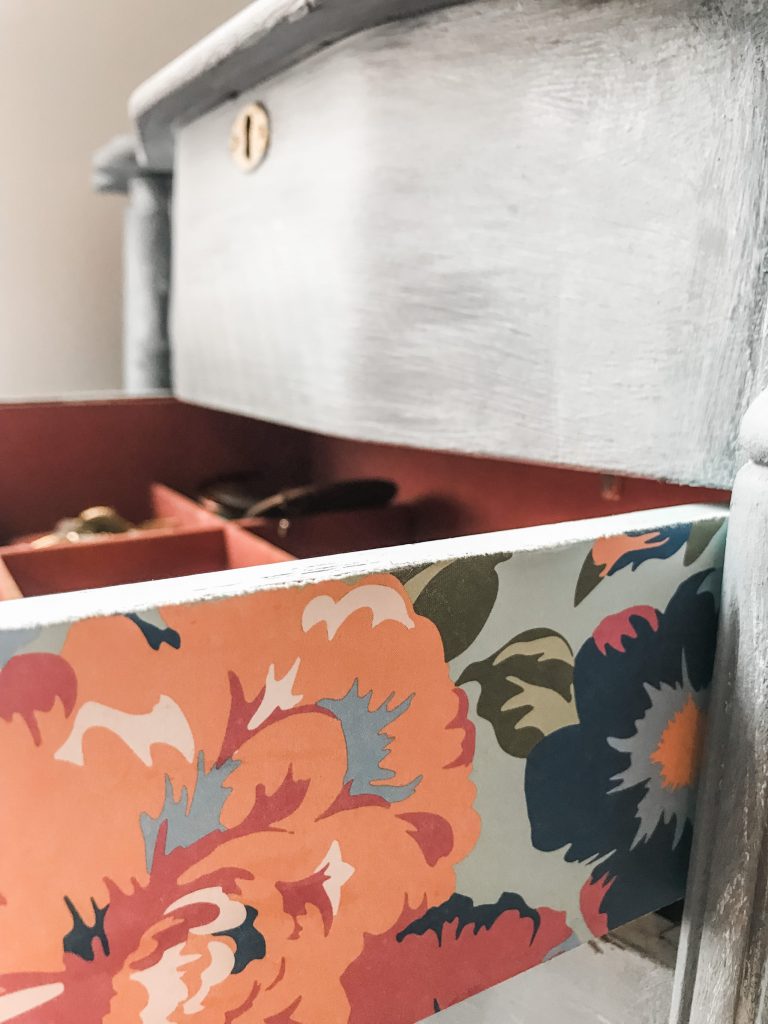
Now, the side panels of the drawers were still the original cherry finish, and I didn’t want to paint them… so I decided to use my handy Mod Podge and a lovely pattern scrapbook paper to cover them! I painted the panels with the Mod Podge and stuck the paper down, then used a sanding block on the edges to smooth the paper and give it a finished, professional look. I think that might be my favorite part! It looks that great!
Last but certainly not least, I spray painted the hardware GOLD. The shade of gold is perfect for this piece, and you would never know they weren’t gold to begin with! That’s how beautifully they took the paint!

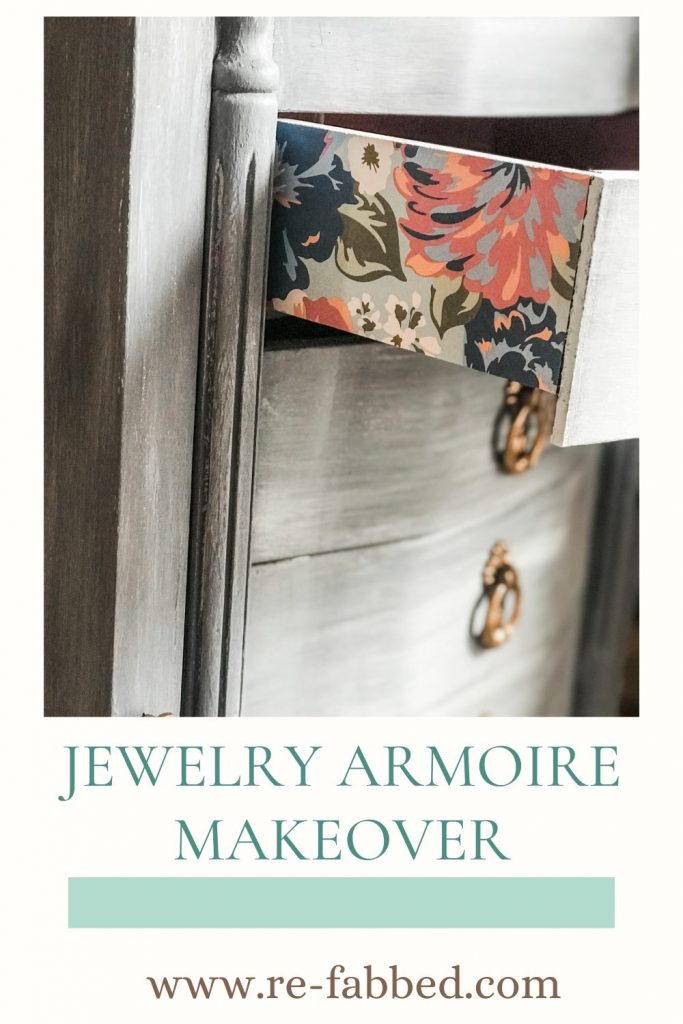
I couldn’t possibly be more pleased with this jewelry armoire overhaul! The before and after pictures are just amazing to me. The new and improved version is so trendy and fresh!
Thank you for spending some time with me today! I hope you love this armoire as much as I do, and that you loved a little glimpse back at the hobby that grew into my dream called Re-Fabbed! I’m so grateful it’s brought us all here together! I hope to see you here very soon with something new!
Be sure to PIN THIS FOR LATER!
JOIN MY TEXT LIST! FOLLOW ON INSTAGRAM!
Last Updated on May 3, 2022

Beautiful looks more elegant now . I have been looking for a way to redo my bathroom it is all dark vanity mirror and a very small space was thinking a distressed look but not sure might start with a light grey chalk paint and see where it takes me I guess. Thank you
Wow this turned out great. I absolutely love the colors used! Thanks for sharing ????
It looks beautiful! Love it!
I especially like the mushroom soup and tuna effect! Tuna casserole anyone? (Love the redo on the jewelry chest!)
Brooke your amorie turned out so beautiful. I can not believe the difference. The color is amazing. . I love the whole technique of the mixed colors. I also like how you modged the sides of the drawers. An the hardware is perfect.!!. What a perfect piece. Thanks for sharing.????
This came out super cute.
I have this same jewelry armoire and absolutely love your redo. My favorite parts are the decoupage on the sides of drawers and the gold hardware. Brooke you did a great job. Love the total outcome. ????????????????
Beautiful
Great transformation!! Love it!! ❤️
What a great idea! I have one that needs something done to it because it is scratched up and this would be great!!! Thank you Brooke for the inspiration!!!♥️
Love it, Brooke! I have The Exact jewelry armoire and I placed it in my walk-in closet because it doesn’t match my bedroom. Perfect idea you had and thanks for sharing!
It looks amazing!!!
Very pretty furniture
I do think your work on the jewelry armoire is perfect for your room. I tend to not like grey. I have my bedroom in cherry oak amish furniture. My quilt on my bed is a boho stitched quilt look. The rug is a blur of those same colors. Bright colors and lots of wildflowers in the quilt squares. Before we had this home built we were in a very drab mobile home. I hated the drab brown paneled walls. And brown laminate flooring. As well as a brown carpet. I love everything that you have done with your home. I also love whimsical and bright colors and I have some vintage McCoys items. They make me happy. ♥️
I have the same armoire. I’ve had it for years. I’m going to give it new life. Thanks Brooke ????
BROOKE! This is, hands down, my favorite piece that you have made over. I. absolutely. Love. It. I have a second hand Vanity that I purchased that needs painted. But I couldn’t decide on how I wanted to painted it.. you’ve inspired me. I will definitely use this technique.
Turned out gorgeous!! I love the gold!!
How absolutely adorable! I love this!!
I also have a dark cherry jewelry armoire that I love. I had never imagined painting it before but after seeing yours, I’m really thinking about it now. Your turned out gorgeous ????
Wow, how beautiful, such a great idea.
Thank you! ❤️