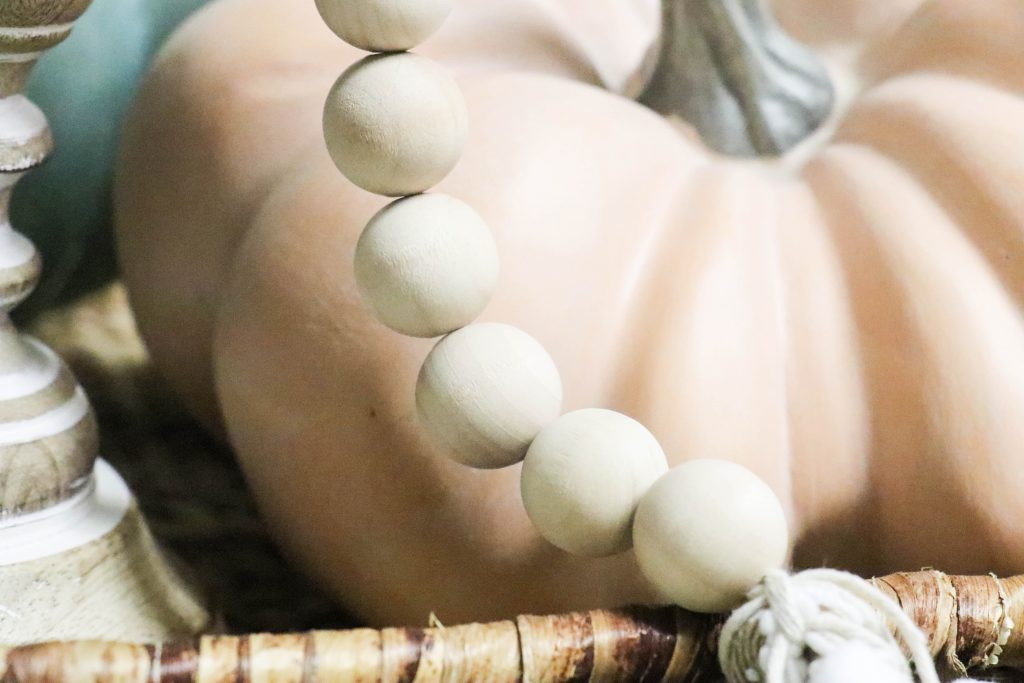
I know you have seen those precious wood bead garlands all over the place over the past few years, am I right?
Well, many many many of you have emailed me asking ME for a tutorial on how to make them. While there are many tutorials out there, I decided to do one for myself- because guess what? I had never made one myself!
I love the garlands with the tassels at the end, but I really wanted one with a little bit of the twine and lots of ribbon, so mine is a tad different than some you will see!
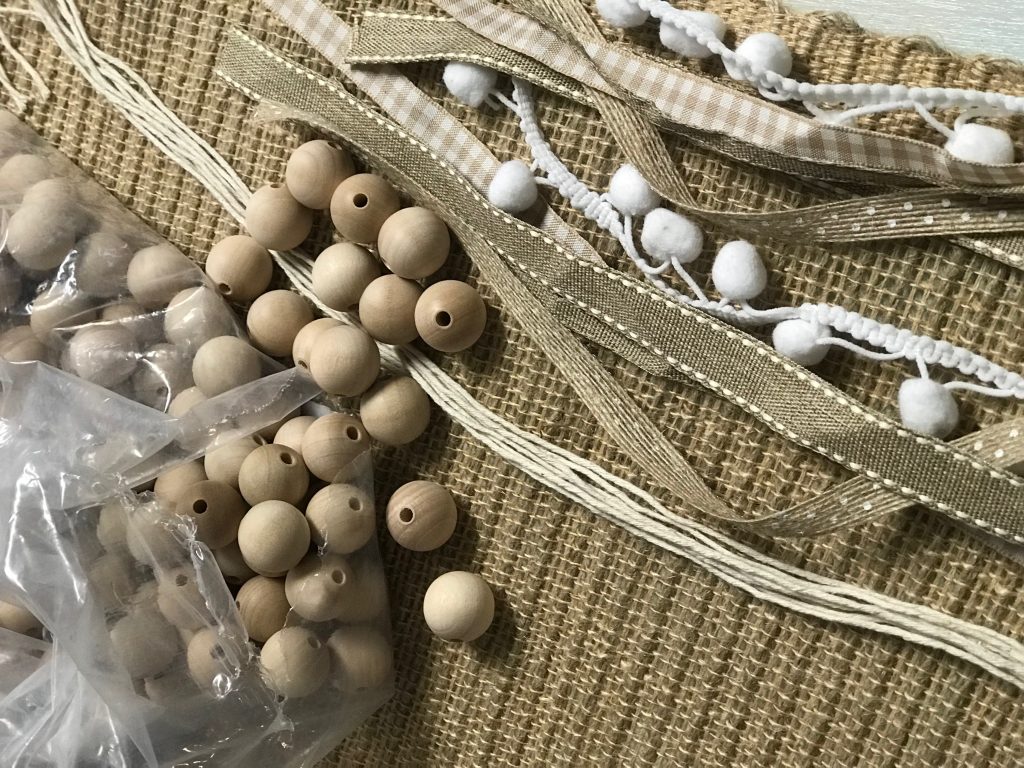
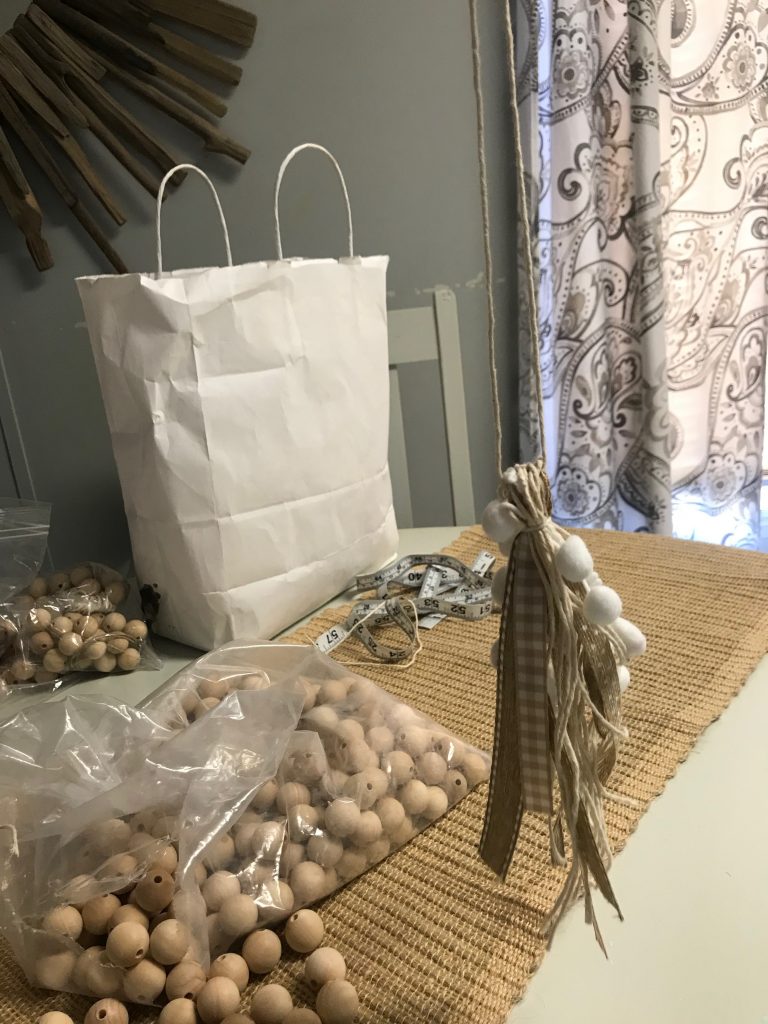
What you need for this project:
Cotton Twine or Jute (any craft store or Walmart will have this-even Dollar tree)
3/4 “Wood Beads (any craft store or here is some on Amazon*affiliate* You can use other sizes. This is just what I used in this tutorial.
Ribbon of your choice
This project is very easy! I tried to take as many pictures along the way as I could, but I think once you get started, you will get the hang of it.
The measurements I am giving is what I used on this specific garland. Mine is not a super long garland, so it is shorter. I have tons of long ones and wanted mine to not be as long this time. You may want longer, so adjust the measurements to your desired lengths!
So, starting out…
Cut your twine and ribbon into 14 inch pieces. You will want 2 sets of each, for each side of the tassel. (the twine is not pictured here, but you will need about 3 pieces of 14 in twine on each side)
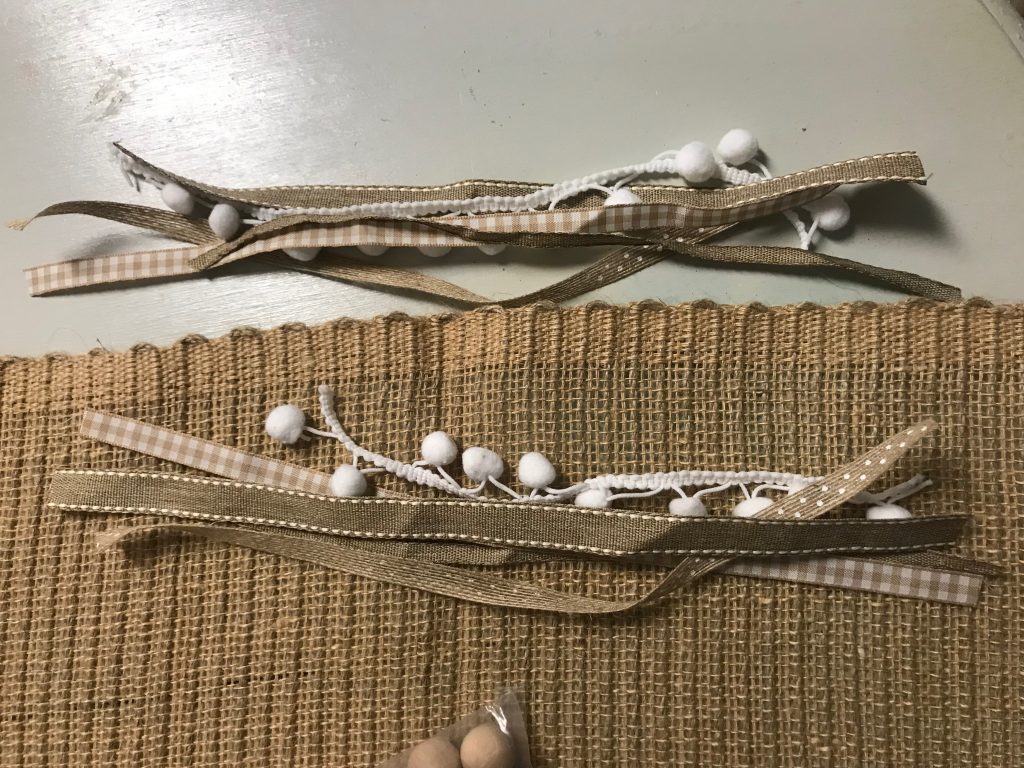
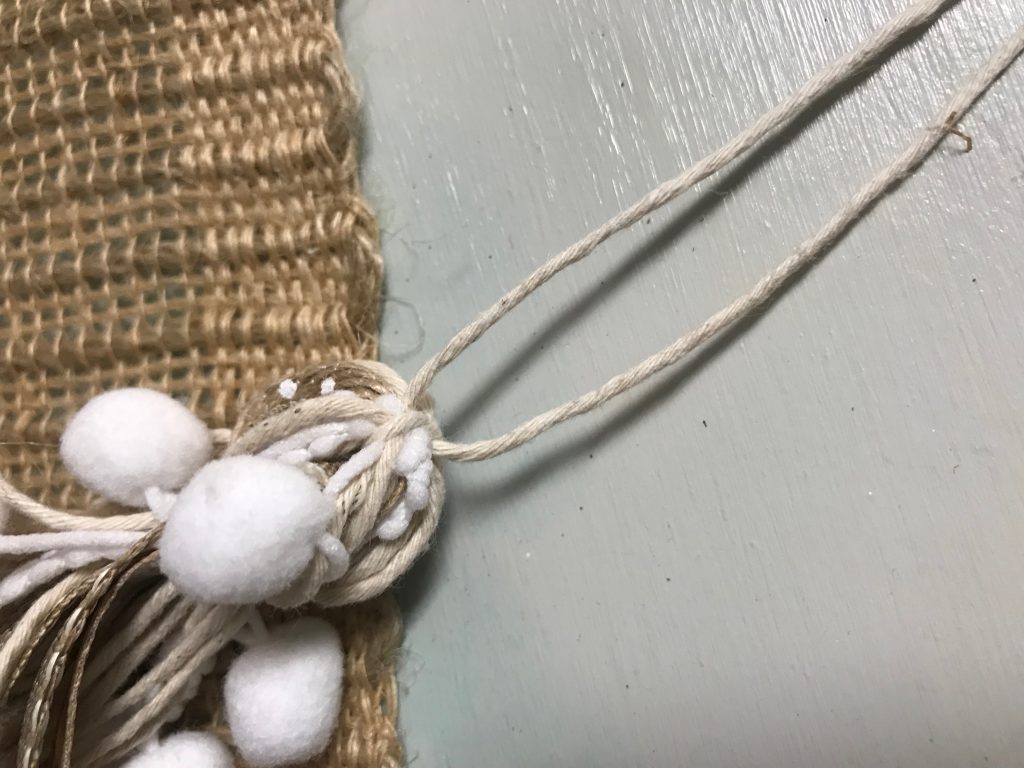
Next, gather up 1 side of the ribbon in the middle, as pictured below.
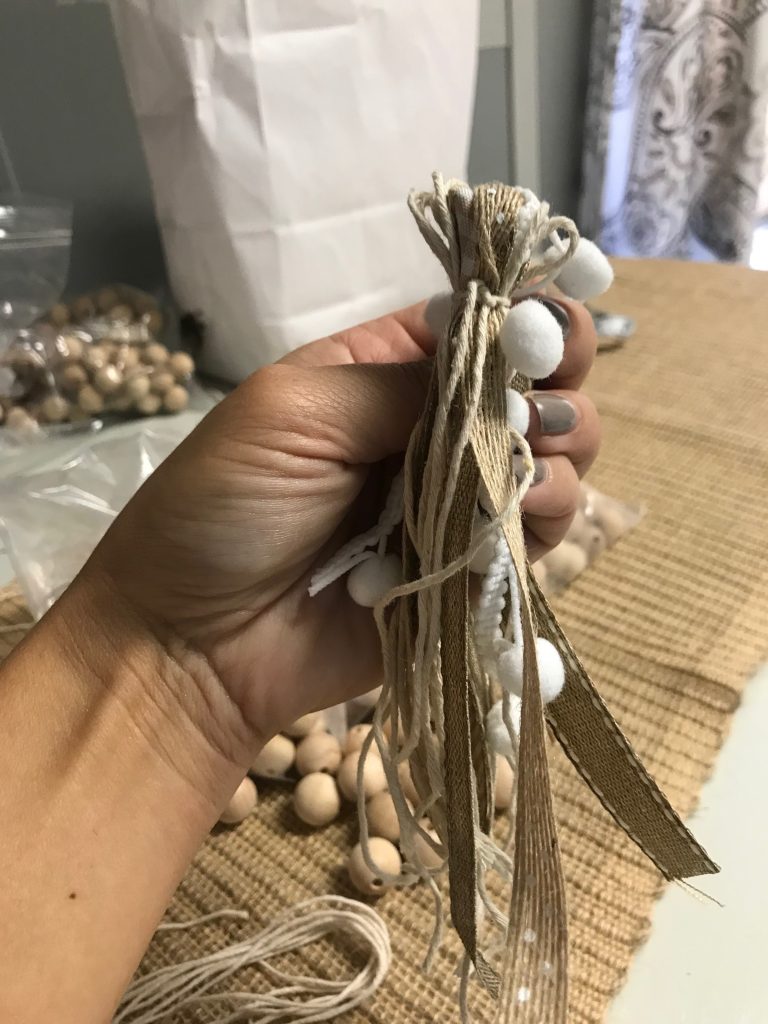
Next, take an extra piece of twine (just long enough to wrap it around the top) and tie it all together as pictured below.
You can let the excess twine hang down on your tassel after tying in a tight knot.
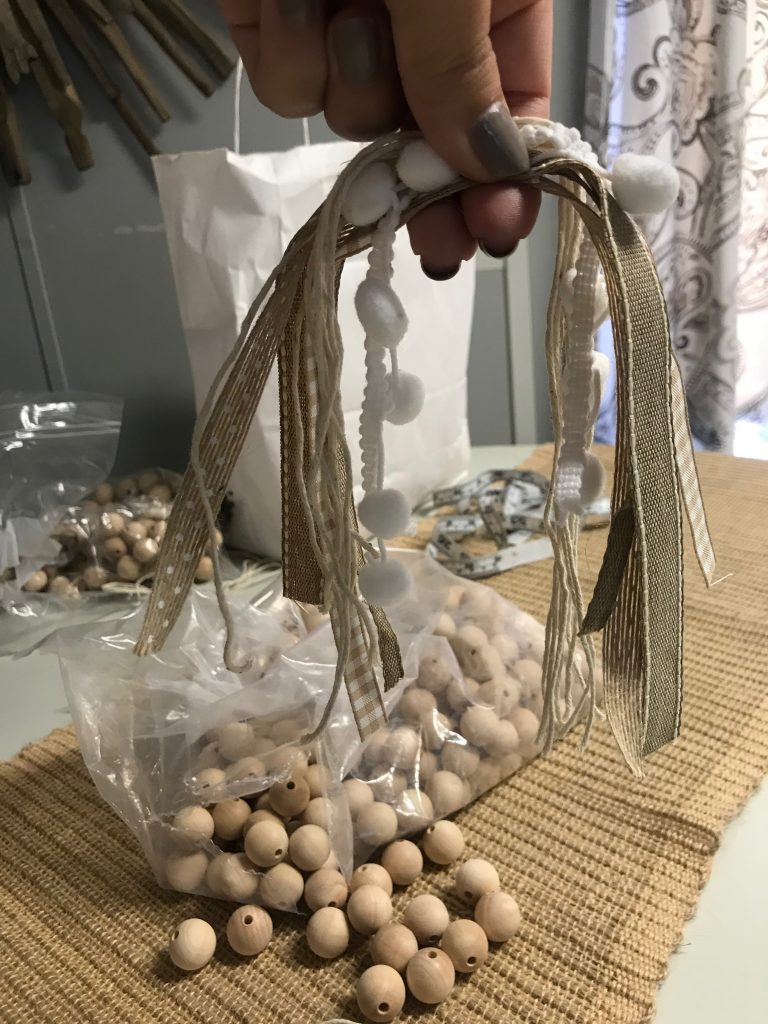
Next, take a long piece of twine (mine was 24 inches long) and thread it through the loop in your ribbon tassel (as shown below)
**Note: Once you thread the long piece of twine through the loop, you will tie a knot so that it stays in place. Make sure after you tie your knot, that you cut the excess off the one side of the knot, so that you are only working with 1 string. THAT is the string that should still be 24 inches if you are doing the exact measurements in this tutorial. If you are not, your 1 string needs to be the length of the garland you want to make…however long that is.**
Now you are ready to thread your beads!
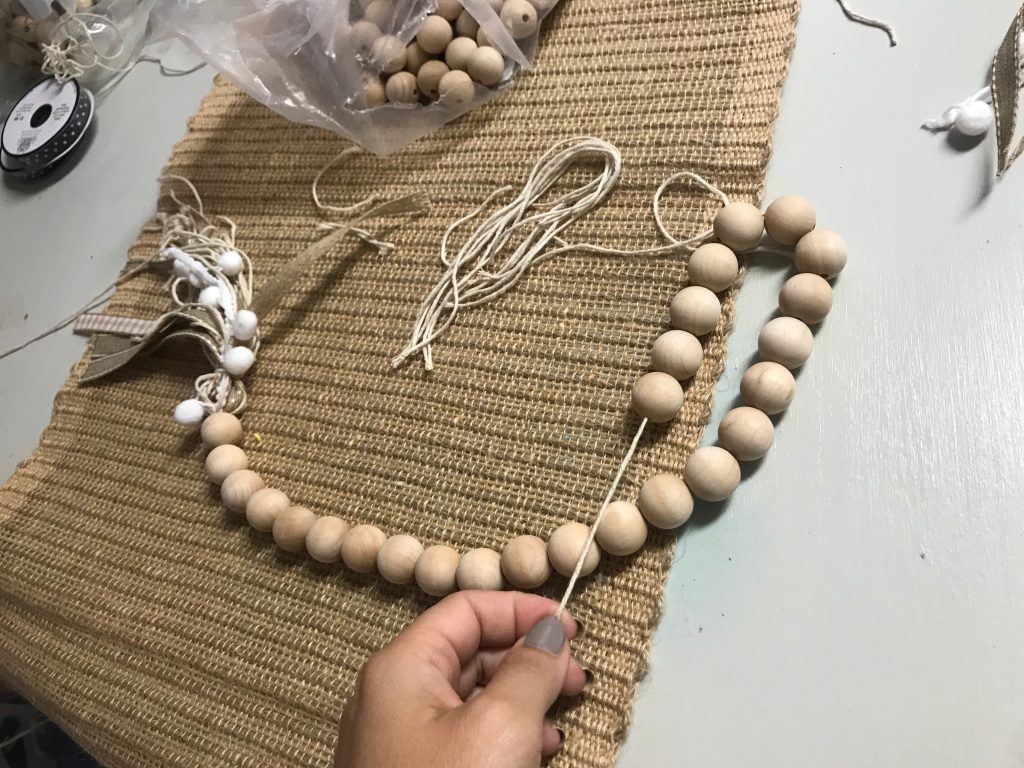
Once you get to the end, tie a couple of knots in the twine so that the beads can’t slide over it.
Then proceed to make another tassel with your remaining ribbon/twine.
You will attach it the same way as before! Make a loop in the tassel and tie the excess twine through the loop!
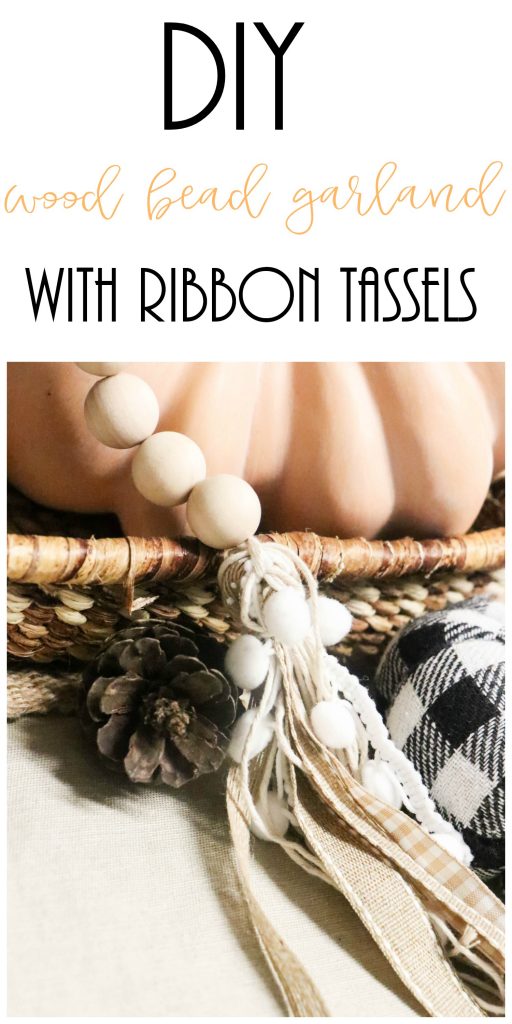
Then, you are DONE! You now have a super cute wood bead garland with ribbon tassels to decorate with!!!

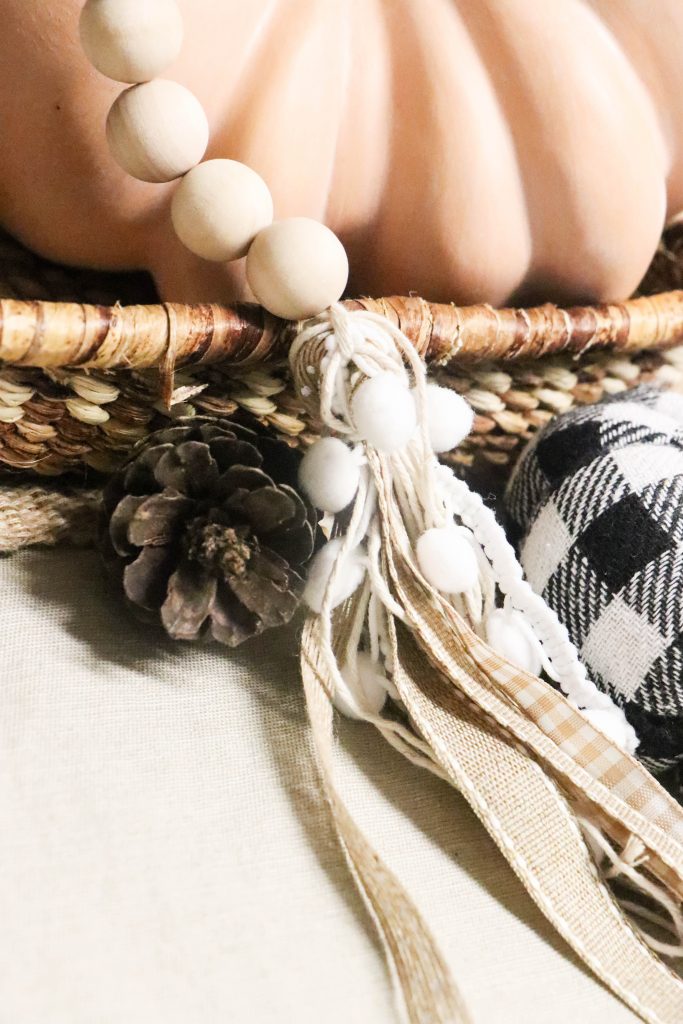
HOW CUTE is that???
PIN FOR LATER!
Follow on Facebook and Instagram!
Last Updated on November 4, 2020

LOVE THIS SO MUCH!!! just might have to make this soon!!!
cuteness!!! where did you get the bag-o-beads? I can’t find them anywhere!!! please share!!! TY!
Hey! I shared a link to them in the. Log post!! Thank you ?
I love the beads ! Been looking for red ones. FOr my Christmas tree, so just got the idea to paint them myself ! ❤️