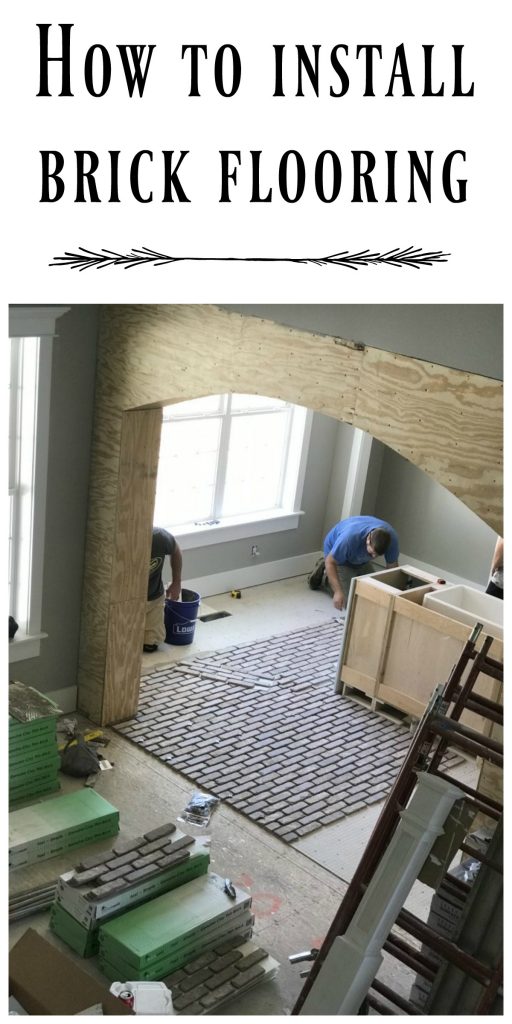
If you have been following our house build process on Social Media, you know we are using BRICK FLOORING! (Follow on Facebook and Instagram!)
**If you are interested in purchasing or learning more about Brickweb, you can visit their website right HERE! BE SURE TO USE MY CODE for an extra 5% off your order on their site! The code is Refabbedbybrooke
Many people have asked questions about this, and I understand the curiosity- trust me! When I was looking into using brick on our flooring and archway, I had a VERY VERY hard time finding ANY information too! That is why I am determined to try to help as much as I can!
So, for PART 1 of this 2 part post, I shared the process of laying the brick. You can find that whole post HERE. It showcases everything UP UNTIL the grout part of the process. This post will show the grout part, up until the finished product!
So, here is the process after it is to the point that it is READY to grout!
Pick your grout color. We used Mapei Pearl Gray Sanded Grout. We used a grout maximizer additive instead of water because it helps prevent stains and keeps good color consistency. It also seals it.
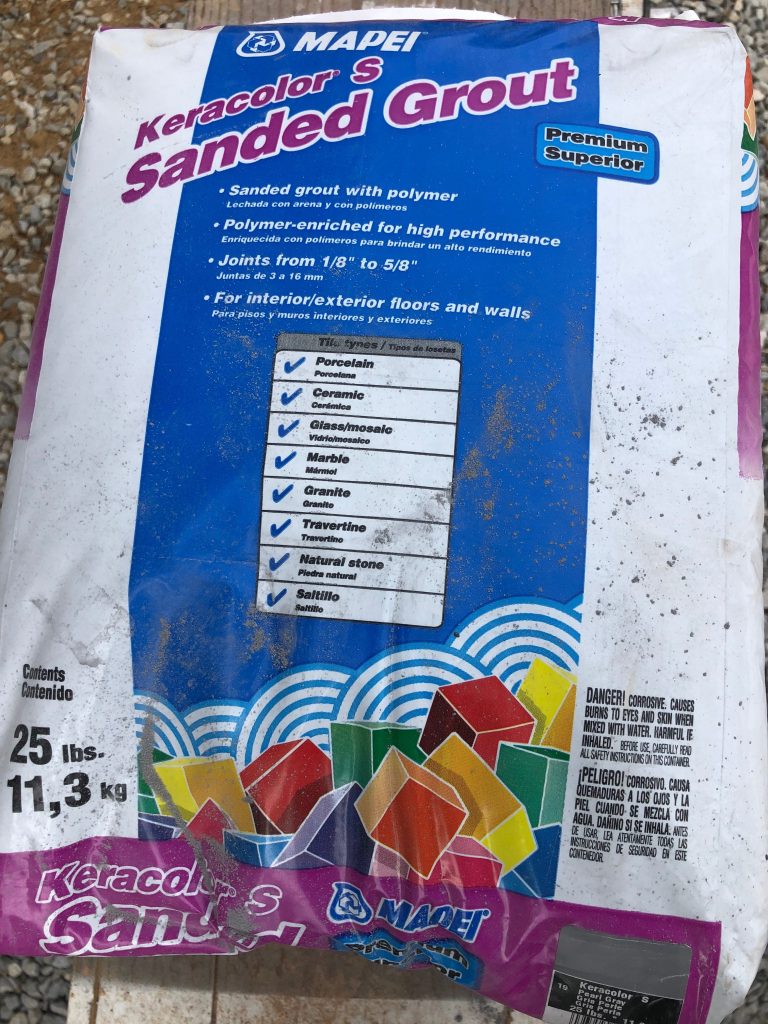

Mix that together per directions on the bag!
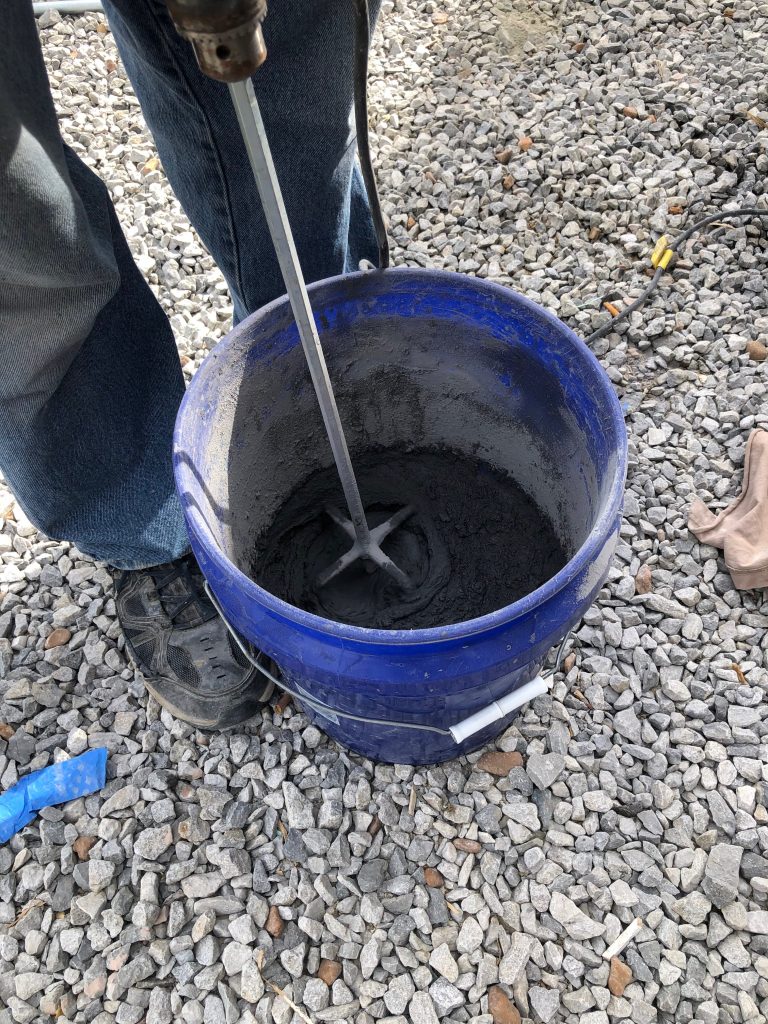
(As I mentioned in part 1- we use our drill and a 5 gallon bucket)
Fill your grout bag with grout mixture.
Fill all brick joints with the grout mixture.
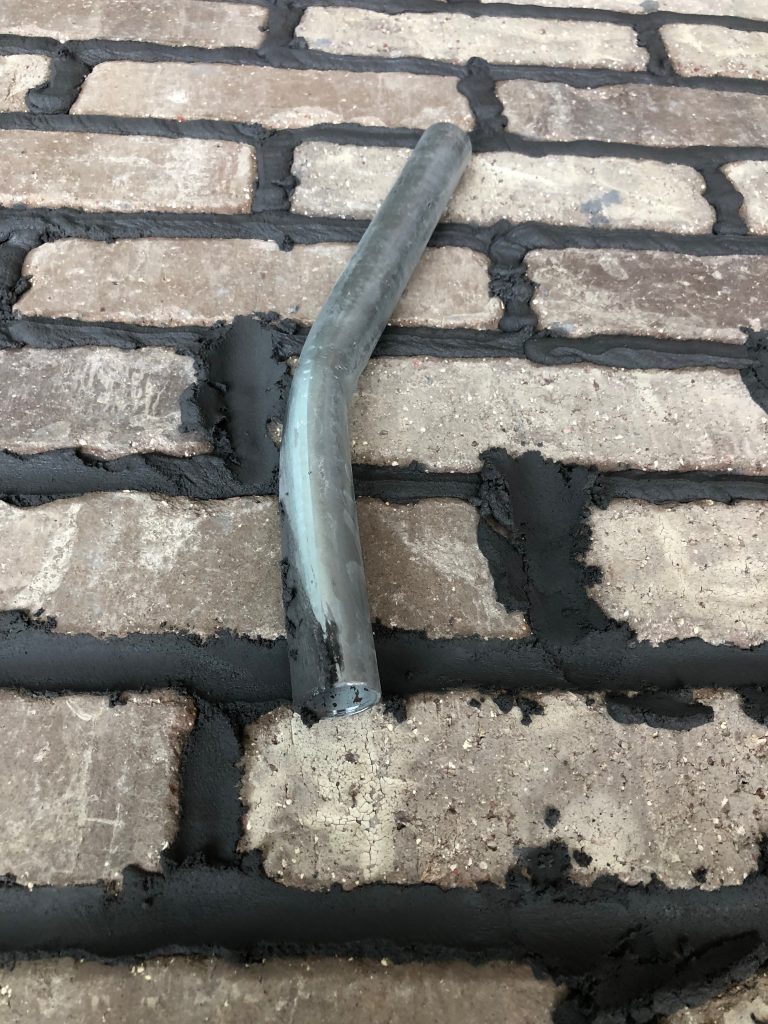
Let it set a few minutes until it starts to firm up good. You do NOT want it hard, just firm.
Then, you are going to “tool it off”. We used a 3/4″ piece of pipe and bent it because the grout tools in the store were too narrow, and we wanted them wider and not as deep…we didn’t want super deep joints because it would be harder to walk on.
After it was tooled, we used a shop vac to get the excess grout off!
In order to get smoother joints, Brandon went over them all with his fingers and let it dry. This is a tedious process, but it is important!
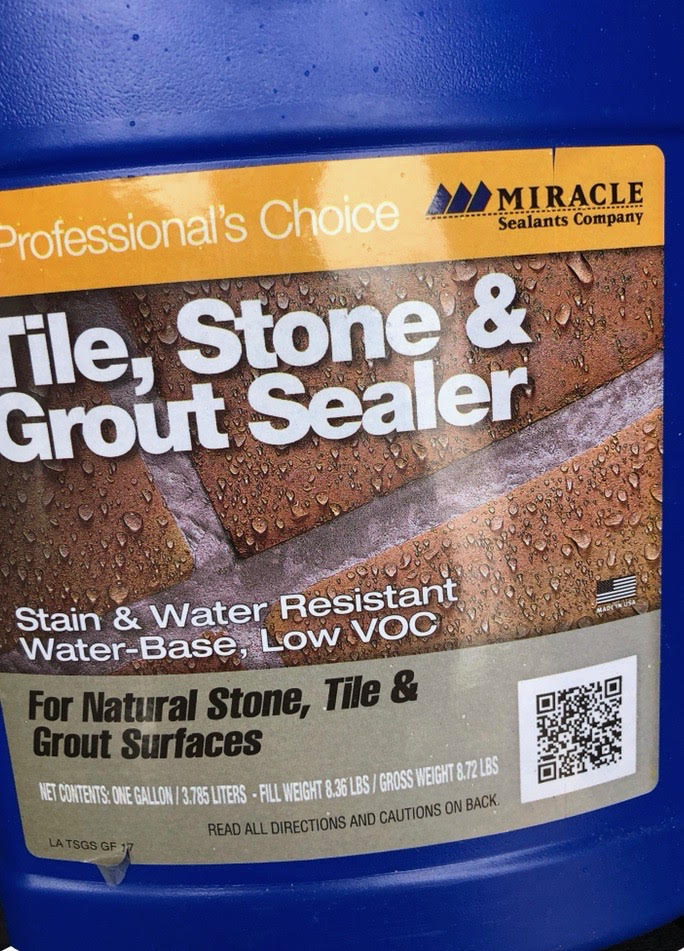
To seal, we used Miracle Stone Sealer- and we rolled it on! It is clear and dries clear, leaving your brick the same color!
Here is a short video showing you the process up until the tooling! It is very easy to use and do!
Installing Brick Web brick flooring (the grout process)
After you have done the grout, you will tool and vacuum excess, here is that video!
Installing Brick Web brick flooring (tooling & vacuuming)
If you are interested in purchasing or learning more about Brickweb, you can visit their website right HERE! BE SURE TO USE MY CODE for an extra 5% off your order on their site! The code is Refabbedbybrooke
Be sure to Pin for Later!
Last Updated on November 4, 2020

Leave a Reply