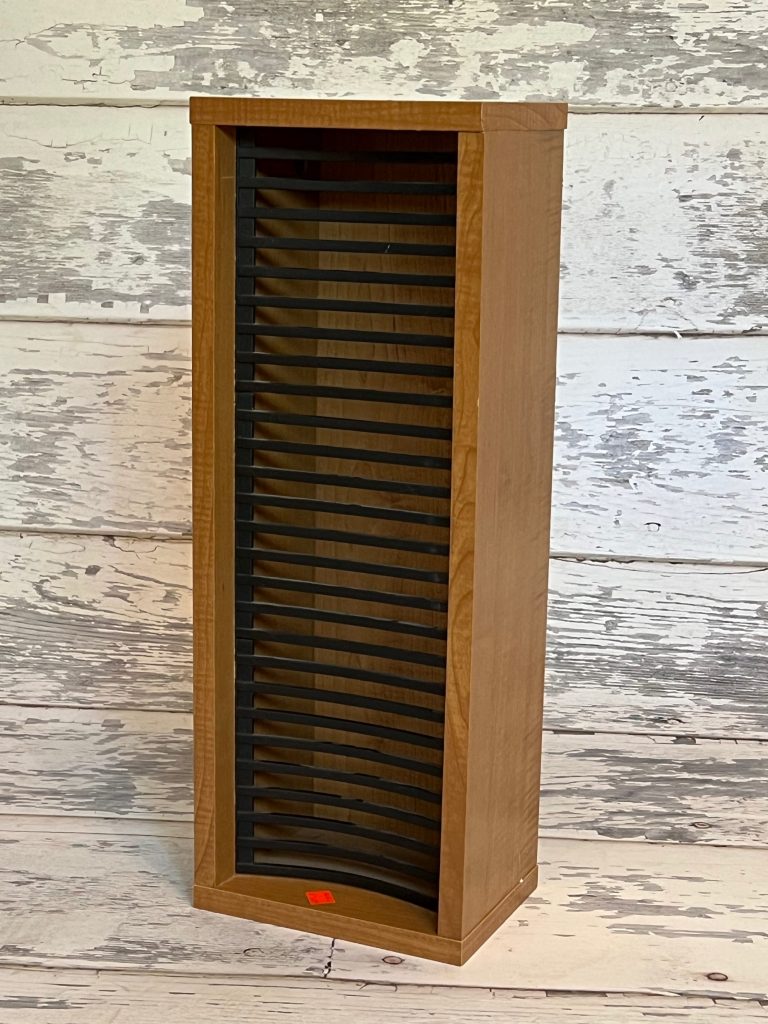
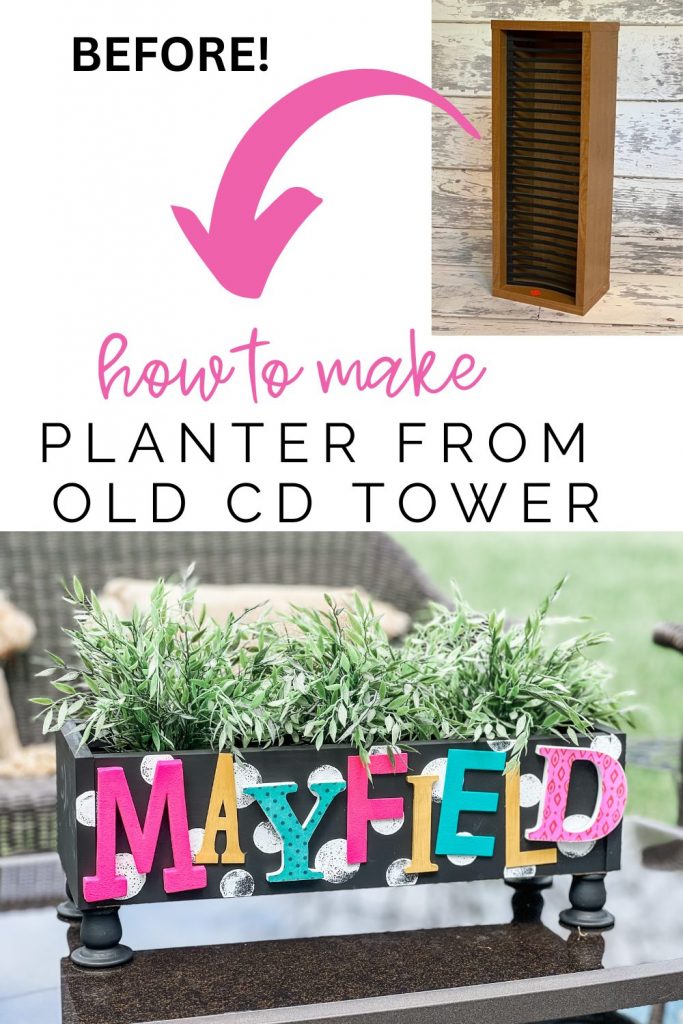
Re-Fabbed is my name, because I absolutely LOVE to take something drab and turn it into FAB! Sometimes I look at something and struggle to see the beauty, but when I saw this old and outdated CD tower, I KNEW immediately what I wanted to do with it! I think the end result is TOO CUTE! It makes me happy, and I think y’all will love it!
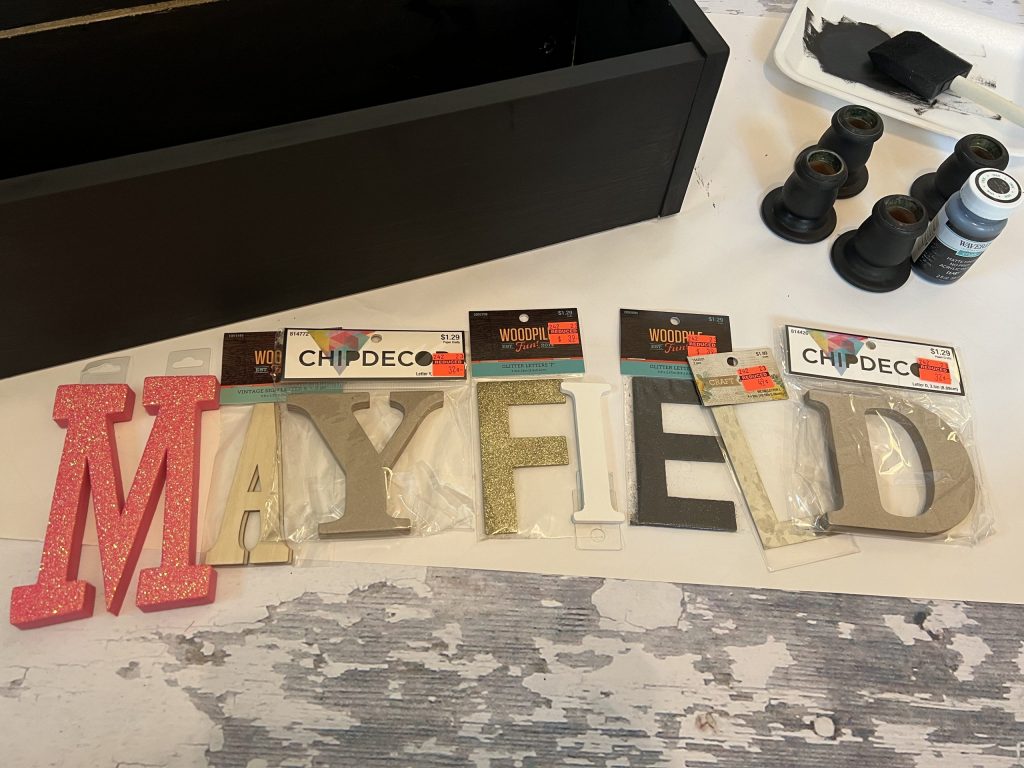
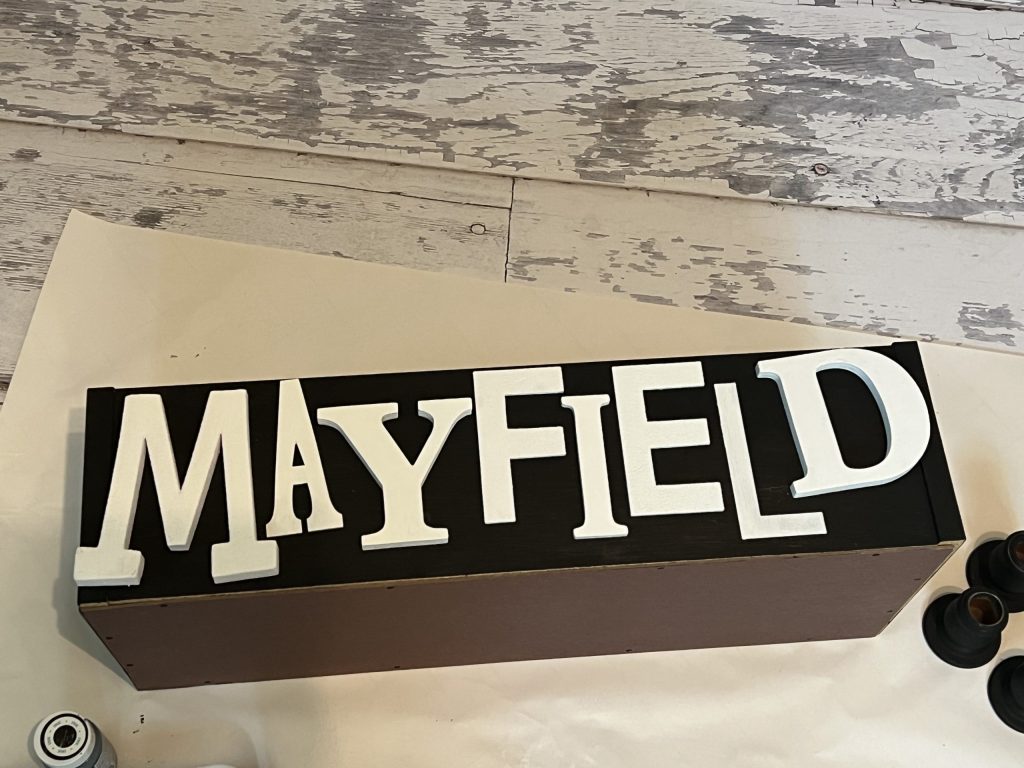
While browsing the clearance section at Hobby Lobby, I came across a variety of letters at a CHEAP price! I grabbed some to spell our hometown of Mayfield.
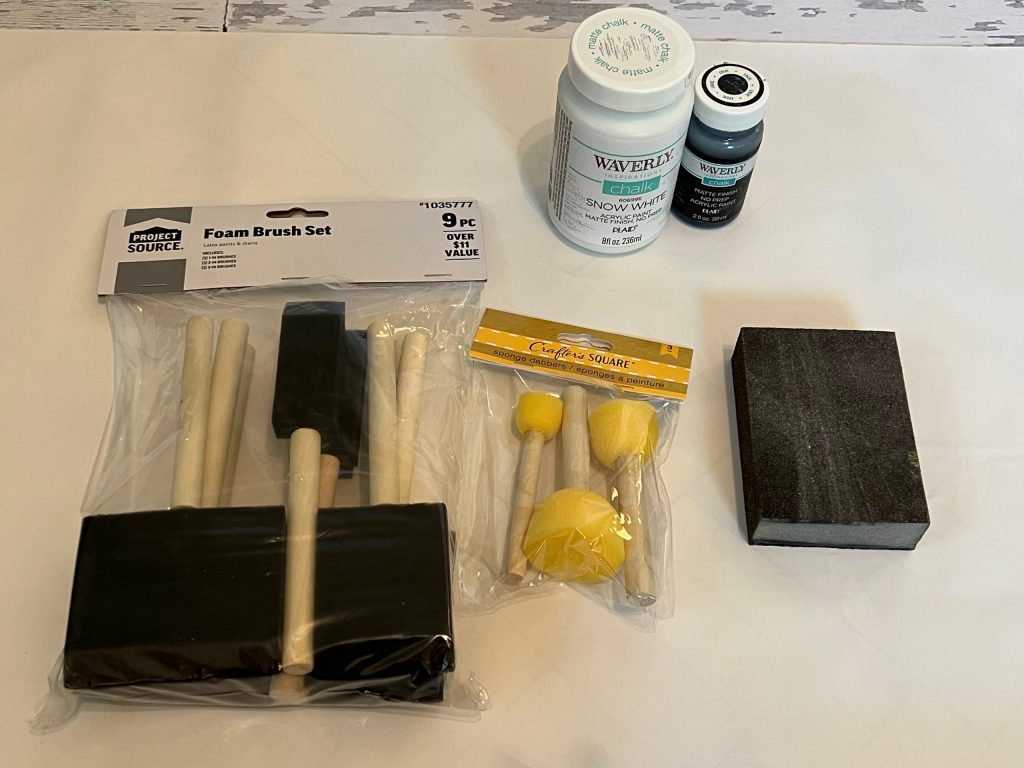
Here is the complete list of supplies I used for this project:
- CD tower
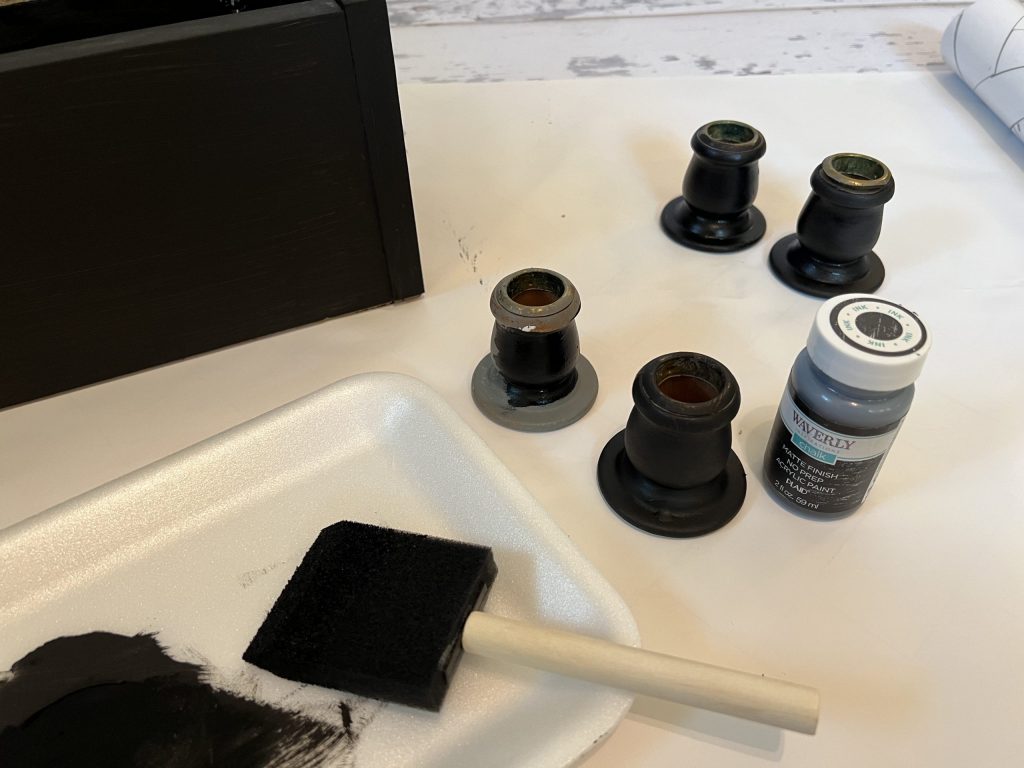
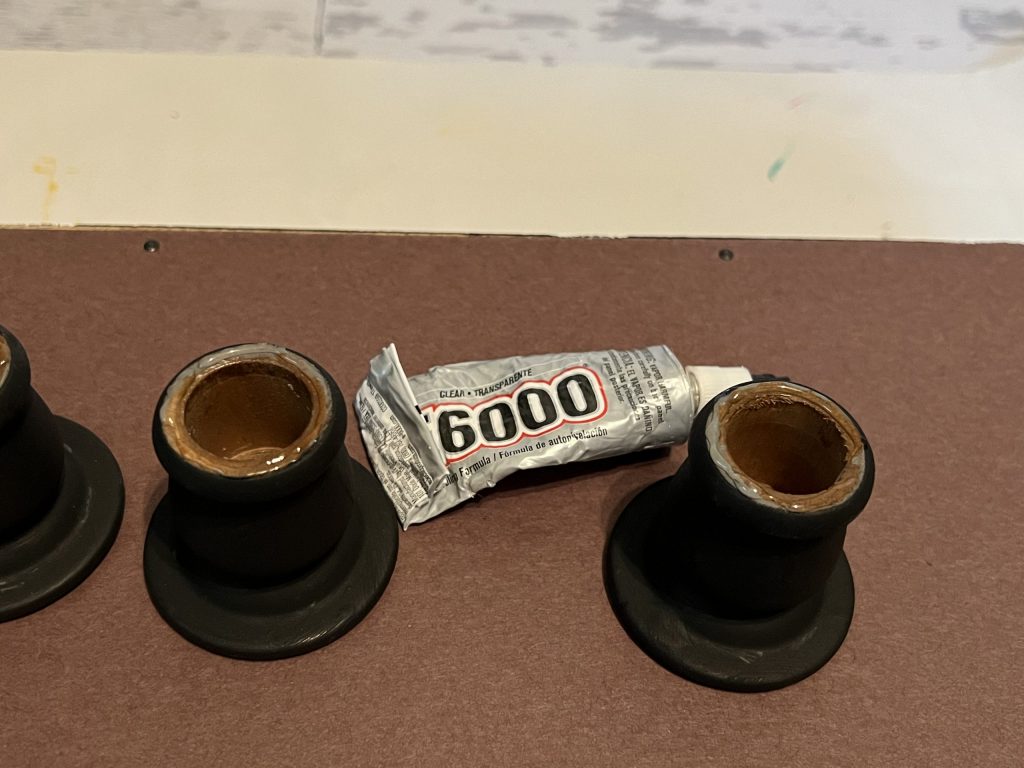
- (4) small candle holders – can be purchased at Hobby Lobby
- Waverly chalk paint in Snow White and Ink – purchased from Walmart
- Apple Barrel paint in Yellow and Pink Eraser – purchased from Walmart
- DecoArt Chalk Paint in Keepsake – Hobby Lobby
- Assorted scrapbook paper
- Assorted letters – purchased from Hobby Lobby
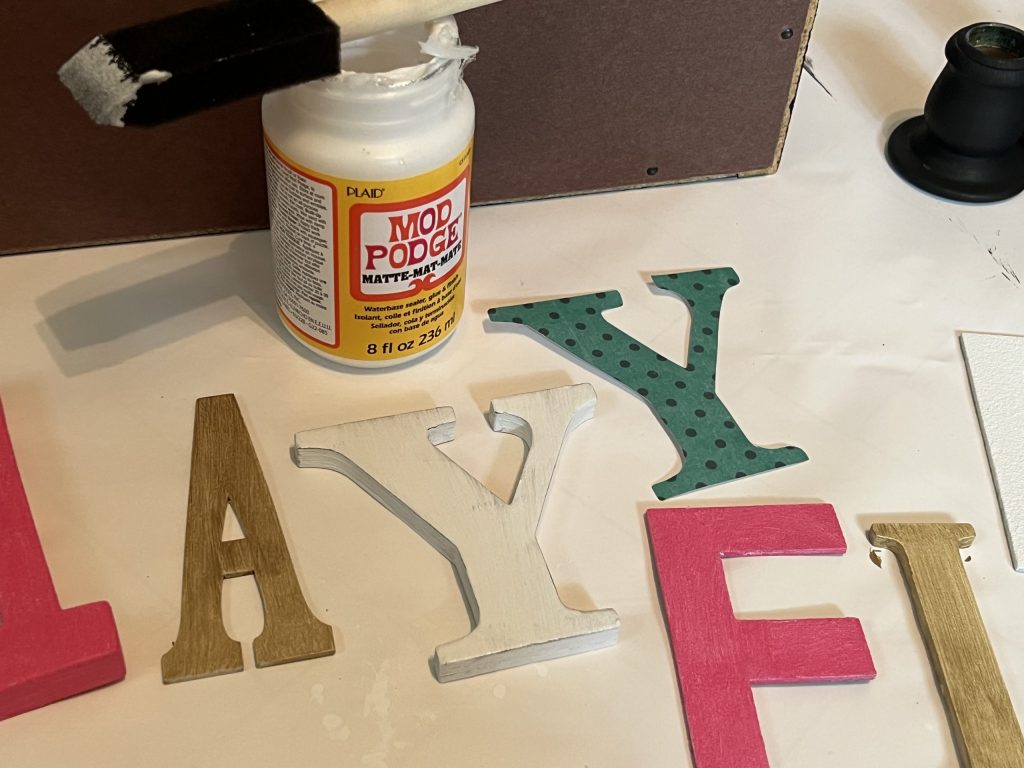
- Mod Podge
- Foam Paintbrushes
- Foam daubers
- Pencil
- Scissors
- Sanding block
- Hot glue gun
- E6000 all purpose glue

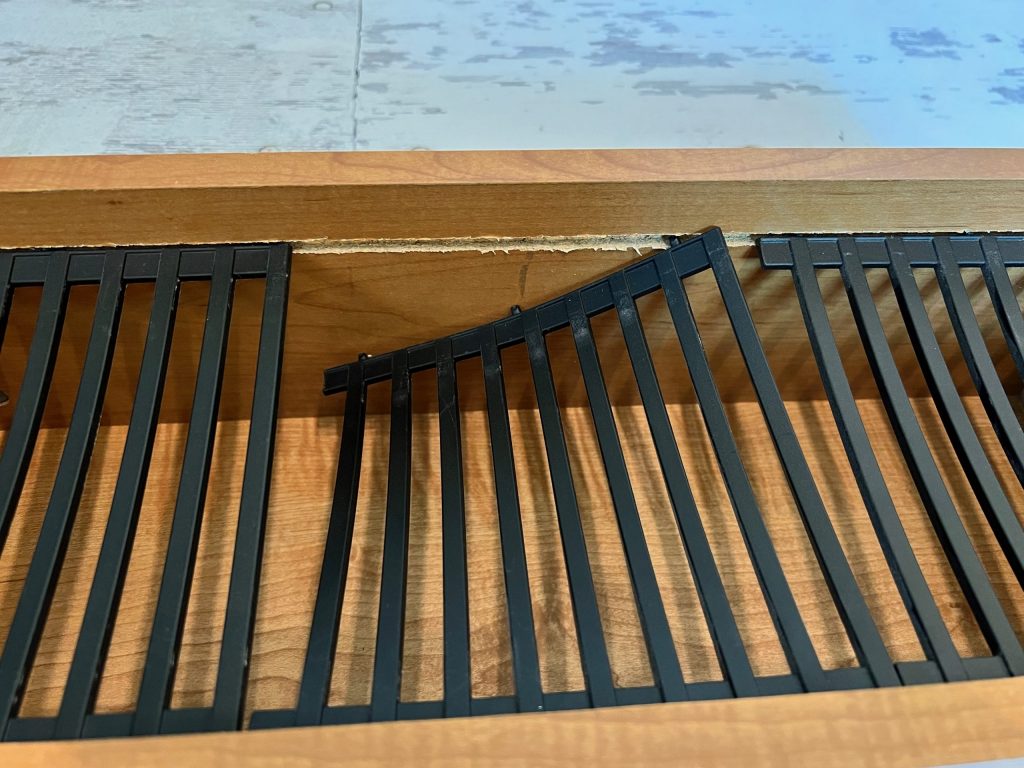
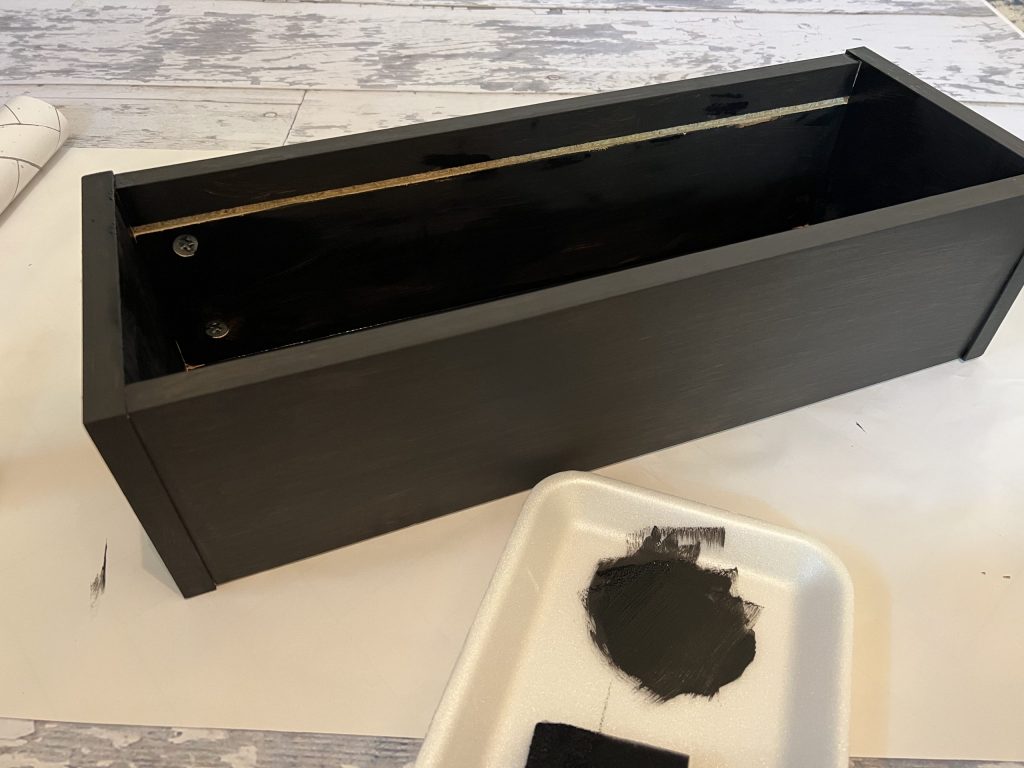
First up, I had to get rid of the old plastic dividers! These were easy to just pop out.
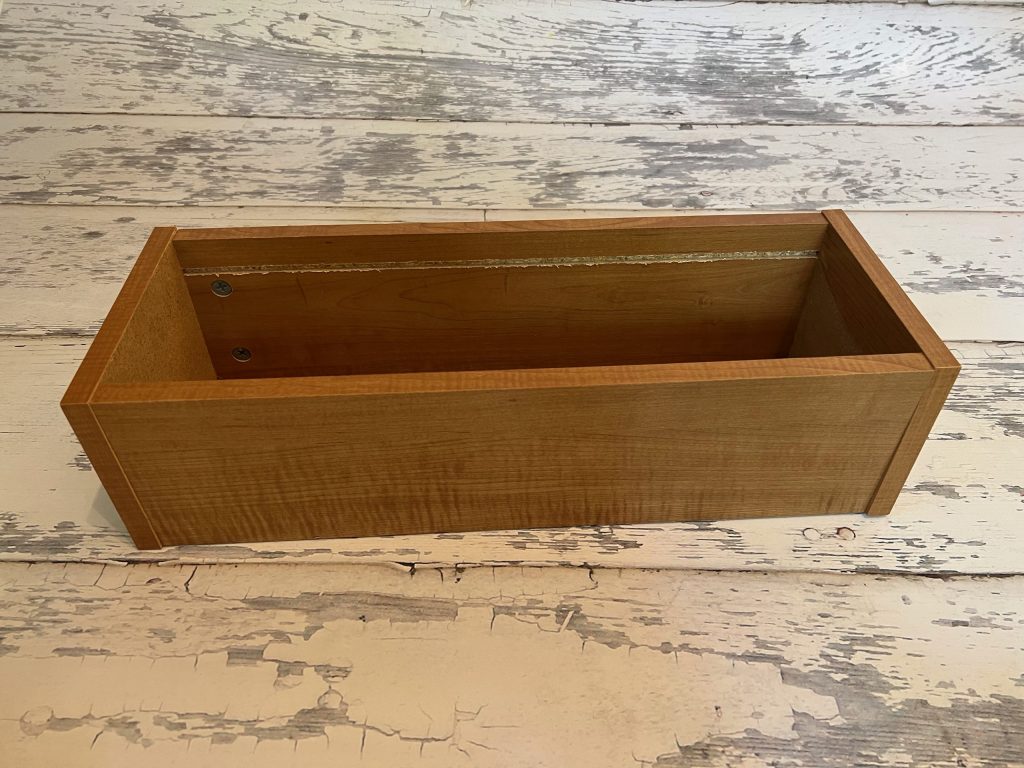
Next, I sanded it down just a bit to smooth some rough spots. Then, I wiped it down with a damp rag to remove the dust and residue.

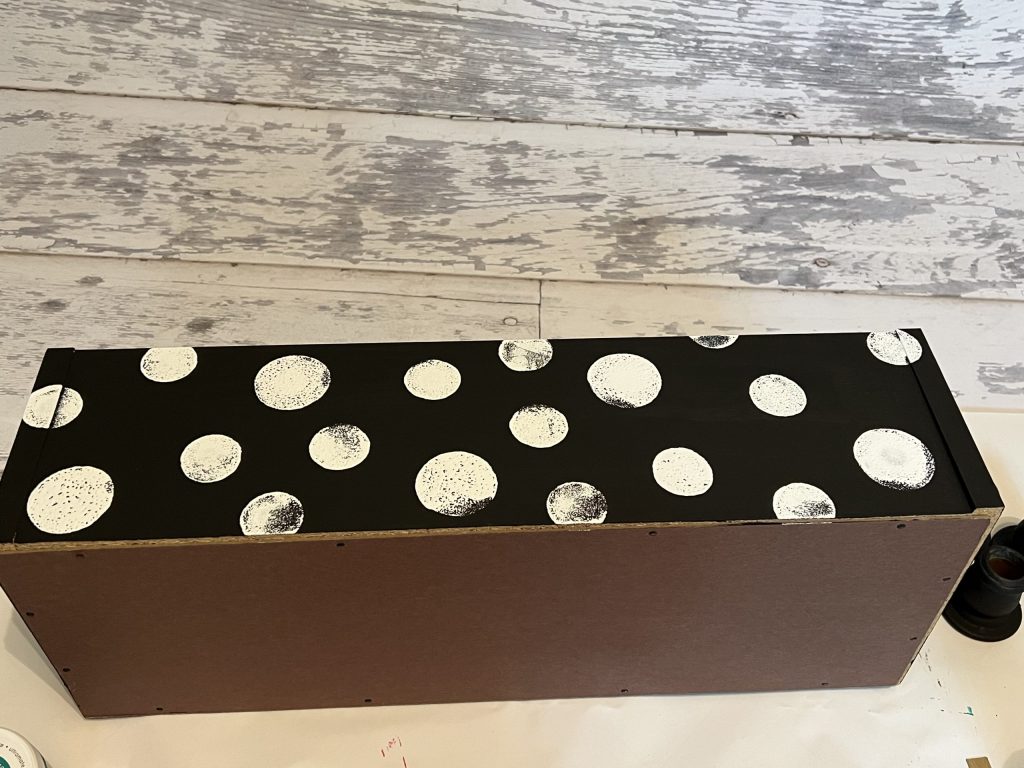
My plan was to paint it black and then add some white polka dots. I purchased some new foam brushes from Lowe’s, and they are incredible! They are much denser than the brushes from Dollar Tree, and they can be reused multiple times. I picked up the round daubers from Dollar Tree.
I painted both outside and inside with black chalk paint.
I planned to use the candle holders as feet, so I painted those black as well.
While the box and feet were drying, I started working on the letters. They were all different textures, colors and materials, so I decided to paint them all with white chalk paint.
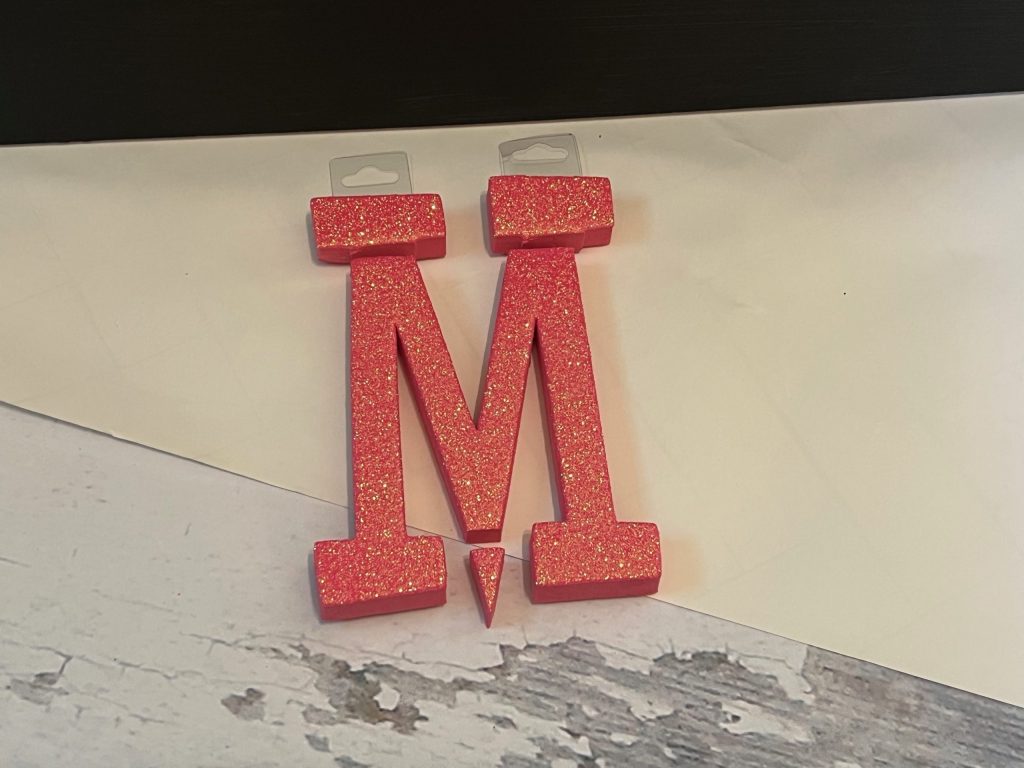
The “M” was a little large, so I made a few adjustments with scissors before painting.
After painting all of the letters white, I stood back and said “NOPE!” Y’all know me…I love black and white, but more than anything, I LOVE COLOR!!!
I raided my scrapbook paper and paint stock, and I landed on a color palette I liked.

Using Mod Podge, I decoupaged the chipboard letters with scrapbook paper. First, I traced the letters on the back of the paper and cut them out.
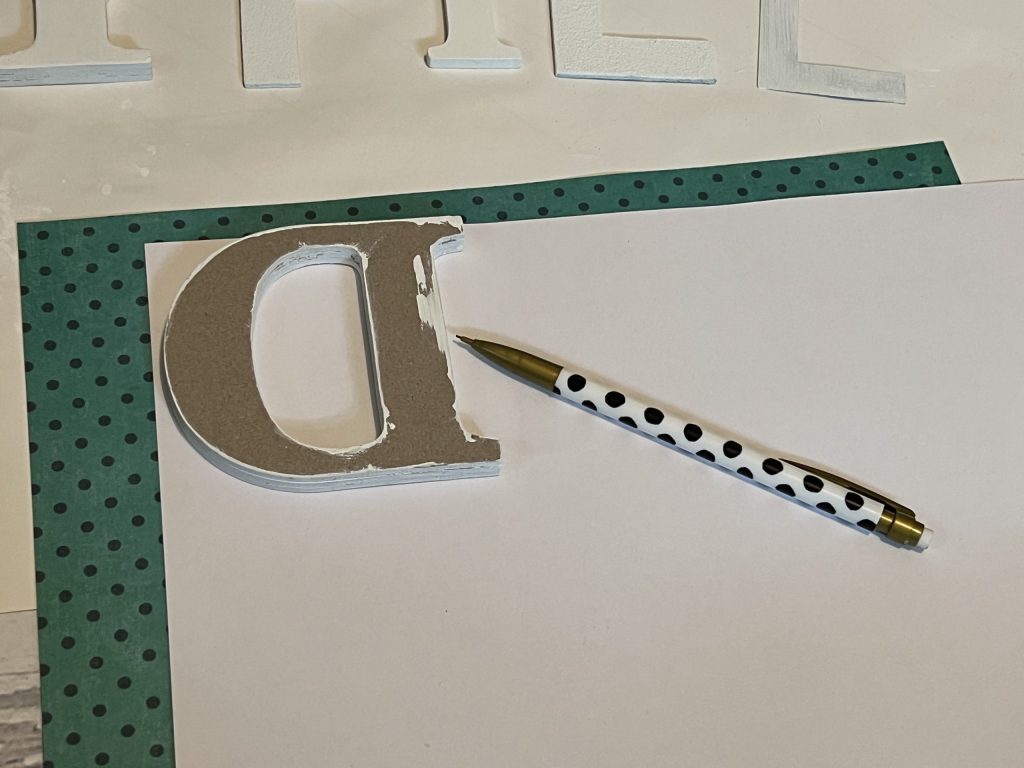
Then, I applied a coat of Mod Podge on the letter and glued down the paper.
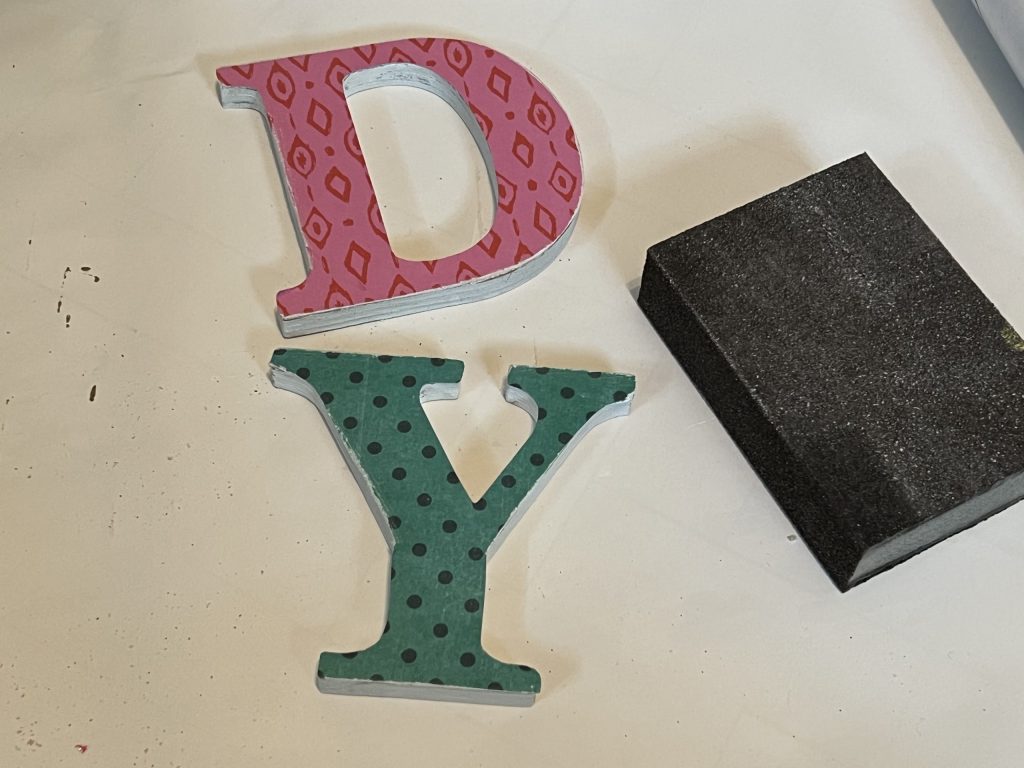
After they dried, I sanded them slightly to smooth the edges.
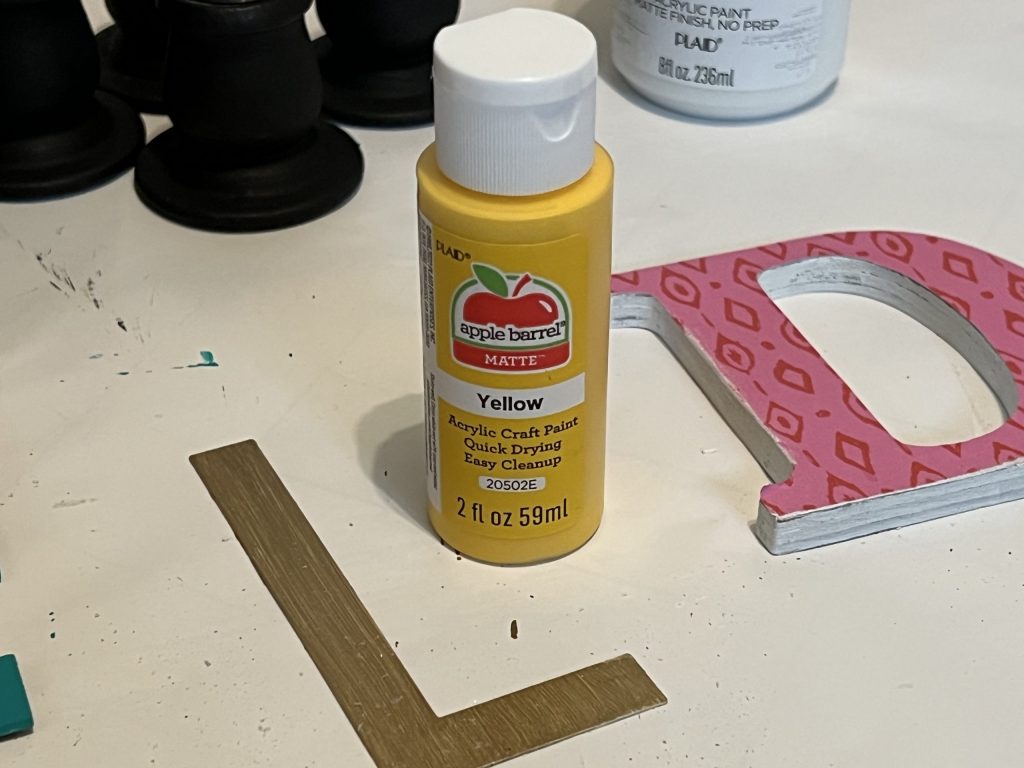
I painted the other letters with gold, pink and turquoise. It took 2-3 coats to fully cover each letter.
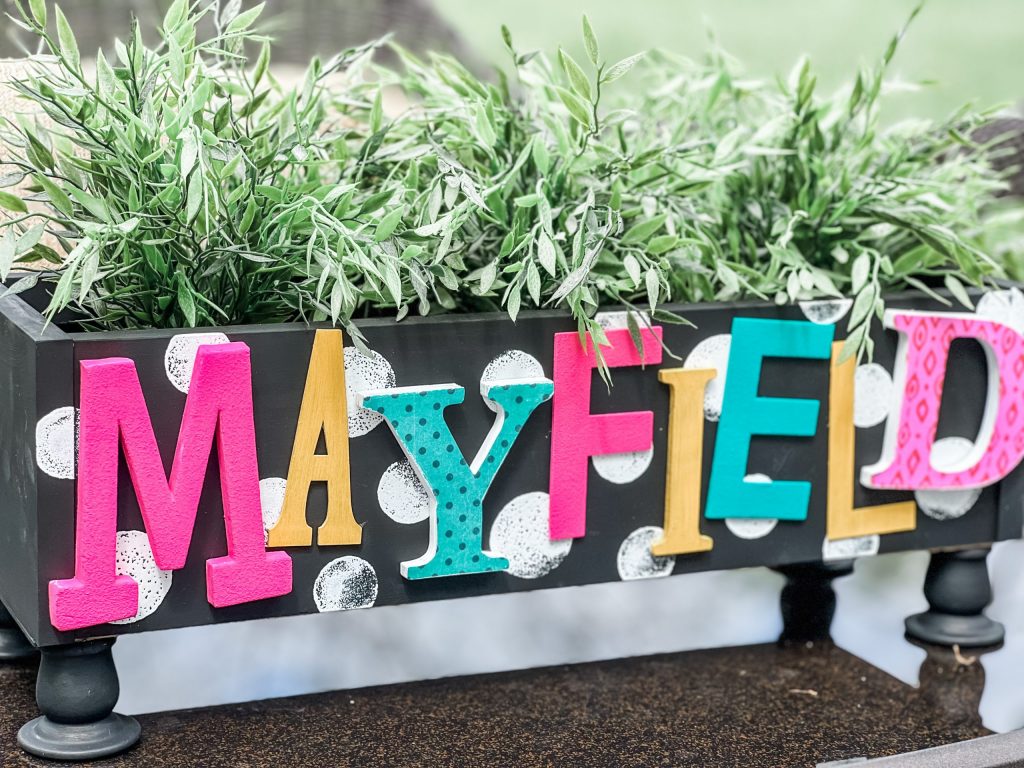
Then, I used the round daubers and white chalk paint to paint polka dots on the front of the box.

Polka dots bring me so much joy!
Once I lined up my letters, I realized my gold was not the pop of color I was going for. So, change of plans…I grabbed my yellow and painted over the gold! That’s why I love paint…it’s such an easy change!
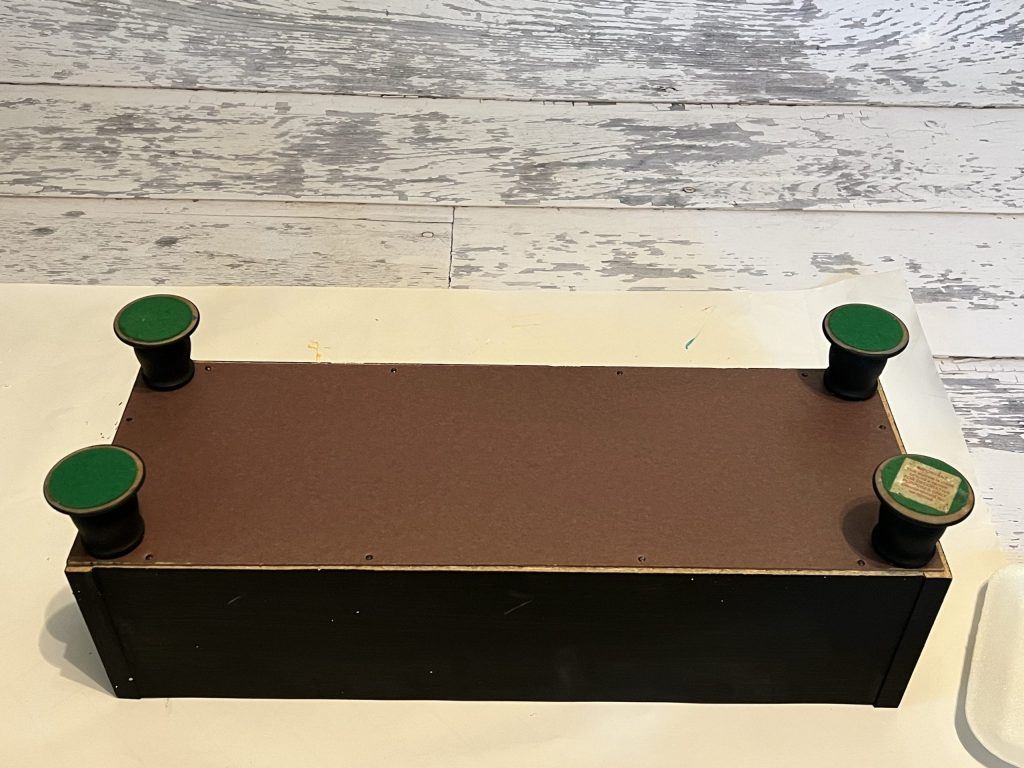
Now that the feet (candle holders) were dry, it was time to glue them on. I used E6000 multi-purpose glue to glue the feet at each corner.
I let them set for a couple of hours before turning the box over. The feet need to cure for about 24 hours before they are fully dry.
Finally, I glued my letters on the box with a hot glue gun.
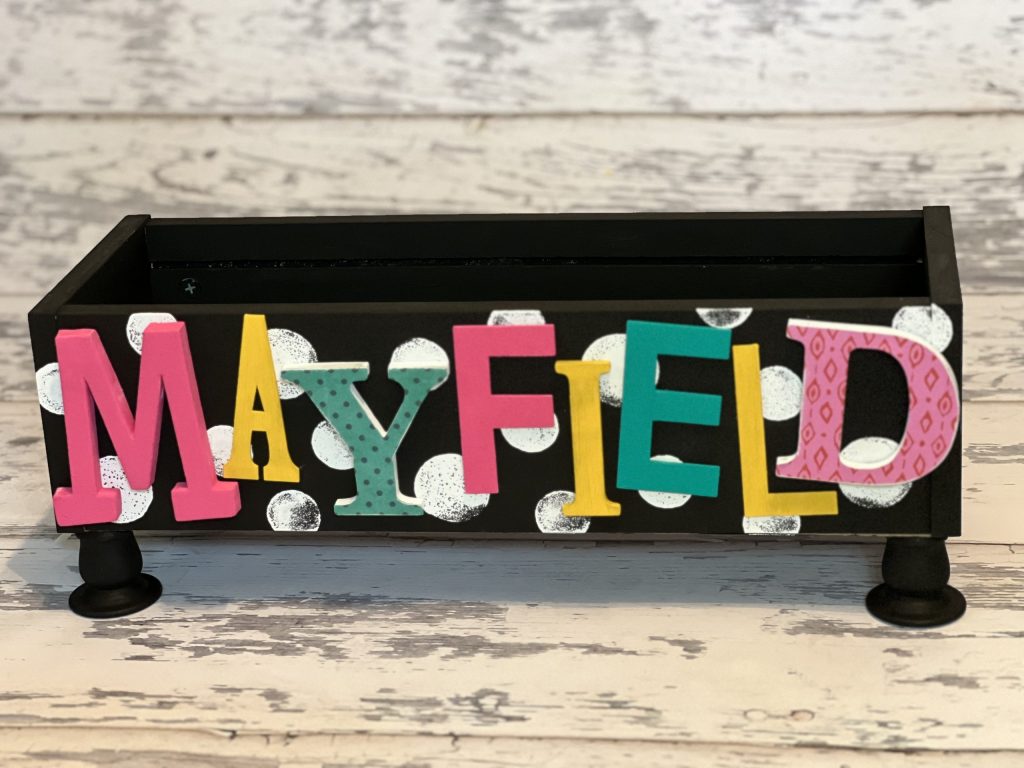
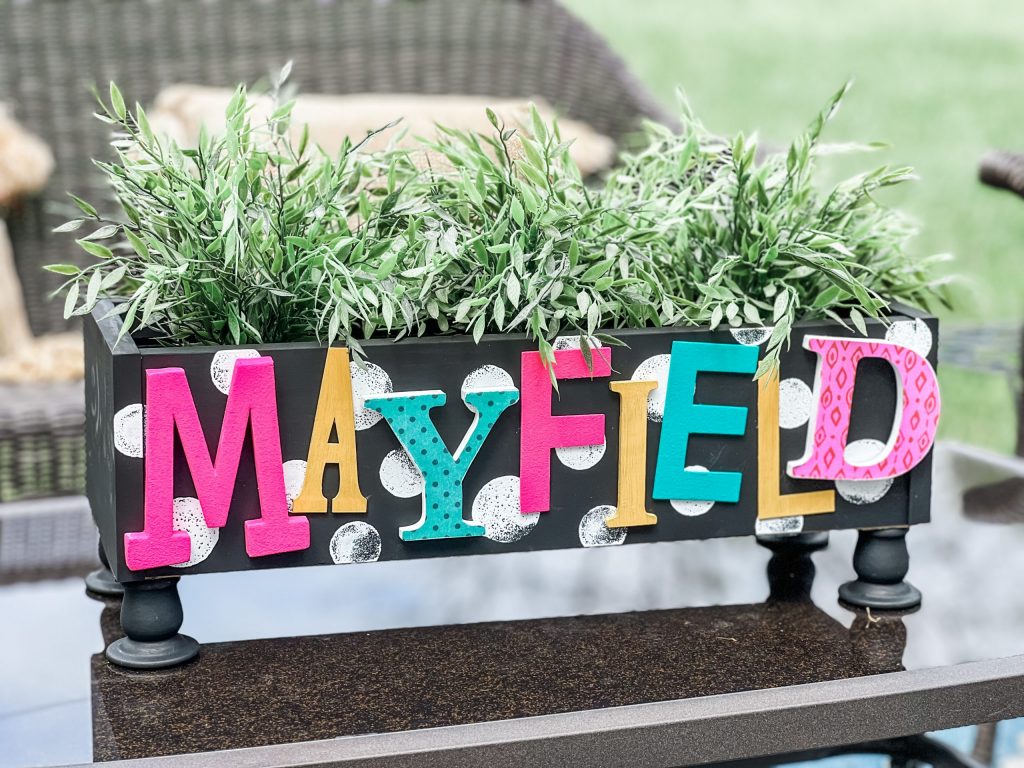
I definitely love the yellow! How fun is this little planter box?!!! I plan to use it outside with some flowers once we are in the clear of frost! It could be used for many different things…I could see throwing our flip flops in it by the door this summer too.
What word would you put on it? I’m thinking a last name would be adorable…or your house number! So many possibilities!
Be sure to PIN FOR LATER!
Last Updated on May 7, 2023

Love it!!!!!!!!!
Oh my gosh Brooke! How adorable!!! Thanks for the inspiration:)
Such a great idea!
Once again~~ your the bombdiggitty!!
So so cute❤️
Absolutely love it
Oh this is darling!