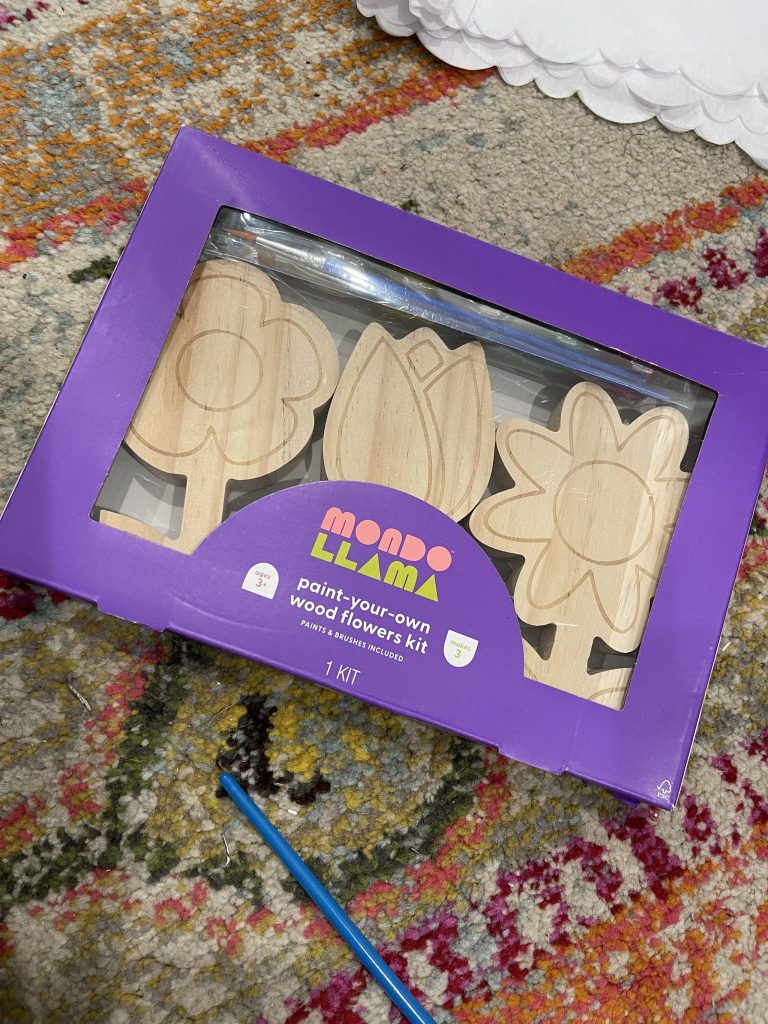
I’ve had this wood tulip leftover from this $5 Target wood kit for a couple of years now, and I was FINALLY able to put it to good use! If you like florals and fun colors, THIS is the project for you!!!
Click HERE to see what I did with the sunflower from this wood flower kit!
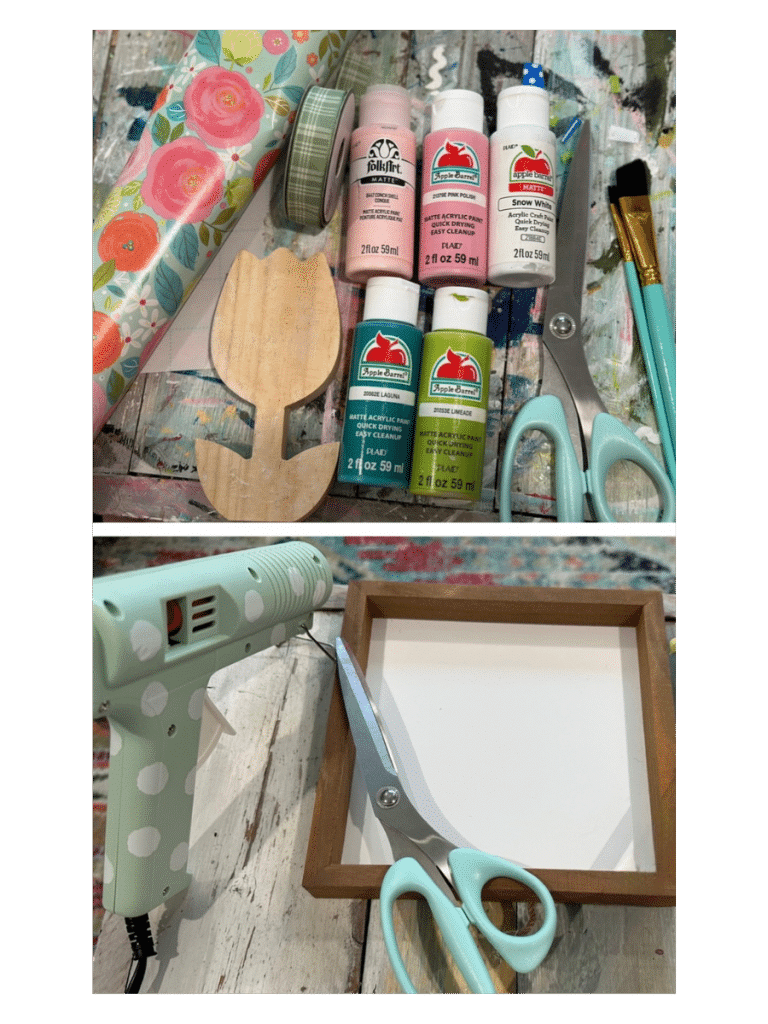
here’s what you’ll need…
*tap on the bolded items to shop my affiliate links!*
- mondo llama wood tulip
- 8×8 framed wood sign
- cute ribbon & wrapping paper of choice
- re-fabbed hot glue gun/hot glue
- the best scissors!
- paint brushes (check out my faves!!!)
- mod podge
- apple barrel paint: snow white, limeade and pink polish
- folk art paint: conch shell
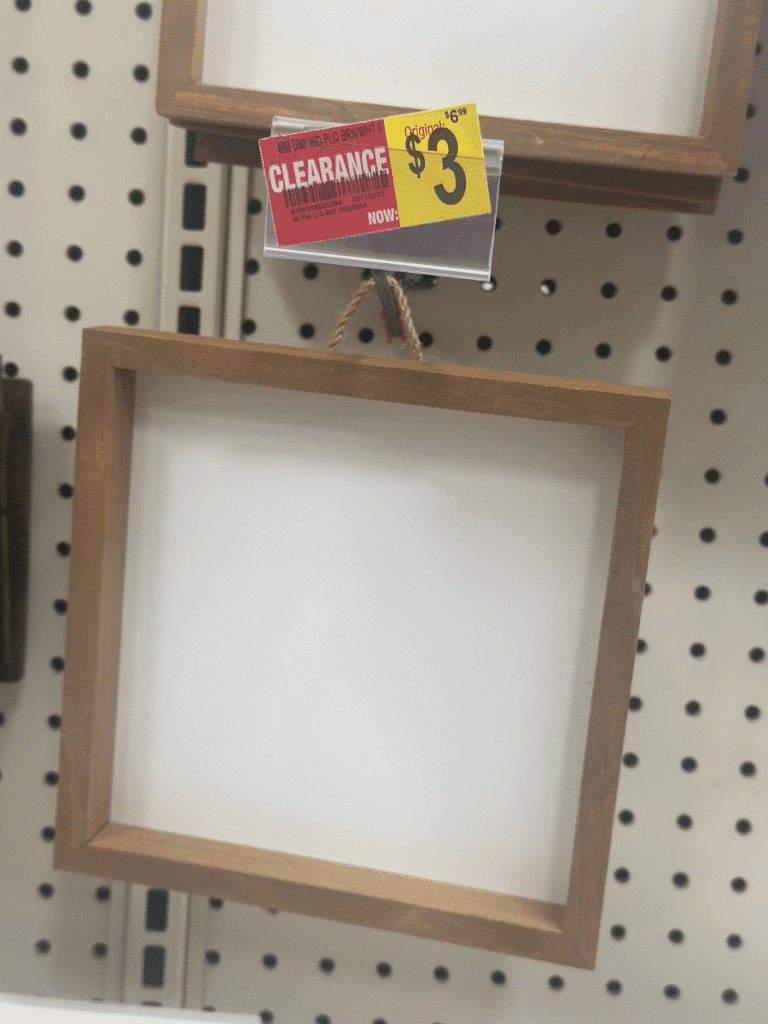
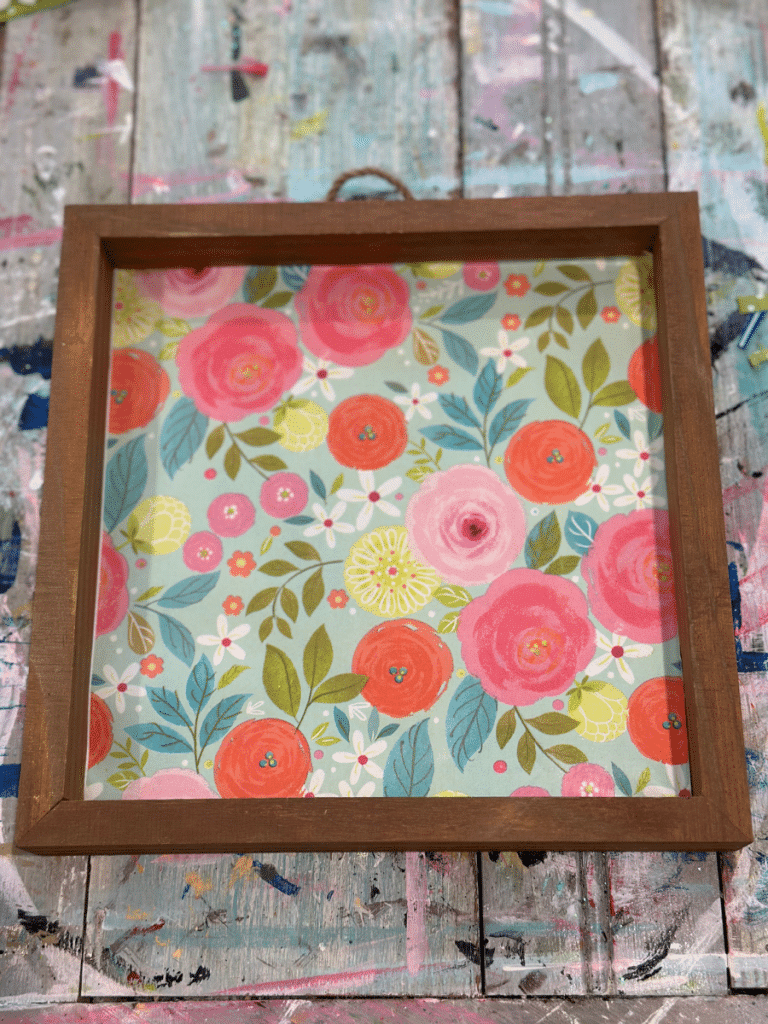
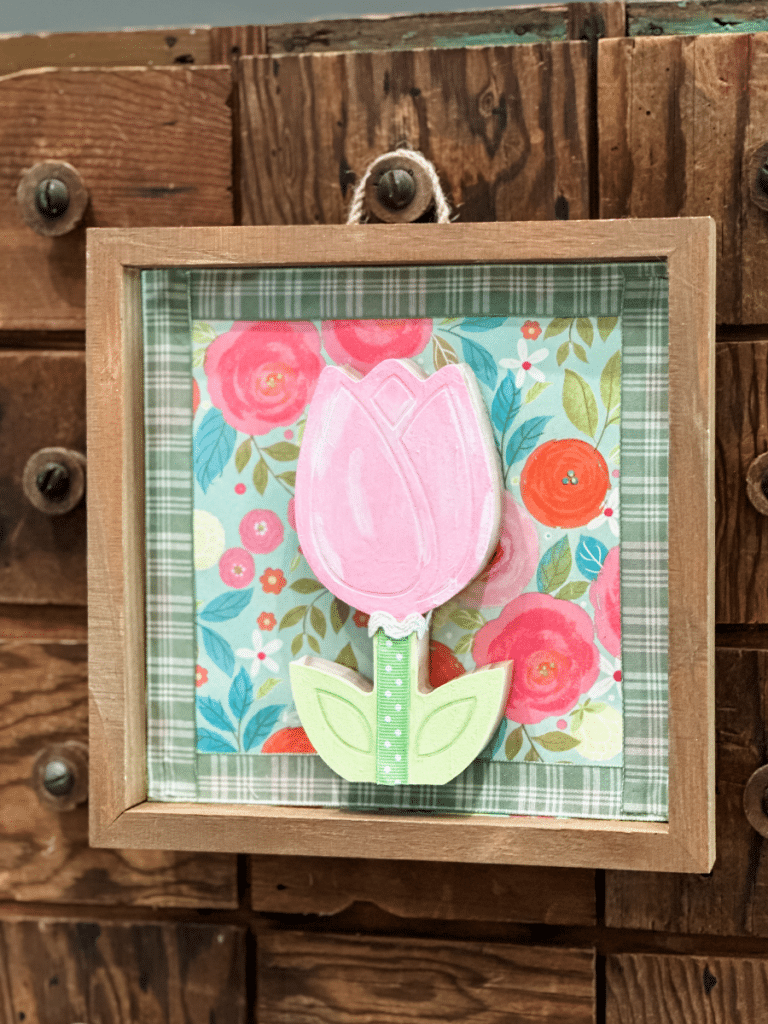
I picked up this $3.00 clearance sign at Michaels last week without a specific project in mind, but I’m so glad I did! I always love a sign that is already painted white and stained!
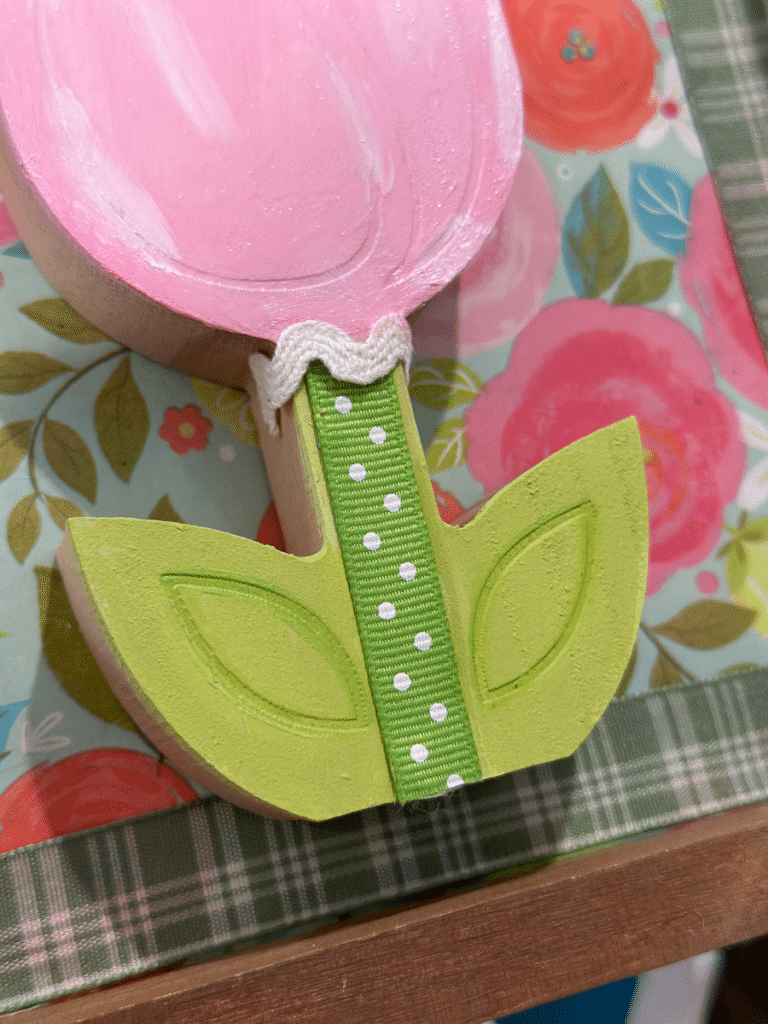
First, I painted my the top of the tulip the color Conch Shell! I looove this color!
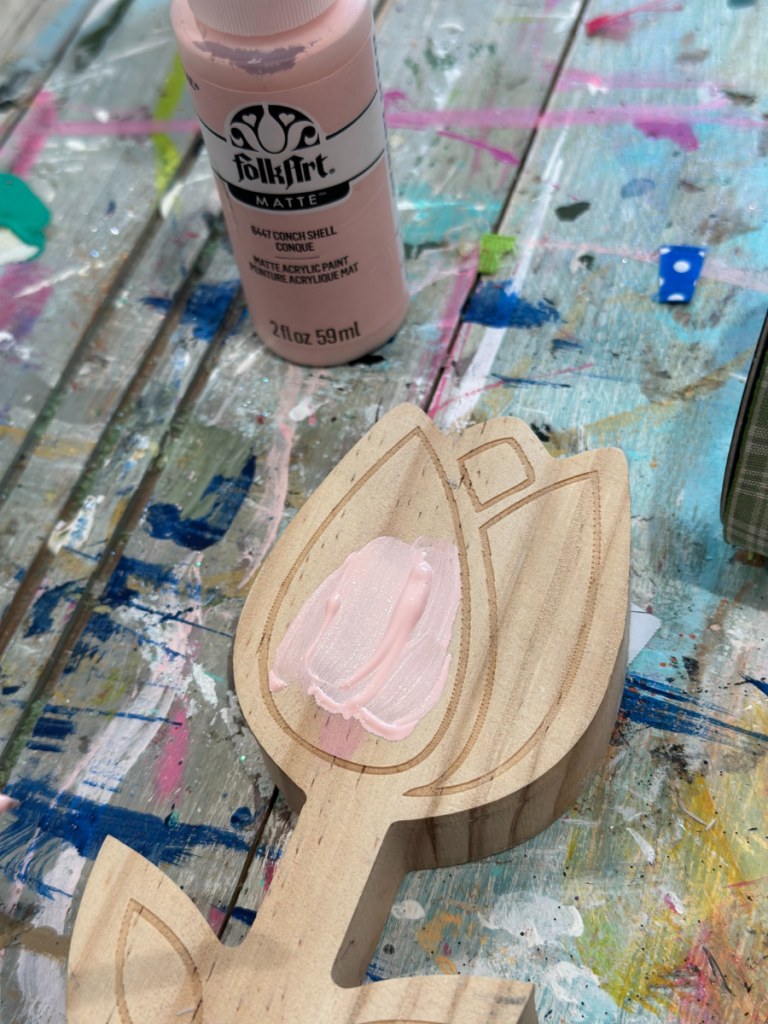
I painted the stem and leaves the color Limeade mixed with white!
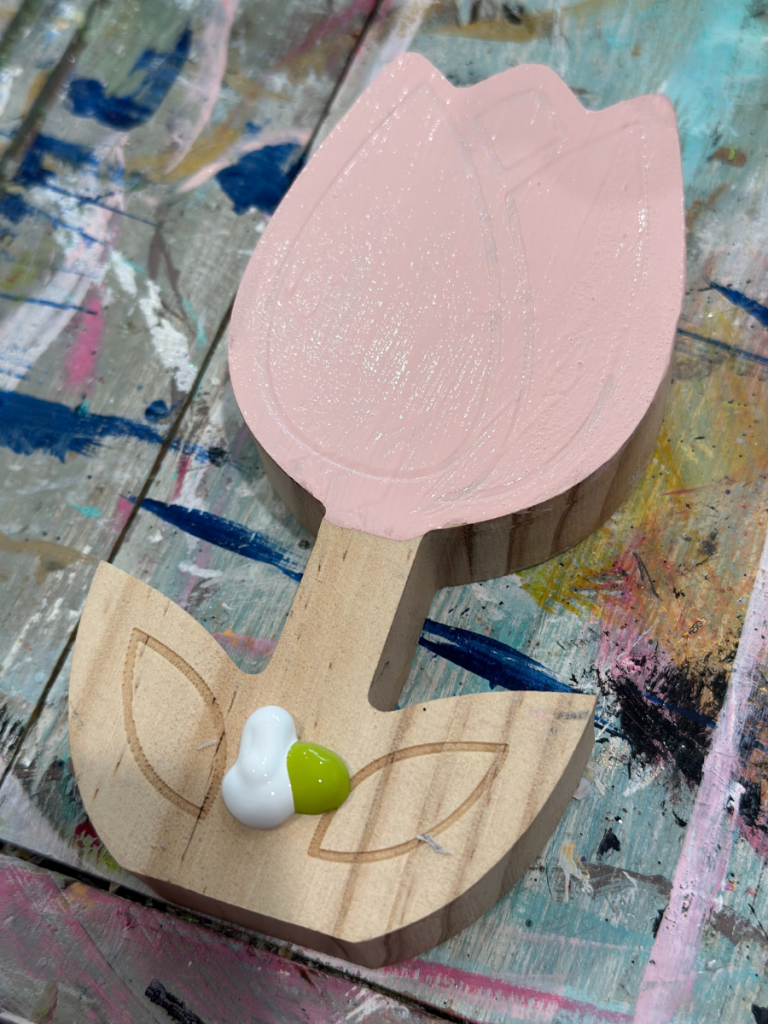
This light green shade is just what I had in mind!
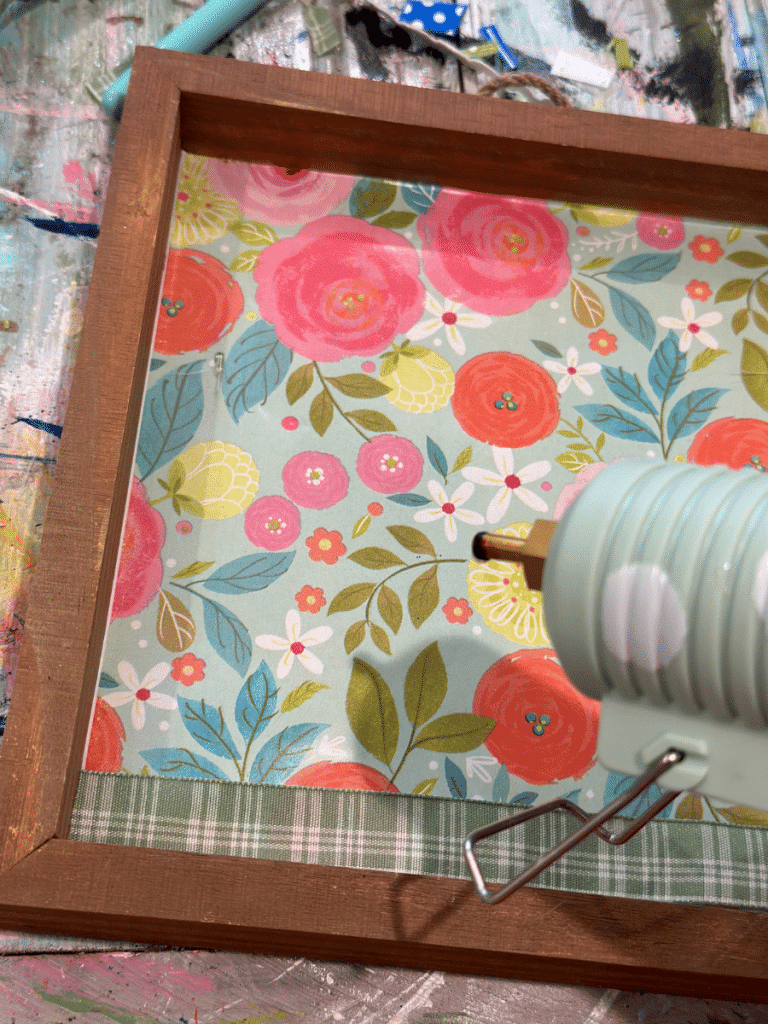
While my flower was drying, I got to work with this fun wallpaper from Michaels!
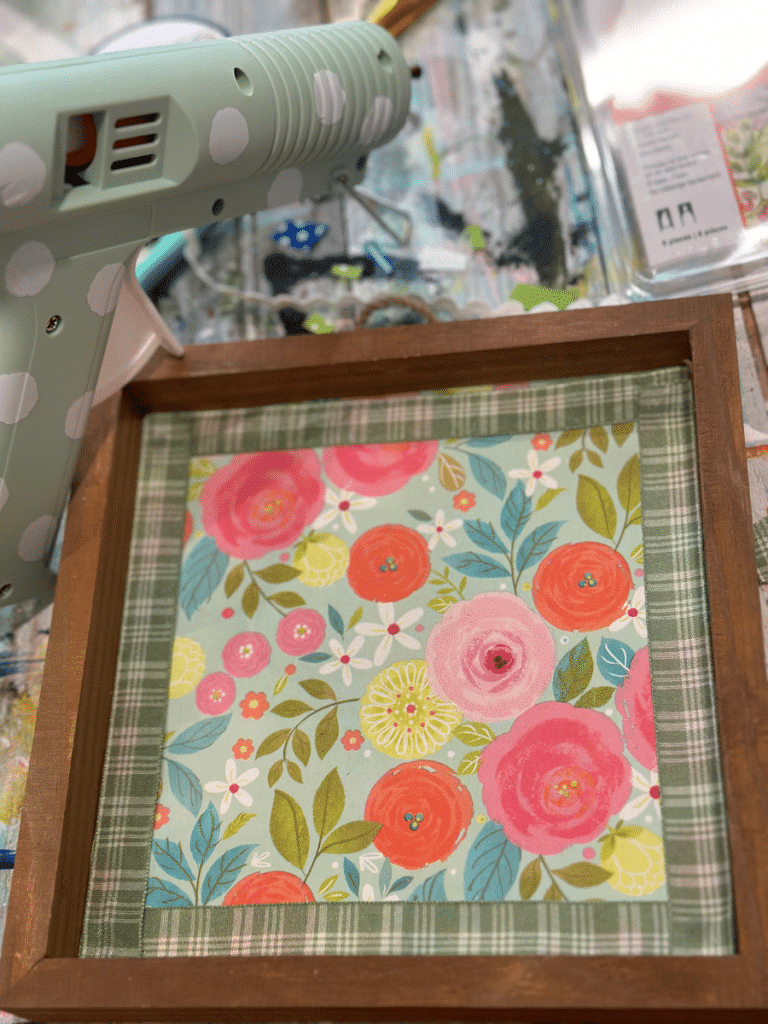
I painted on a thin layer of Mod Podge and placed my wrapping paper onto the sign. Isn’t this paper gorgeous???
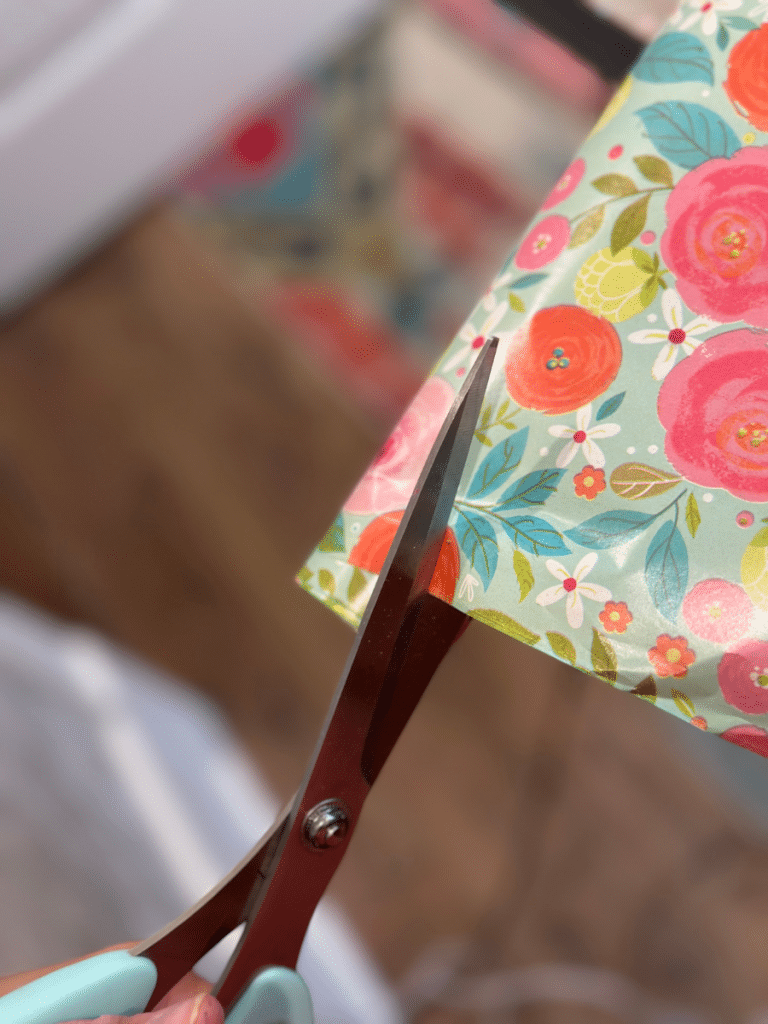
Next, I measured and cut 4 pieces of ribbon to go around the outside of my sign. I used small dots of hot glue to adhere it!
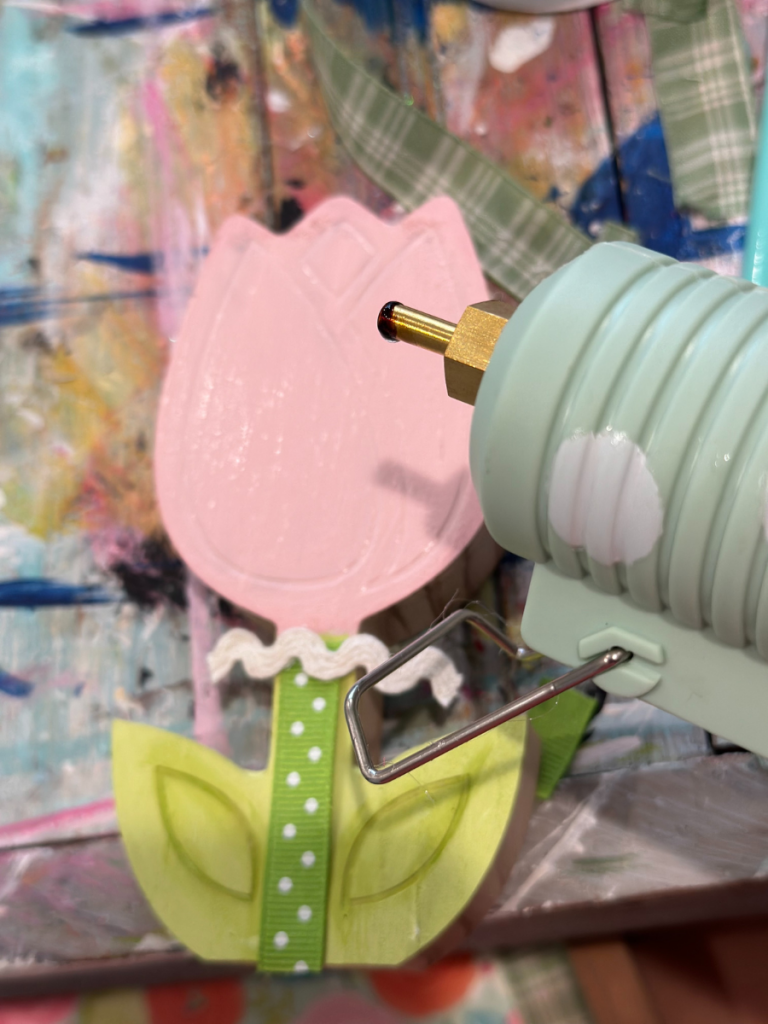
My flower was not quite dry yet, but I was too excited to wait any longer! I cut out a piece of green and white polka dot ribbon to go along my stem and a leftover piece of ric rac ribbon to separate where the flower and stem meet!
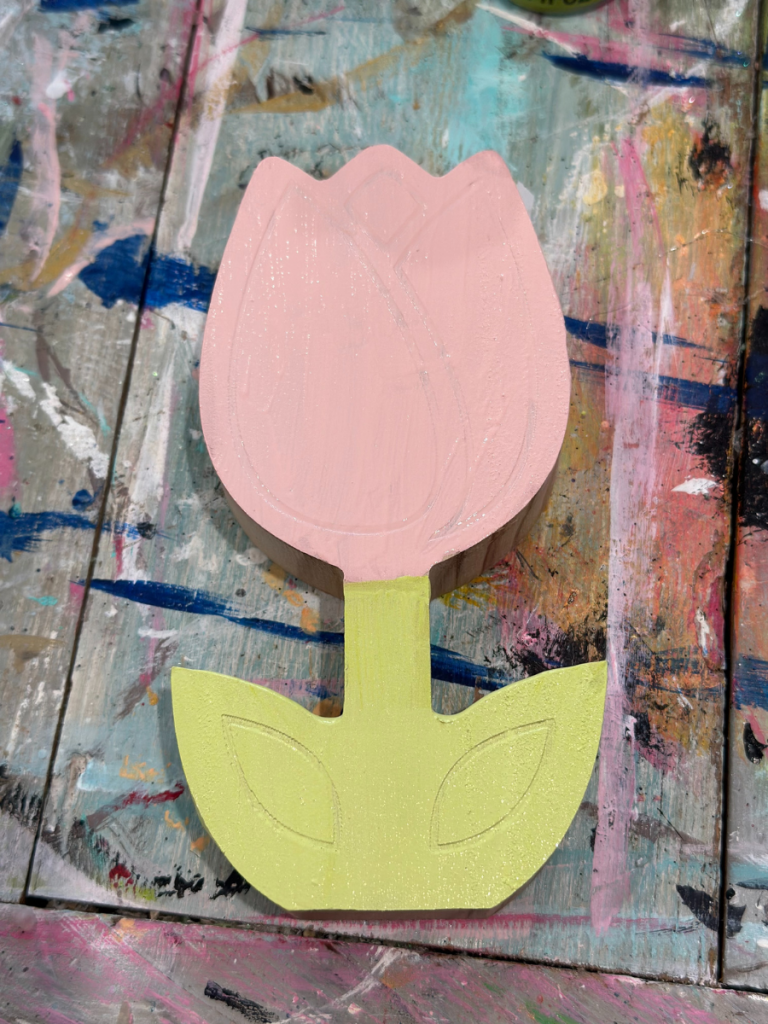
I was loving it, but I thought the tulip needed a little dimension! I brushed on a very small amount of Pink Polish by apple barrel, and added some white outlining.
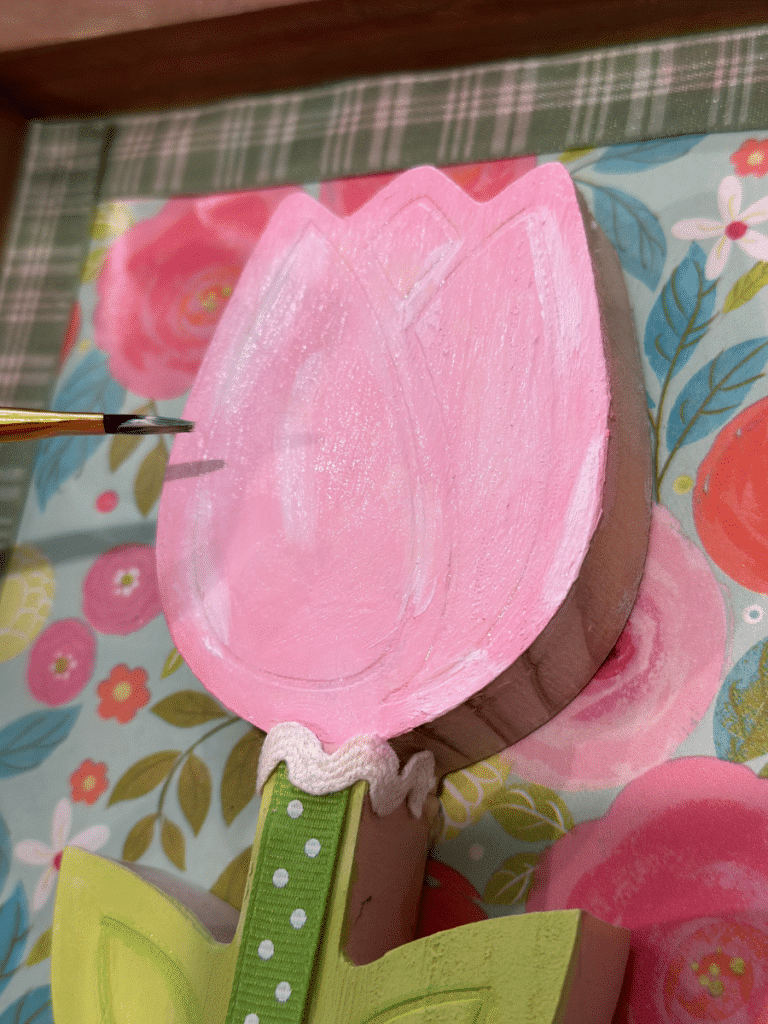
I also outlined the leaves in the color limeade, I didn’t mix with white this time. This made a world of difference. Small changes like this can add so much dimension!
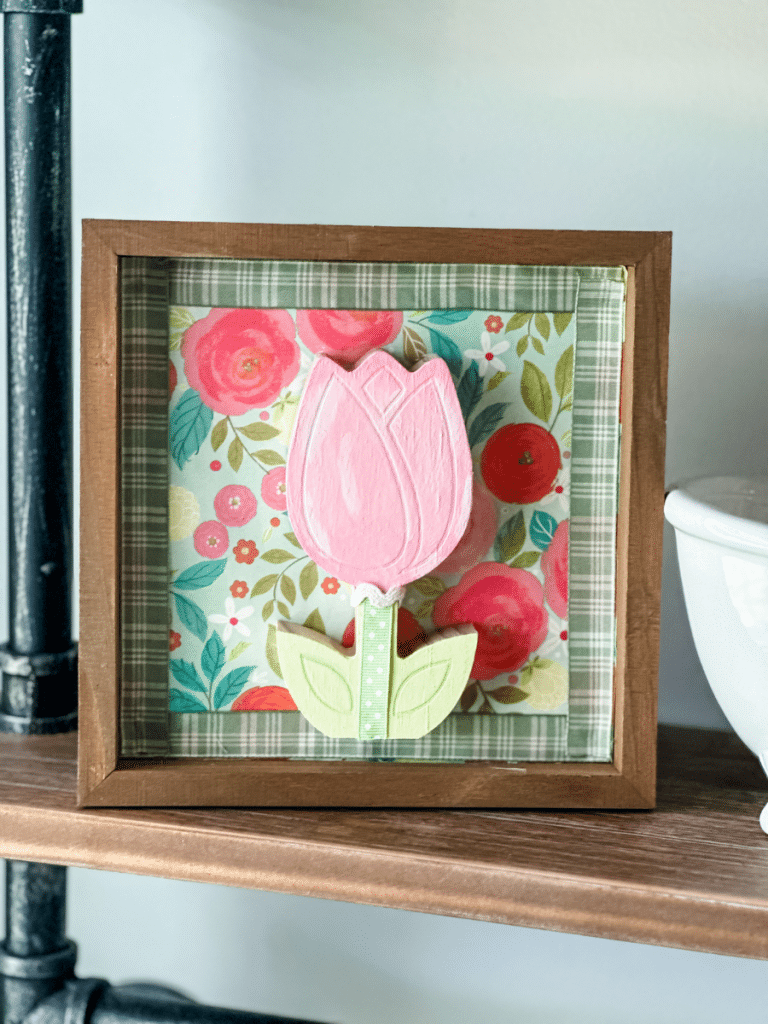
Here is the FINAL PRODUCT! This project only took me about 10 minutes and I spent LESS THAN $10 in supplies!! What do you think!?!?
Next time you see some cute wrapping paper, I hope you are able to see it in a new light! My job is to (hopefully) give you a little inspiration!
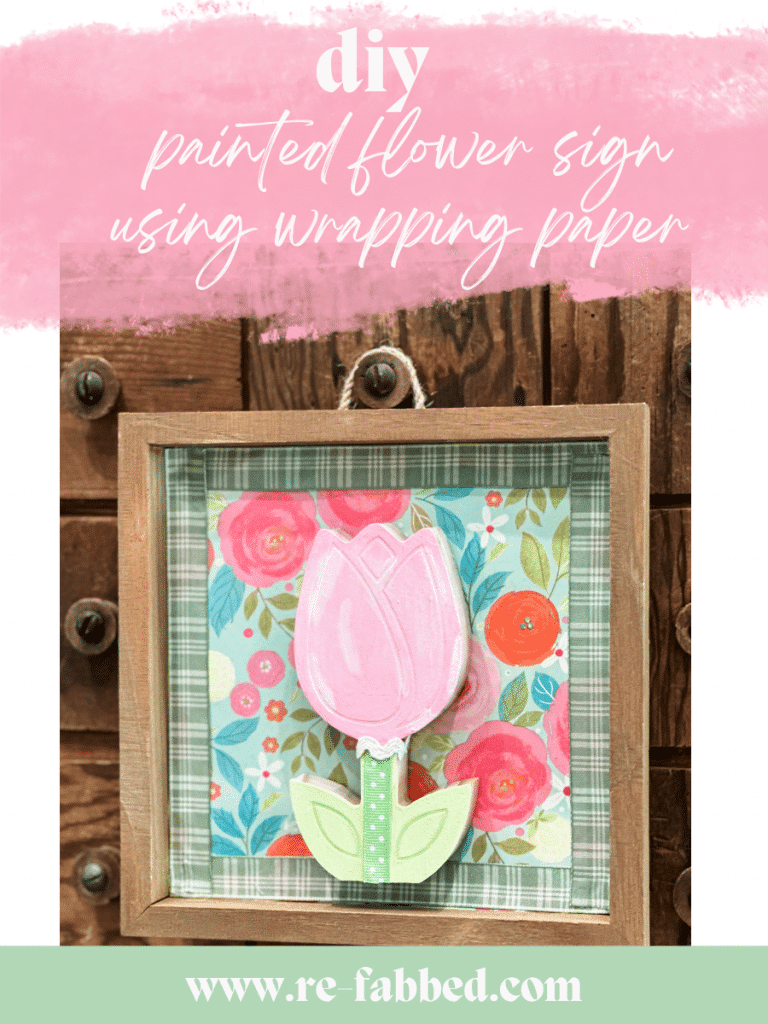
BE SURE TO PIN FOR LATER!!!
Last Updated on July 31, 2024

Love the flower framed so cute
Cute
That’s really cute! Way to go recycling the random things!????
Thank you!
The colors and patterns really compliment each other. I love this!