

I absolutely adore pumpkins and can’t get enough of them during FALL! In fact, this time of year, I turn just about everything I can into a pumpkin!
Today, I’m transforming an antique pie/tarte pan that I scored for F R E E into the most adorable pumpkin decor to display in my kitchen!
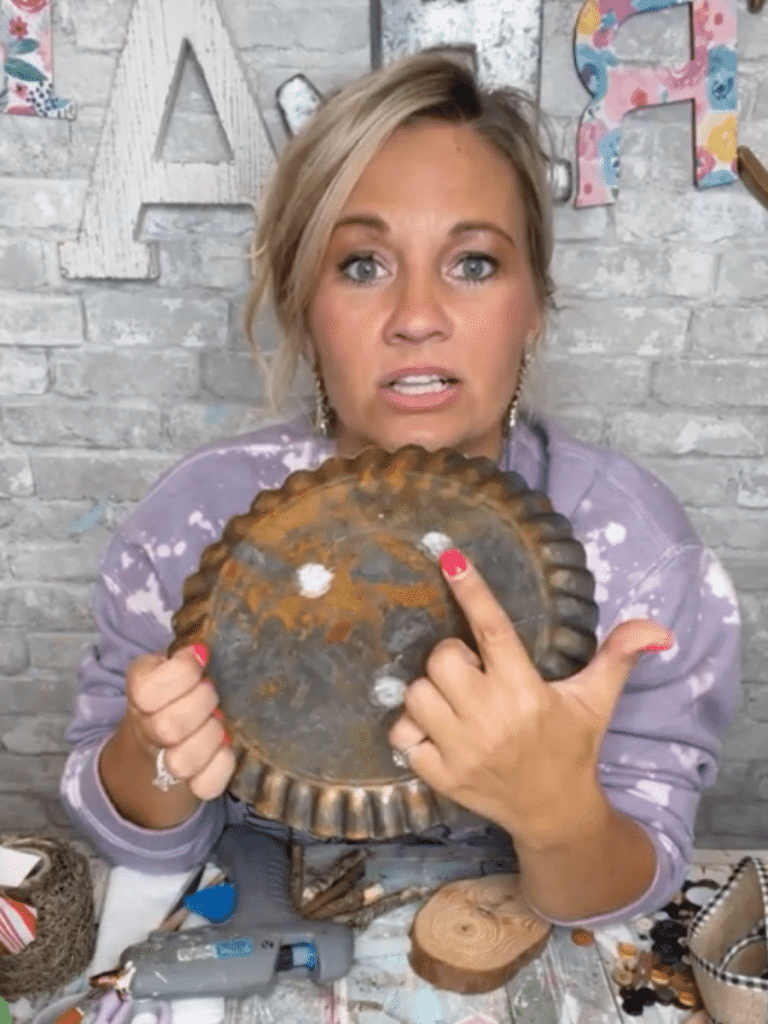
To see the entire process on video, click HERE!
here’s what you’ll need…
*tap on the bolded items to shop my affiliate links!*
- antique tarte/pie pan (I got mine FREE at my local junk store)
- unique shaped wood slice
- re-fabbed hot glue gun/hot glue
- the best scissors!
- paint brushes (check out my faves!!!)
- light and dark brown raffia
- hobby lobby ribbon
- sticks from my yard
- kings gold paint by apple barrel
First, I painted this unique wood slice with my favorite gold paint, kings gold!
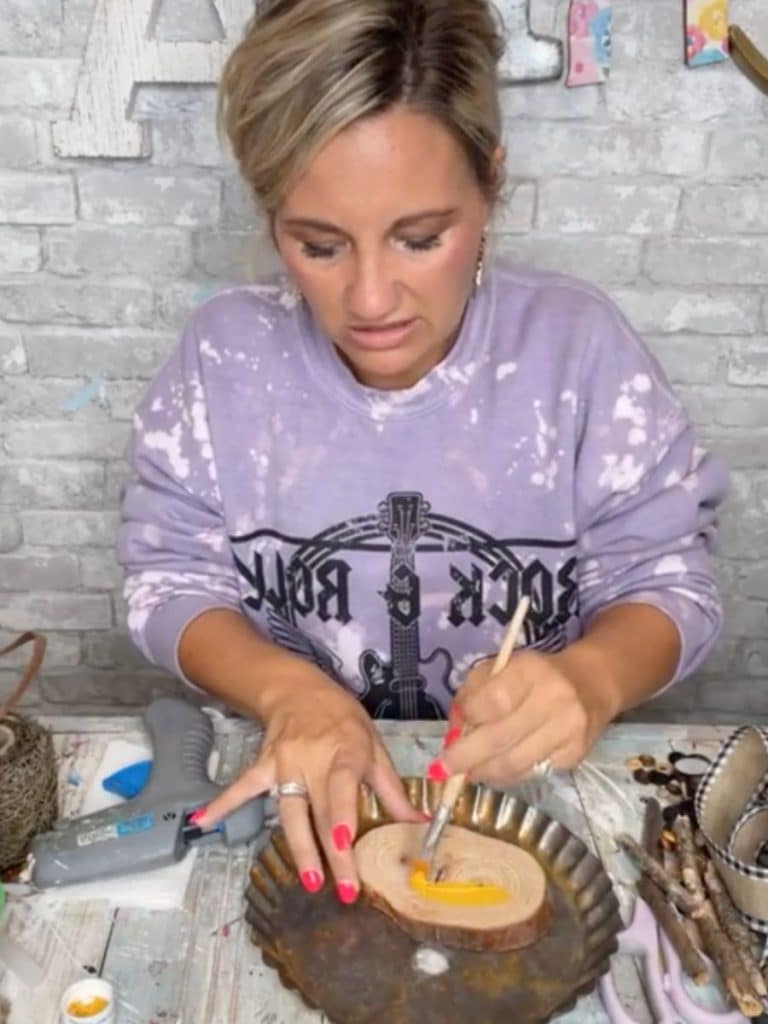
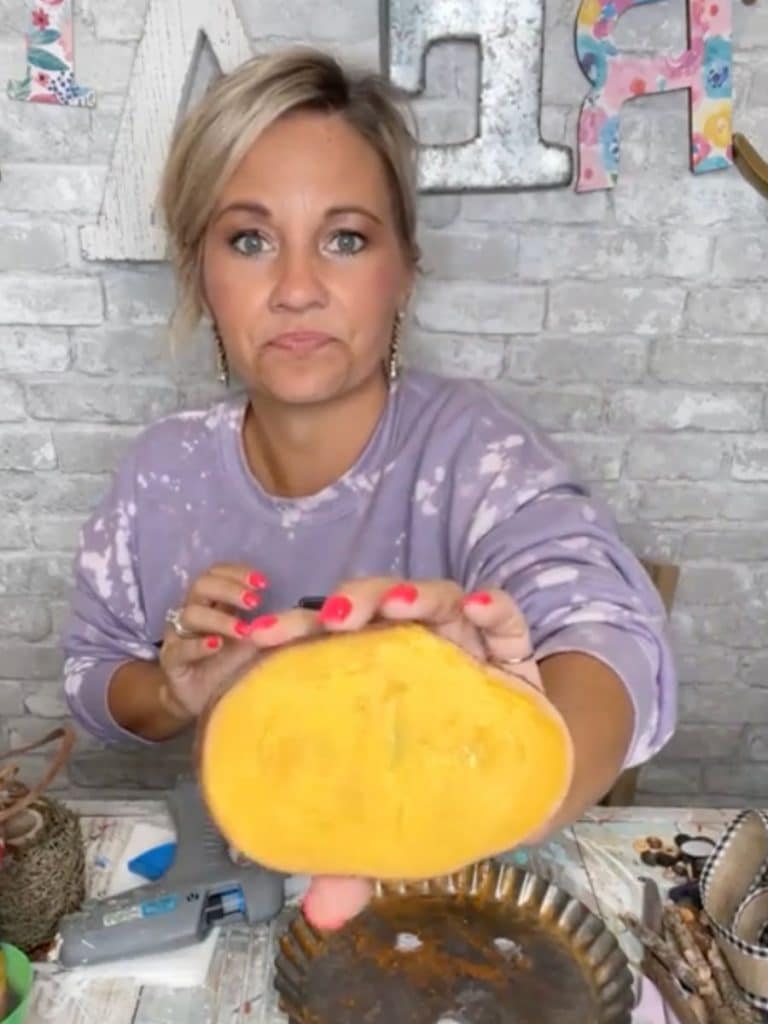
Next, I glued my pumpkin onto my tin pan. You might notice some leftover hot glue on this tarte pan, but no worries, I’m going to cover it up!
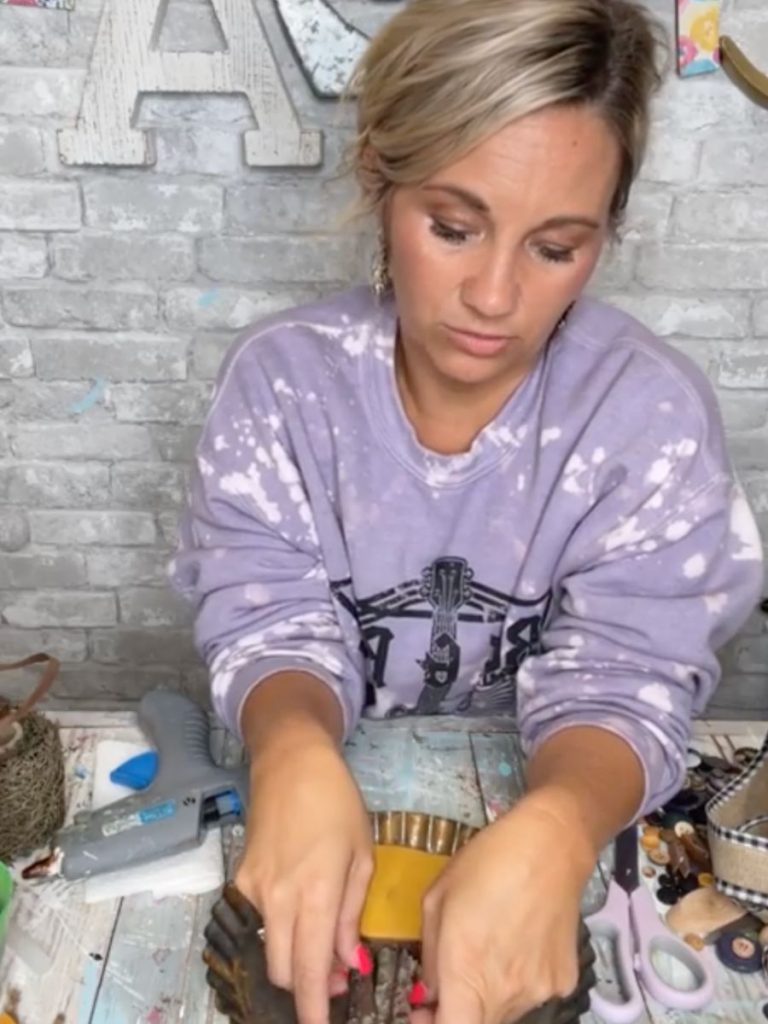
I grabbed some sticks from my yard to use as my pumpkin stem. I decided to actually use 5 sticks- 3 on the bottom and 2 stacked on top of those!
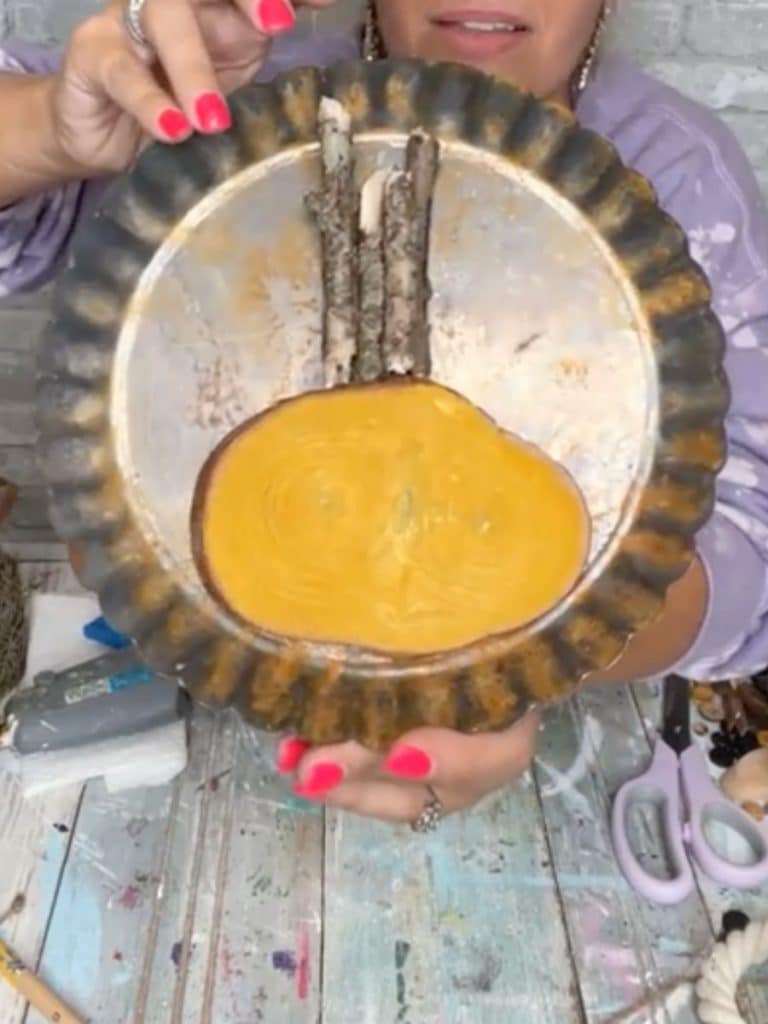
Now for the FUN part- embellishments! If you know me, you know I love to add raffia and ribbon to nearly all of my projects!
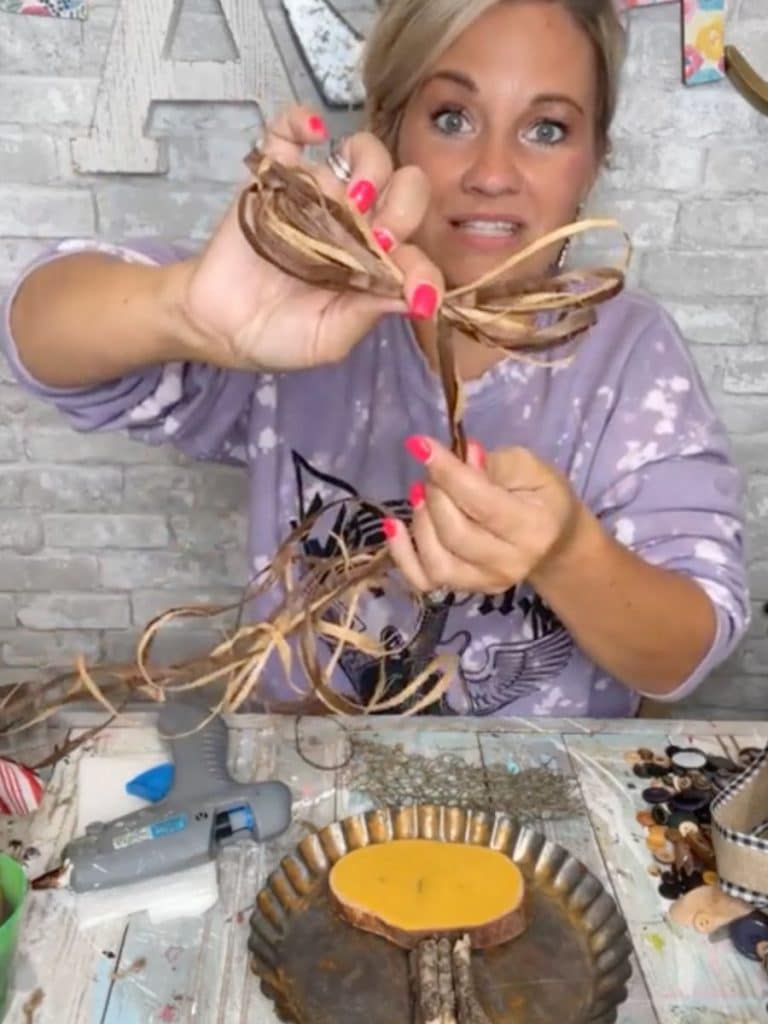
I snagged this unique ribbon at Hobby Lobby for about 2 bucks, and I LOVE it for fall crafting!
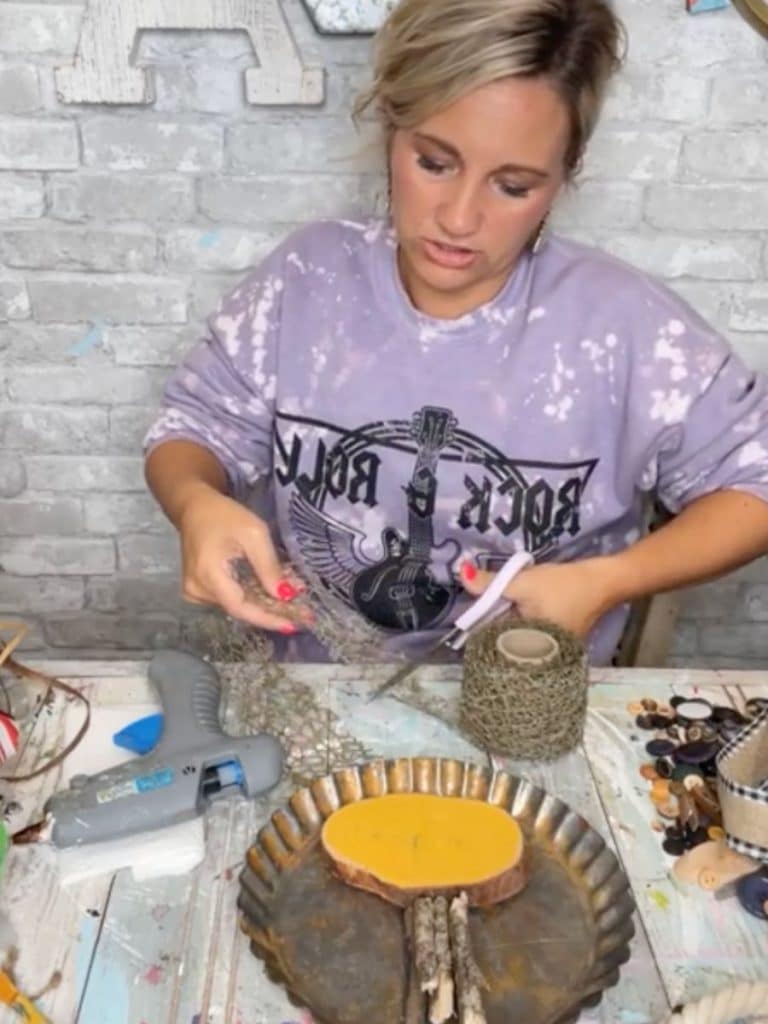
I tied my raffia and ribbon together and fluffed up my bow. Now it’s time to glue it to my pumpkin!
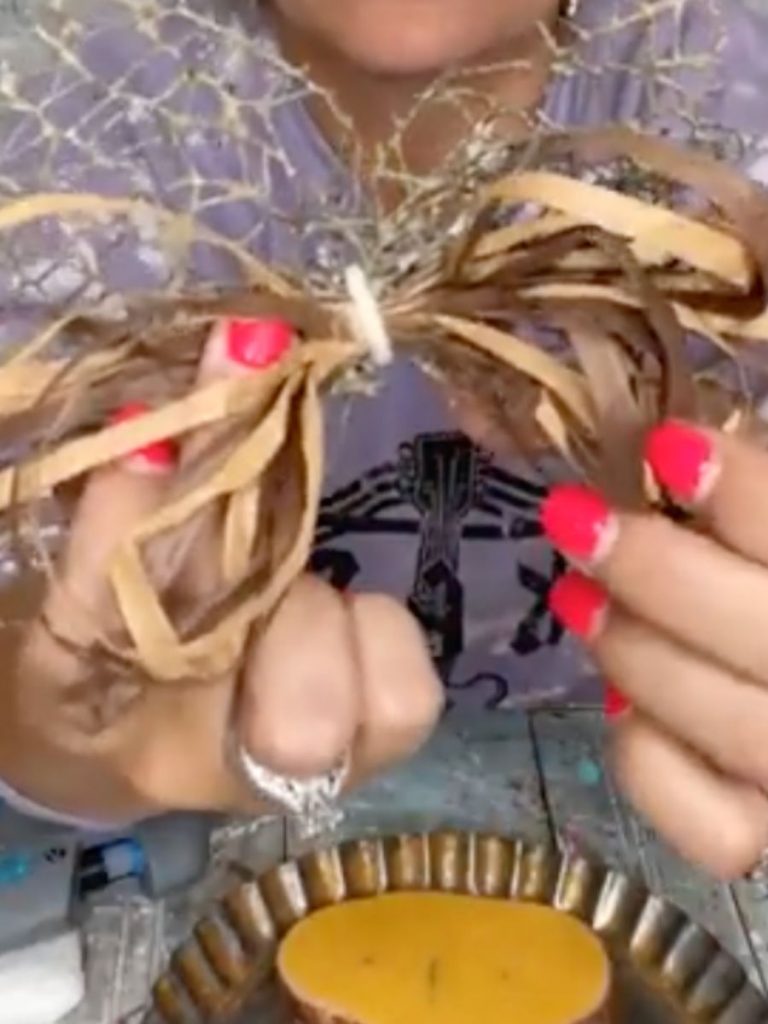
Do all pumpkins need bows? Maybe not… but I just can’t help myself!
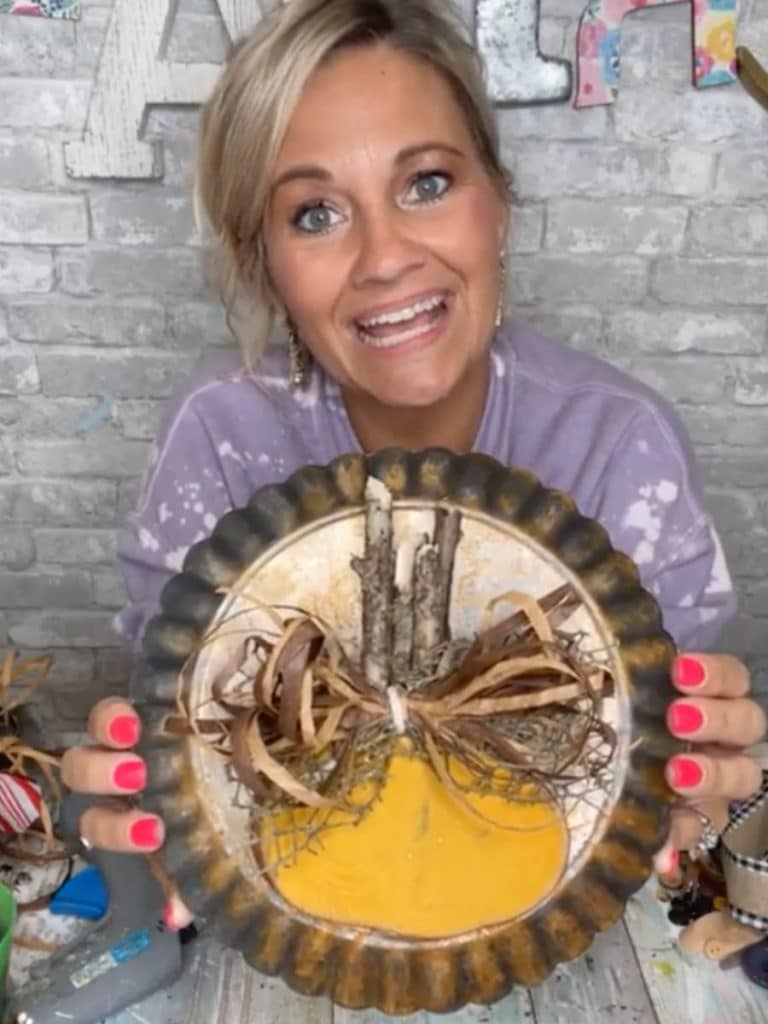
How stinkin’ CUTE?!?! I loooove it paired with this leopard plate in my kitchen!
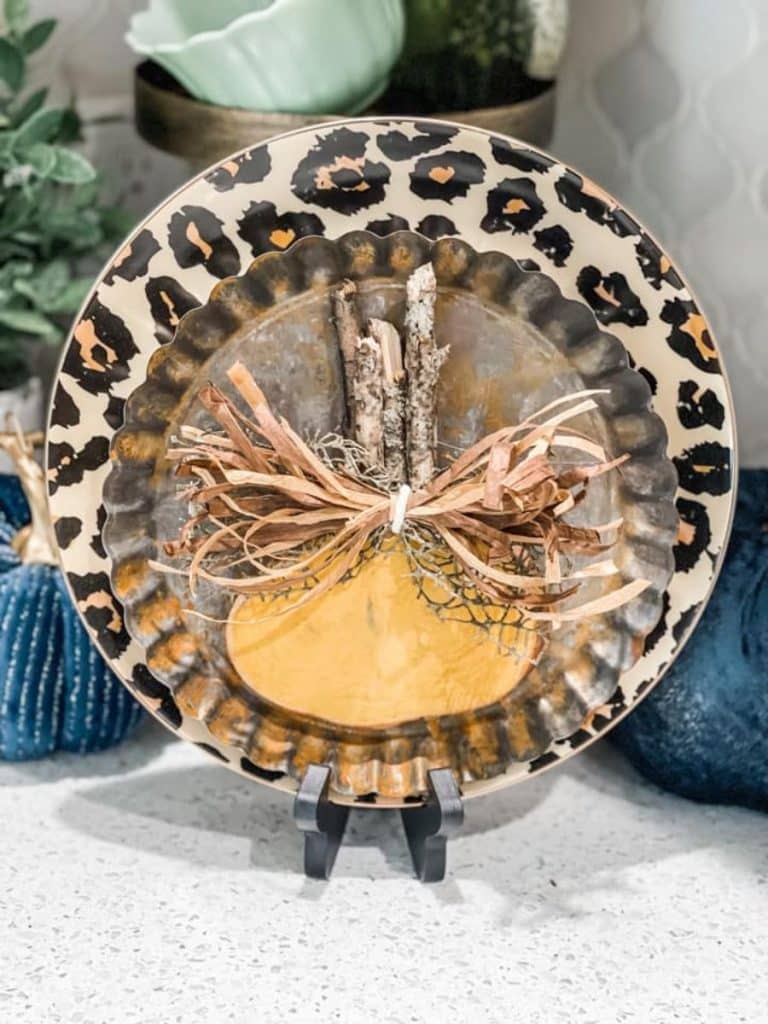
Wood slice pumpkins are pretty popular, but using something unexpected like this ole pie plate in the background makes a world of difference! I hope this inspires you to use unexpected pieces into YOUR next project!
BE SURE TO PIN FOR LATER!
Last Updated on August 1, 2024



Very cute