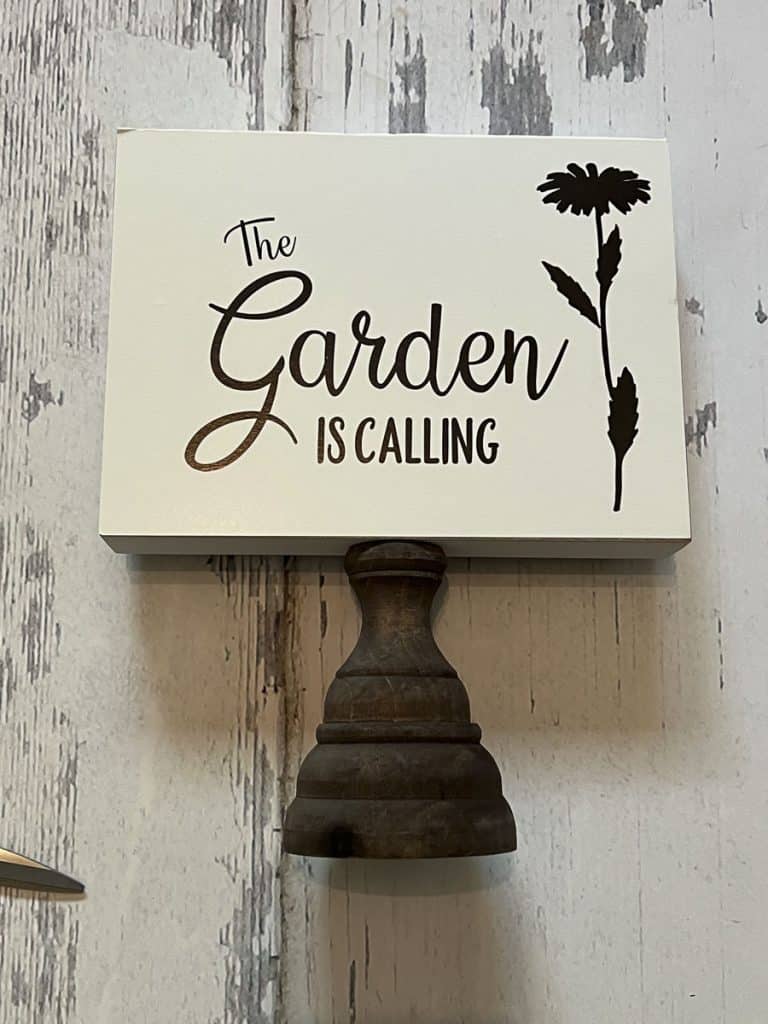
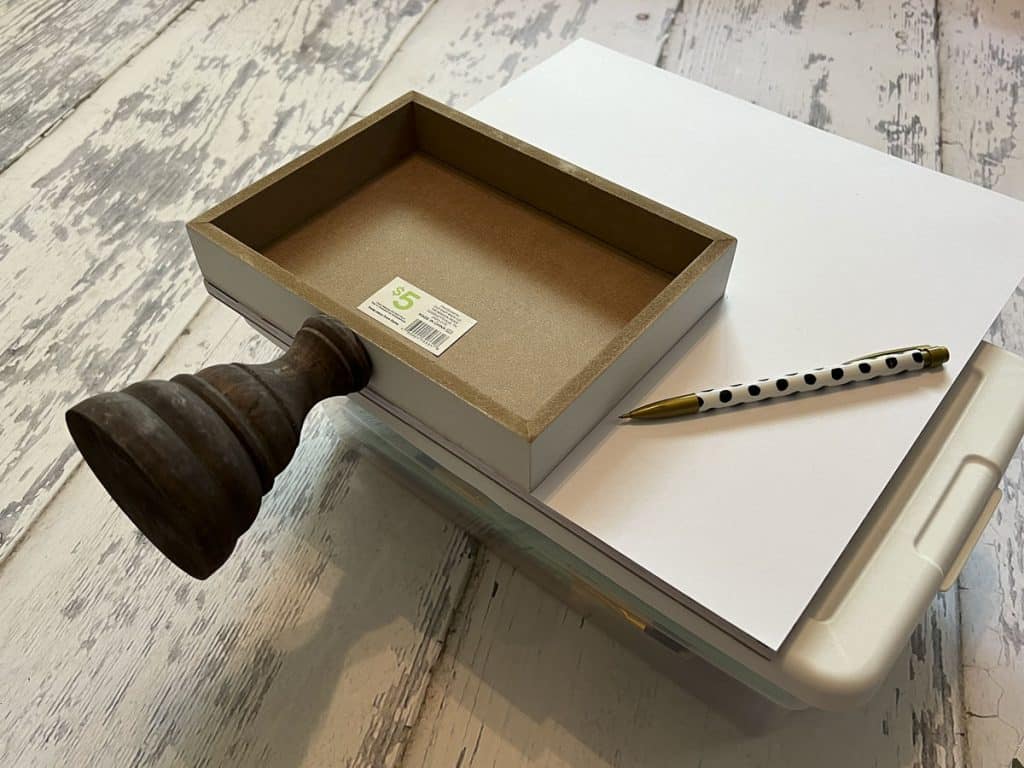
Y’all know I LOVE to incorporate dimensional elements when creating home decor. One of the best ways to do this is to add some three dimensional components to an already existing decor piece that is rather “flat.” I already had a little sign on a pedestal that I picked up from Pop Shelf on clearance. I purchased it for the size and style, seeing the potential for something really cute!
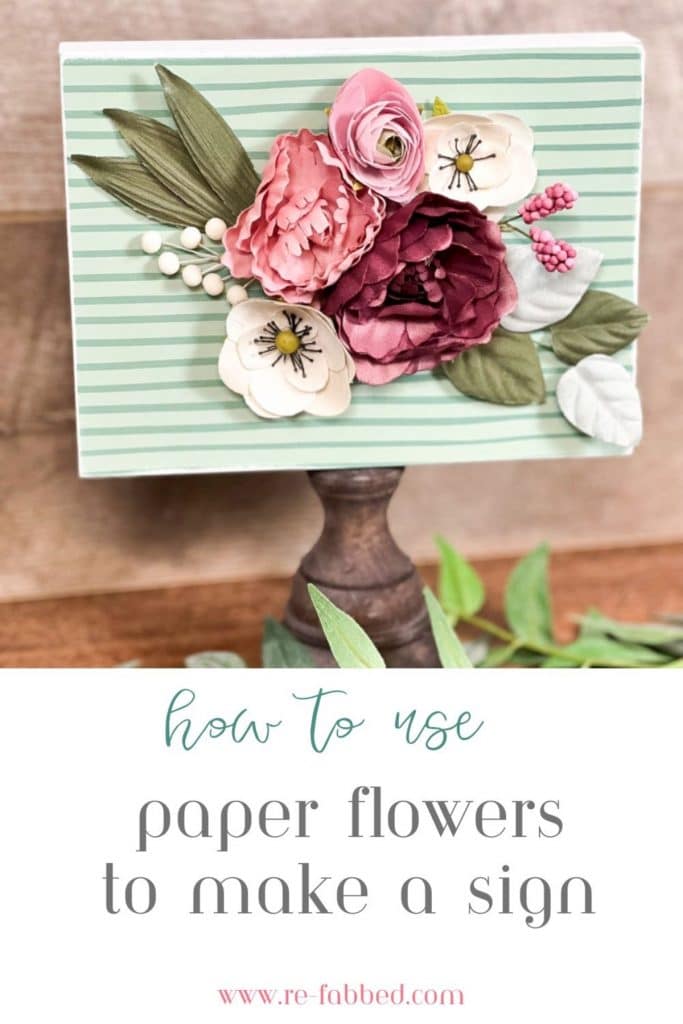
For this project, I am going to show you how to take some floral embellishments from Hobby Lobby and make a DIY flower sign.
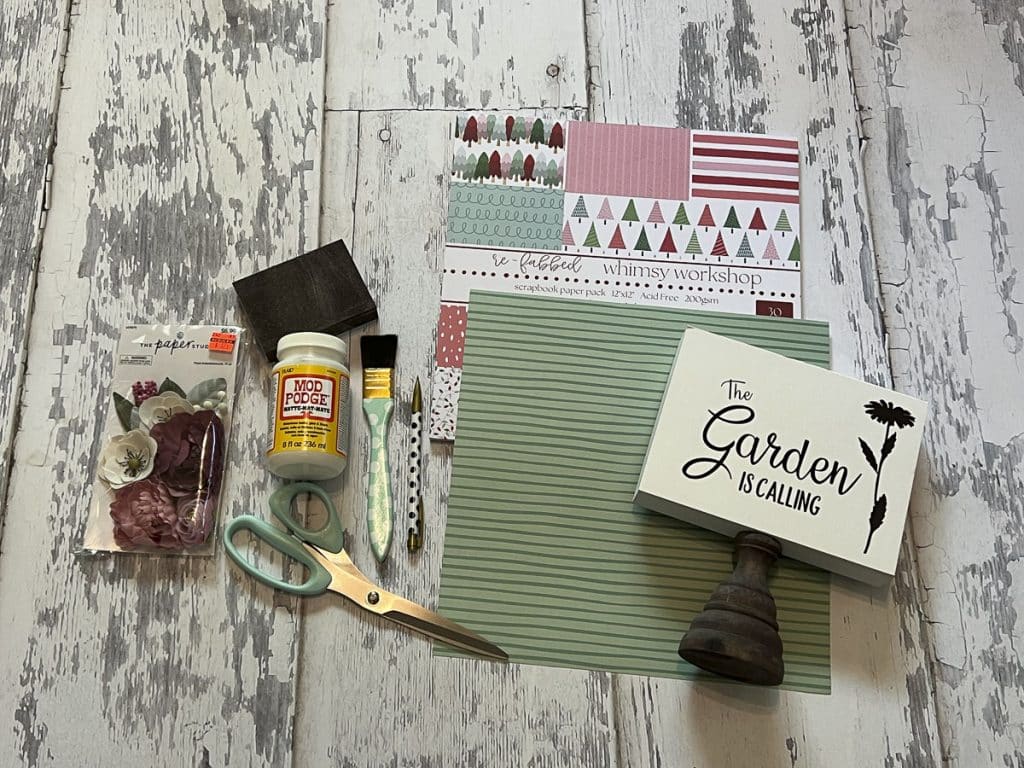
For this simple craft, I used the following supplies:
- Floral embellishments – Hobby Lobby
- Pedestal sign – mine was purchased on clearance from Pop Shelf
- Re-Fabbed scrapbook paper
- Scissors
- Paintbrush
- Mod Podge
- Sanding block
- Hot glue gun
- Pencil
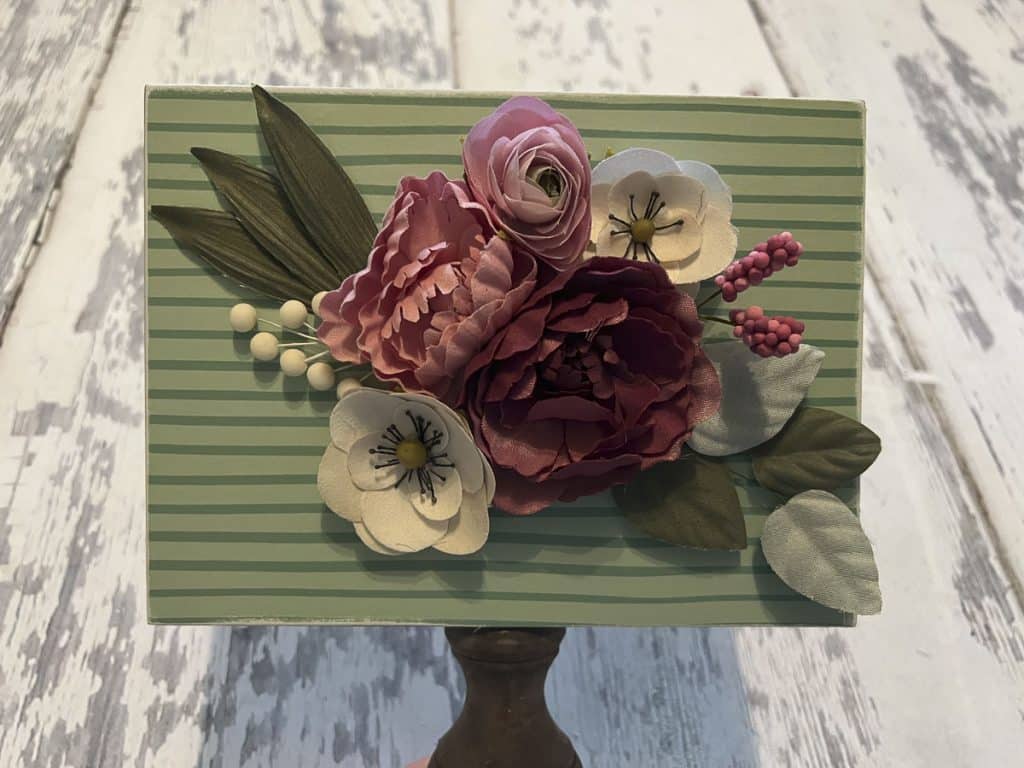
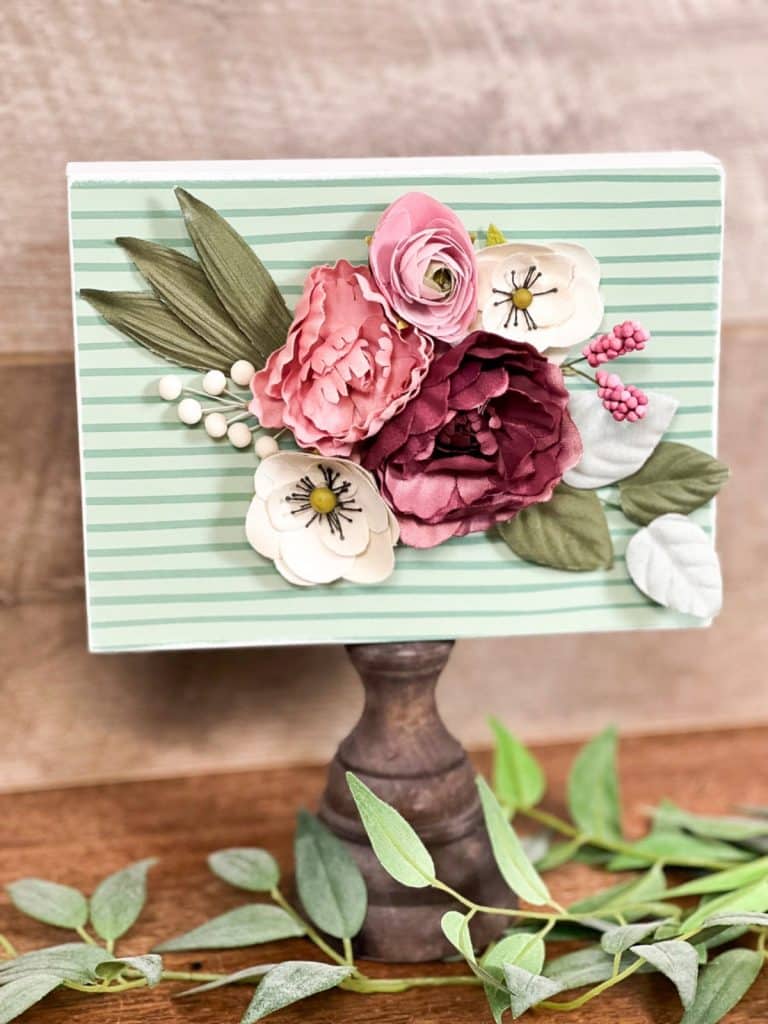
For my base, I started with this sign from Pop Shelf. I was originally attracted to it because I thought the pedestal was so cute, and the size of the sign was perfect! However, I wasn’t a fan of the print on the sign…and it was just that, a printed overlay. It definitely needed some color!!!
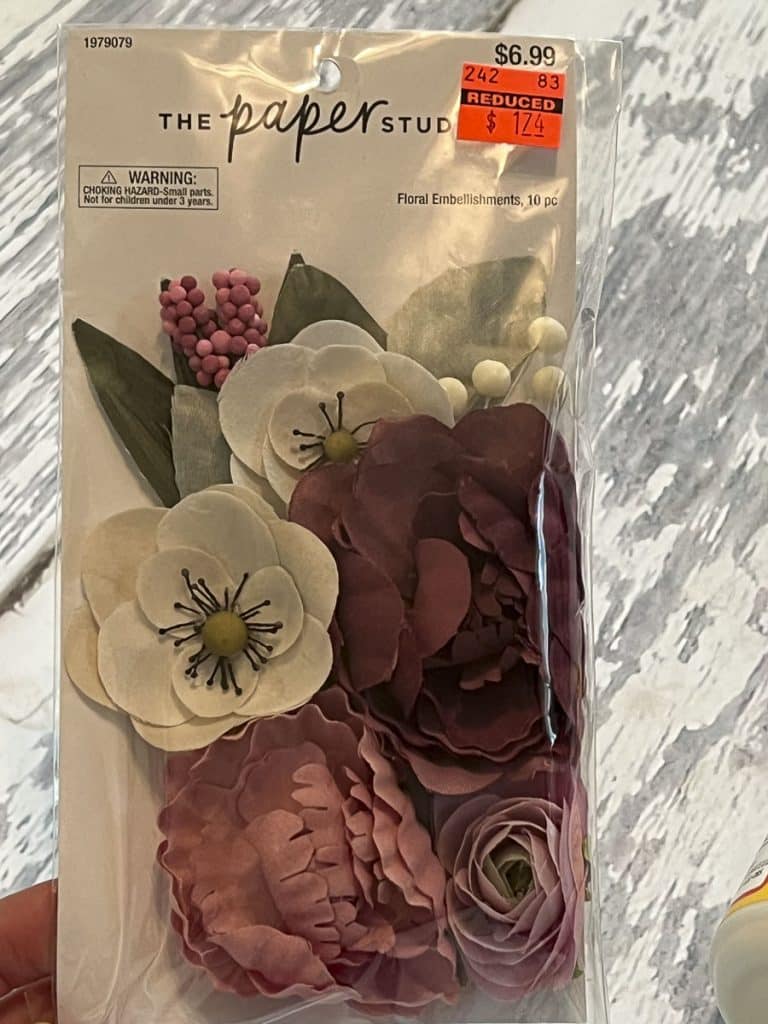
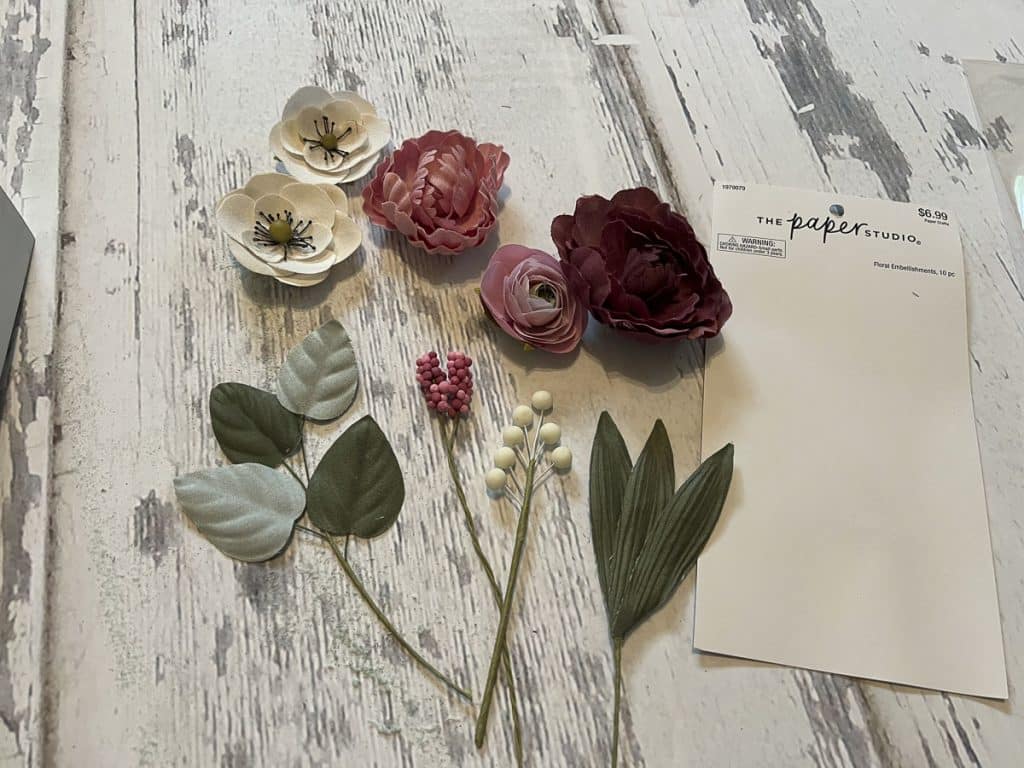
This set of floral embellishments at Hobby Lobby was marked down to only $1.74! You can’t beat that price for all the variety and details in this pack. Whenever you visit Hobby Lobby, always browse the scrapbook aisle for products like this one that can be used for numerous projects! The colors were perfect for fall!
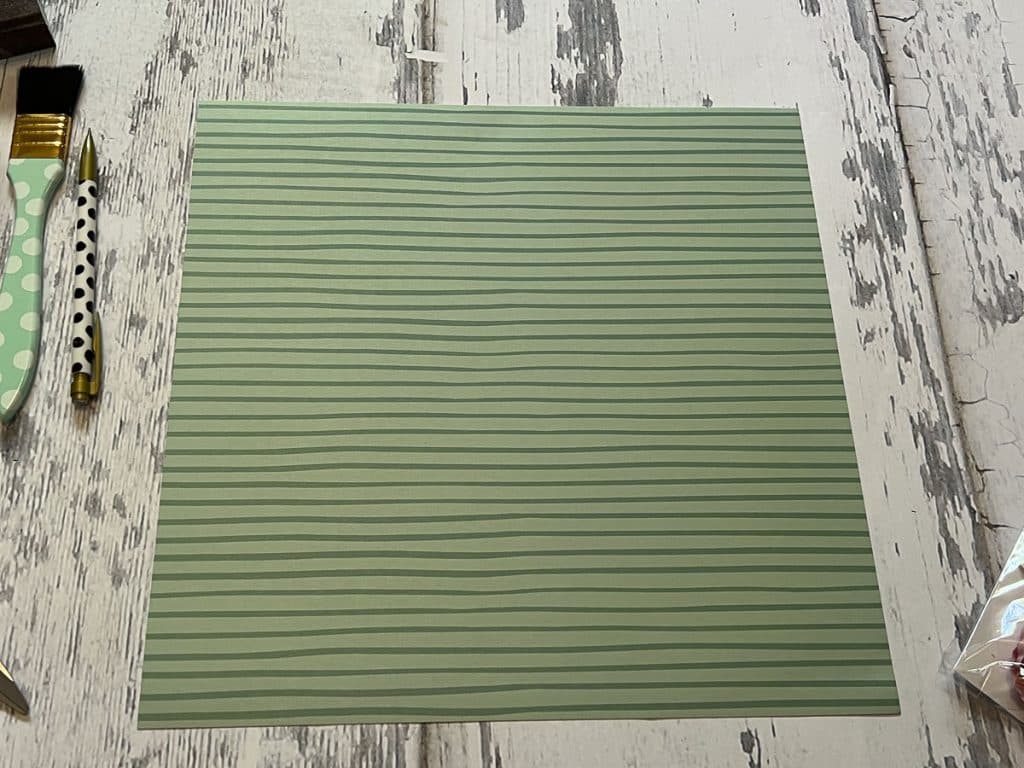
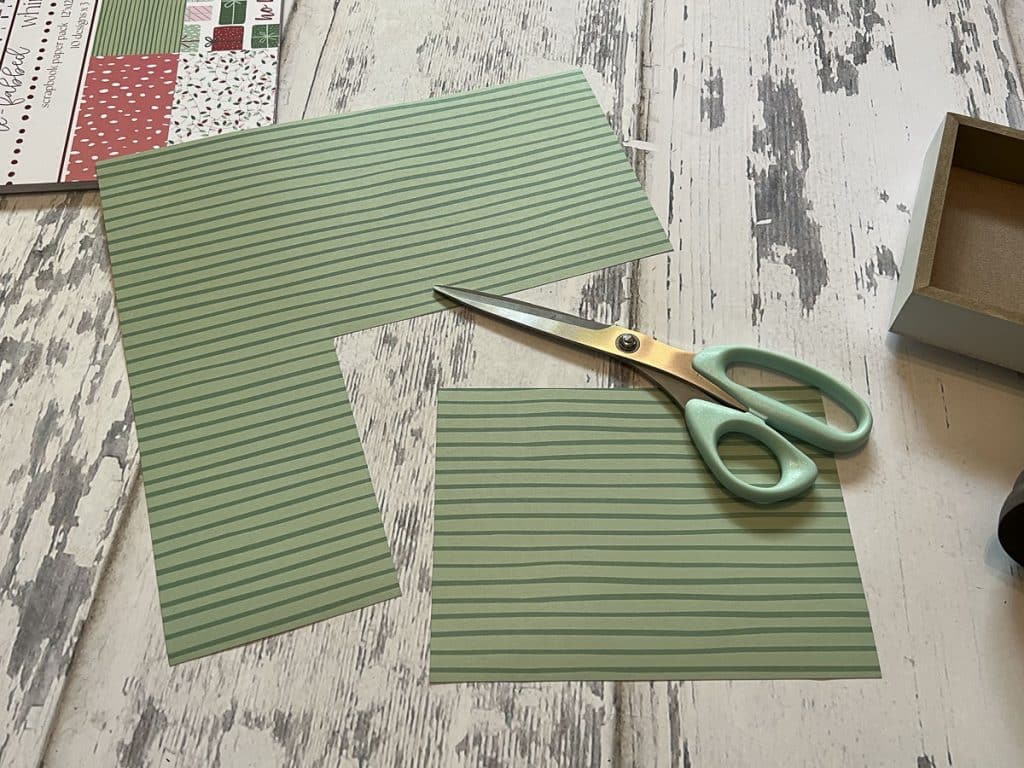
To cover the front of the sign, I chose a piece of scrapbook paper from my whimsy wonderland collection. I loved this two toned green to complement the colors of the flowers. You can find this scrapbook page along with many others in my shop.
Here are other projects using scrapbook paper found in my collections.
- DIY Moss Christmas Tree
- Felt Ball Christmas Tree
- How to Makeover a Letter Board Christmas Sign
- Dollar Tree 3-D Pumpkin
For the first step, I traced the front of the sign onto the back of the scrapbook paper using a pencil. I wanted the lines to run horizontally, so I made sure to orient my page the correct way. Since the pedestal is attached, I used a little tote box I had to elevate the sign, so the sign would lay flat on the paper. Then, I cut out the tracing with my scissors.
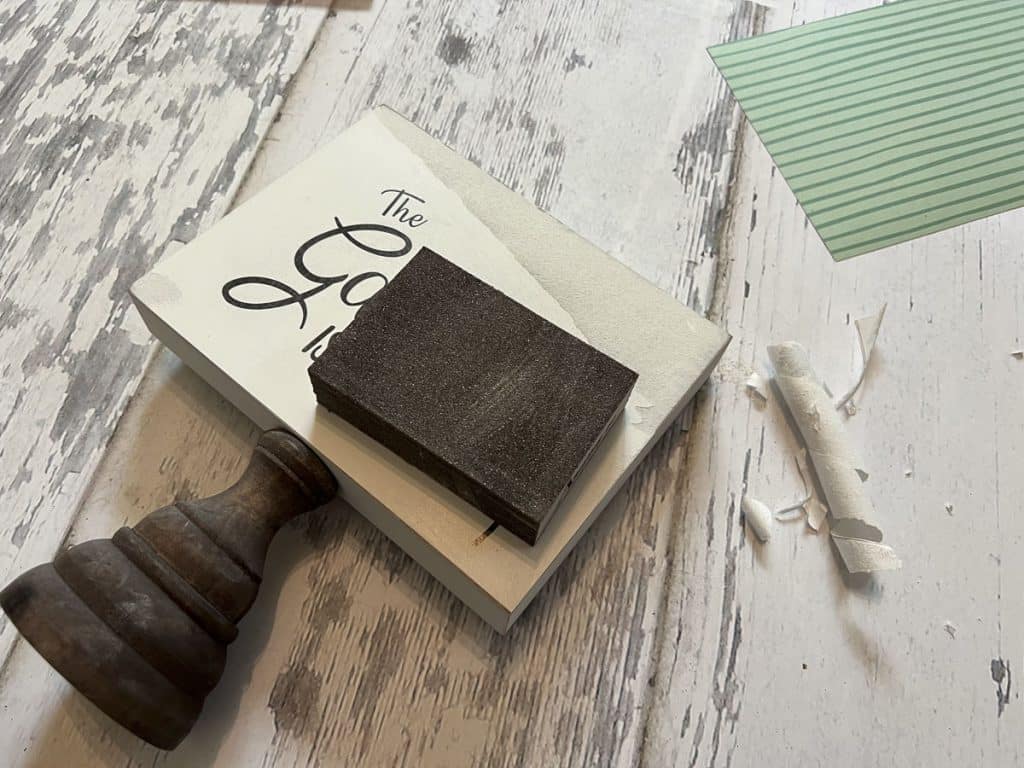
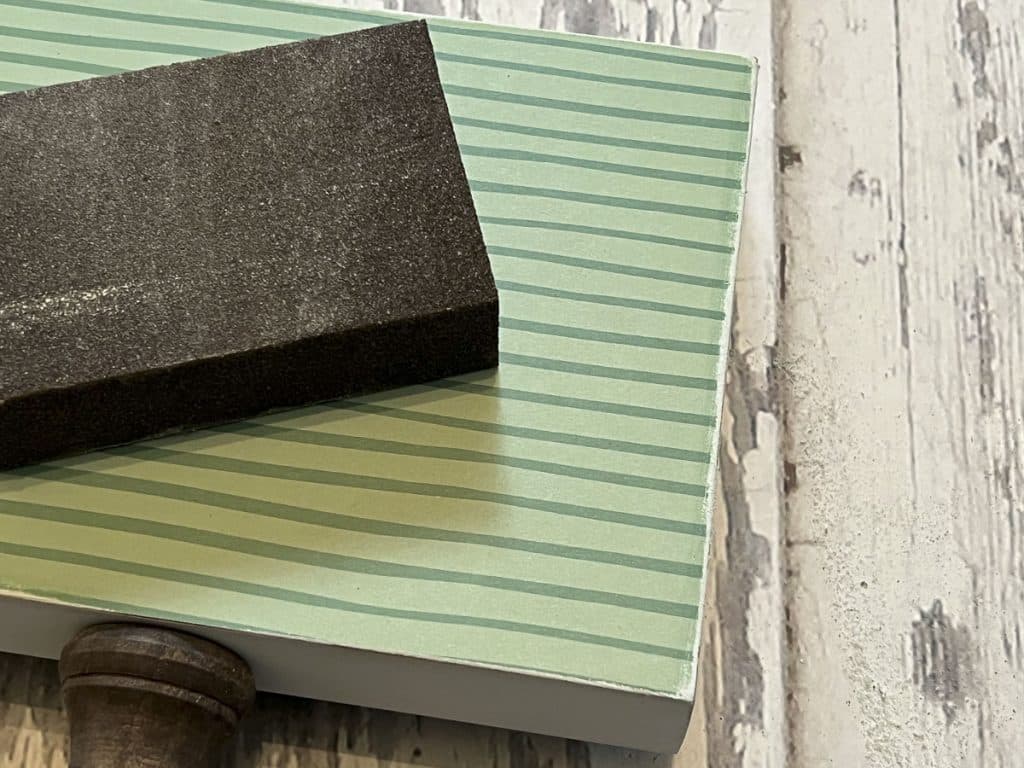
Next, I wanted to ensure the surface was smooth before applying the Mod Podge. A couple of the corners were peeling away just a tad, so I went ahead and pulled off any loose areas. Then, I took a sanding black to smooth the edges and create a nice flat surface.
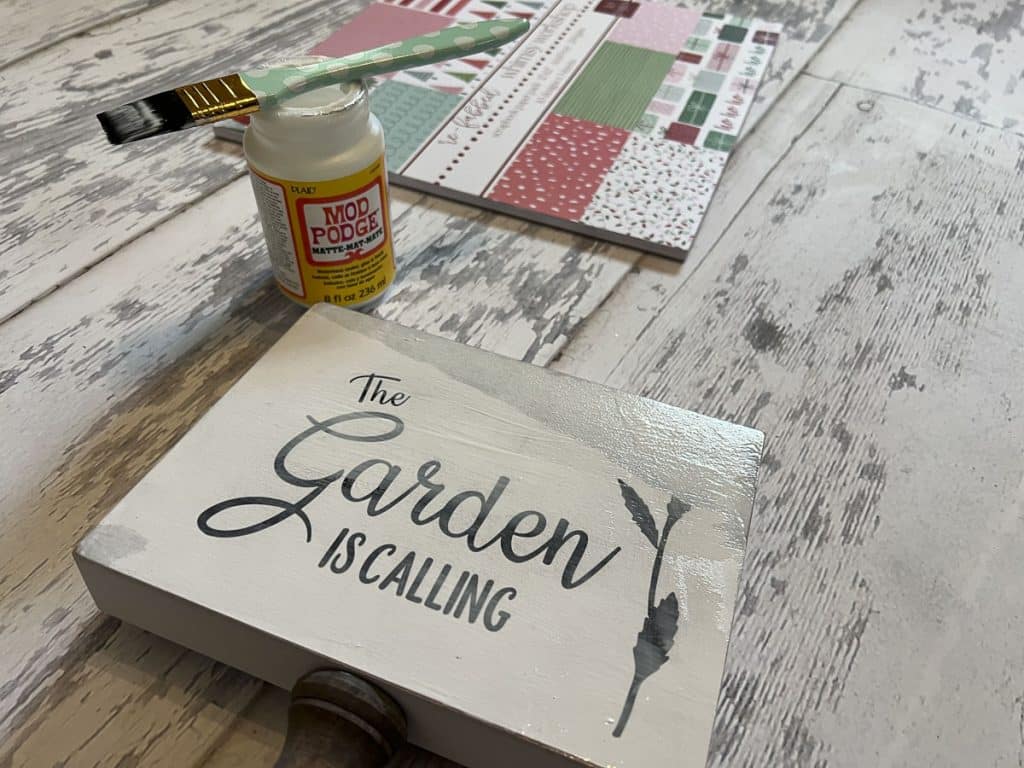
After dusting all of the sanding residue away, I applied a moderate coat of Mod Podge with my paintbrush. Then, I pressed down the scrapbook paper over the Mod Podge and smoothed it over with my hands to remove any air bubbles.
I allowed a couple of hours for the Mod Podge to completely dry before smoothing the edges with a sanding block. I love how sanding the edges gives a little bit of distressing, but also provides a clean finished look.
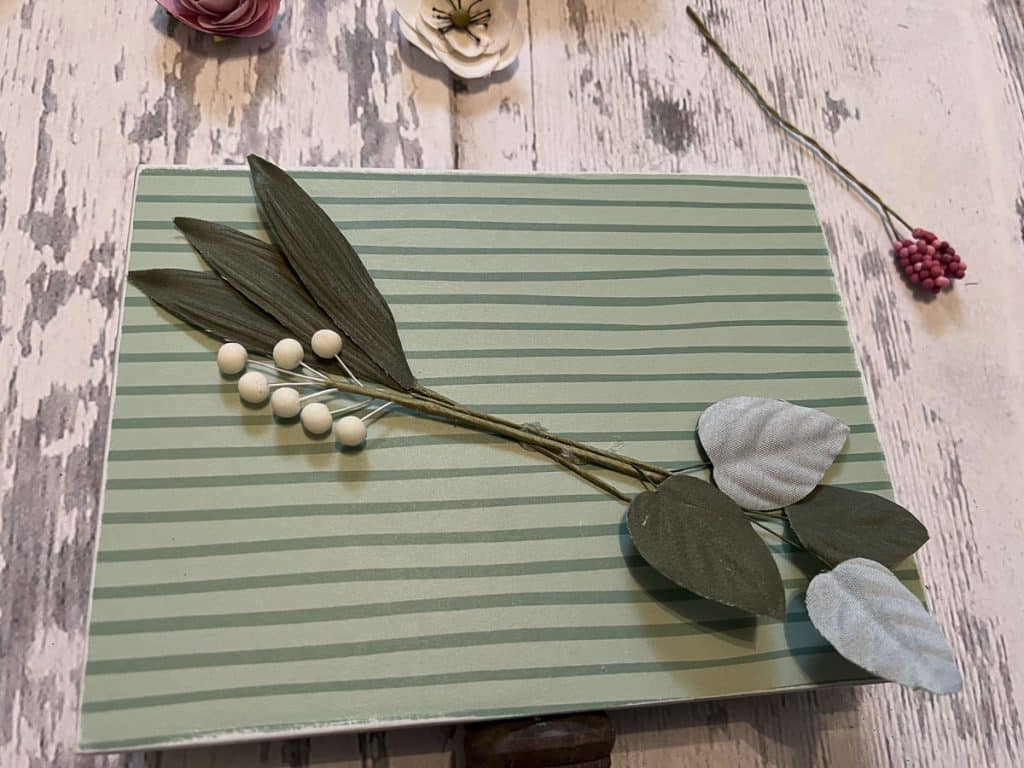
Next, I started arranging the flower placement. Before gluing ANYTHING, I laid everything out how I wanted it and took a PHOTO with my phone. I have found this helps me so much to remember how I originally wanted it!
Then, starting with the base pieces, I used hot glue to glue everything in place.
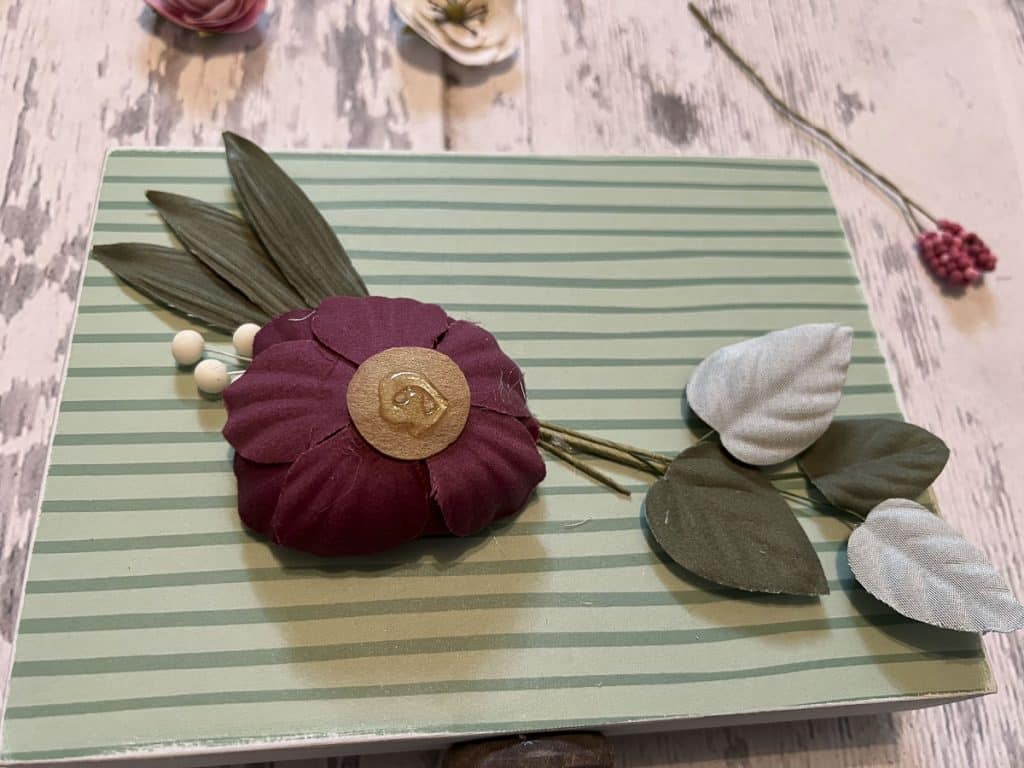
I worked piece by piece until all flowers were in place! I absolutely LOVE how this turned out! I literally have less than $5 in this project! It was so simple, and these little flower packs take away all the stress of mixing and matching flowers to create an arrangement!
Have you ever purchased the scrapbook flower embellishments? I would love to see what you have created with them! I think they are so fun and such a great bargain!

Be sure to PIN FOR LATER!
Last Updated on October 8, 2023

So stinkin cute! Perfect for the area exiting to my patio where my patio is located. I just need to purchase a couple of items. Thank you so much Brooke! ???? Love you, your creative process and praise God for blessing you !!!
Absolutely adorable! I love it! Definitely going to look for some flowers in the scrap book aisle!!!!
Beautiful, you inspire me to try different things. I’m going to try this.
Thank you for sharing your talent.
Katie Jackson
I love this so much! It is so cute. The green scrapbook paper is the perfect background.
Brooke this is beautiful ????
I wish I could make this looks great
I wish I could see more of what you are doing with your beach house
Love this Brooke. I may have some flowers to make this. Need a pedestal though.
That’s so adorable!!
Love this so much, I have looked at the flower packs many times but didn’t know how I could use them and now I do. Thanks❤️
I love your different ideas you have made thanks Karen
Thank you! ❤️
So beautiful! I do the same thing, once I have something laid out I also take a picture before I start gluing things down.