It’s that time of year again! The time when we brush off the outdoor table on the patio and start taking meals outdoors to enjoy the beautiful evenings. I love outdoor patio decor, and today I have the cutest little candle holder made from a Dollar Tree aluminum pan! You don’t want to miss this super easy DIY!
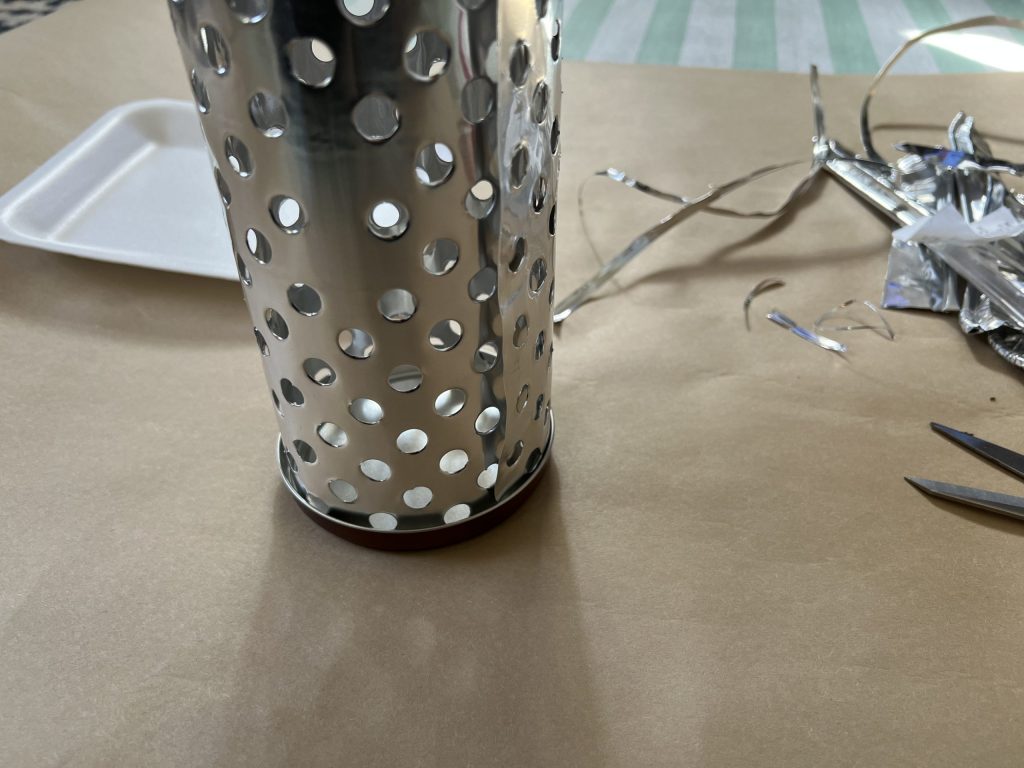
So, guess what I used as my base for the candle holder? Remember the tin can makeover HERE? I used the lid from the small tin container for the base of this project! I hang on to EVERYTHING, but it was perfect for this project.
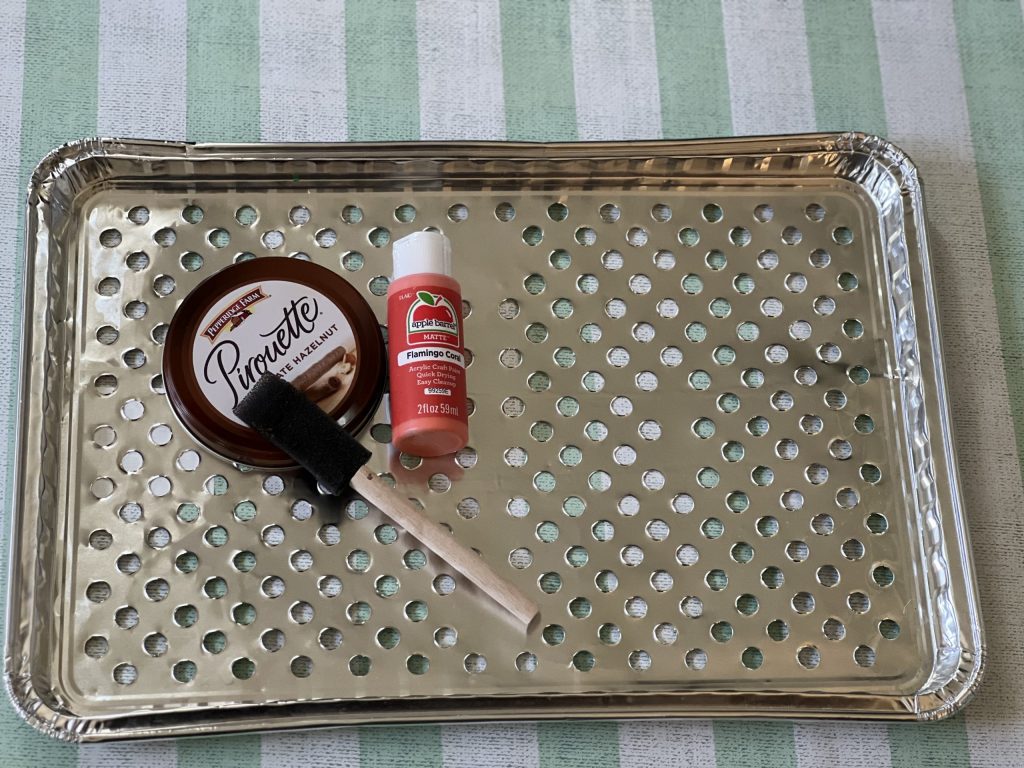
For this project, I used the following supplies:
- Aluminum pan “grill topper” from Dollar Tree
- Lid from a tin can
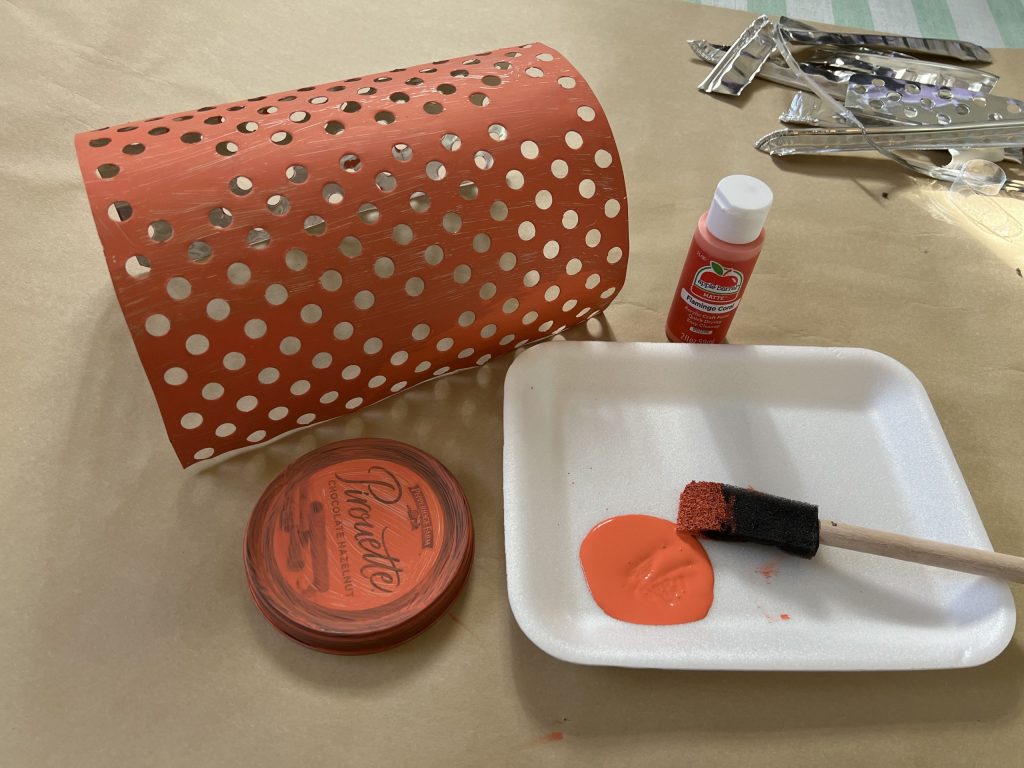
- Apple Barrel Flamingo Coral paint
- Foam paint brush
- Scissors
- Hot glue gun or E6000 multi-purpose glue
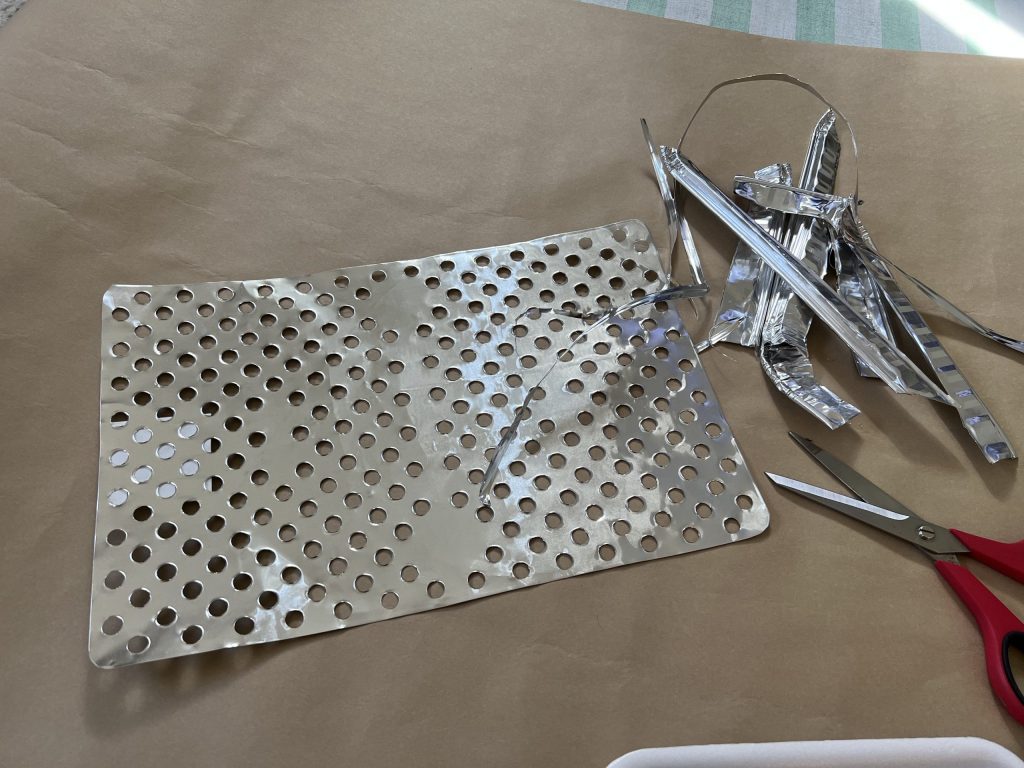
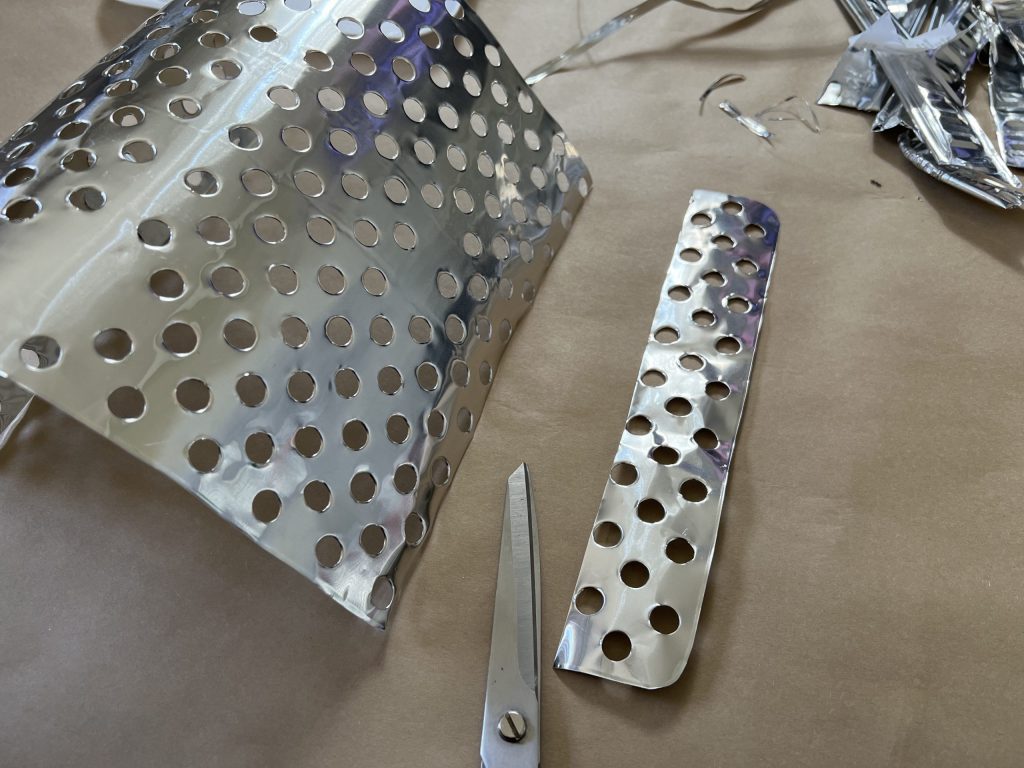
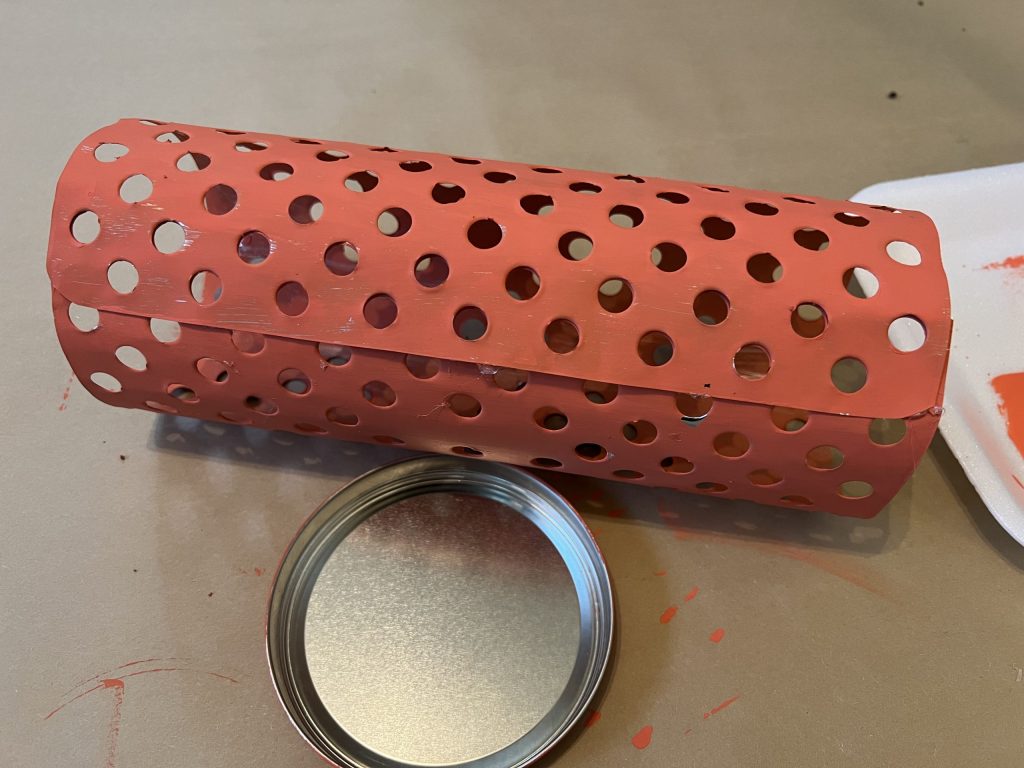
First, I trimmed the edges from the aluminum pan, and that left me with a flat sheet.
Next, I slightly rolled the sheet so I could fit it for the tin lid.
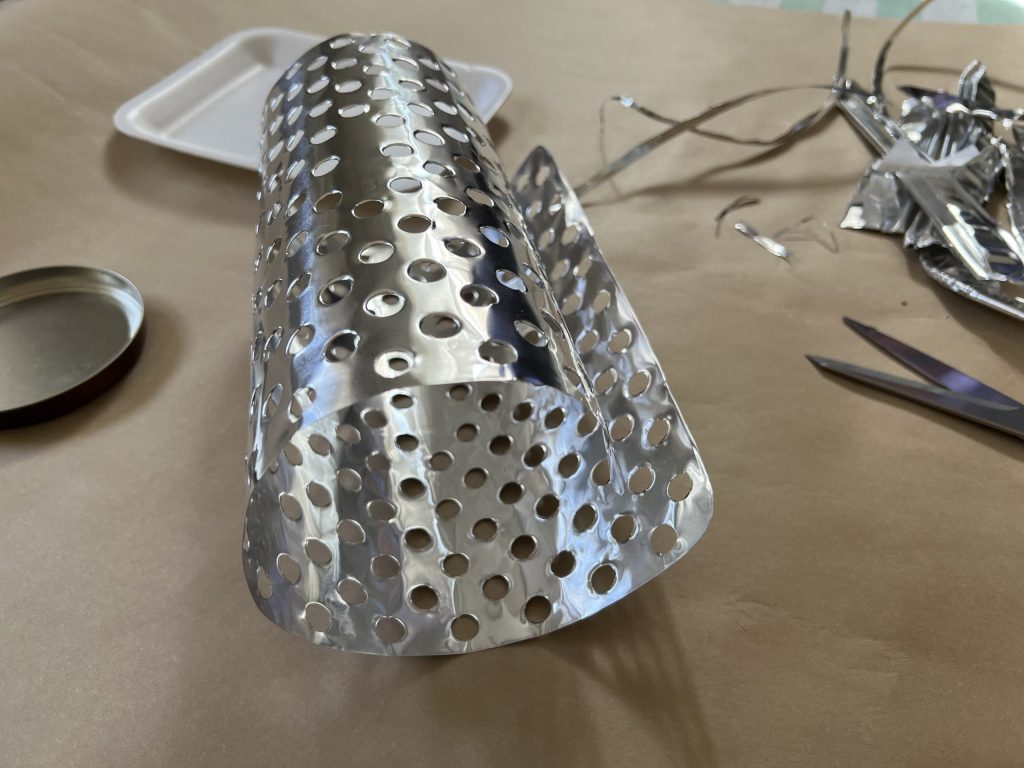
I set the rolled pan in the lid to see how much excess needed to be trimmed. You want to make sure there is some overlap so you have room to glue the cylinder.
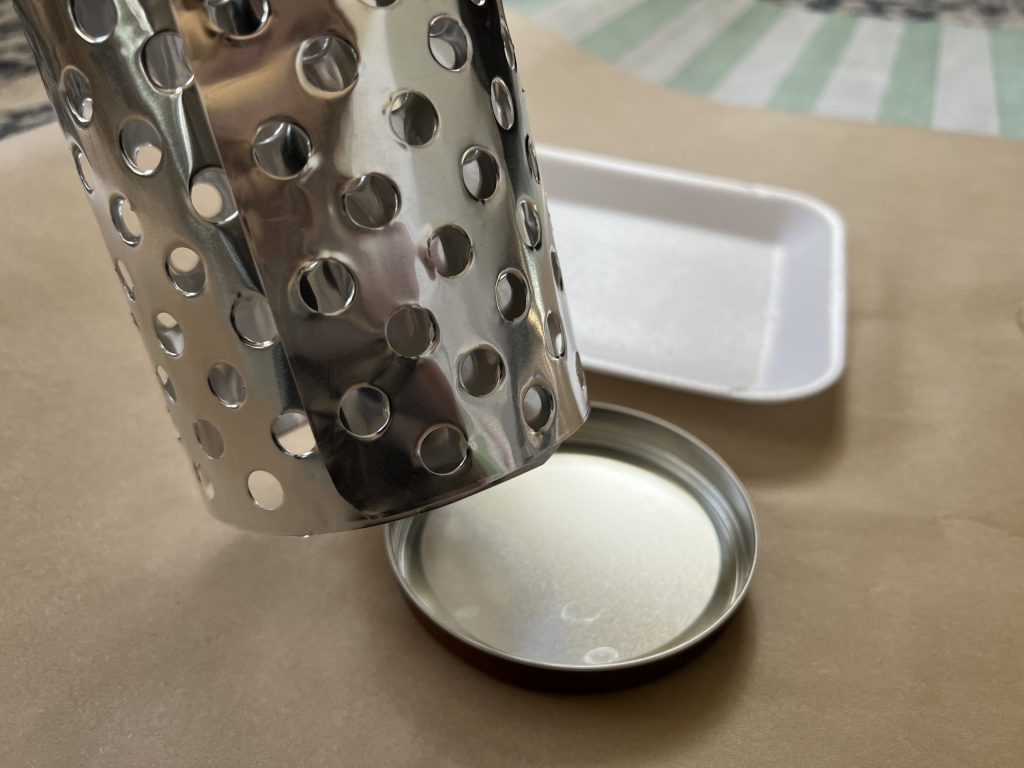
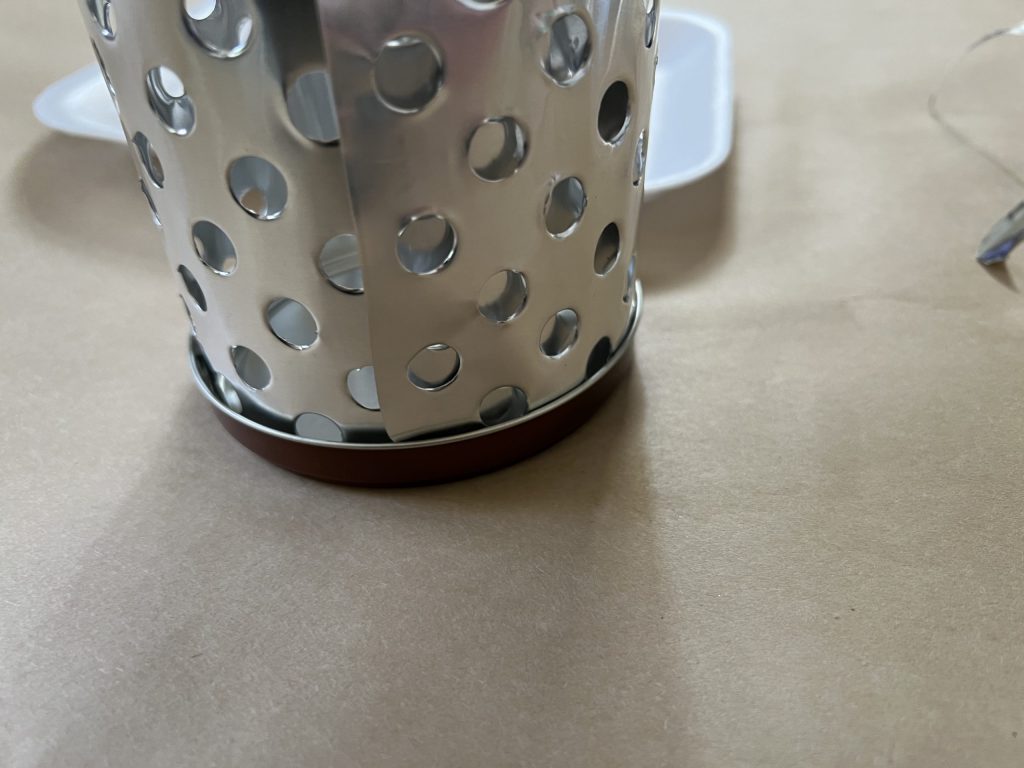
Next, I trimmed the excess material. Now, I was ready to paint!
Using a small foam paint brush, I applied two coats of paint on the aluminum sheet and tin lid. I was not concerned with full coverage, so I only applied two coats. Three coats for sure would have provided full coverage.
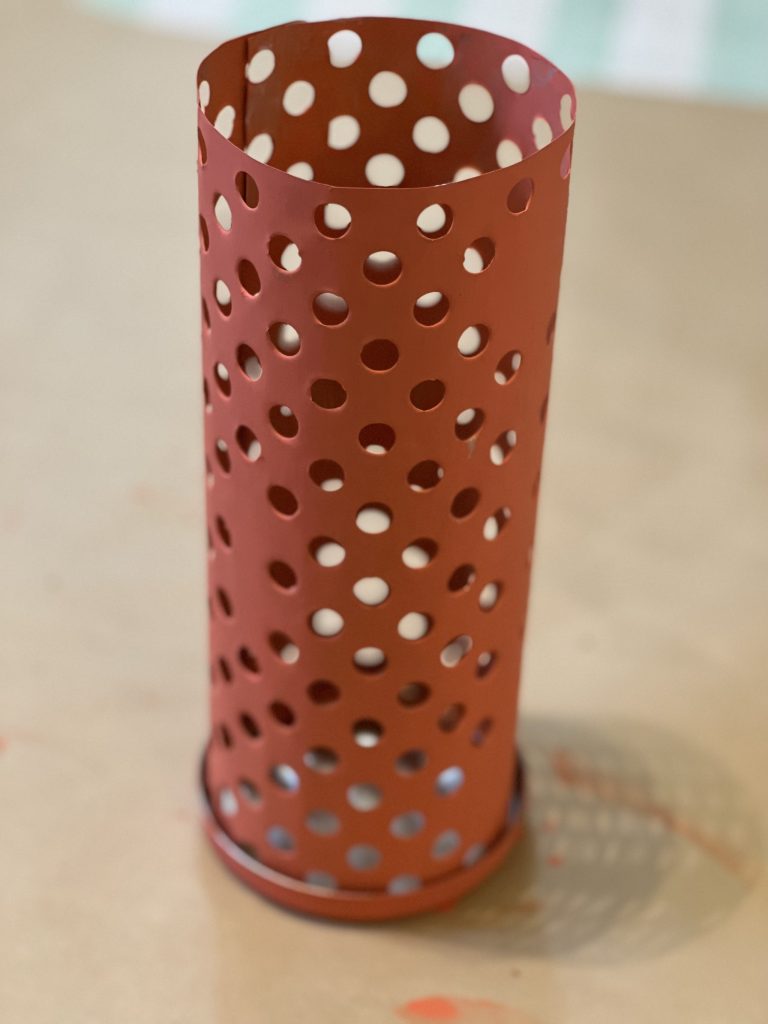
After everything had dried, I glued the ends together to create a cylinder. I used hot glue, but I would recommend applying both E6000 AND a little hot glue. The hot glue will keep it together while the E6000 sets and creates a stronger bond.
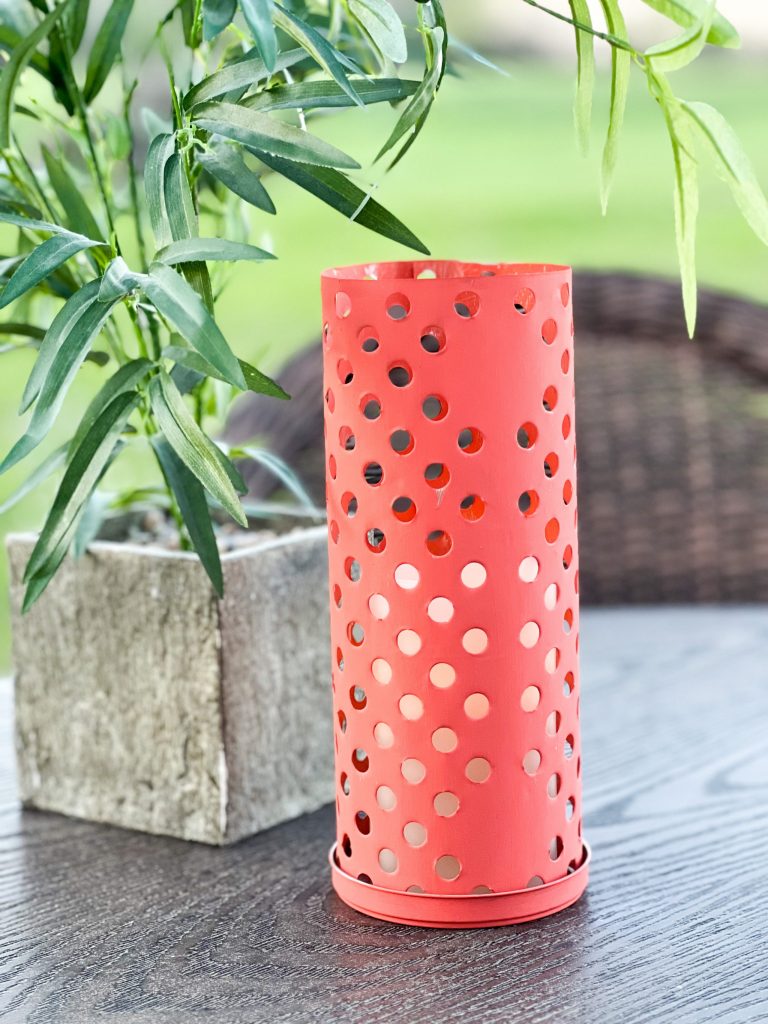
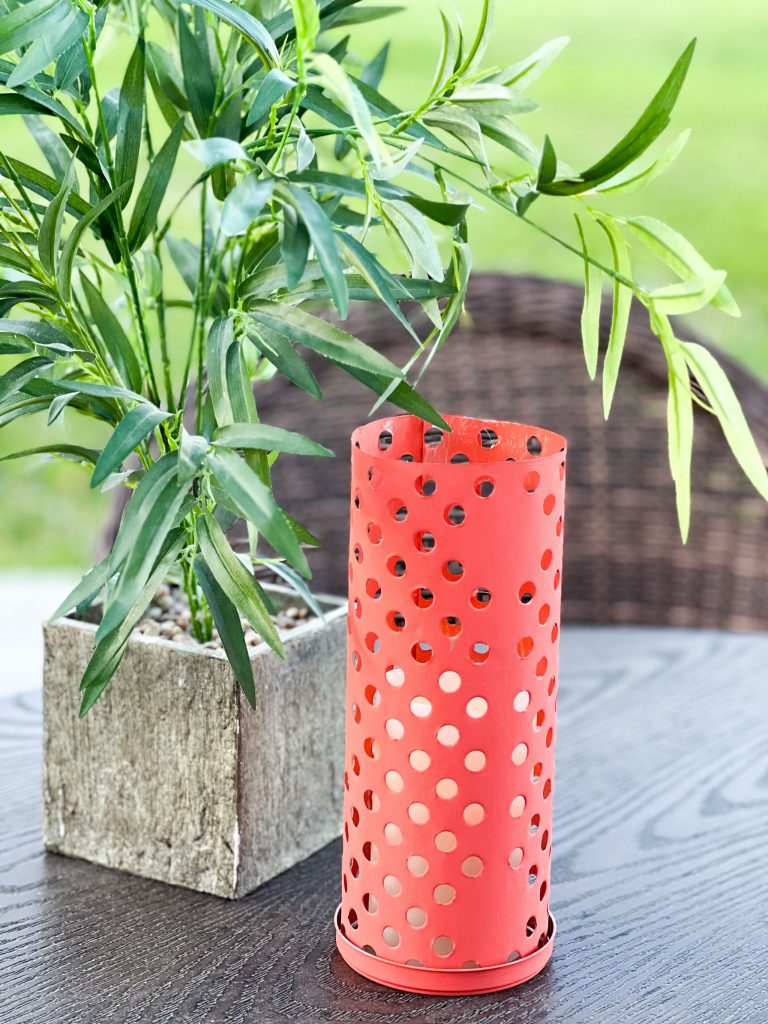
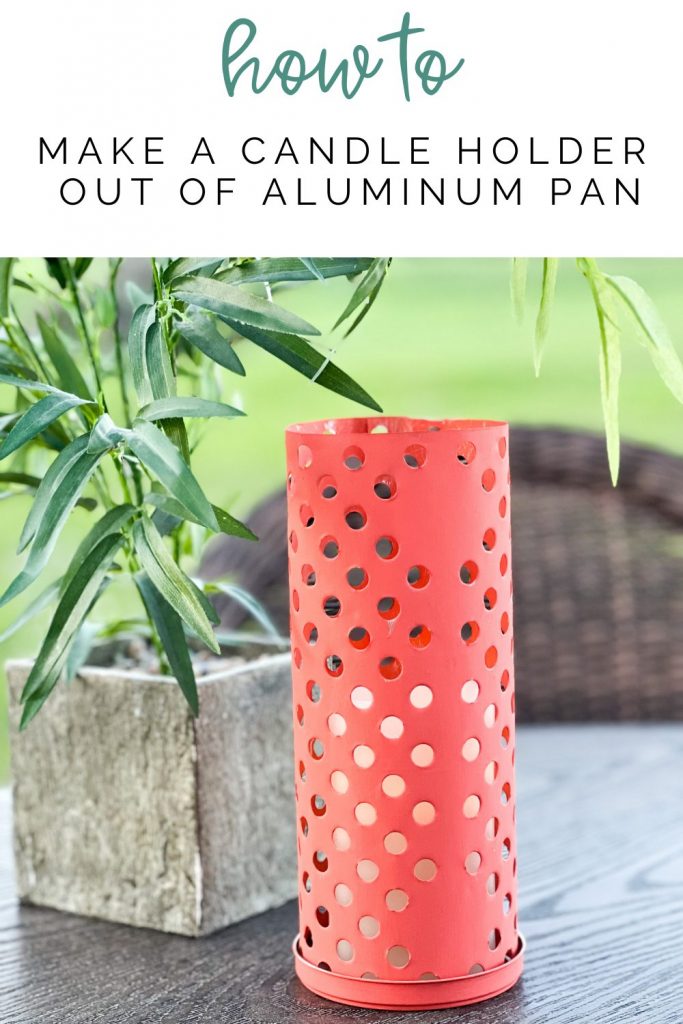
Here is the finished product! I can’t get over how simple this was! I’ll throw a battery operated candle in this bad boy, and it will be ready to go!
How fun would these be in a variety of sizes and colors on your outdoor table?! I love it, and it definitely would be perfect for those dinners out on the patio!
Be sure to PIN FOR LATER!
Last Updated on June 24, 2023

I love that candle holder! I wish I was that creative!
Just too cute!!!
Very cute and so easy to make.
Thanks for letting me in!
Great craft here Brooke! Love it, and love the color! Easy for sure!!!
And because it’s usually windy at our house, I would use battery candles!
Such a great idea! I’m not sure what color I would do, but I definitely love the idea and how easy it looks.