

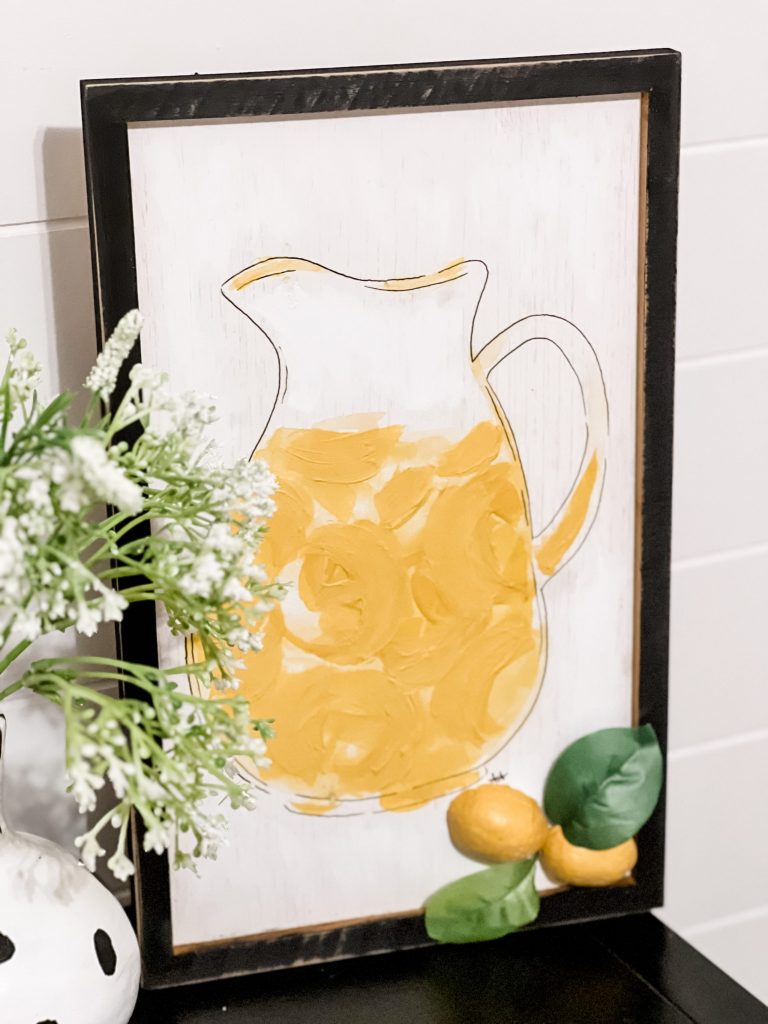
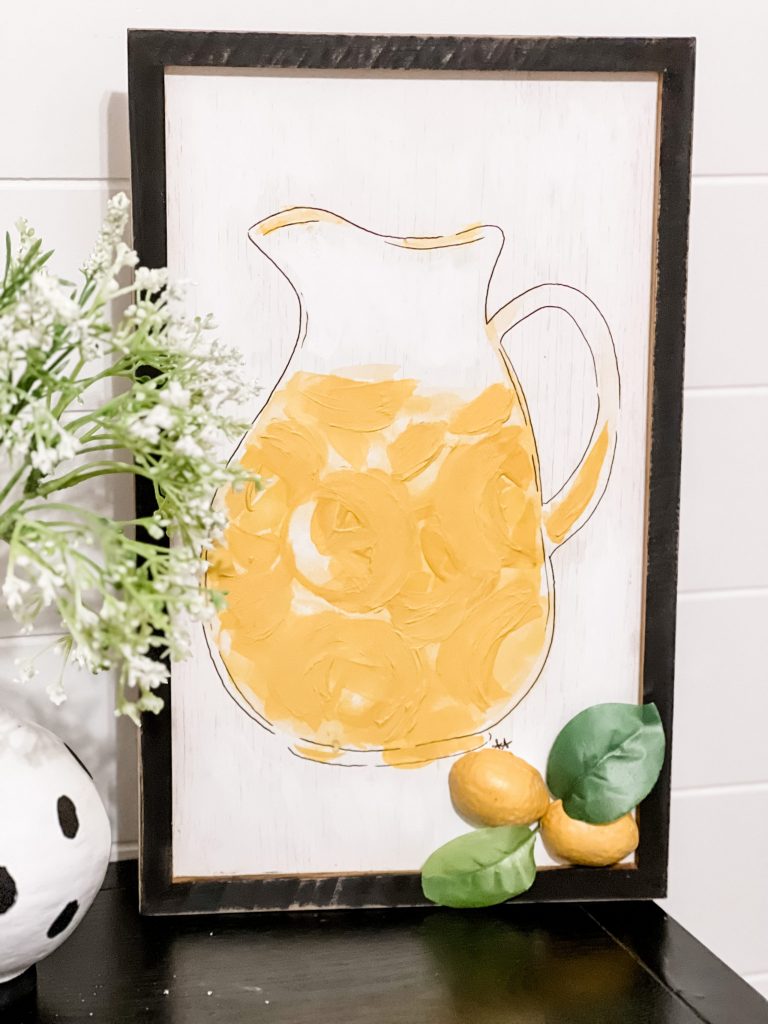
During one of my recent thrift store trips, I spotted this cute framed sign featuring a pitcher of lemonade. I loved the size and “idea” of it, but it was in major need of a refresh! There were a few stains, and overall, it lacked dimension. Typically, I would pull out my heavy body acrylic paint to add some amazing texture, BUT I decided to tackle this from a different angle using CAULK! I think it turned out pretty good!
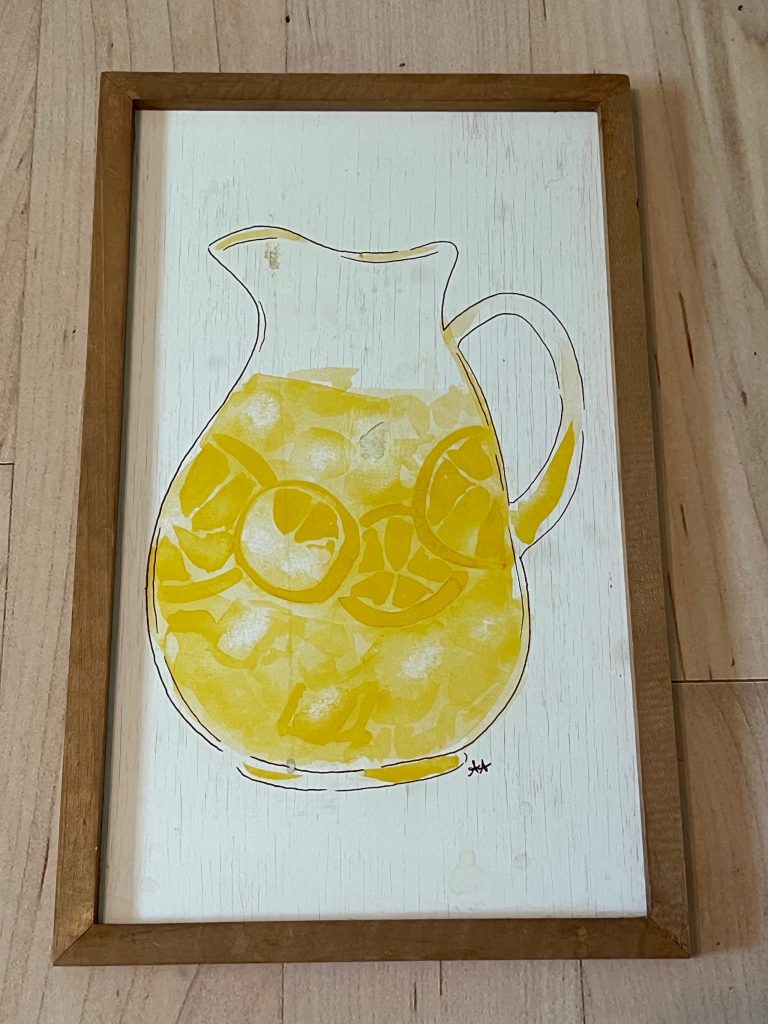
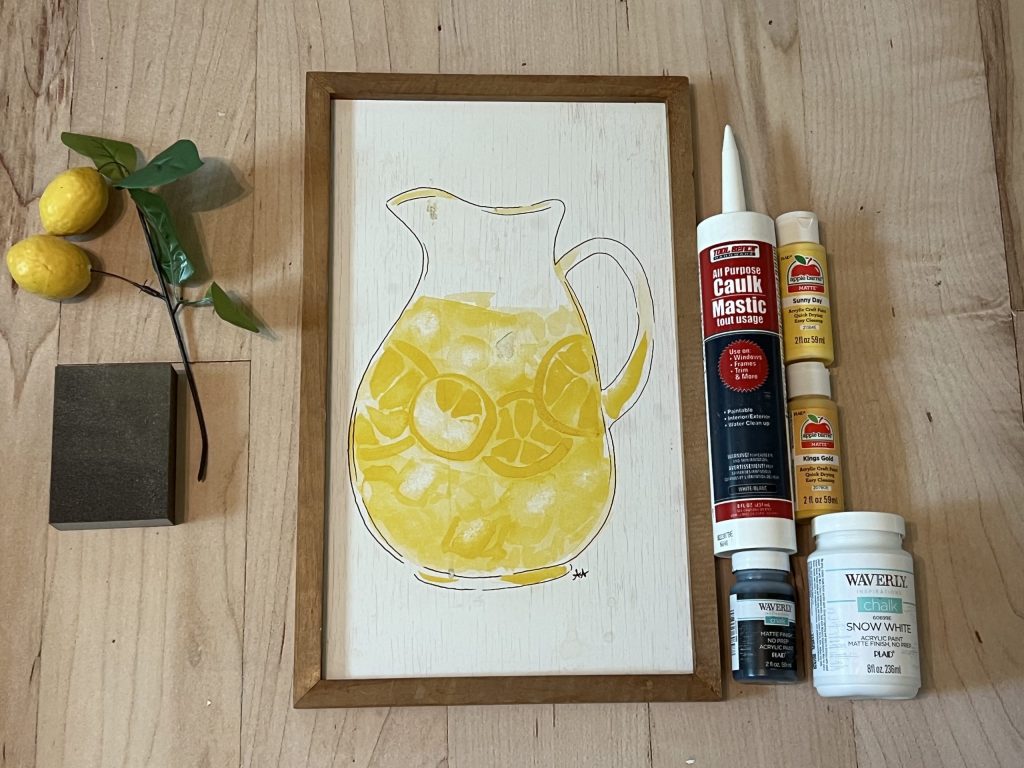
For this lemonade refresh, I used the following supplies:
- Thrifted lemonade print
- Lemon stems from Dollar Tree
- Caulk from Dollar Tree
- Apple Barrel paints in Sunny Day and Kings Gold
- Waverly chalk paint in Snow White and Ink
- Small paintbrush
- Small foam paintbrush
- Sanding block
- Hot glue gun
Before painting, I wiped down the print to see if any of the stains would lighten. Then, I started mixing my paint! Confession…I absolutely had never tried mixing caulk and paint before, so I was crossing my fingers and hoping for the best!!!
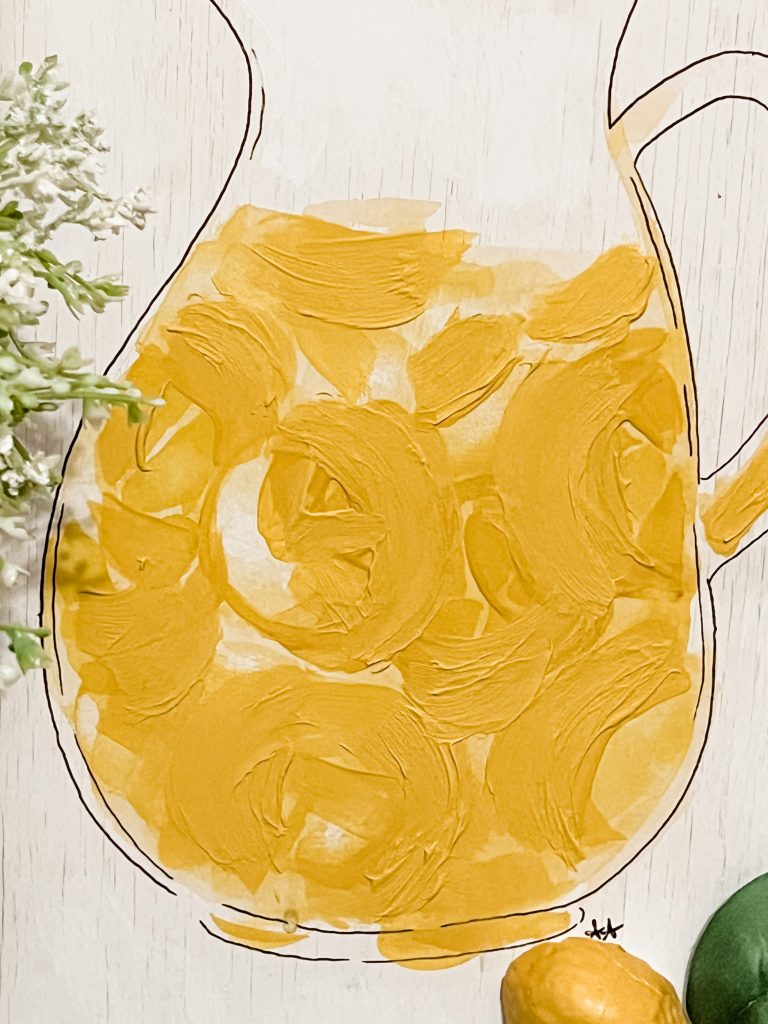
To start, I mixed Sunny Day and Kings Gold together to create a shade similar to the lemonade on the print. Then, I started mixing in the caulk just a little at a time. It definitely required a little more caulk than I originally thought.
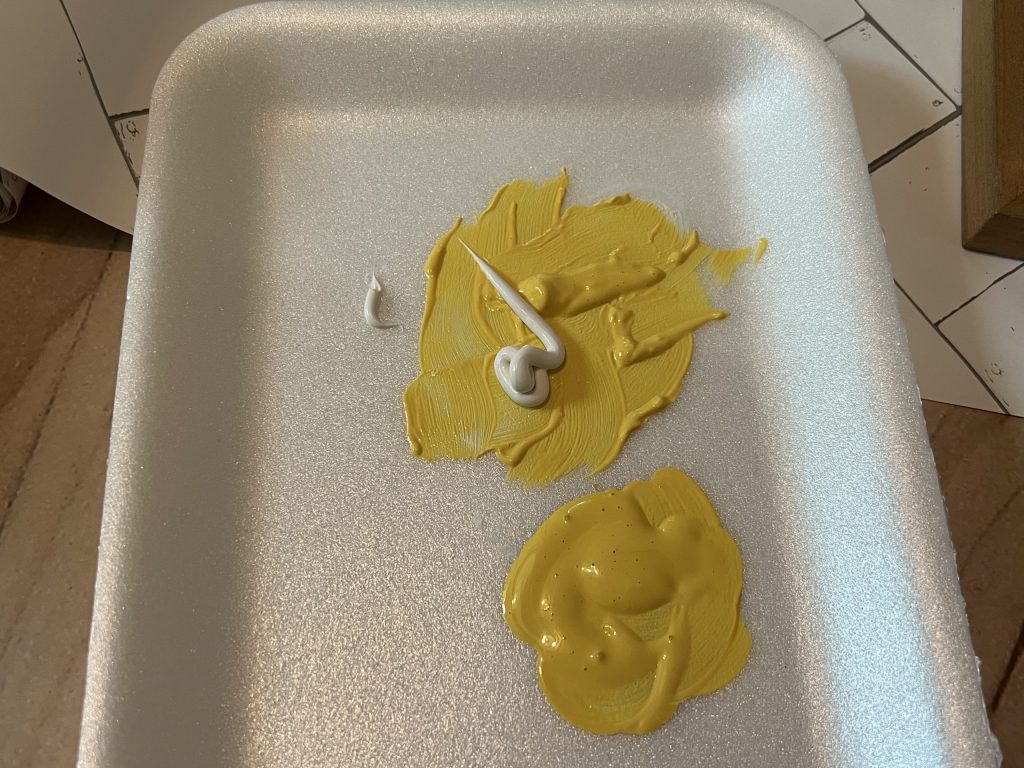
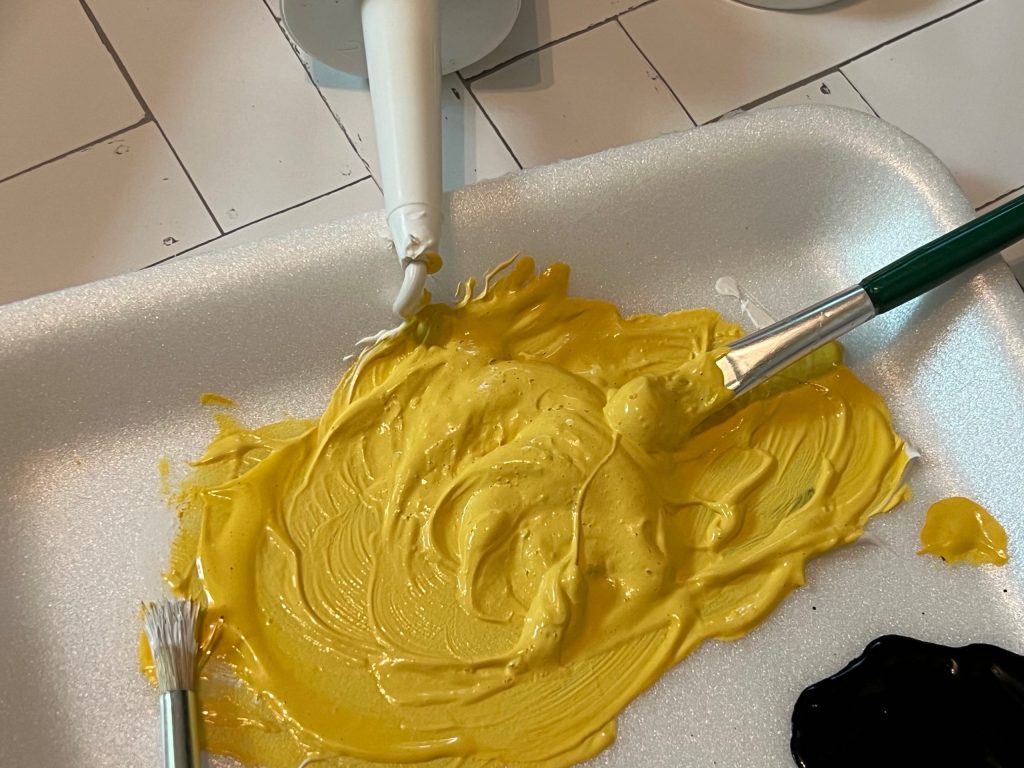
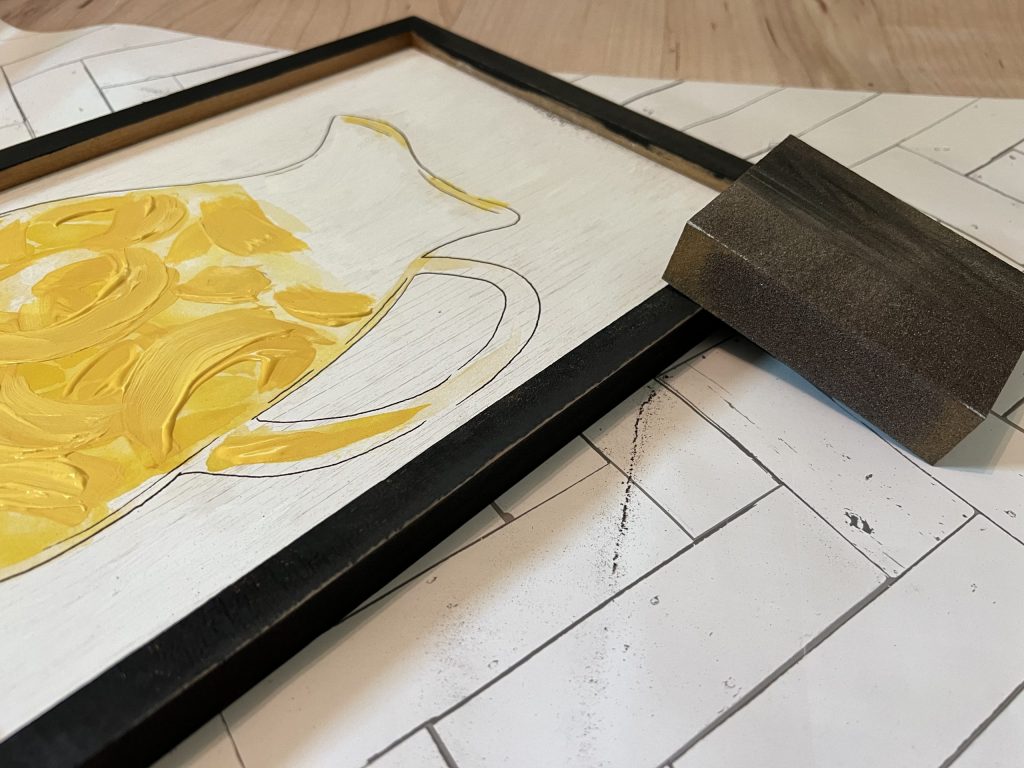
Once the consistency was thick enough, I started painting on the print. I basically just highlighted the shapes already there and then a little extra where stains were present.
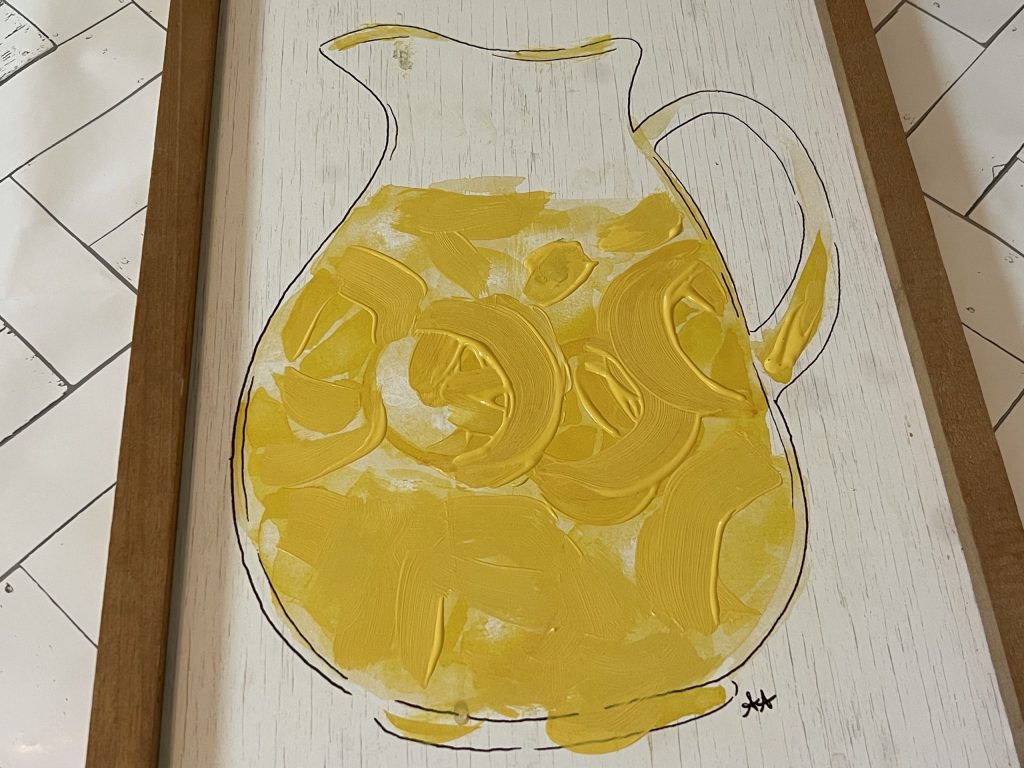
Once I was finished with the yellow paint, I started touching up the white areas that were stained. I used light strokes of white chalk paint.
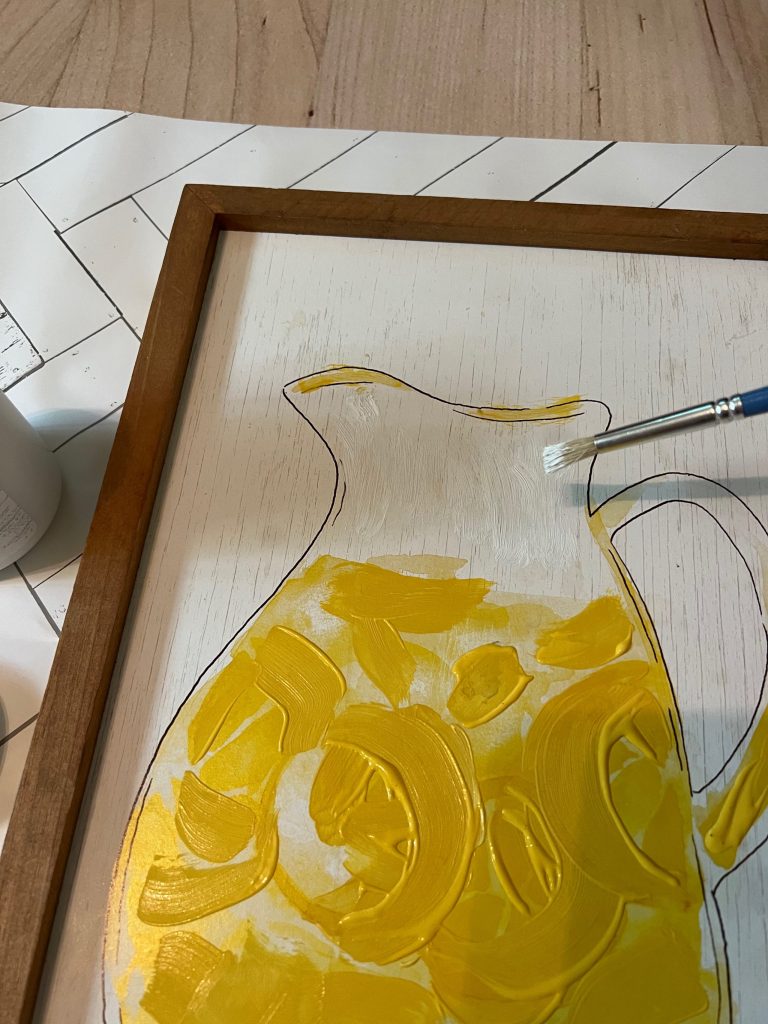
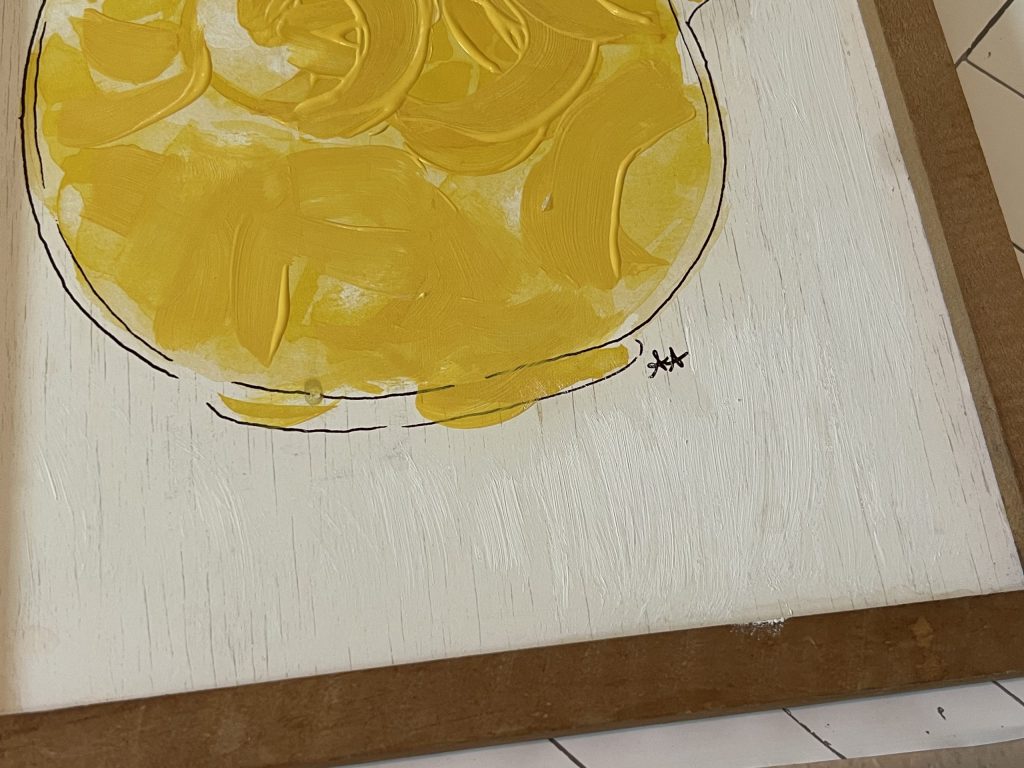
The original frame was a natural color, but I wanted it to really pop, so I decided to paint it black. I used black chalk paint on the frame, and I loved the contrast it created!
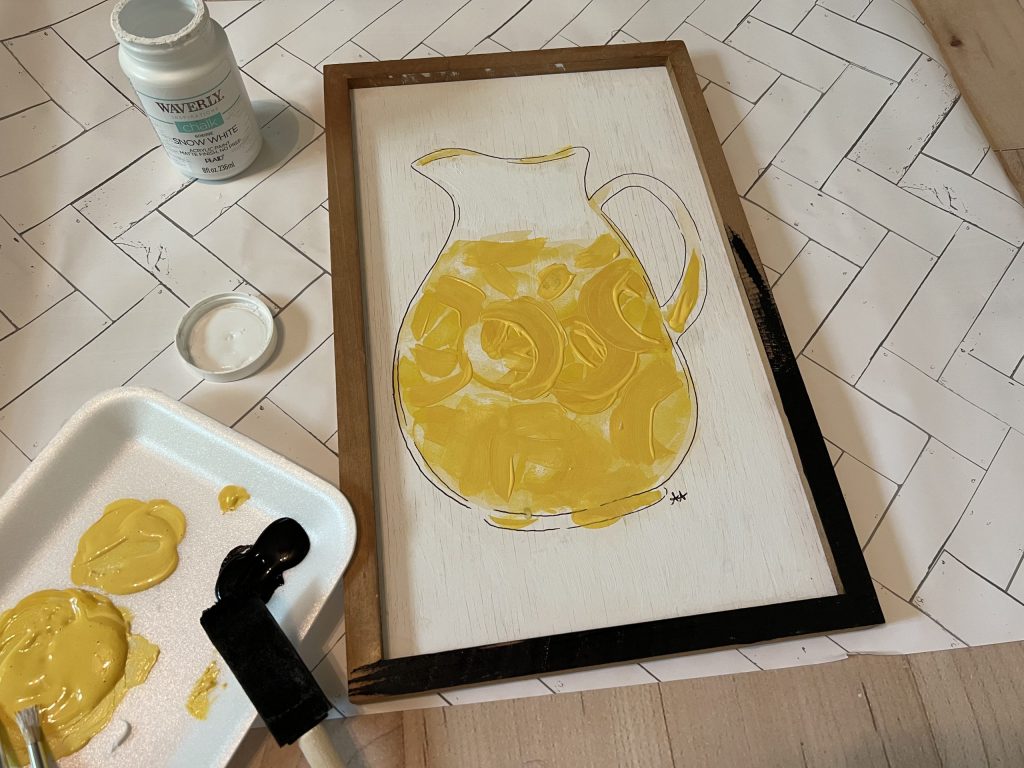
After the paint dried, I used my sanding block to distress the frame a bit.
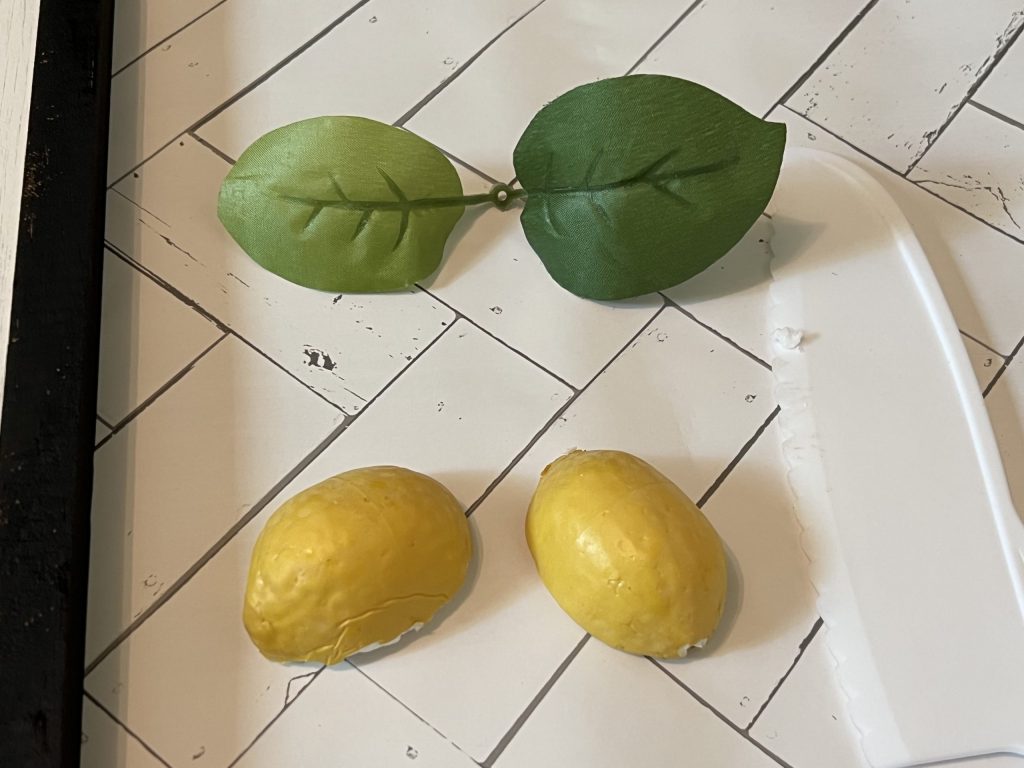
Next, I popped off a lemon and leaf from my lemon stems from Dollar Tree. Using a plastic knife, I cut the lemon in half. I hot glued on the leaves and lemon halves to the bottom of the print.
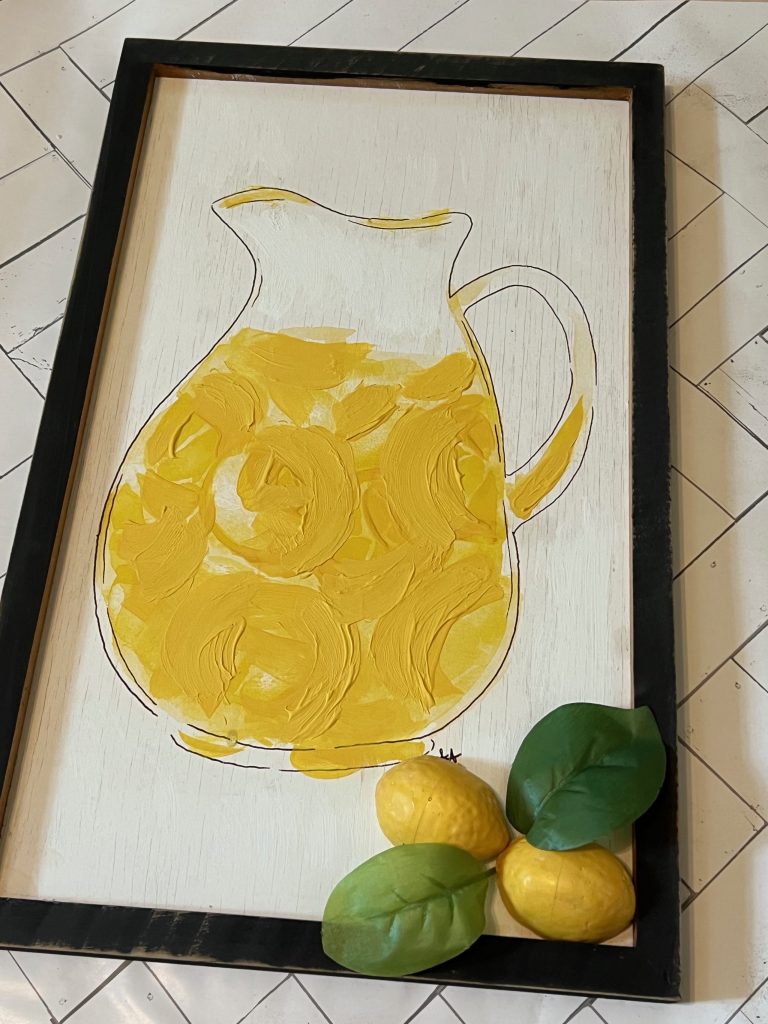
I totally think the caulk worked as a substitute for heavy body acrylics! It’s definitely not a replacement, but in a pinch, it works great! It’s perfect if you just need a touch of a color and don’t want to purchase a full tube.
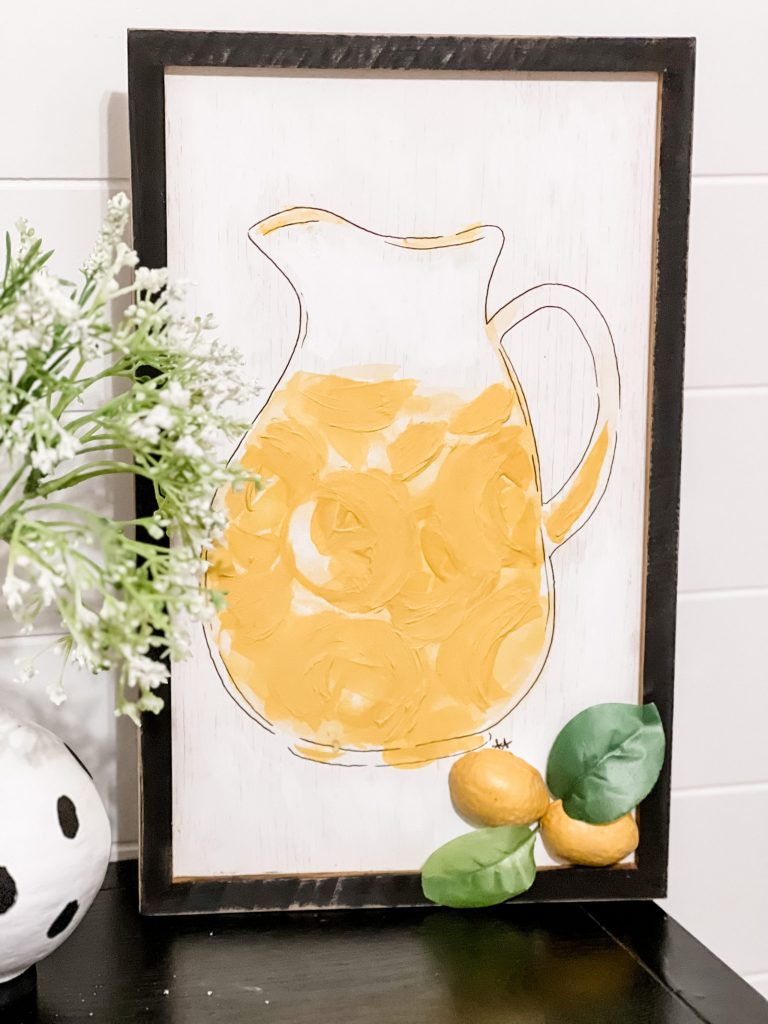
Y’all know I LOVE to add dimension and texture, and I think the paint, along with the lemons, are just what this print needed to make it fabulous! What do you think? I am SUPER impressed with the results!
Don’t forget to PIN for later!
Last Updated on June 24, 2023



Love this so much. Especially love to get a new technique idea. And who doesn’t love lemons!!!!
Super cute love the makeover. I’ve seen where you can mix baking soda to paint to add texture as well
I love your idea ???? for sprucing up a easy to buy print
It looks so pretty. Thanks for the tip that you can use caulk. I don’t have gel medium or thick acrylic, and I forgot about caulk.
That was so cool! I am redoing my kitchen now and that gives me some ideas!