How to install brick flooring
We are building our home. If you follow along on Facebook or Instagram, you have heard me talk about it a lot, and you are just as excited as I am!
While building this house, I have incorporated some KEY elements that I have always wanted in a home! The two BIGGEST things that were a must have to me were to have a clawfoot tub in the master bath and BRICK FLOORING!
Thankfully, I will have both, but let’s talk about the brick flooring.
I know many of you have lots of questions about it, in general…as I did while I was searching for the perfect product!
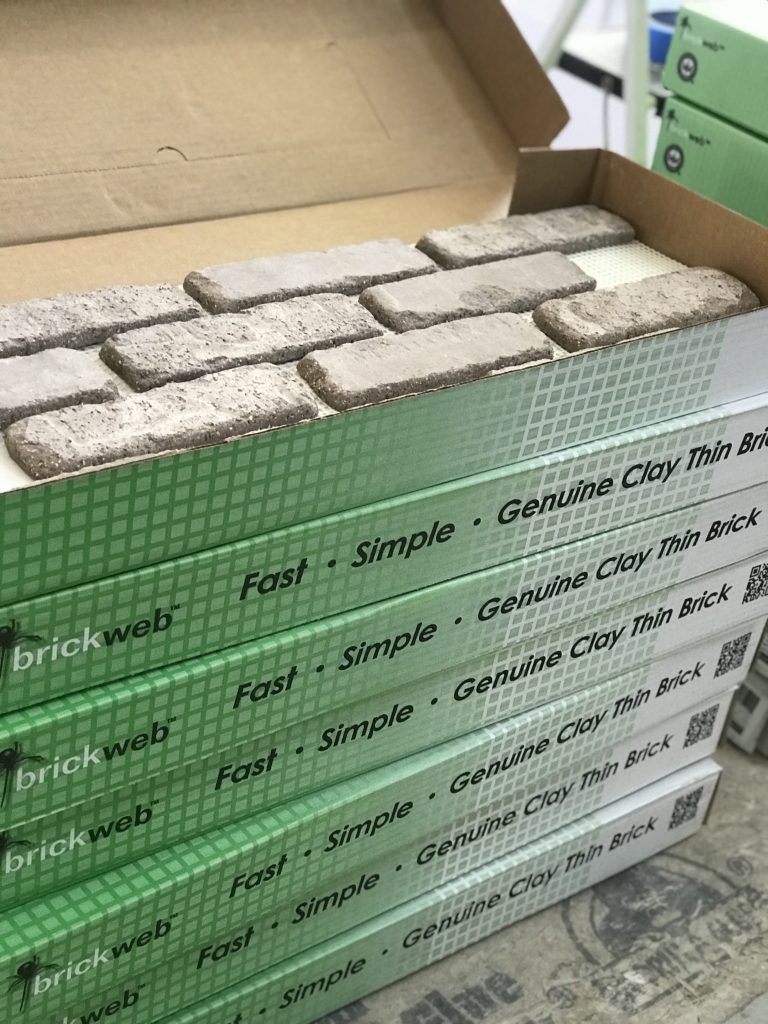
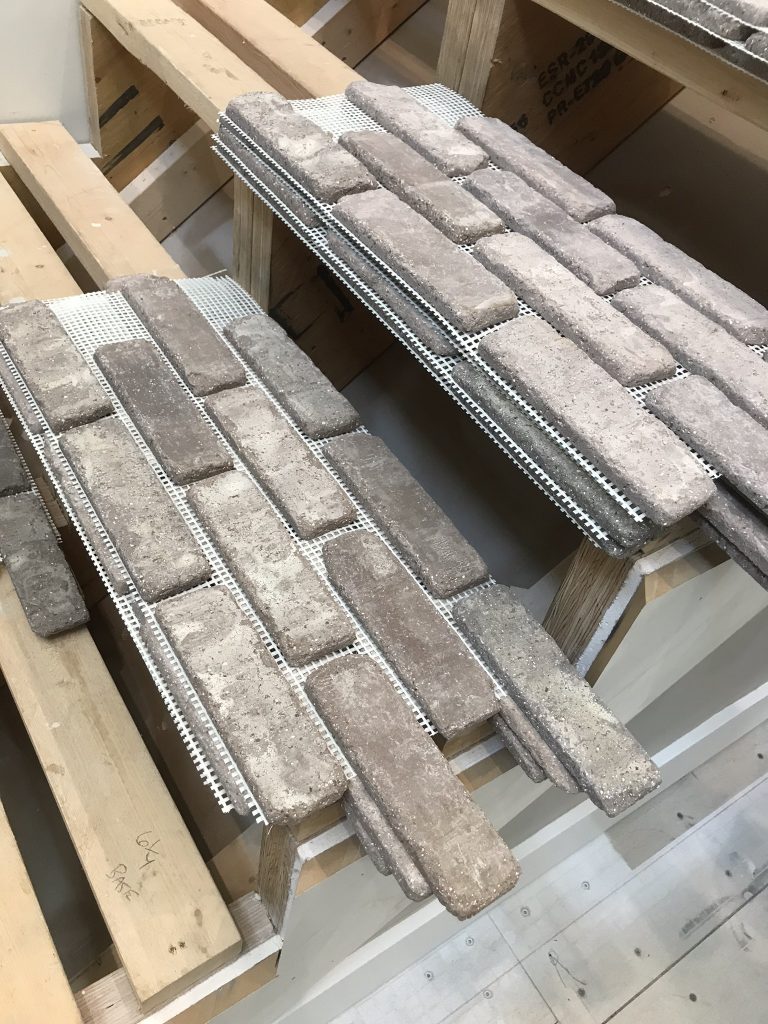
Well, let me tell you a secret- BRICKWEB! Brickweb by Old Mill Brick is literally a life saver. The EASE in installation, the quality, the color choices and the style in general is literally everything I wanted in a flooring (and also an archway- which I will be sharing in a later post!).
Since I am a visual learner, I wanted to share several pictures with you about the FIRST part of the process. This post is broken into 2 parts…
The first part is everything until the grouting! The next post will be the grouting, sealing, etc…and just simply finishing it all out.
Please be aware- these are pictures from the kitchen and the entry way- simply showcasing the process!
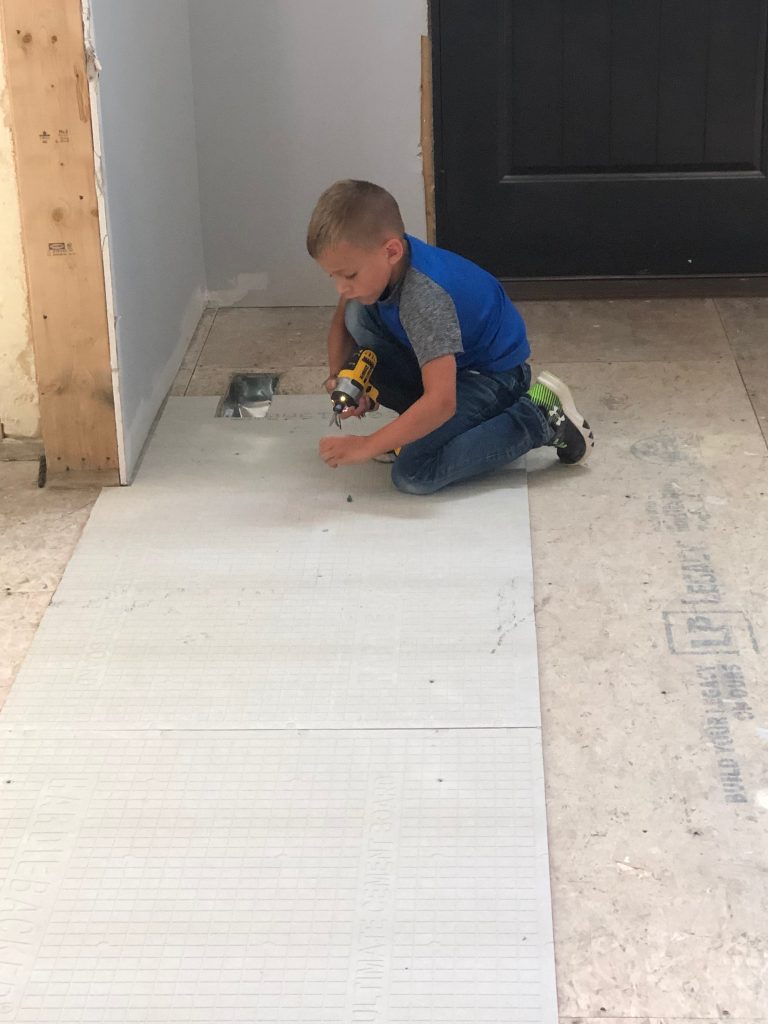
FIRST, make sure you have concrete quarter inch backer board down as your underlayment. (we used hardybacker) You do NOT lay it straight to the sub floor!
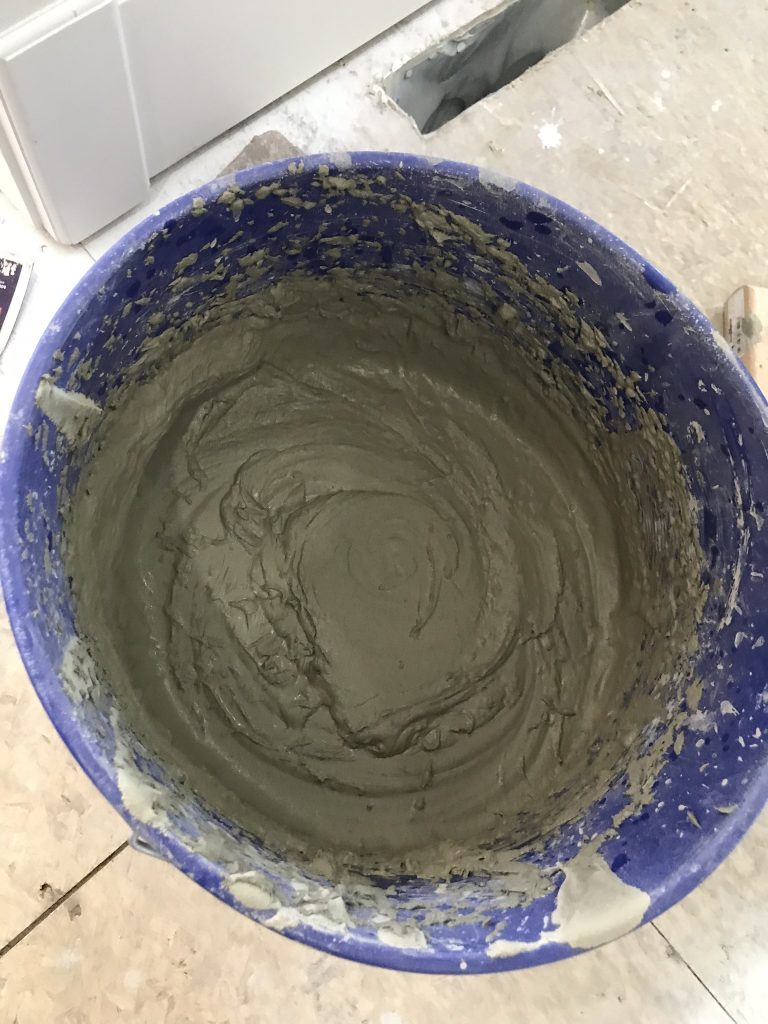
Next, your mortar.
For your mortar base, you want to use a thin set. Brickweb suggests using a polymer enriched thin set. We used the Mapei brand (which you can find at Lowes).
Mix that (per directions on back of bag) with a drill and mixing paddle. (My husband sure is cute…)
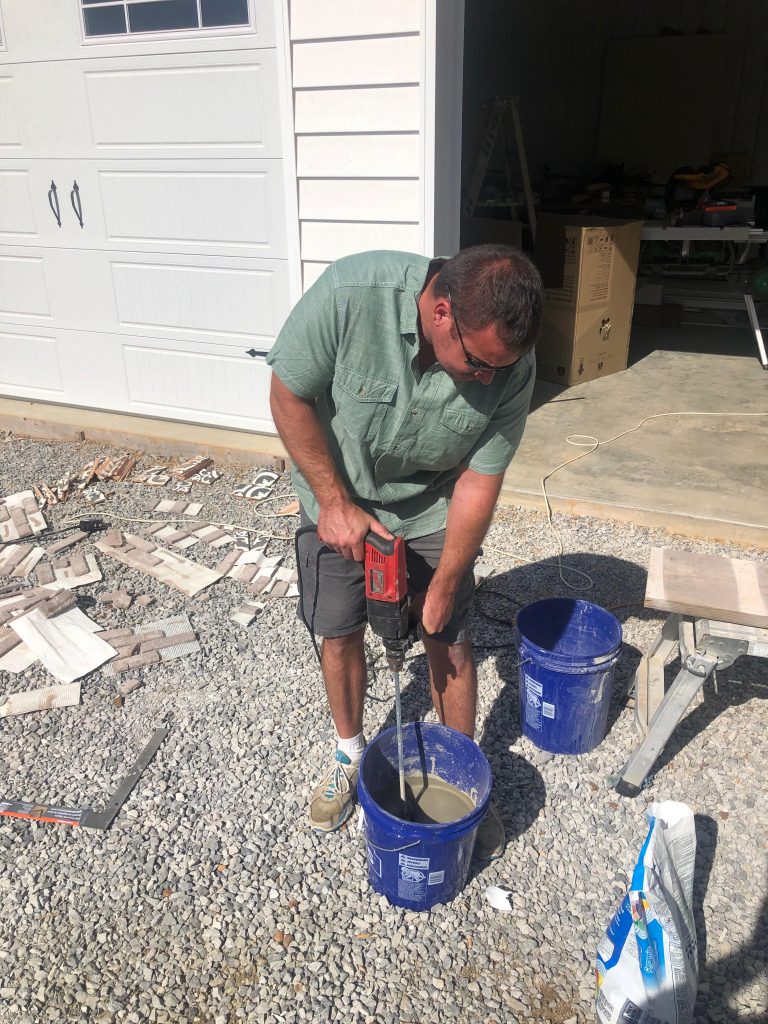
Make sure it is not too runny and not too dry. Gotta get it just right!
Apply the thinset to the backer board using a quarter inch by 3 inch square trowel.
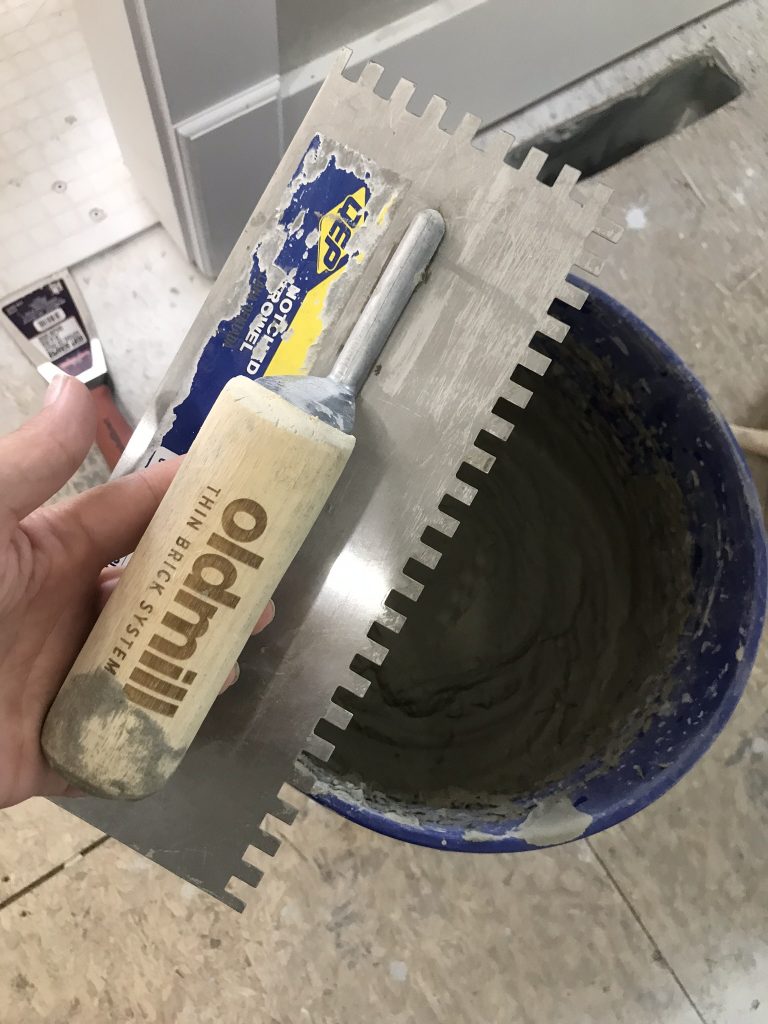
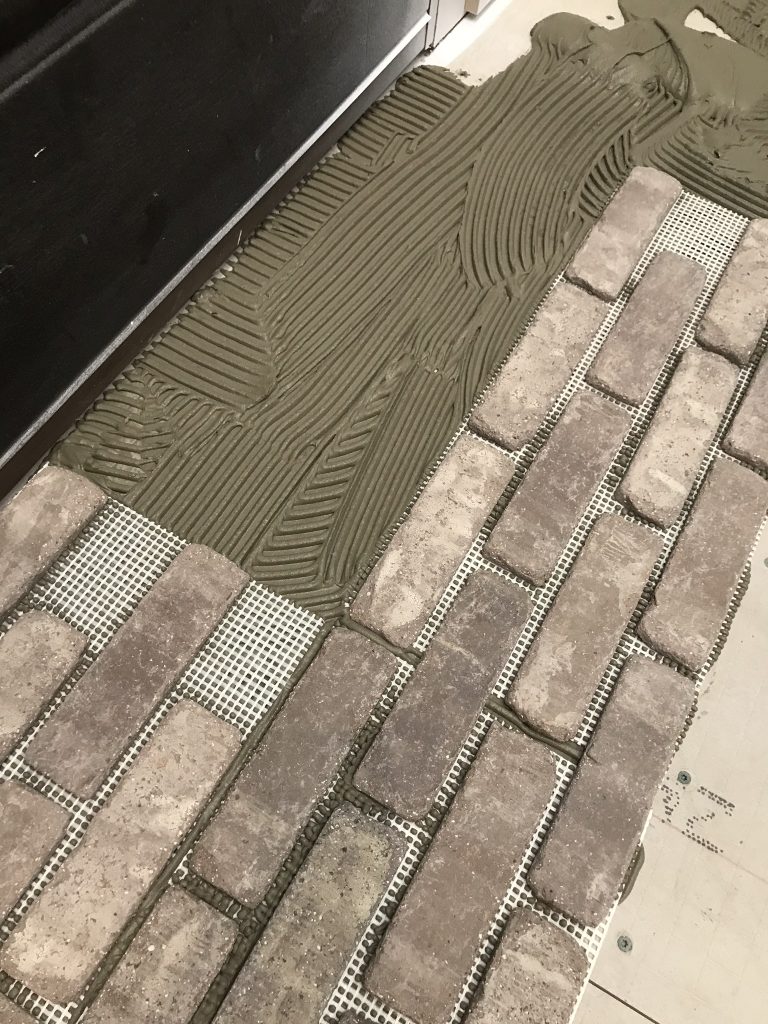
Spread evenly over the surface.
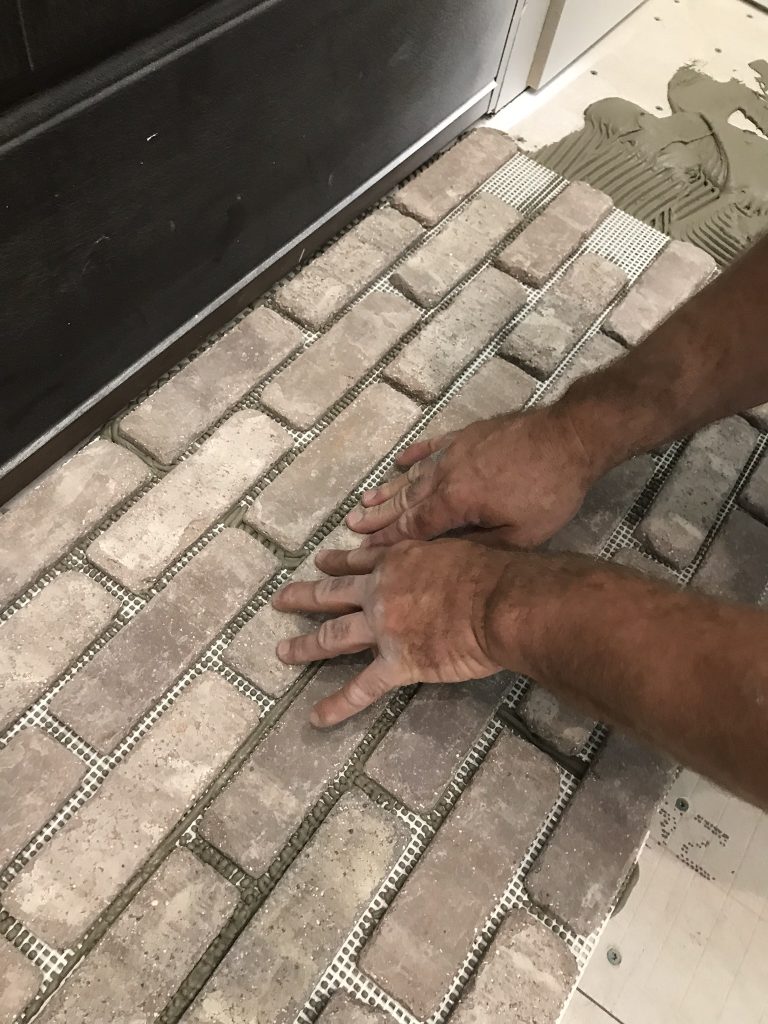
Once even, stick your brick web down onto the surface, keeping your spacing equal between joints. We found that 3/8in spacers worked well…but still use your eye to make sure it all looks good. You can do this without spacers too, as long as you have a good eye.
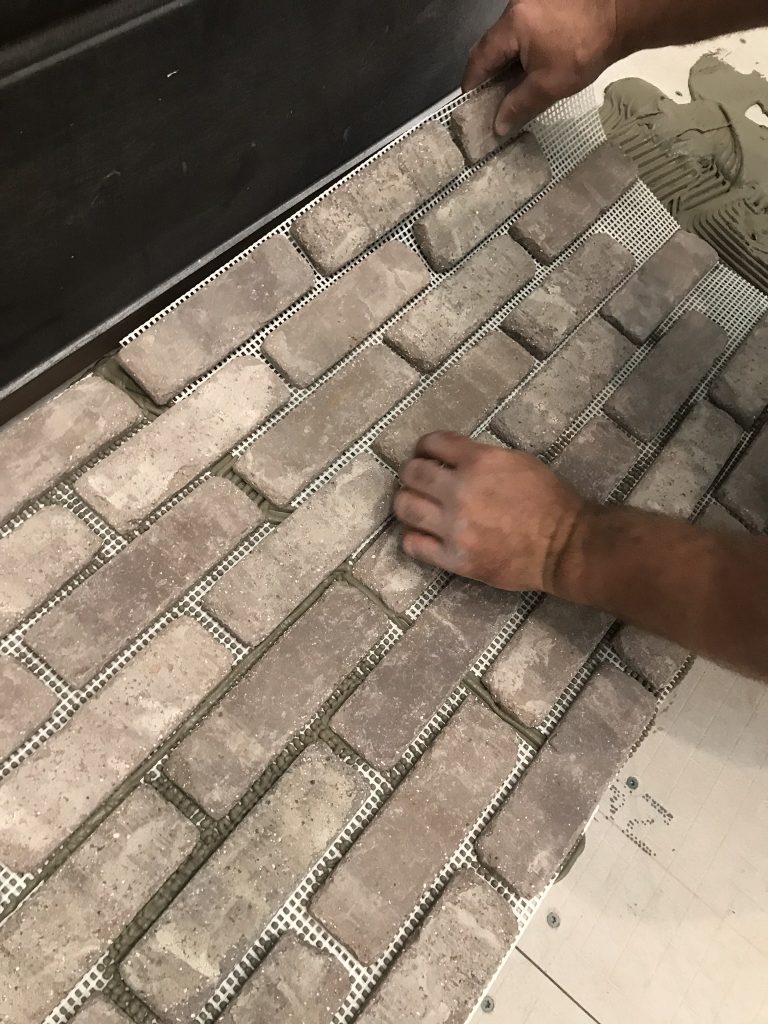
Make sure to press down firmly to make sure it is set very well and is even!
NOTE: We used a wet tile saw to cut the bricks down that needed adjusted so that they would fit perfectly. You can also use a grinder with a diamond wheel for this process, but you will create much more dust. It is convenient to have both, if possible.
If you are interested in purchasing or learning more about Brickweb, you can visit their website right HERE! BE SURE TO USE MY CODE for an extra 5% off your order on their site! The code is Refabbedbybrooke
-Check out PART 2 to that shows the rest of the process!-
PIN FOR LATER!!!

Make sure you are following on Social Media!
Facebook/Instagram/Pinterest/Email
Last Updated on November 4, 2020

Love it,. Which color brick is that?
This is really cool man. We generally do wood flooring for our business but it’s cool to see the masonry side of things from you folk.