Are you up for a fun, easy, and CHEAP diy project today?! Well, if you are- this one is for you!
A couple of days ago, I was looking through some drawers in my kitchen for a specific utensil when I ran across a bag of mismatched silverware. I had totally forgotten I had this bag, and to be honest- I can’t figure out how in the world I end up with all of this randomness anyway! But, I really didn’t care how I ended up with them, I knew I could make something pretty cool with some of the random forks, so I got to work.
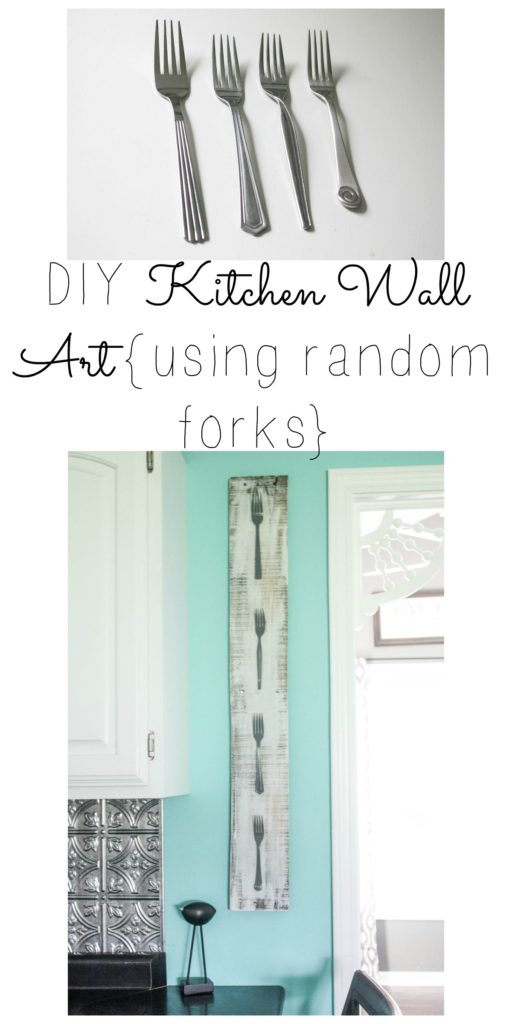
I gathered up 4 different forks, all different sizes with different designs, and laid them side by side.
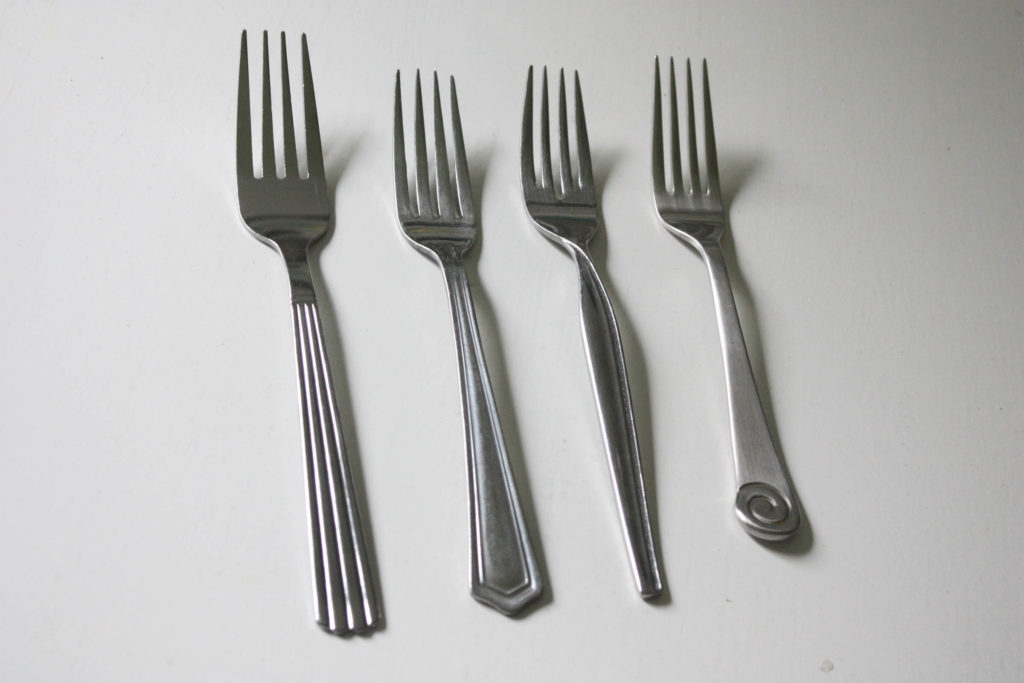
I think it is neat how they are all so different.

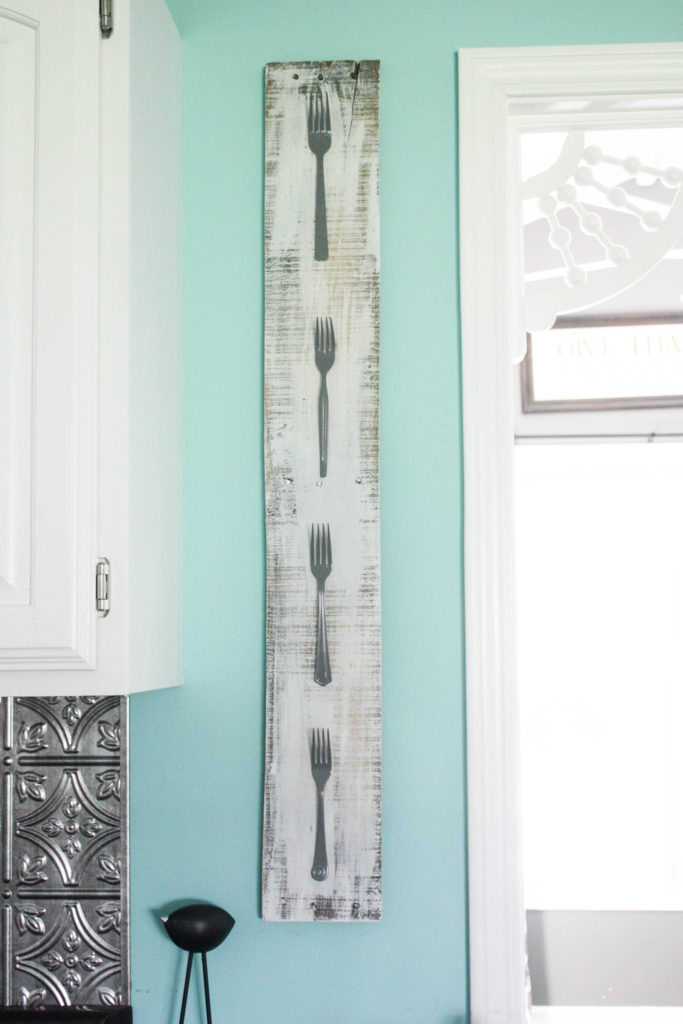
I knew I had a white washed pallet board in the garage that I had used for my Spring Pallet Sign, so I went and found it and laid the forks out to see how it would look if I had them going down in a row. Well, needless to say- I loved it!
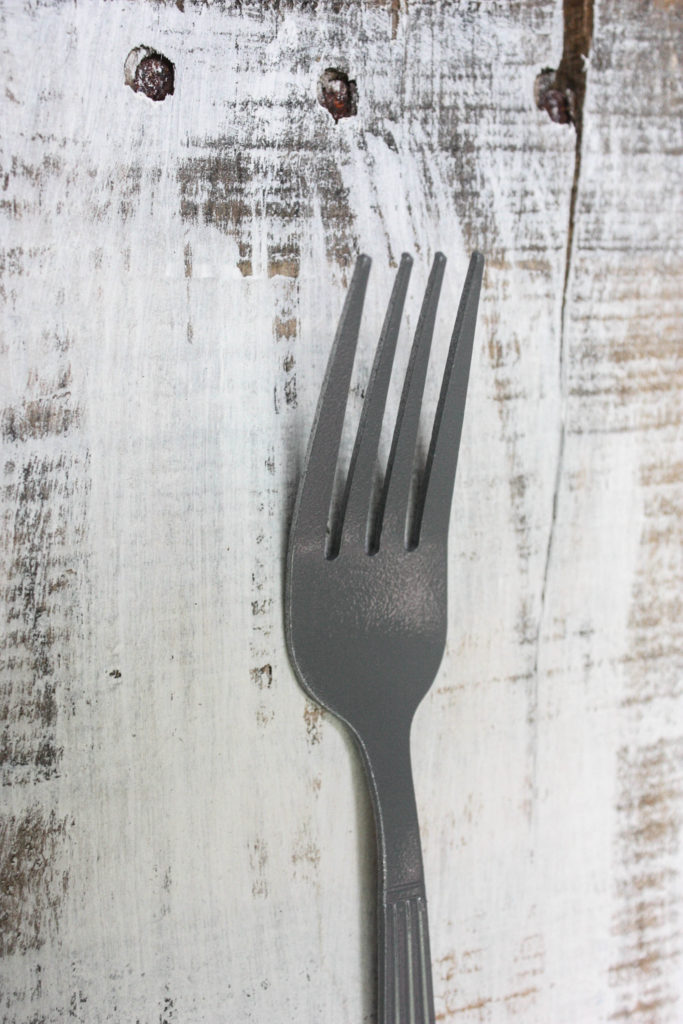
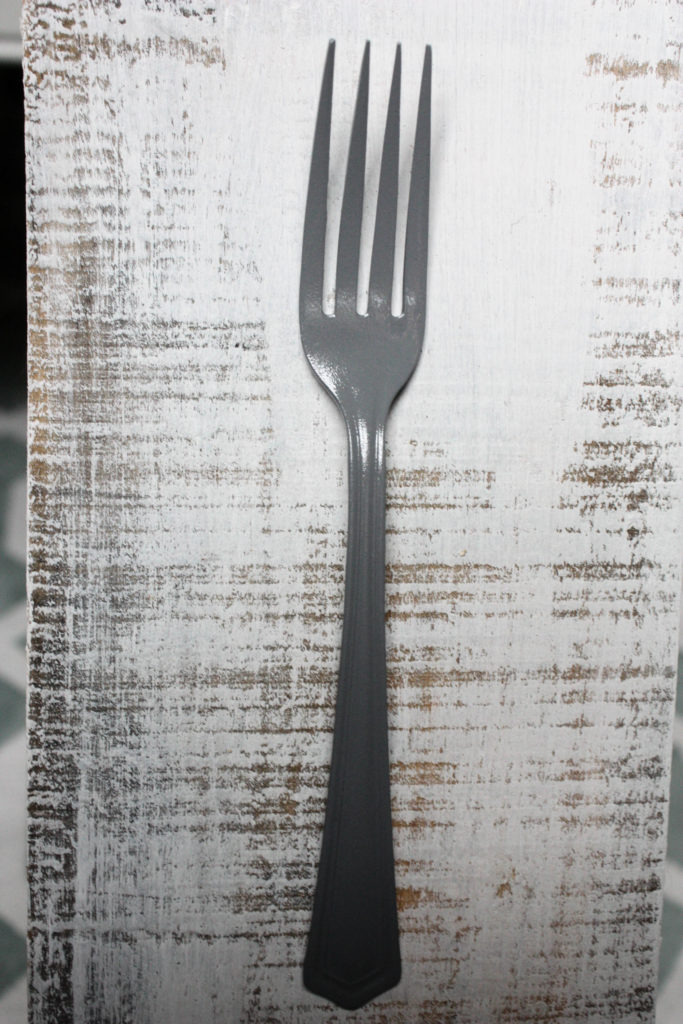
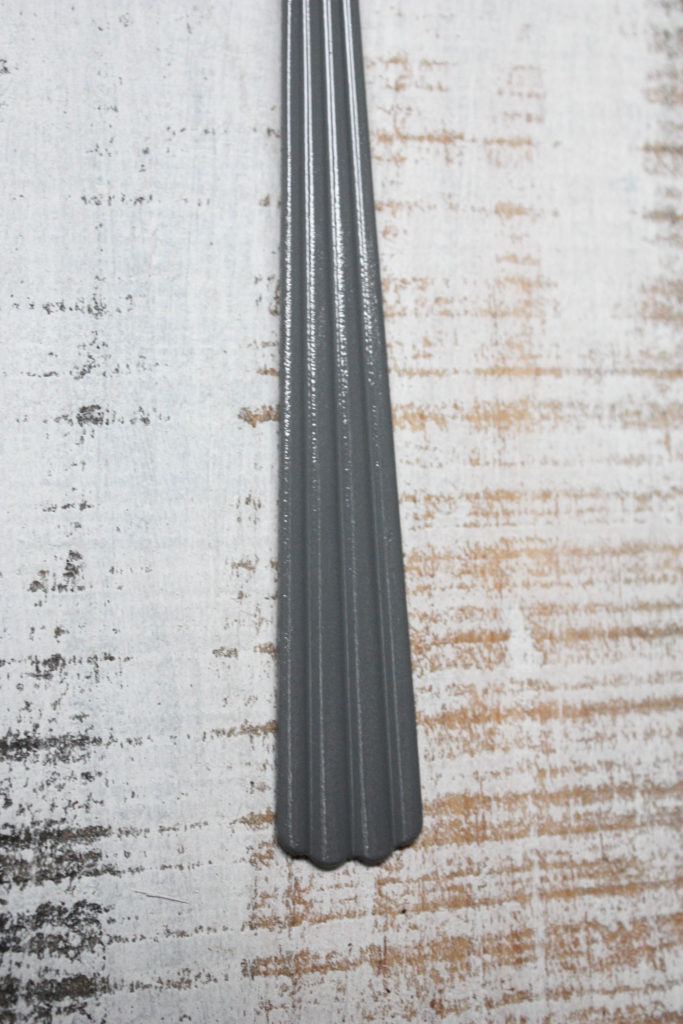
The next step was spray painting the forks. I didn’t want the traditional silver color, so I got my trusty gray spray paint and did a quick spray down. It covered so quickly, and they dried in no time, even with the extreme heat.
When completely dry, I laid them back on the pallet board the way I had them before, and I proceeded to hot glue each one on. In about 3 minutes tops, I was done!
Here are some close ups of the painted forks on the pallet board.
And here is my new kitchen piece hanging in all of its glory! I. LOVE. IT.
Seriously, this is such a unique piece…and for no money out of my pocket, because I had all of the supplies on hand. So- for $0 and about 15 minutes total, you can have one for yourself! What’s holding you back?? Don’t want to use forks? Use an assortment of silverware! Use different colors or use all spoons or knives! There are tons of different options here.
Pin for Later!
If you enjoy my simple and fun DIY projects, sign up for my emails! You ONLY get an email when a NEW post goes live!
Last Updated on July 14, 2016

This is awesome! Looks great on that wall 🙂
Thanks Angie!! I appreciate that!
One could turn them the other way and bend prongs to have a key or cup holder or even pot holder or any number of things. Cute Idea!
Definitely! There are a lot things that can be done with this! I am sure I will try some more too. Thanks so much!
Love it!! So neat and simple
Brooke, this is so cute! How do you come up with these ideas? It looks great in your kitchen especially against that wall color 🙂
Brooke, I love your new creation! I’m wondering about your backsplash. Did you glue it onto the wall or nail it? I’d like to do mine in a copper look if I can find it. Thank you!
Thank you, Peggy! We used liquid nails for the backsplash. Super easy! We got it at Lowes.
Swooning over these forks, so cool, such a unique project
Maria
Hi Brooke,
I know I’m a few years late commenting on this, but I sure like thiis. It’s such a simple diy and yet a beautiful country piece for the kitchen / dining room wall. Our thrift store always has an abundance of utensils… some from the 50’s / 60’s. I’m thinking of doing something along this line for the motor home… and even the house. Can’t have enough of a good thing… Haha Thanks for sharing. ♥
Sandy from sunny B.C. Canada ♥
P.S… we have the same faux tin tiles in our kitchen. We love it and have had lots of comments on it. So easy to put up… and looks so nice.
I’m looking for old different forks now! Yayy looks easy!