One thing you will learn about me, if you haven’t already, is that I am not on the “cutting edge” of the DIY trends. I try things when I finally have a chance or when I actually start to like the idea, or whatever. I will probably never be the next Martha Stewart, but I do enjoy trying my hand at a little craftin’!
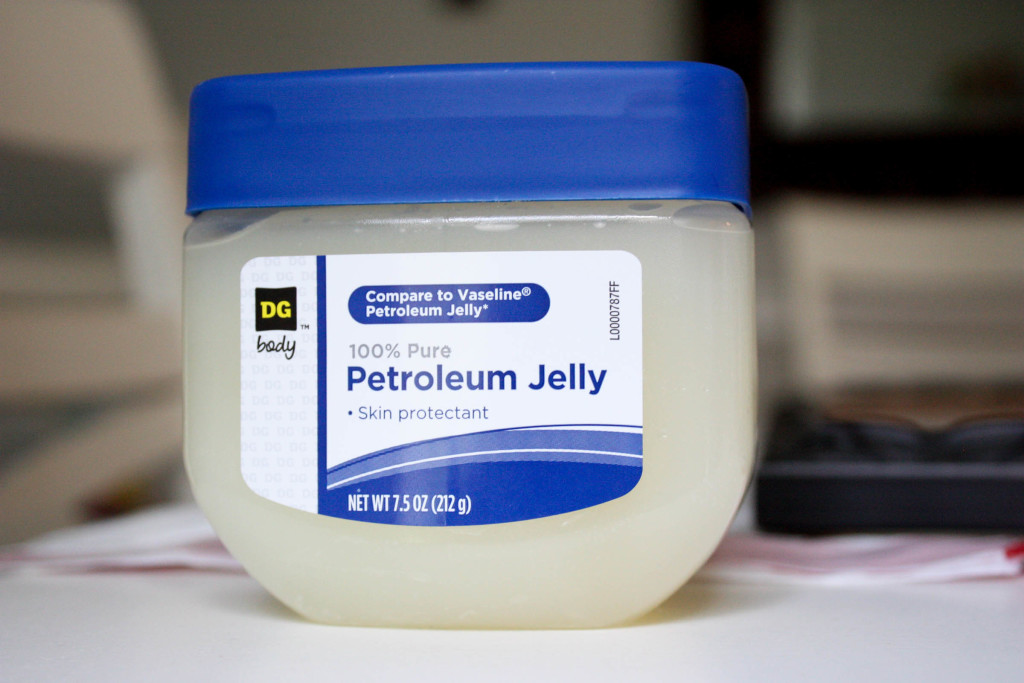
I had been seeing the idea of using Vaseline to distress frames, furniture, etc… for a long while now, and I have been wanting to try it, but just never got around to doing it. I would always just end up getting the sand paper out and doing the same ole same ole. Well, one day I just decided to give it a whirl! I had about 70 frames that I found at a recent auction, and I was itchin’ to give at least 1 of them a makeover. I ran to Dollar General to get some Vaseline {I KNOW I have some around the house somewhere…but where is it when you need it?!}, and the rest is history.
Let me tell you…this was EASY and AWESOME.
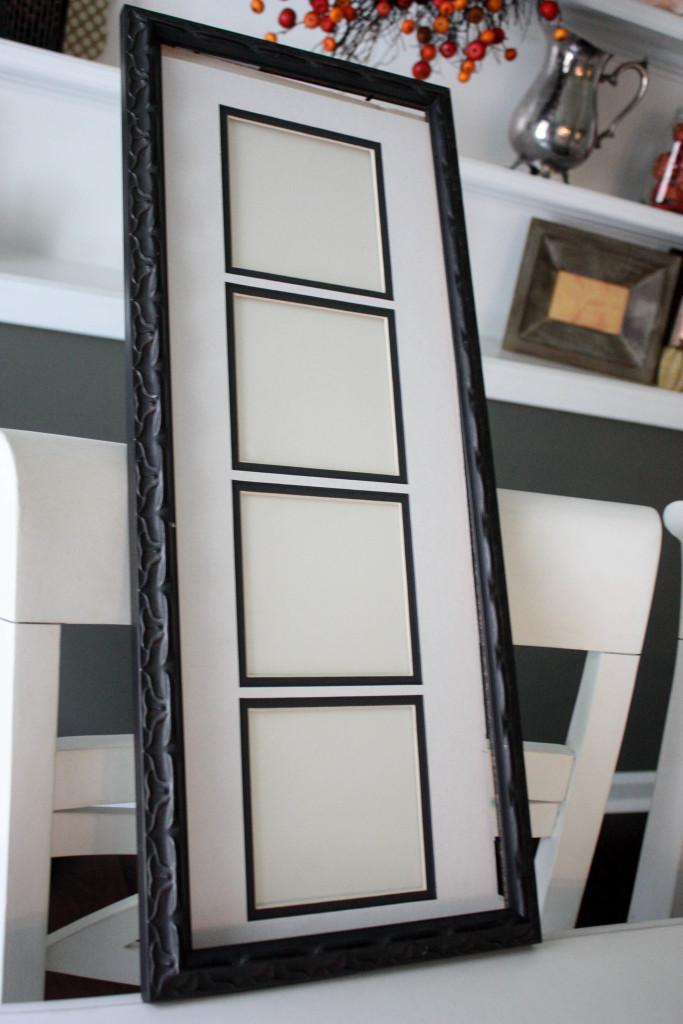
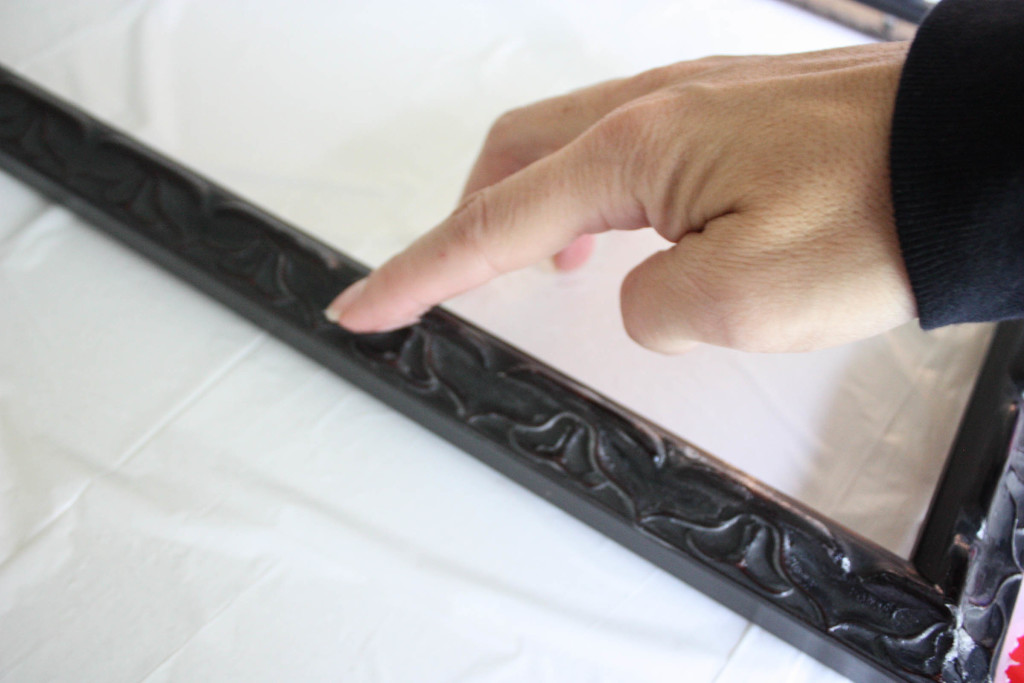
I picked this frame because I wanted the base color to be black. I could have painted any frame black and then painted over it, but why go through all that trouble when I have one that will work as is?
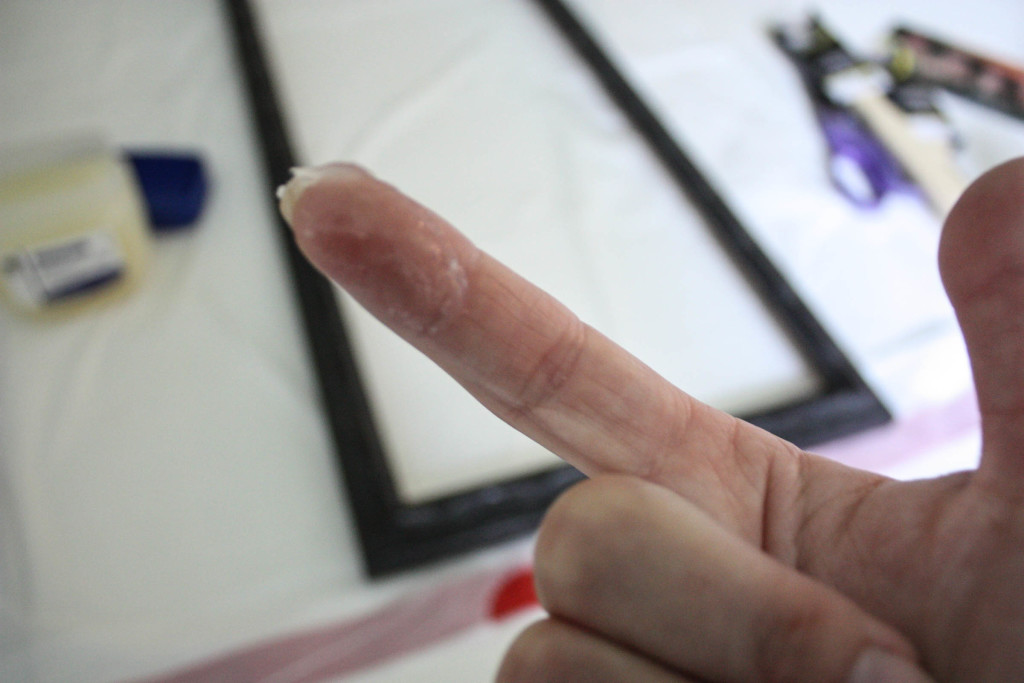
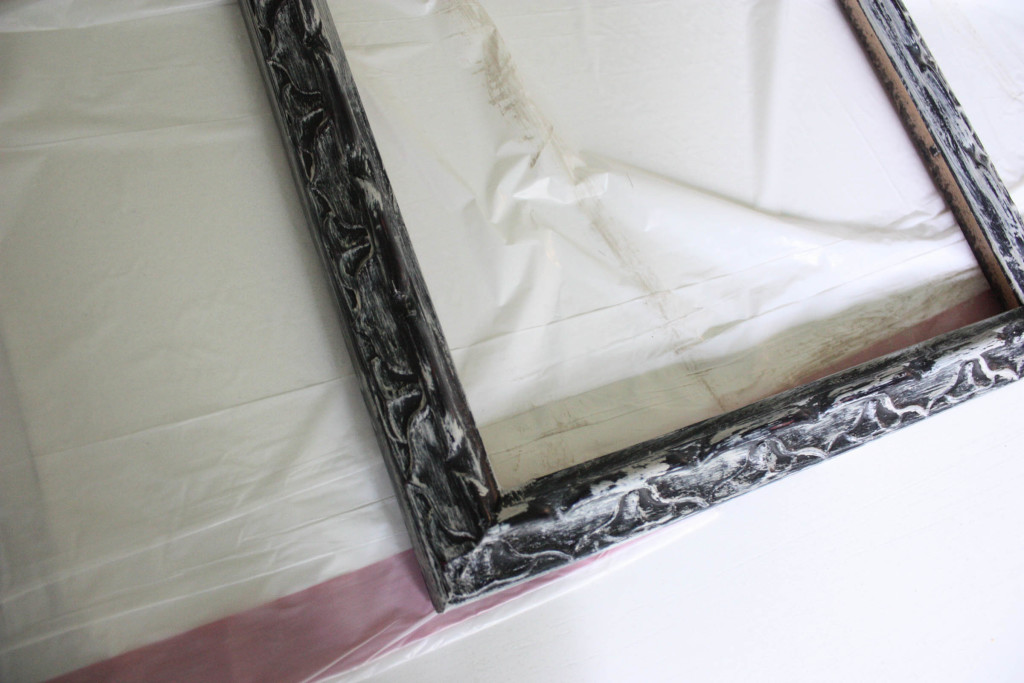
The first step was to put a “dab” of Vaseline on my finger and rub over the parts of the frame that I didn’t want the paint to stick to. I basically just rubbed along the raised ridges on the top of the frame.
After you rub the Vaseline around the frame, you simply take your paint brush and brush over it with your paint. I chose Vintage Market & Design-Sand as my color choice. It is a beautiful gray. I wanted alot of black to show through, so I had been somewhat generous with my Vaseline, and I just gently ran my paintbrush along the frame.
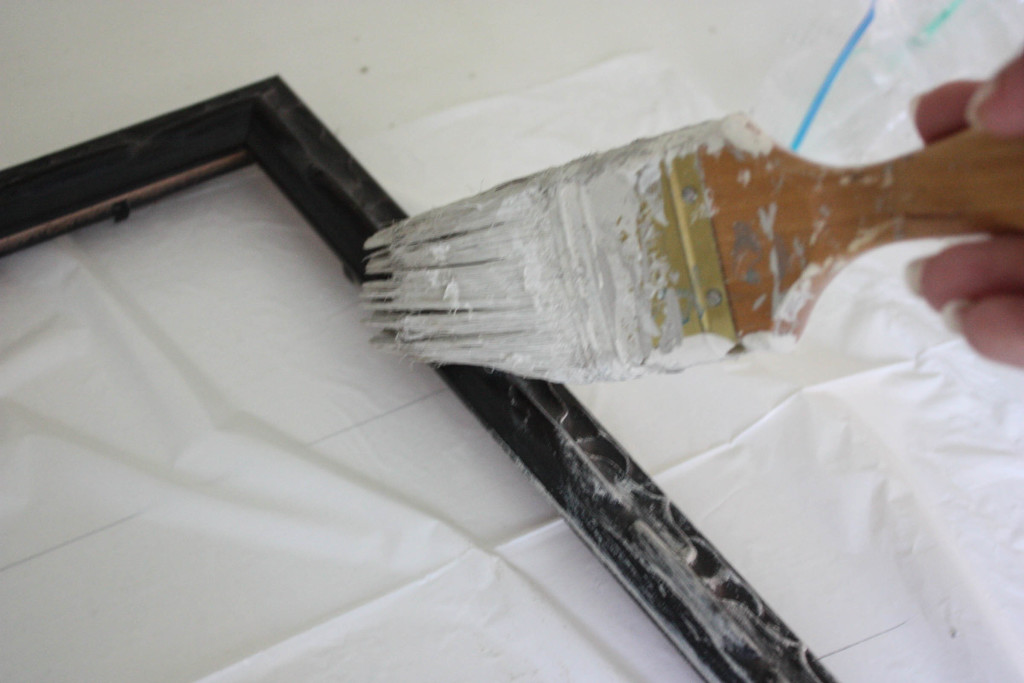
While painting the frame, you could already start to see the paint adhering to certain parts, without any sanding or anything! It was pretty awesome.
Here is the frame after I had painted it.
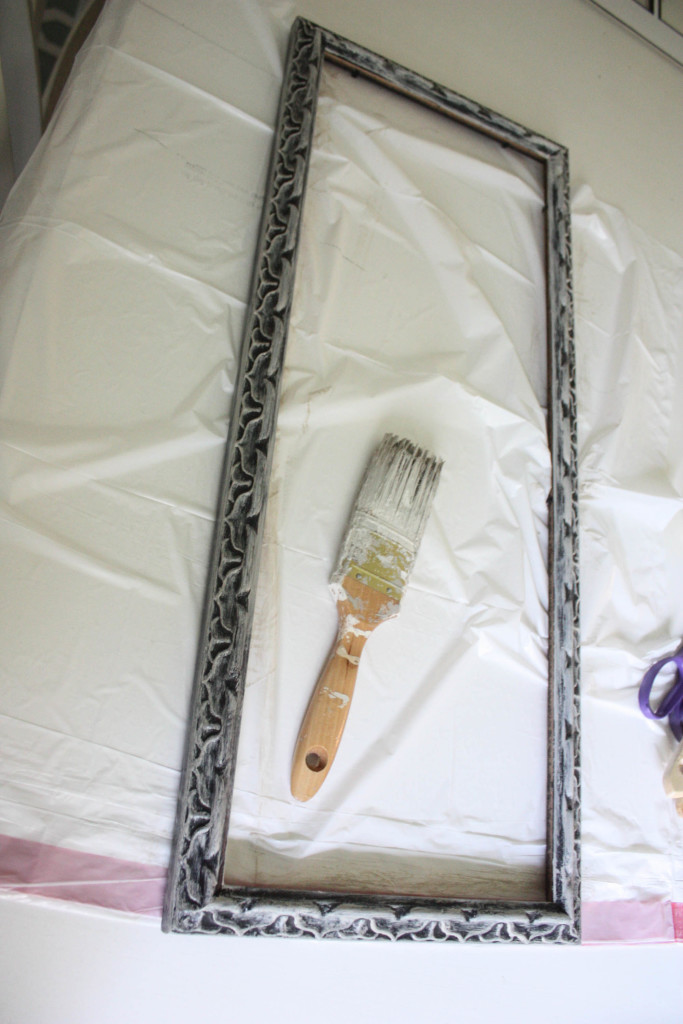
It looks good as it is, but I wanted a little more black showing through, AND we have one more little step to go!
You have to let the frame dry and then gently wipe the top off with a dry, clean rag/cloth.
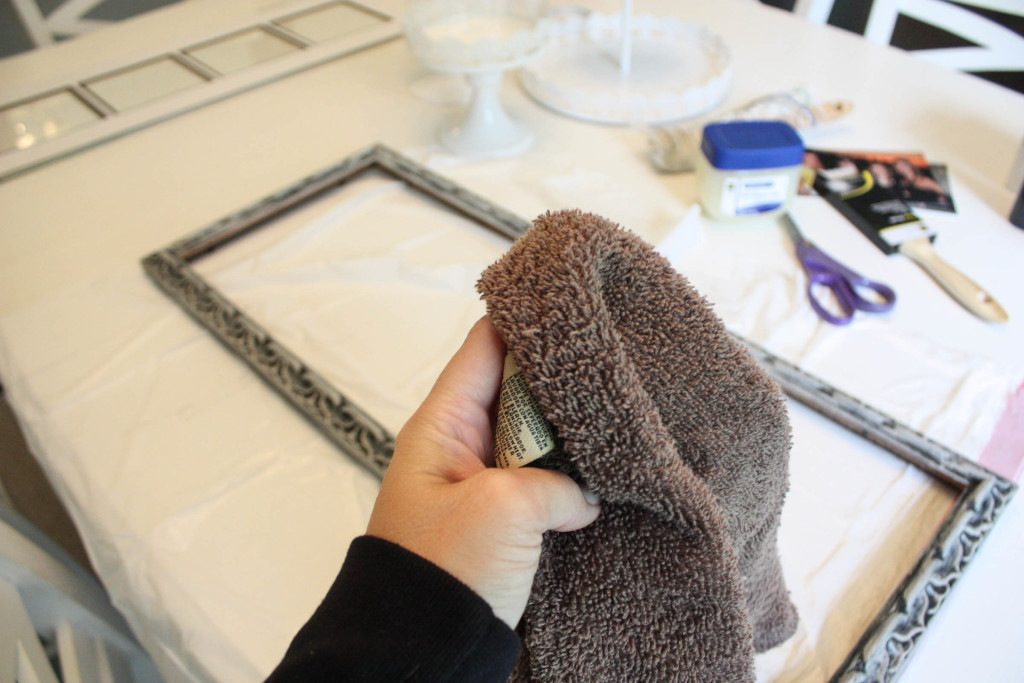
Gently wipe the frame, and only the part that had Vaseline will come off! The rest has adhered! Easy as that!
LOVE!
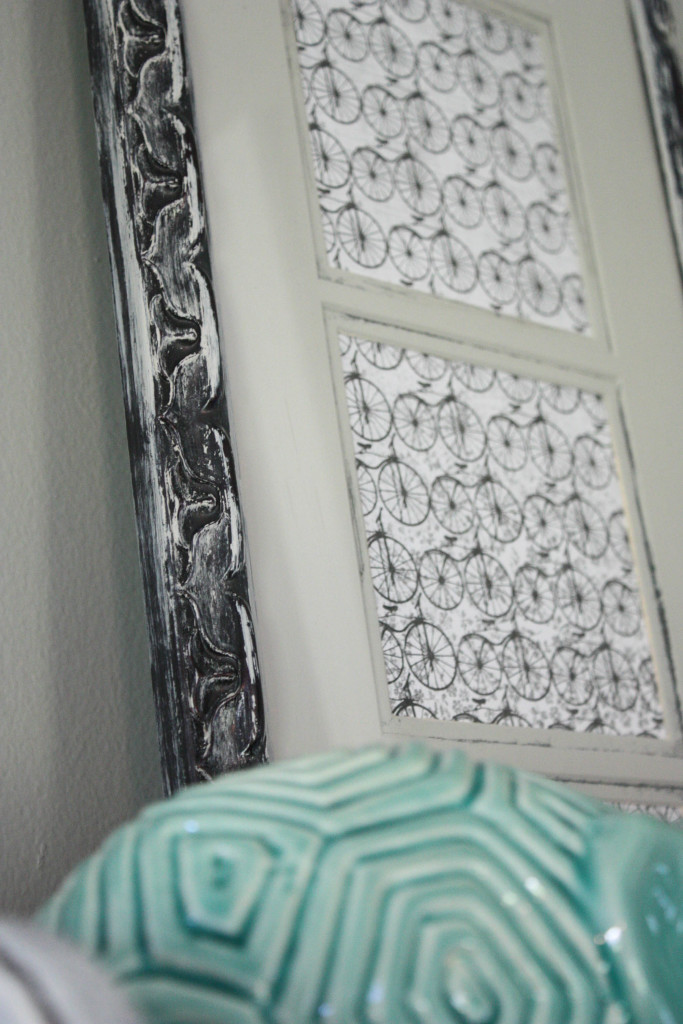
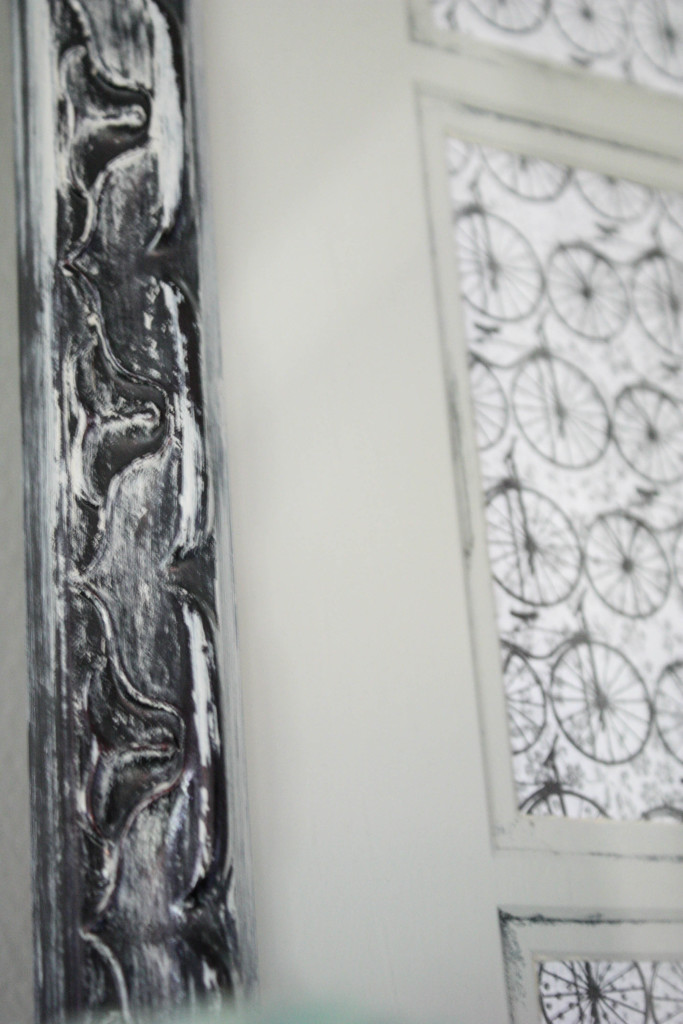
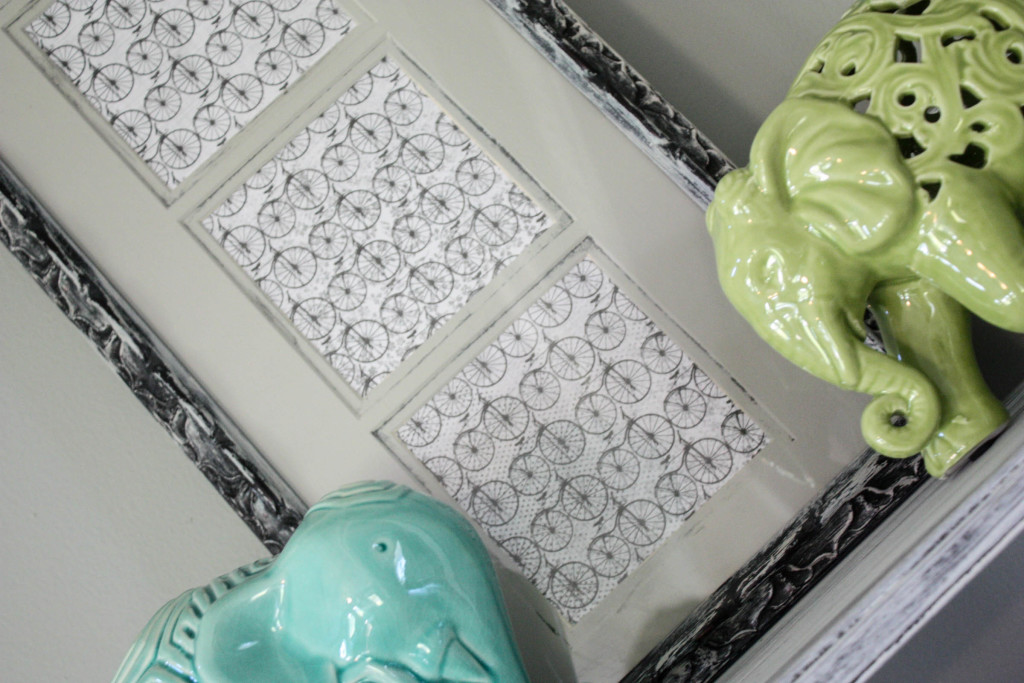
Since I wanted my matte to be the same gray as the frame, I painted it to match {no pic, sorry! Bad Blogger!!!}, found some super cute scrapbook paper that I had on hand, and finished this bad boy out!

Is this bike scrapbook paper not the CUTEST!? I told you on my latest Friday Favorites that I have a slight obsession with cute bikes lately!
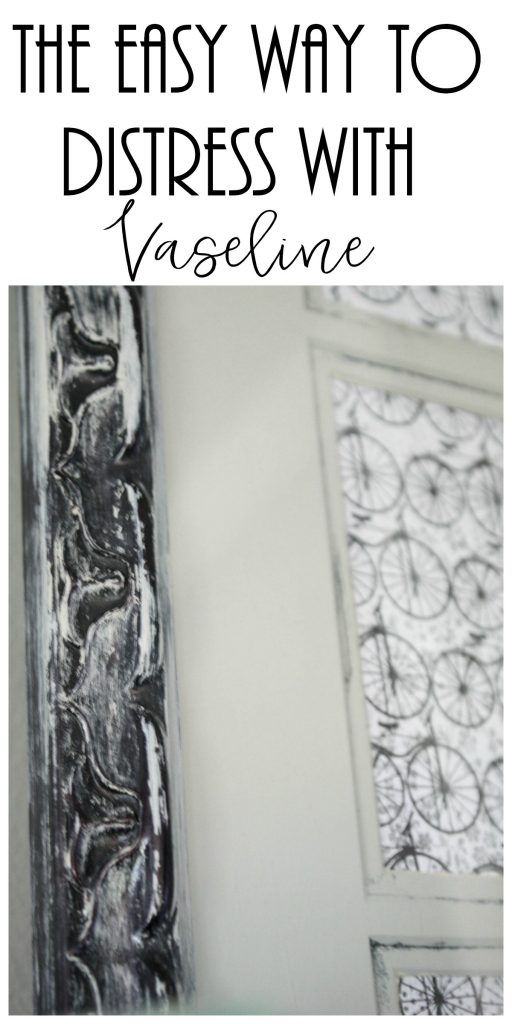
Here it is all finished up and looking snazzy sitting on my shoe storage piece in my living room!
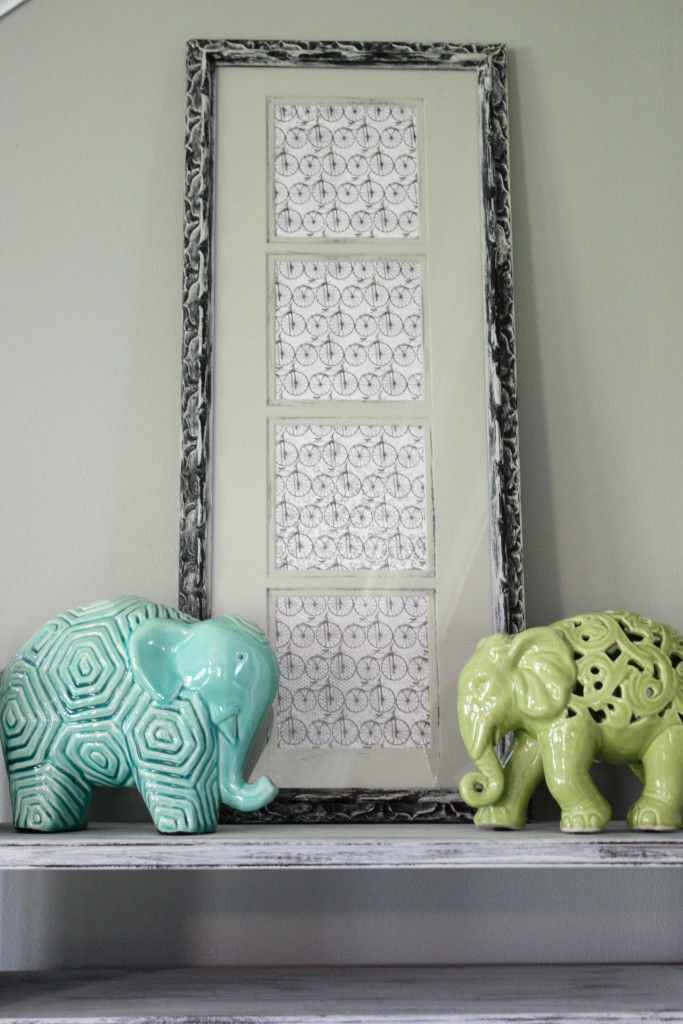
I wish you could feel this frame. It has an awesome “finished” feel to it. I absolutely love how it turned out…and I have been trying my hand at a few more projects with the Vaseline method, which I will show you all, of course! {at a later time!}
Tell me what you think? I have to admit…this was MUCH easier than wearing my poor little hands out with that sand paper! {and they felt all nice and soft when I was done! Winner!}
Pin for Later!
Last Updated on June 4, 2018

i’m with you tried and true is still good enough for me, i love the paper but your efilants (that’s how my 3 yr old grandson says it lol) are the cutest things also xx
Thank you!! I love them too 🙂
The frame looks so much better now! Vaseline is such a handy product to have around! Thanks so much for sharing with us at Dream. Create. Inspire. Link.
Thank you, Jenny! YES it is super handy!! Definitely a new fave of mine. So glad I finally gave it a whirl!! 🙂
Your frame looks brilliant and it’s great that, as you say, your hands are nice and soft in the process 😉
This is one of my very favorite projects to date! Glad you like it!!
I love the kitchen and dining room.