I made this wreath for my little girl’s room before she was born…and since then, I have had numerous people ask me how I did it. I thought this would be a great time to do a tutorial!
There is really nothing to it at all! SUPER EASY!
Here are the materials you will need to do the project:
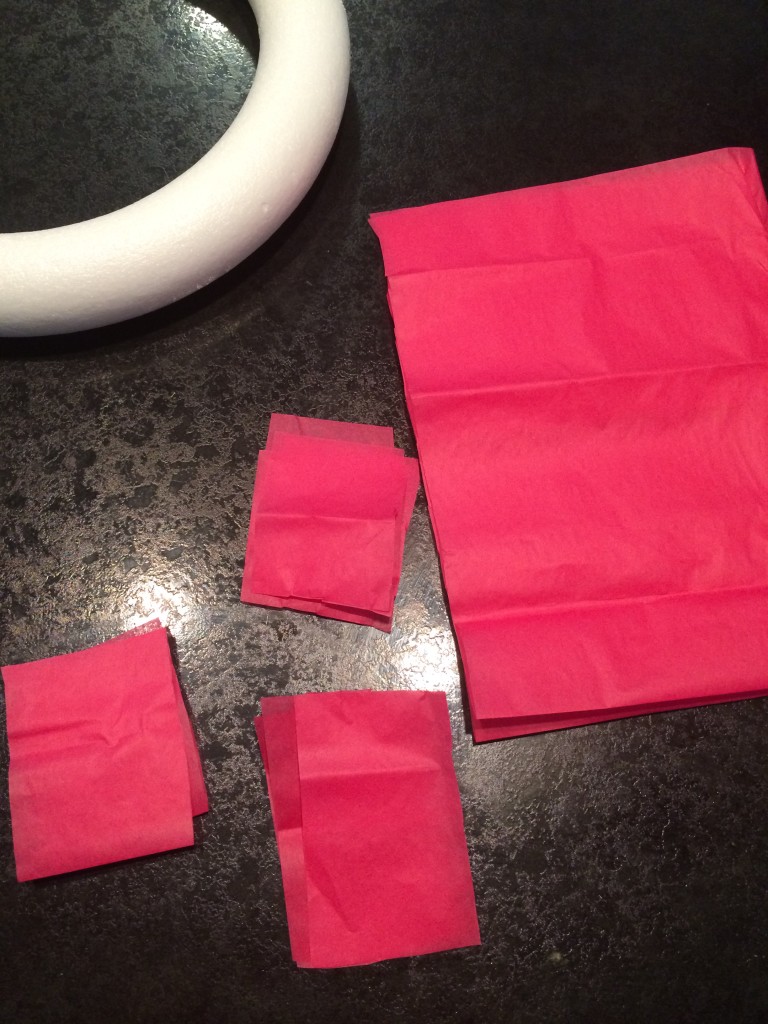
Foam wreath of any size you want
Scissors
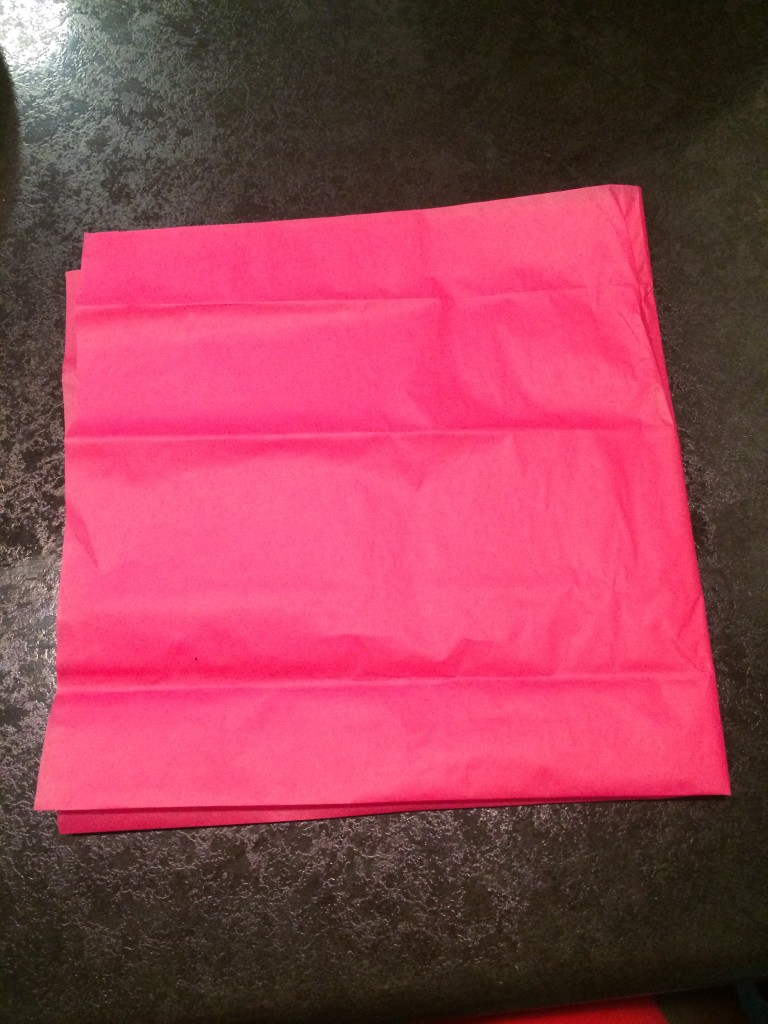
Tissue Paper (amount you need would depend on the size of the wreath) *For the size I did, you will need about 3 packs of tissue paper.
Straight pins

To get started, simply take 1 piece of tissue paper and fold it twice to make a square.
Then you will take your scissors and cut a thick strip. After you have that strip, cut that into 3 large squares.
When that is complete, take the tissue paper and “scrunch” it up and place it on your foam wreath where you want it…then stick a pin through!

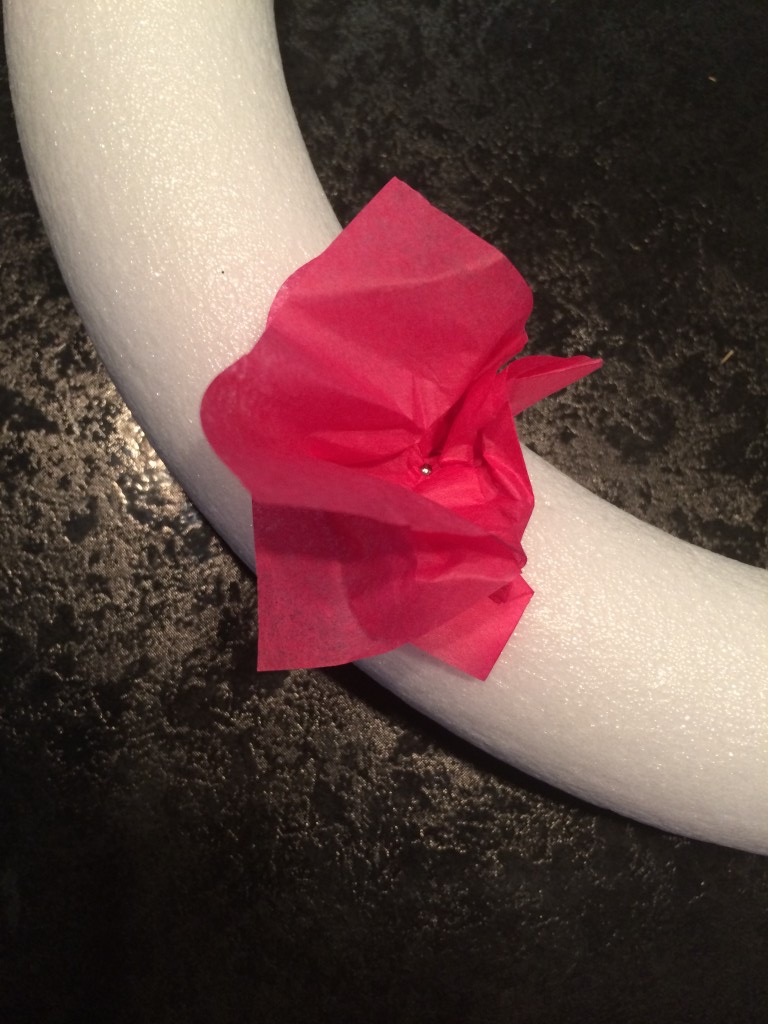
You will do this around the entire wreath! (It is kind of time consuming…but SO cute in the end!!)
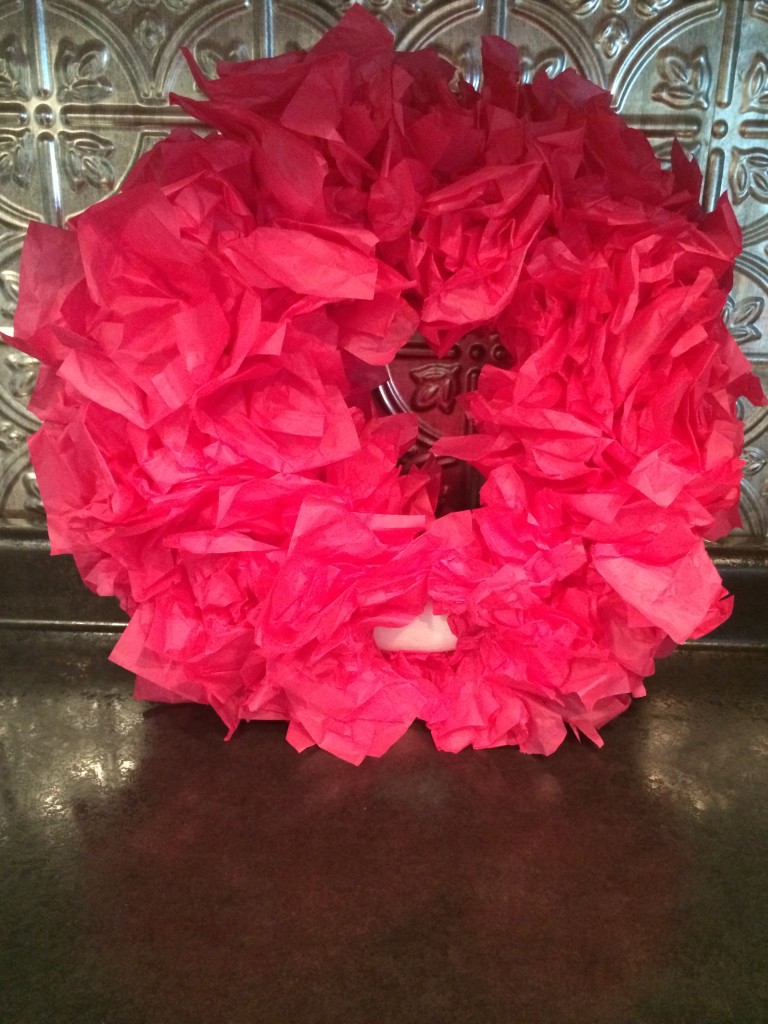
I left a tiny portion of my wreath undone so that I could attach my flower a little easier, but this is not a must. Also, it is cute with no embellishments! I just found this paper flower at Hobby Lobby for $2 and knew it would be perfect for Eden’s room 🙂
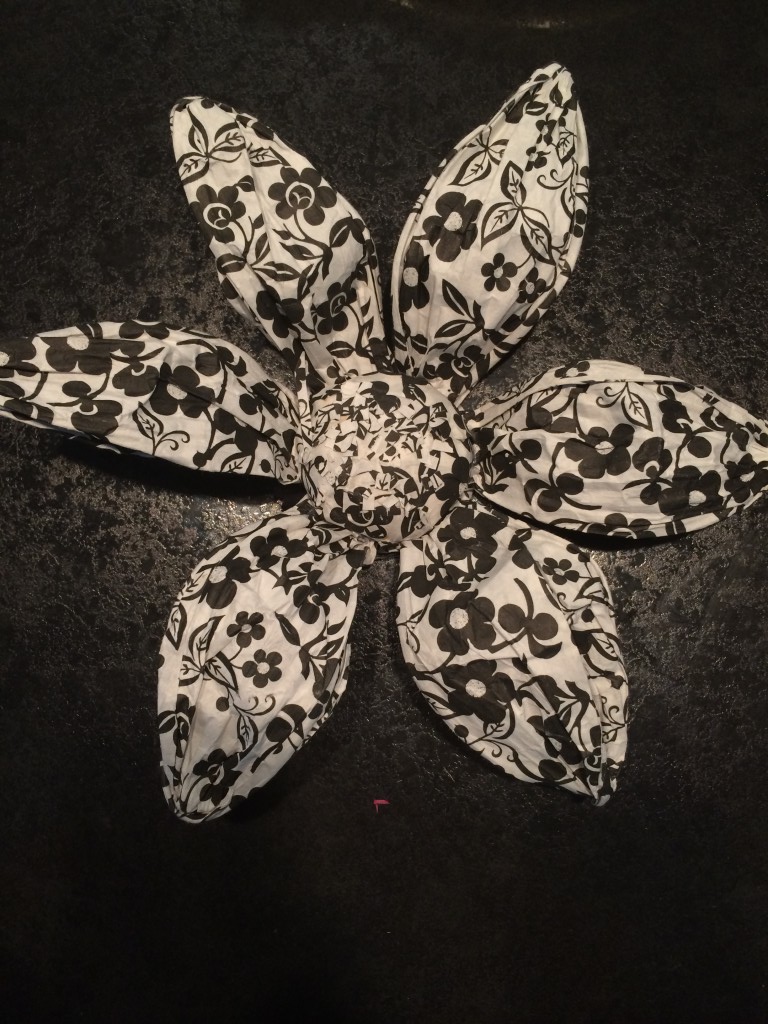
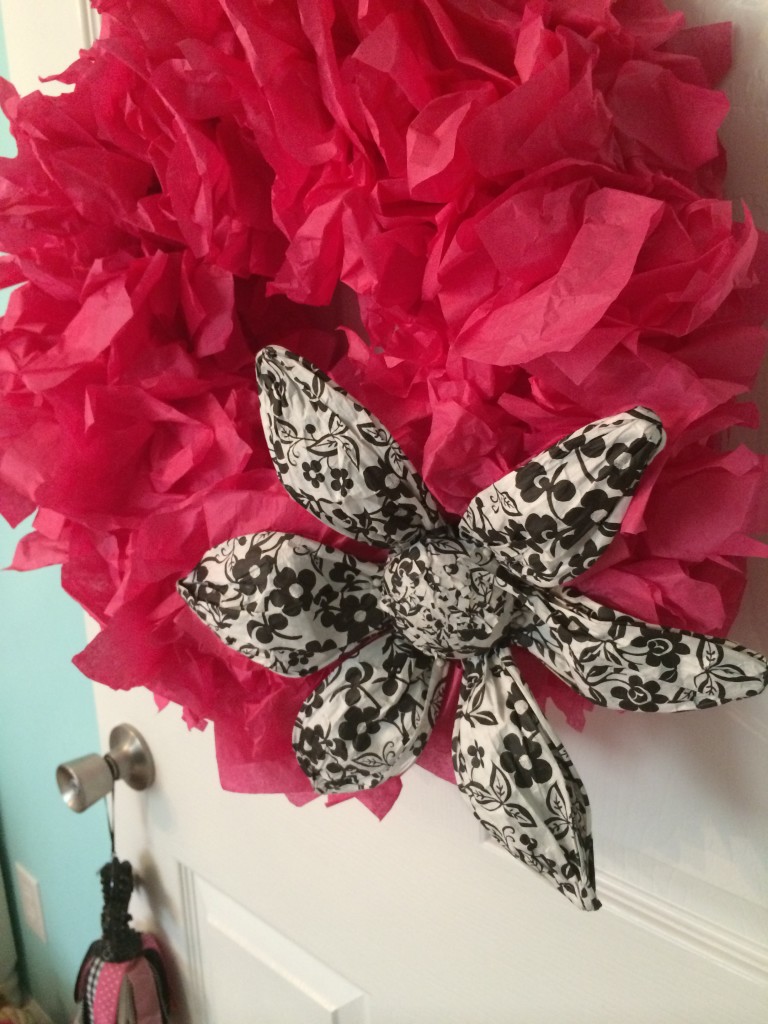
I then attached my flower with straight pins!
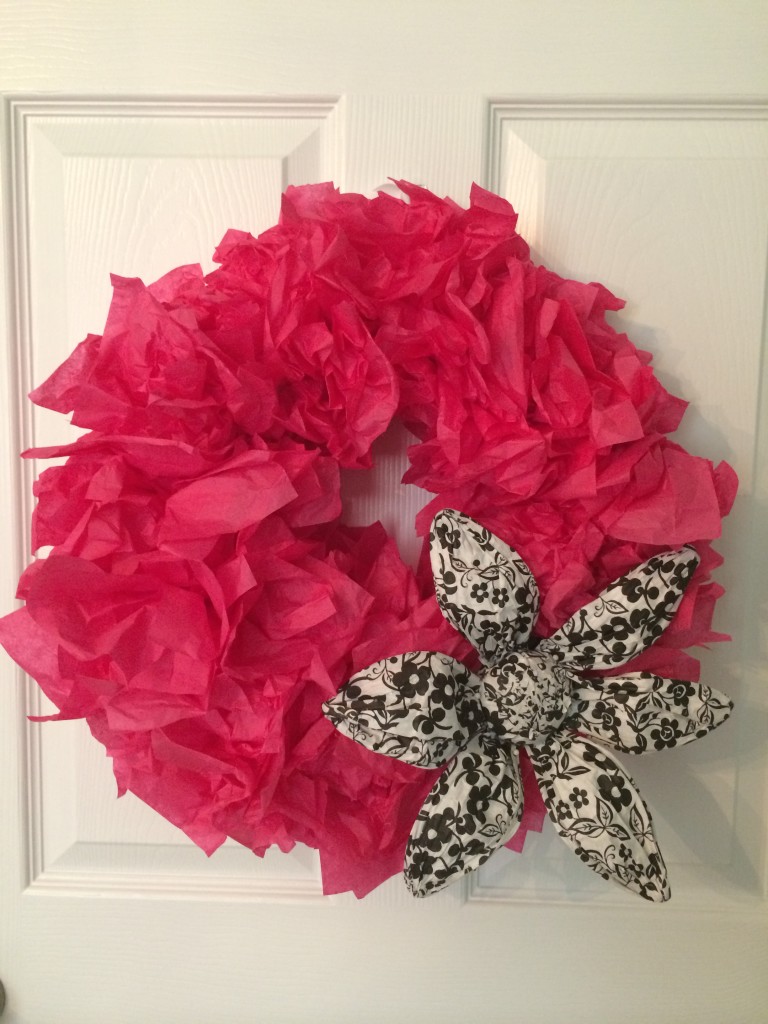
After this, the wreath is DONE! You just need to attach a ribbon or something of that nature to hang it on your door!
Super cute and extra easy! It can also be tailored to fit any occasion.
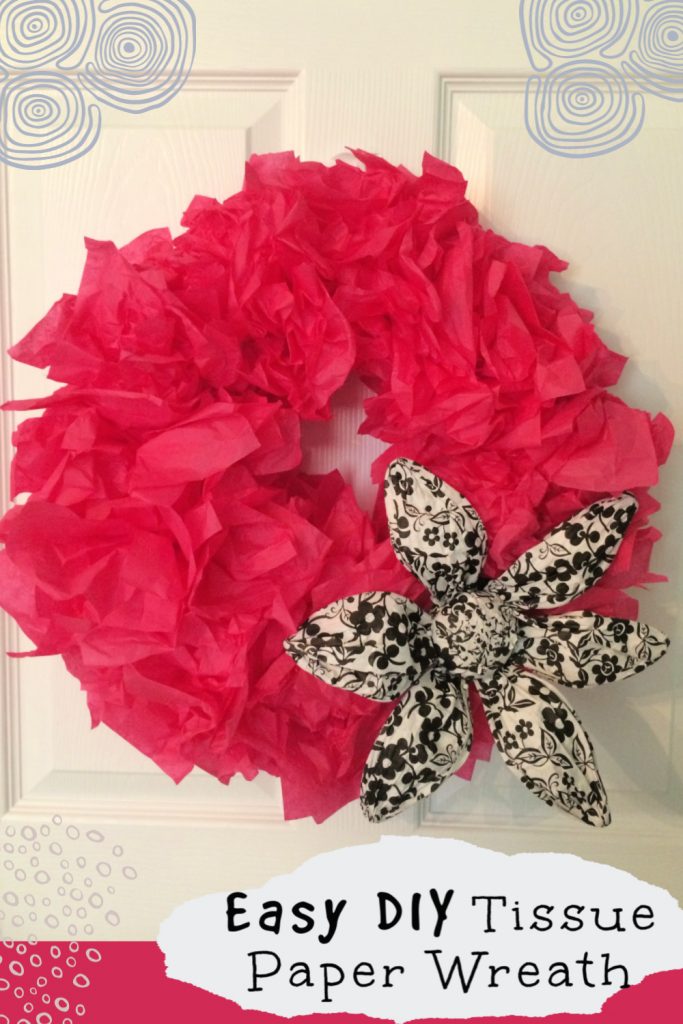
Pin for Later:
FOLLOW ALONG ON SOCIAL MEDIA!
Facebook|Instagram|Pinterest|YouTube|Email
Last Updated on February 17, 2020

So cute and easy. I like it!!
Thanks so much, Cyndi!
This wreath is so cute! The flower really makes it!!!