If you follow me on Instagram, you saw where I shared lots of fun finds at Big Lots the other day!
Well, one of those finds was a YUM sign made with cutting boards.
Here is the picture.
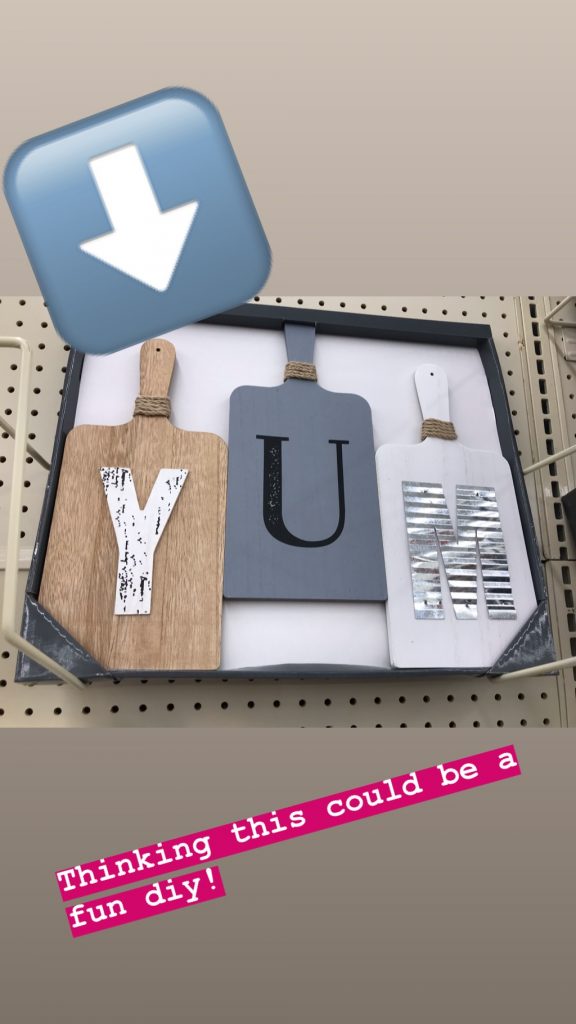
After I saw it, I decided to make my own spin on it, and I couldn’t wait to share it with you!
While I was at Michael’s the other day, I looked in their selection of letters and picked 3 different styles that I liked best.
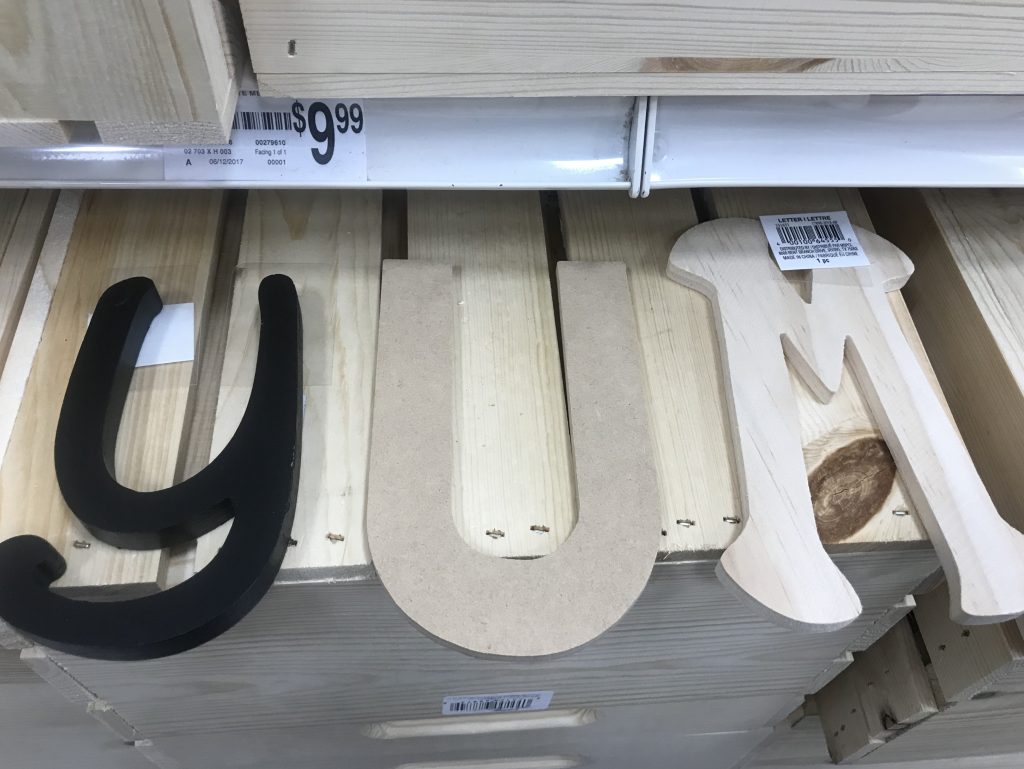
I found styles that were totally different so that it would make for a more FUN look.
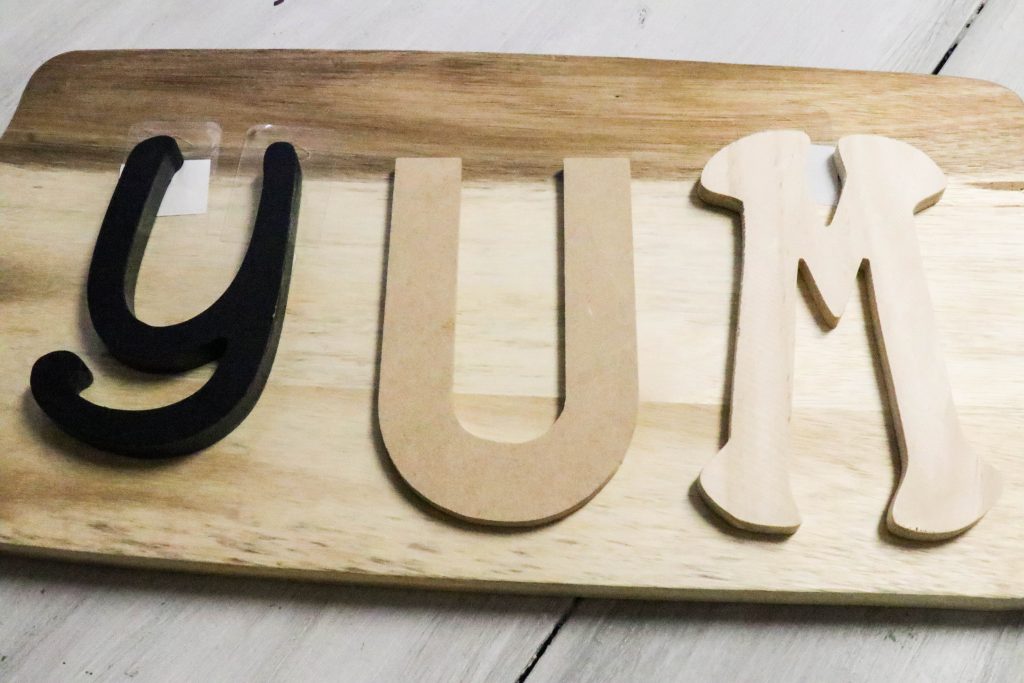
During that Big Lots shopping trip that I mentioned earlier, I actually picked up a cutting board for $12.00 that I REALLY liked. Can you get them cheaper? Yes. BUT, I liked this one and the variation in the wood…and it was the size I wanted, so I grabbed it up. I still think it is a great deal.
Next step:
Get my letters looking like I am imagining!
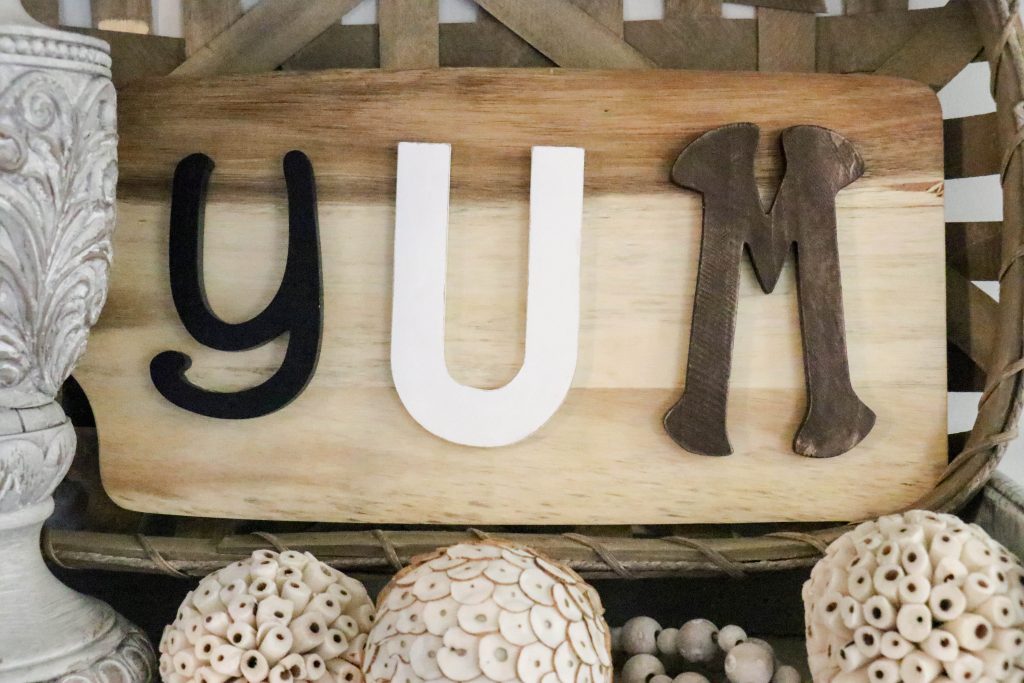
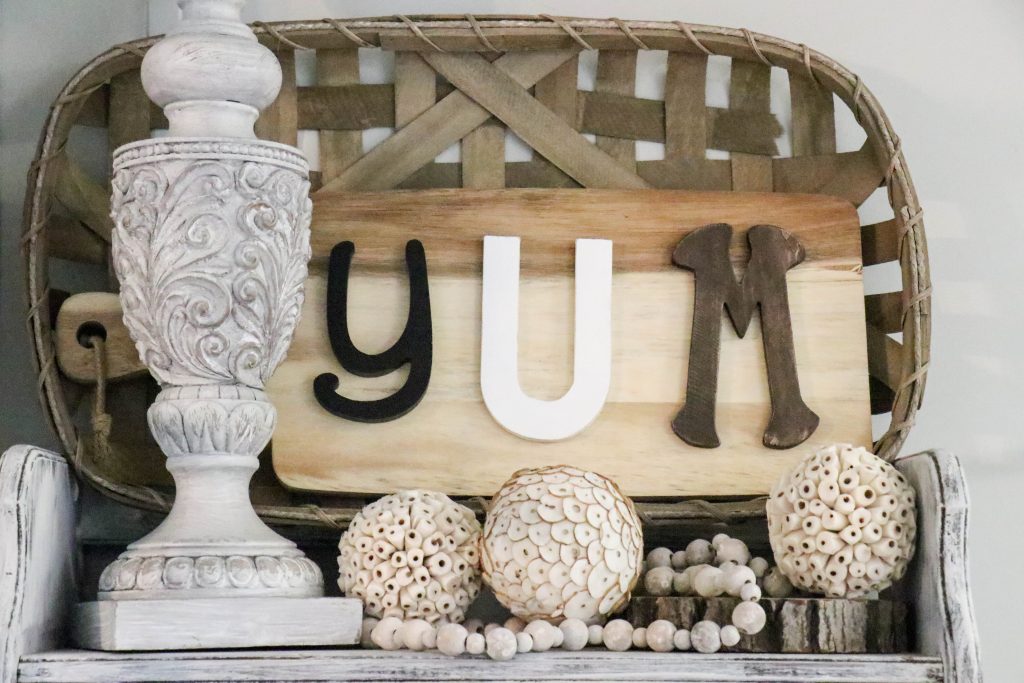
I left the Y as it was. It like the black, and it looks so cute. The U was painted white with regular craft paint, and the M was stained with gel stain (color-Walnut, which is my FAVE overall).
When they dried and looked how I wanted them, I simply glued them onto my cutting board!
Like most of my projects, this one is easy as can be! My motto has always been, “Ain’t nobody got time for hard projects!”
Hope you enjoyed this fun little DIY Yum Sign! Go make you one and show me your pictures! I LOVE to see people create their own with my inspiration!
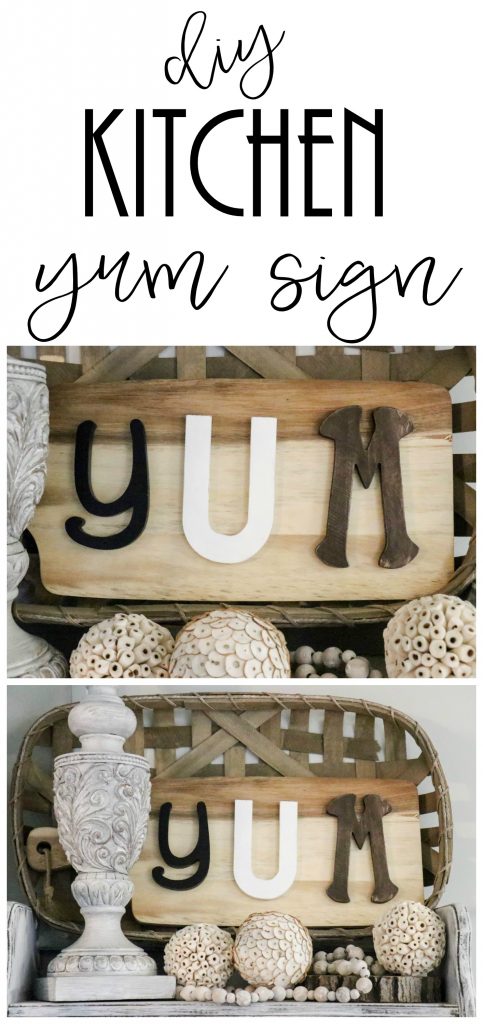
PIN FOR LATER!!!
Are you following on social media?!?!
Facebook/Instagram/Pinterest/Email
Last Updated on November 4, 2020

To be honest, I like your version better. Super nice!
Such a simple way to reconfigure it, in your own style!! Your idea’s always amaze me!!
I really like yours much better. The other one is too uniform I guess for me.
I love this, so simple but very unique! Thanks for sharing.
Love this Brooke. Too, too, cute and it’s yours. NOT store bought.
Simple & unique! Love it.
Thank you! ????
Your version is so much better!
Thank you! ????