Sometimes inspiration strikes in odd ways.
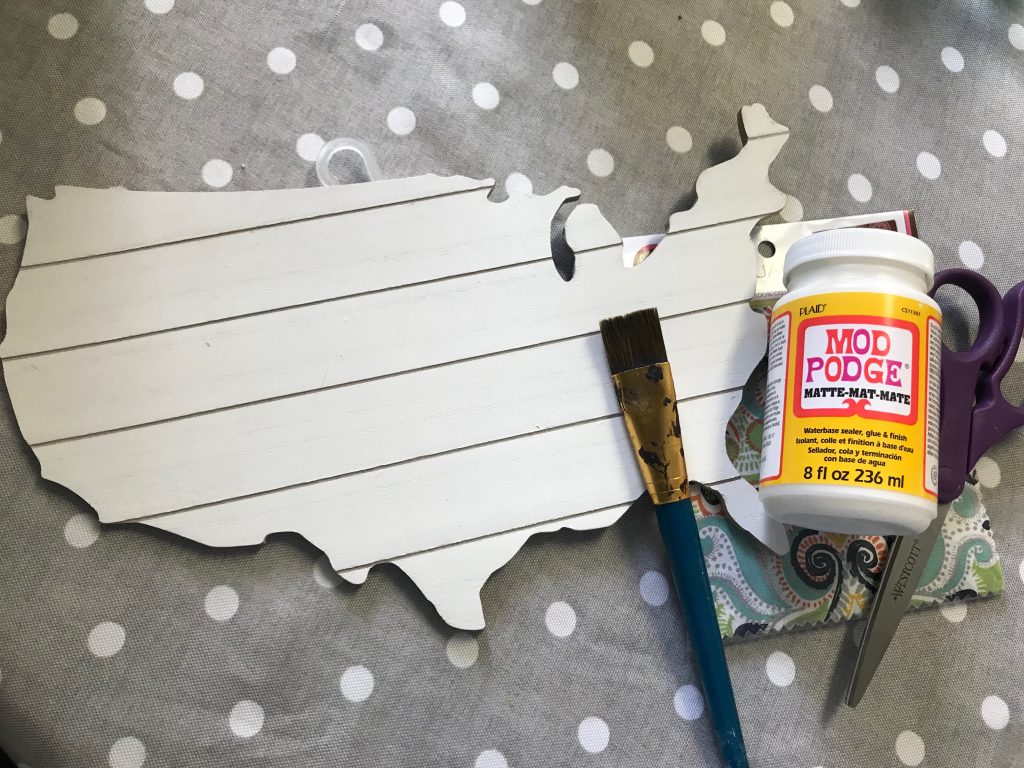
I found this USA sign at the Target dollar spot for a mere $3, and I KNEW it was a must have. I absolutely love items that remind me of travel and good ole America the beautiful, so it was a no brainer.
The things about it is, I thought I would use it as a patriotic craft. That was my first thought.
BUT…when I began looking at it more, my mind went a completely different way. It went towards my gallery wall, again… My gallery wall seems to always come to the forefront of my most recent ideas!
I had some super cute little fabric quarters that I found at Walmart for dirt cheap, and the colors were gorgeous. Immediately, I realized that I wanted to incorporate them into my USA design.
As I worked on the design, my mind kept adding different components, which finally led to the finished product! Isn’t it funny how creative minds work like that?! You literally NEVER know what you are gonna end up with!
So, let me walk you through the process!
What you need for this project:
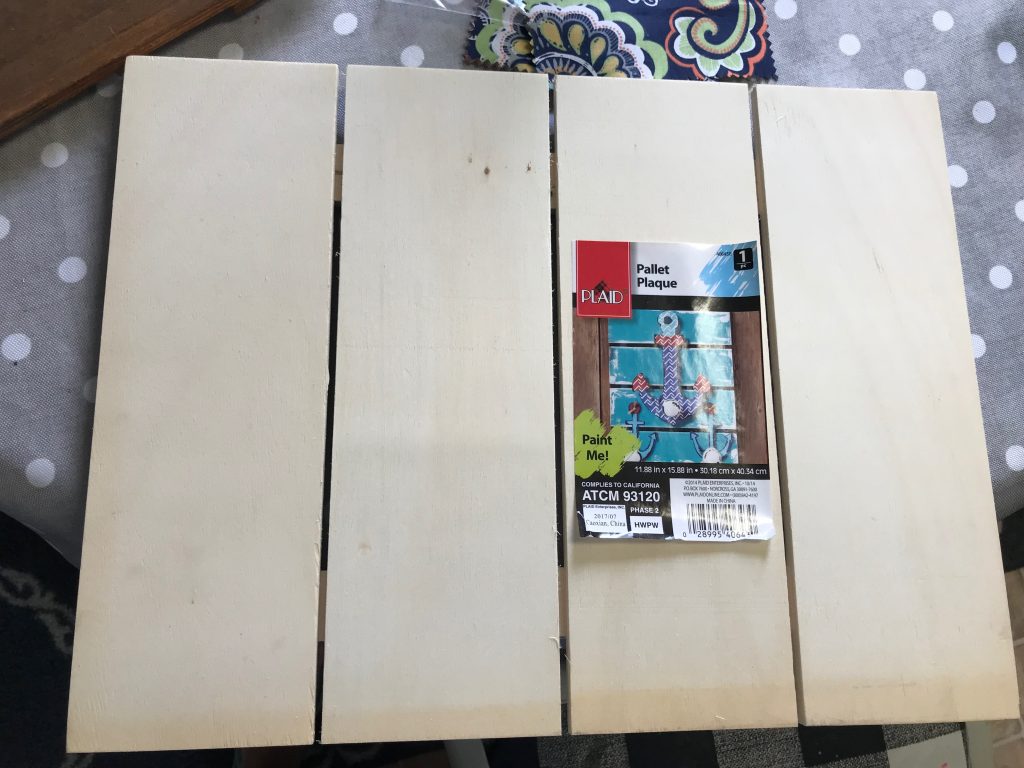
Pallet Board from Walmart (or any kind of surface you want to use)
Mod Podge
Paint Brush for mod podge
Stain (I love Minwax Gel in Walnut)
USA sign (Target dollar spot- but I have seen them numerous places)
CUTE fabric of your choice!
Scissors
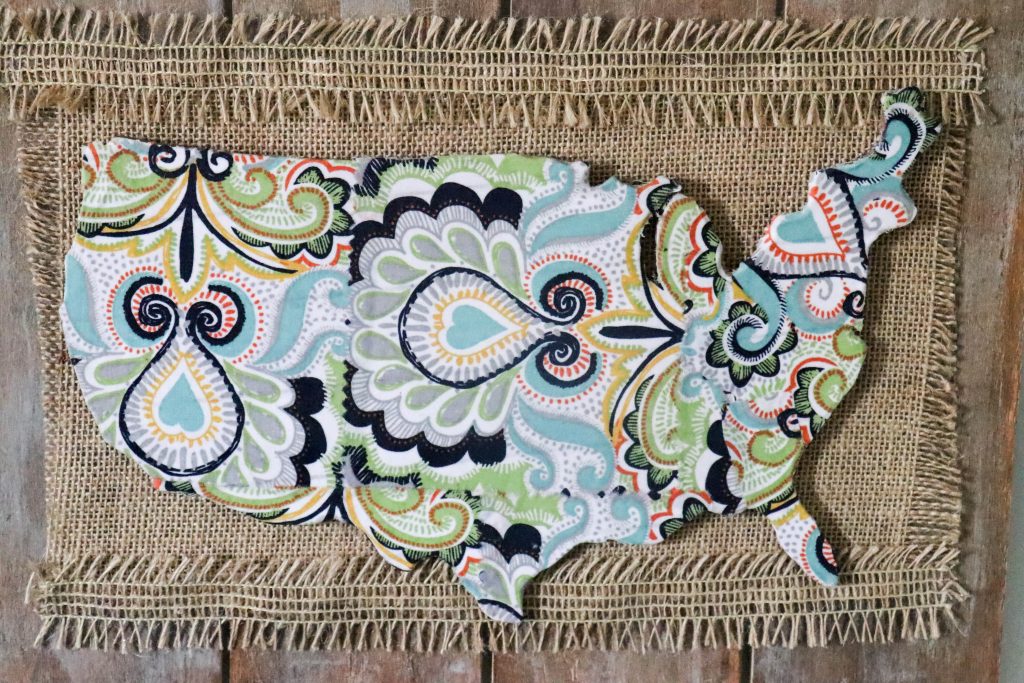
Ok, so to get started, start with your USA sign, fabric, mod podge and brush!
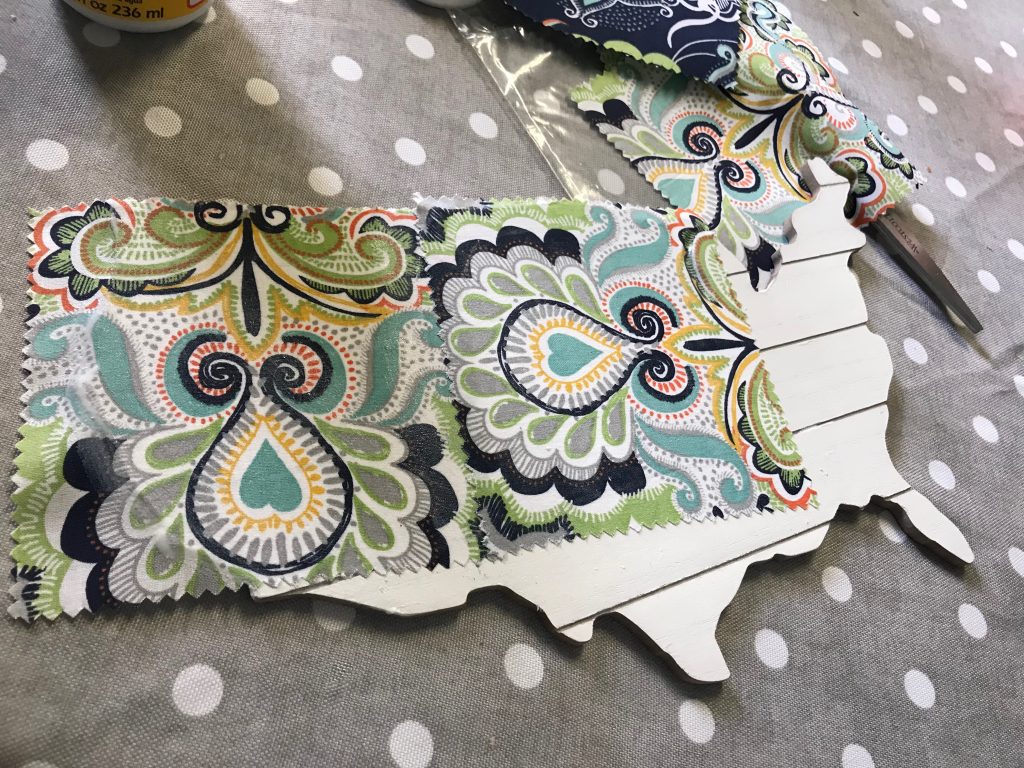
If you are using small quarters like me, then it won’t be as easy to just trace and cut your design. THIS is the ideal way to do it, because it is so much easier. BUT, my pieces were small, so I simply cut them to fit certain sections… Do what you feel is easiest.
Cover small areas in mod podge (it is basically a glue- and it dries clear). Cover those areas in your fabric and flatten out so that there are zero bubbles. Ain’t nobody got time for bubbled mod podge. (See above pic)
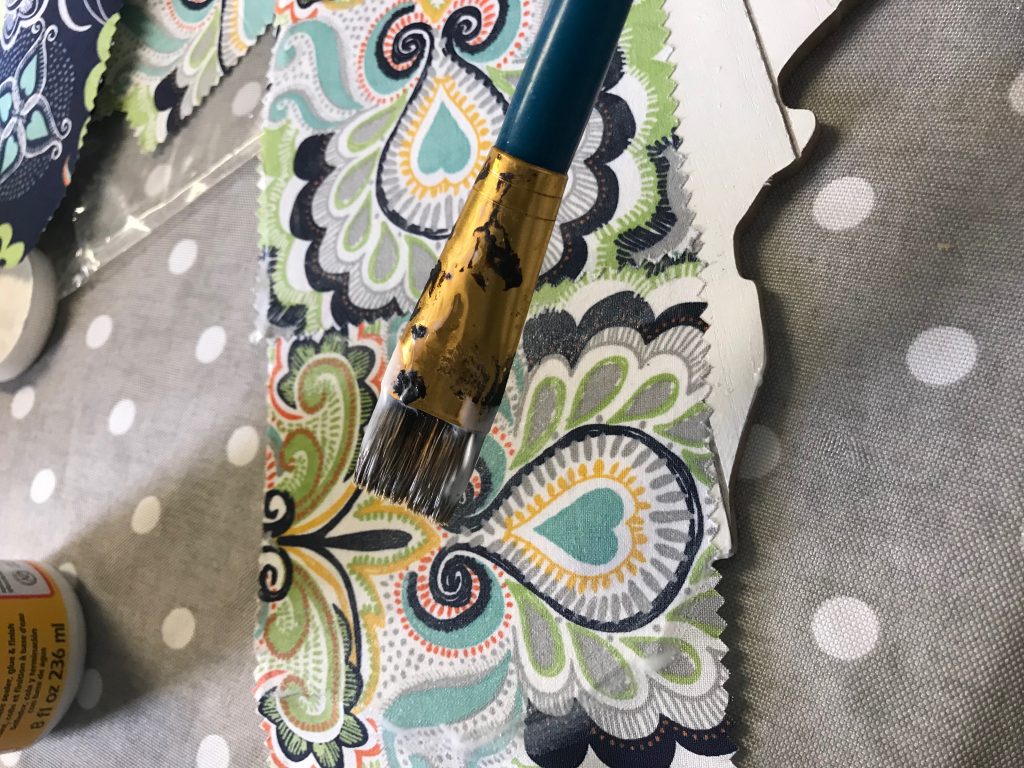
Continue this process until the entire USA is covered. I do it in sections so that the mod podge doesn’t dry. It dries quickly.
Once it is covered, I go over the top of the fabric with mod podge to seal it very good. I did several coats. This made it look cohesive and together, even though I had used several different pieces. It also made it very hard…which made it SUPER durable and sealed to perfection.
You are now done with your USA! Make sure the sides look good…you may need to trim up some loose ends. It is easy to take some mod podge on your finger and get it to lay over the sides better. Just a little tip!
NOW, onto the next step.
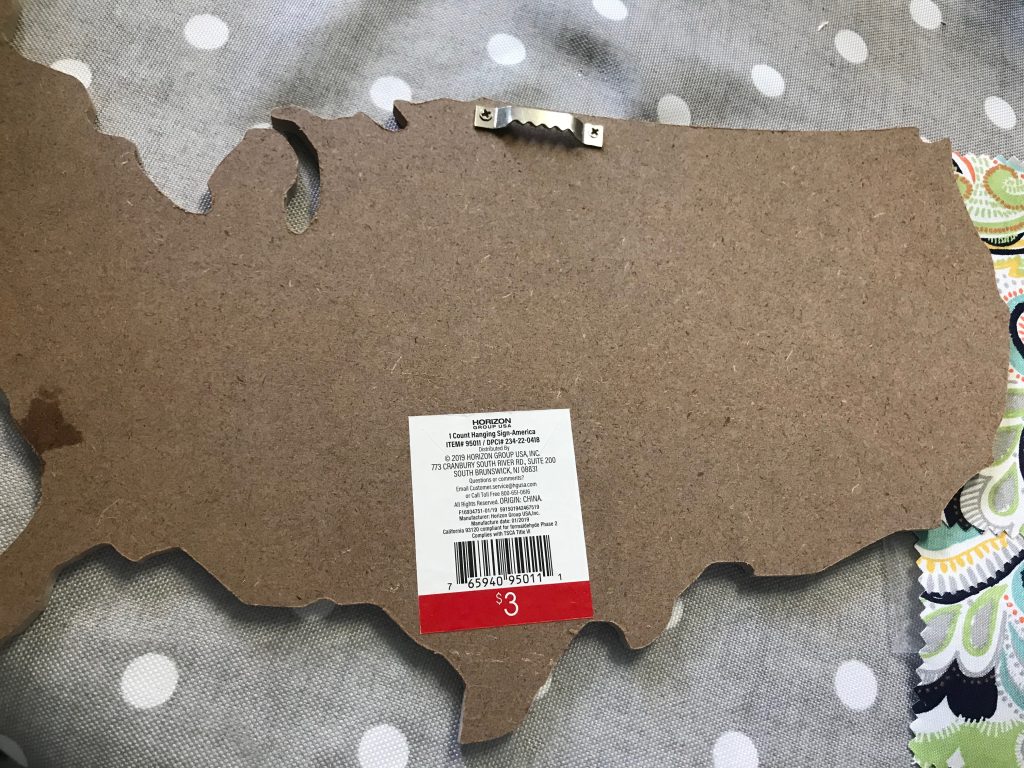
You can hang as is, if you wish…because it does have a saw tooth hanger on the back for hanging.
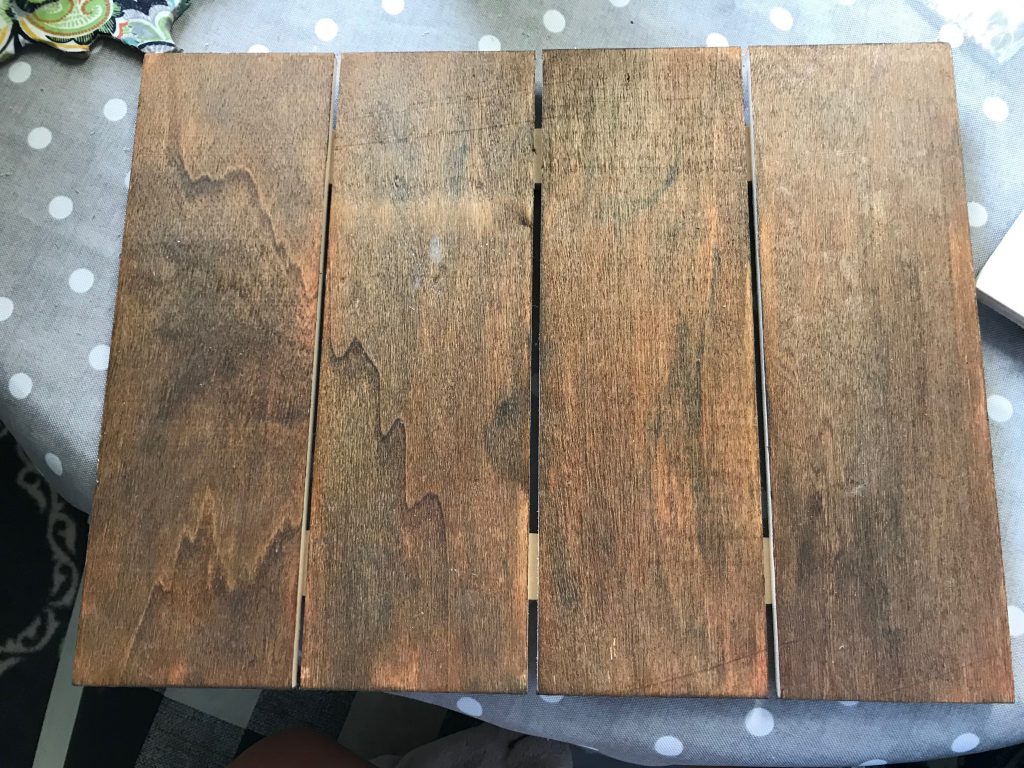
BUT, I wanted it to have a more substantial look. I took my Wal-mart pallet that I had on hand and stained it with my Minwax Walnut gel stain. I use this one ALL THE TIME.
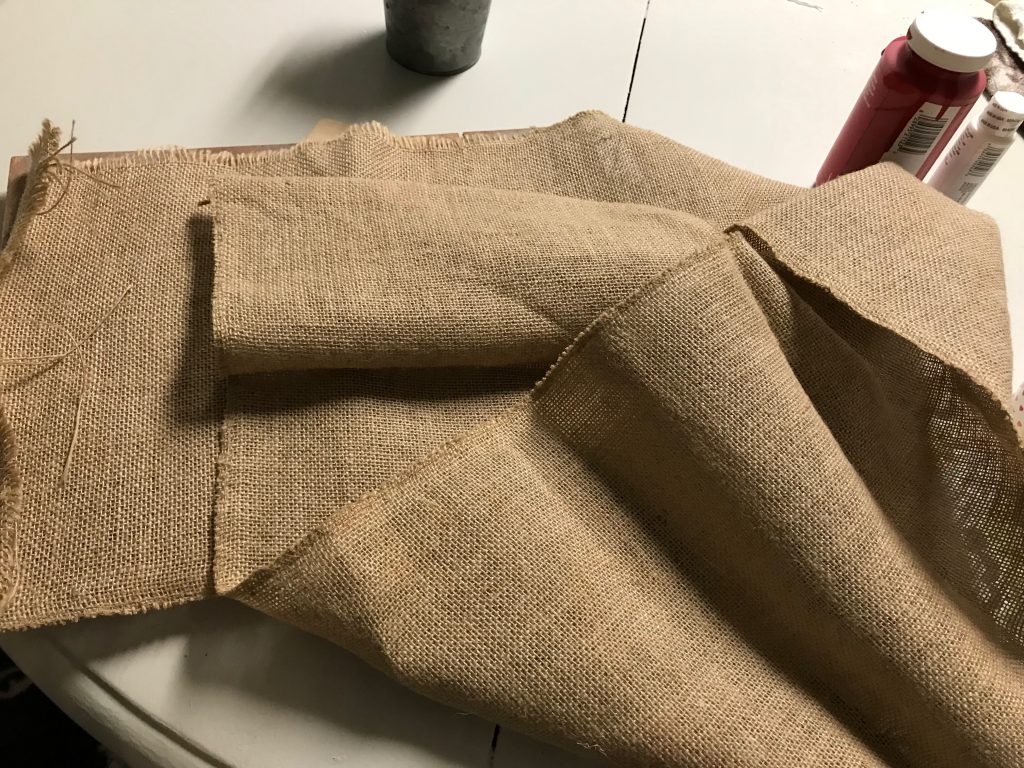
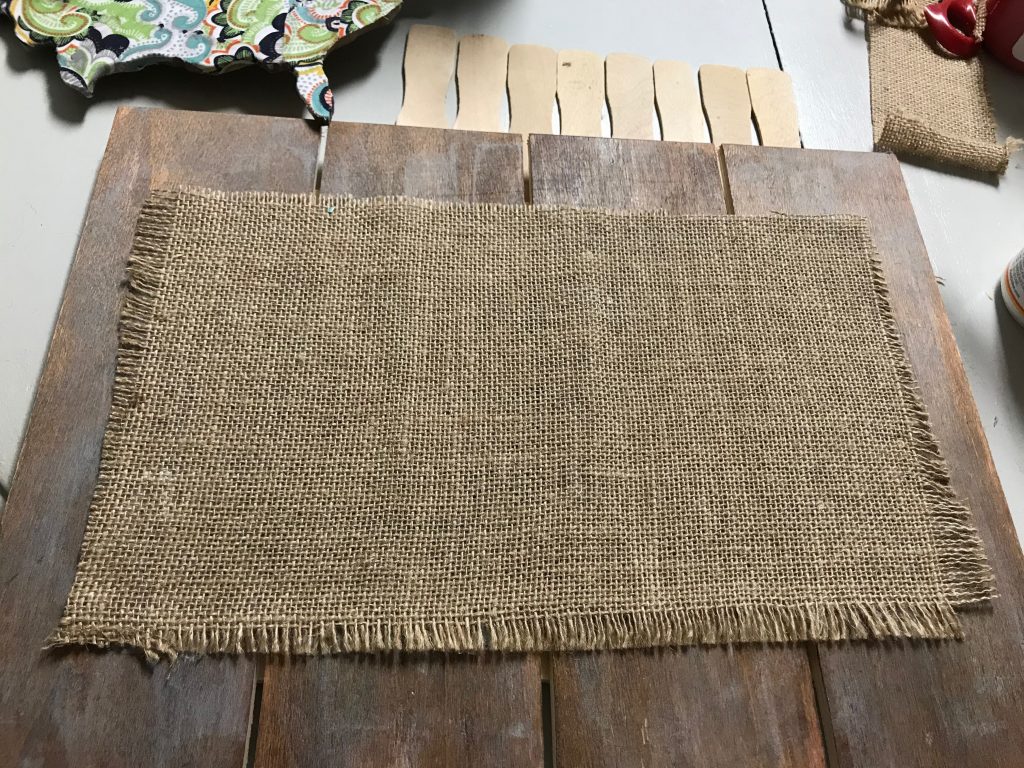
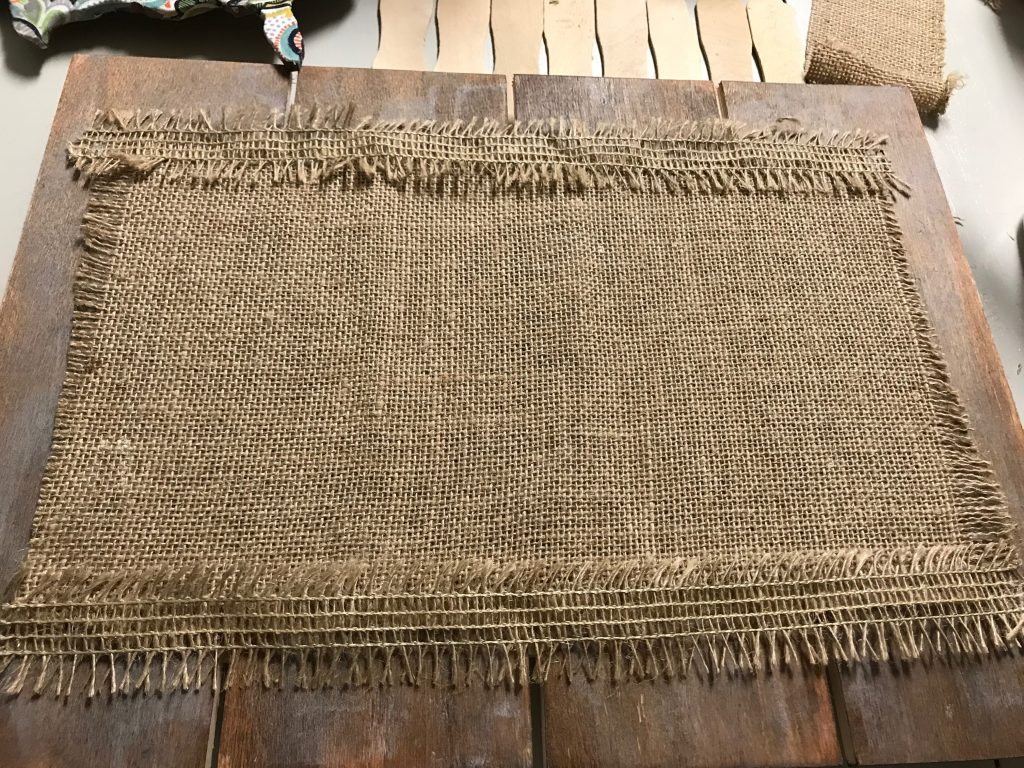
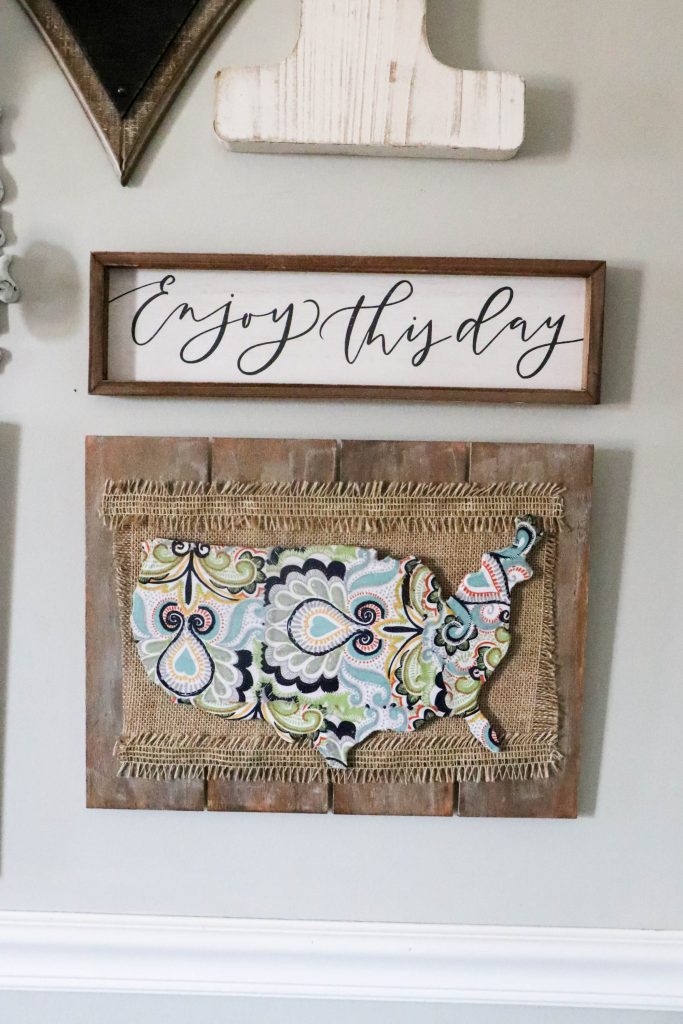
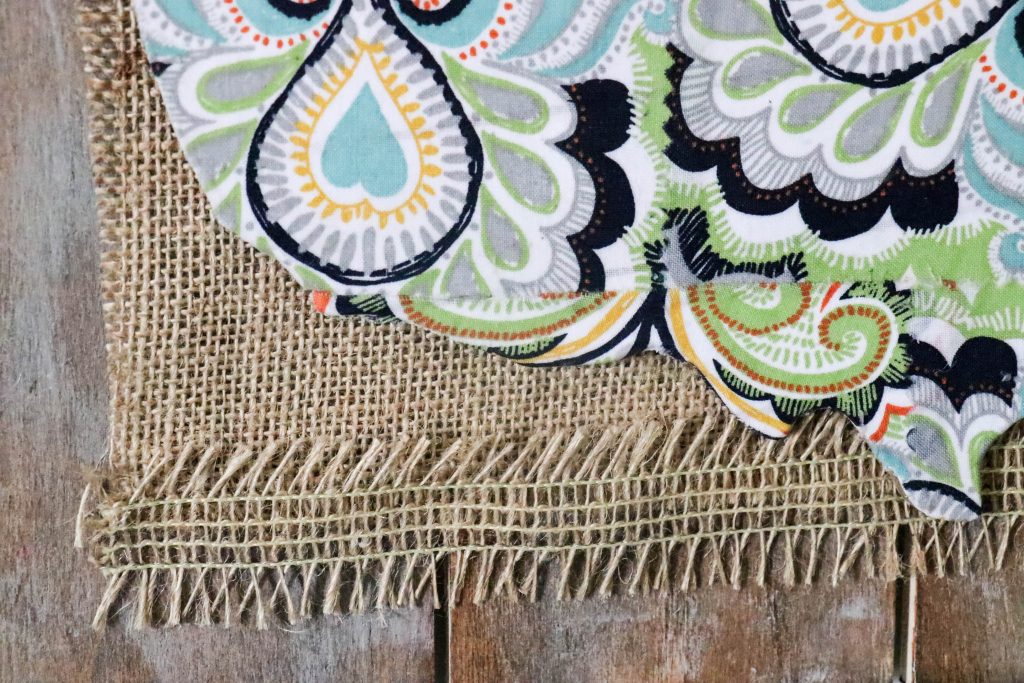
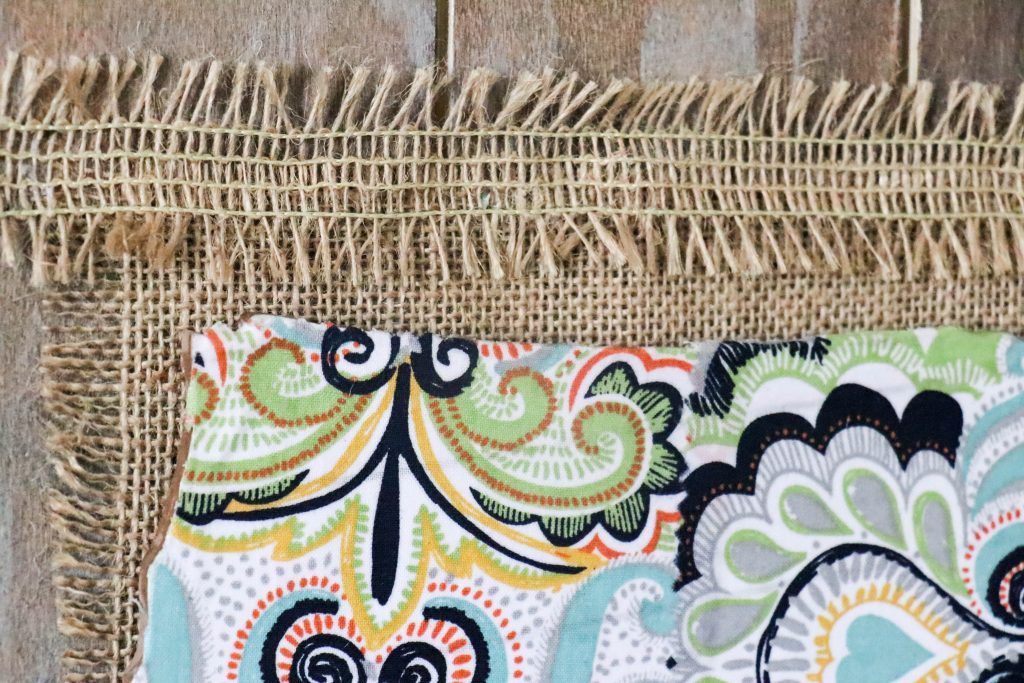
Once that dried, I took some burlap that I had and made a “frame” for the USA cut out. It looked cute, but it seemed plain…so I added some extra burlap ribbon that I had on hand to give it a more finished look.
I glued it all down onto the pallet, and then I glued my USA sign on the top.
And….DONE.
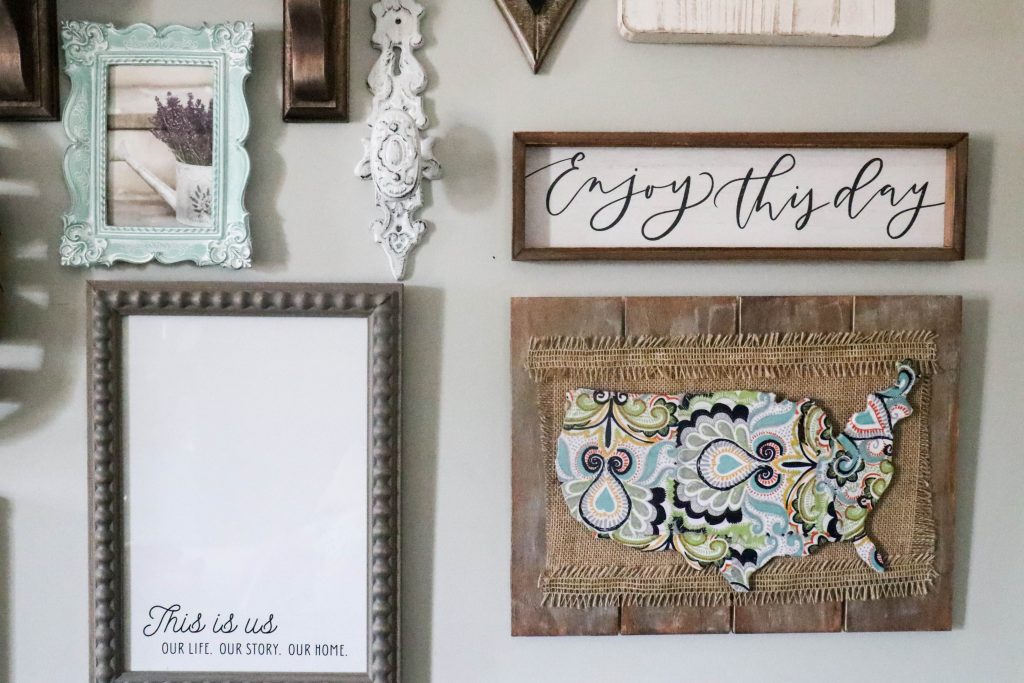
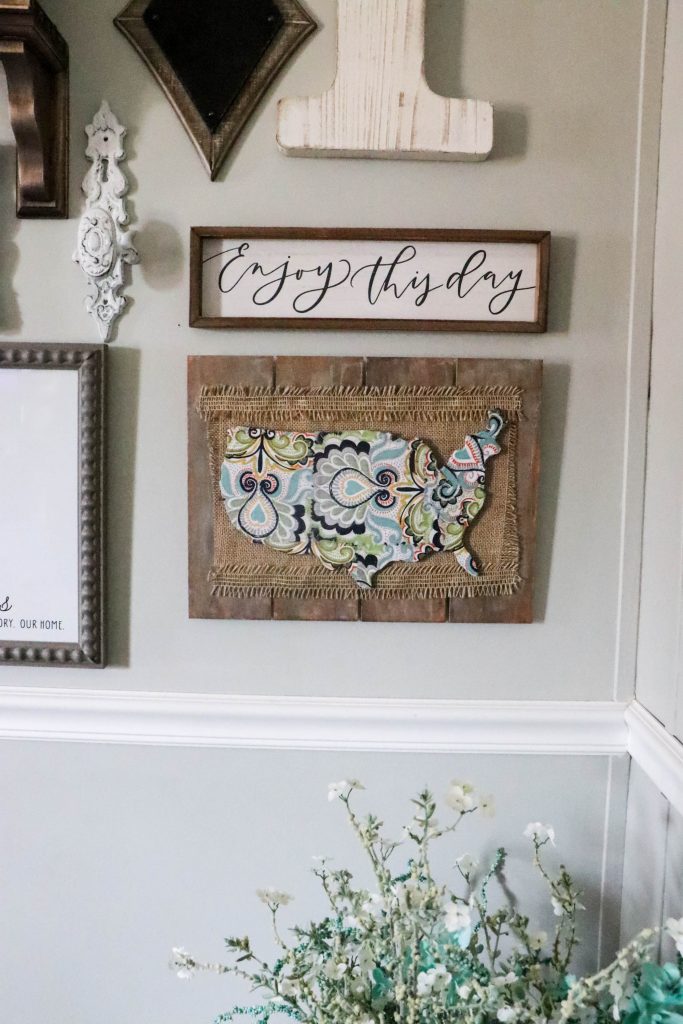
I truly love this piece. It has so many different textures and dimensions, and once again- it was the perfect addition to my gallery wall. I am telling you, this thing changes ALL THE TIME!!!! haha.
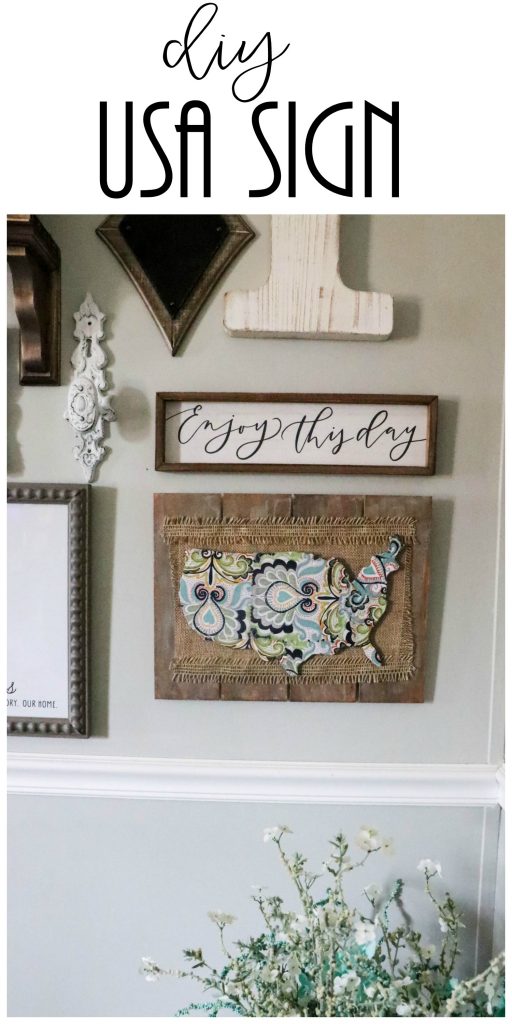
PIN FOR LATER!
Follow Along on Social Media!
Facebook/Instagram/Pinterest/Email
Last Updated on November 4, 2020

This looks great and dresses up your wall. The first thing I thought of when I saw the USA blank was decoupaging a nap to it. One with the Oregon Trail or the Trail of Tears on it. <3
Love it
I really like this! I need to go to Walmart and the things I need! Thanks for the great idea!!