I love pumpkins… I can’t hide it. So naturally, I turn just about everything into a pumpkin during FALL!
Today, I turned a piece of scrap wood into a pumpkin PICTURE FRAME… and I love it’s whimsy charm and home-made look!
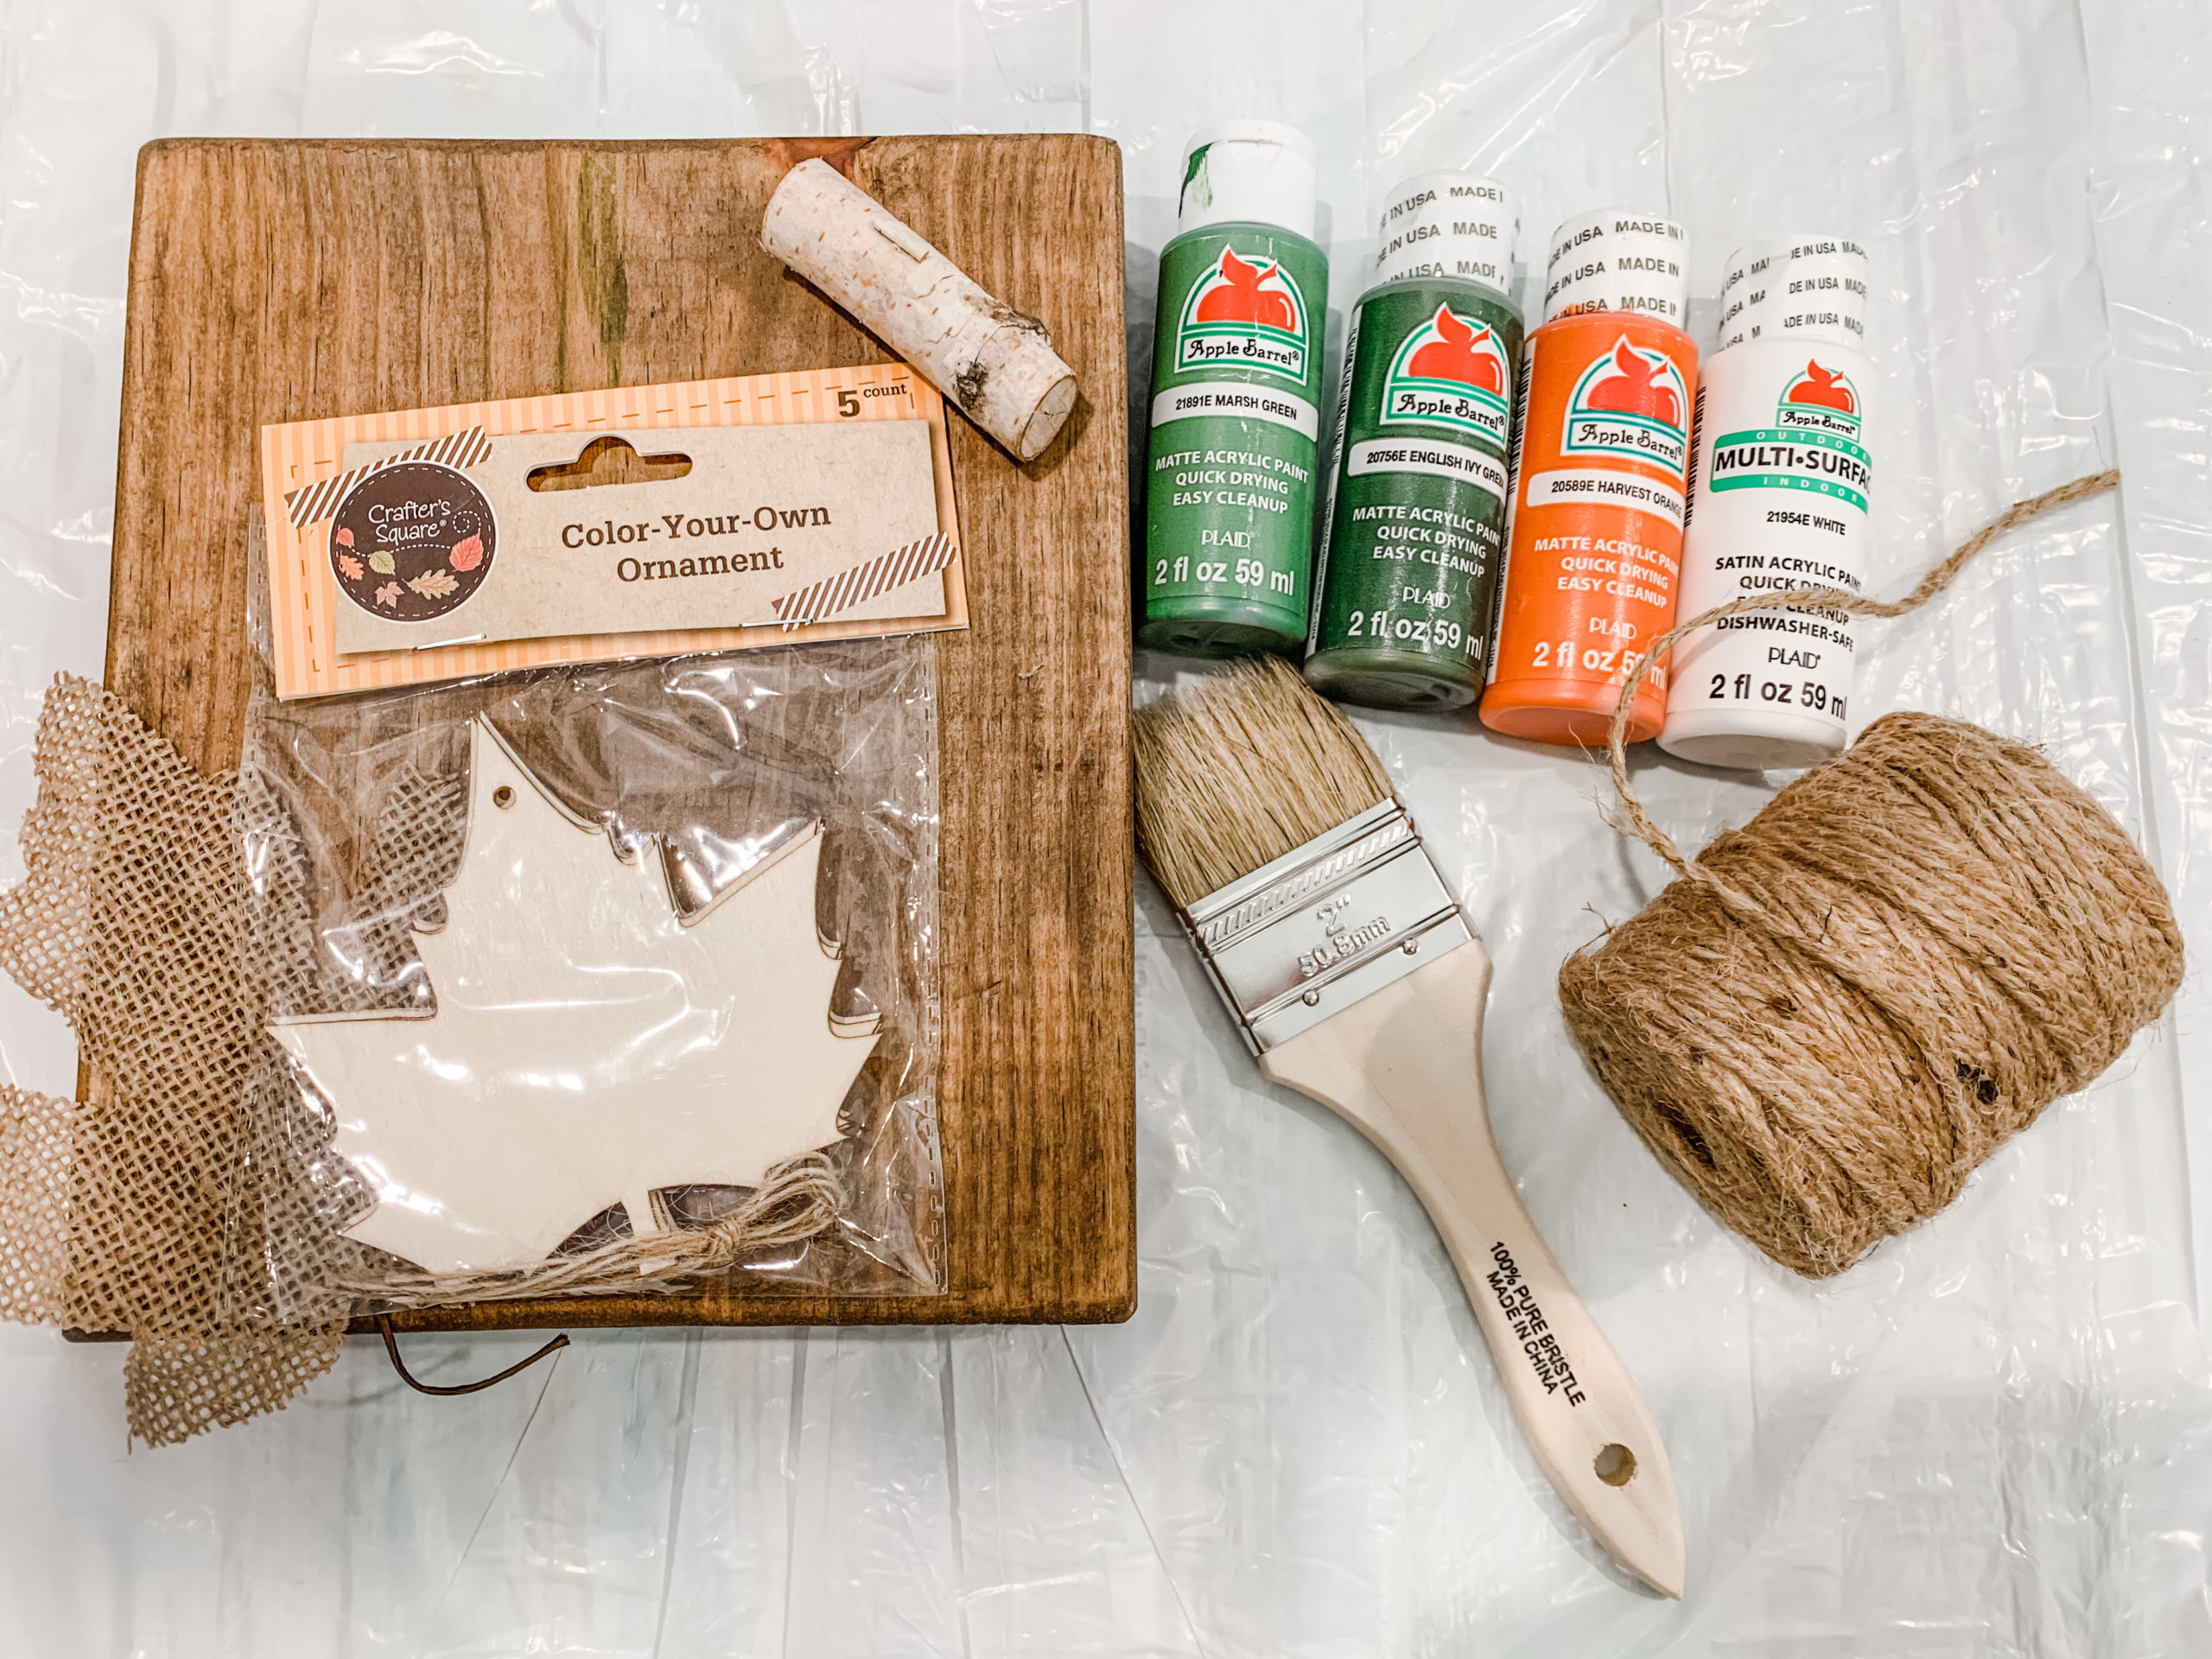
Here’s what you’ll need:
- scrap wood
- paint brush
- paint colors of your choice
- painters tape
- hot glue gun
- wooden stick from Dollar Tree
- embellishments
- twine
- burlap leaf from Dollar Tree
- wooden leaf ornament from Dollar Tree

The very first thing I did was painted my piece of wood orange. You could totally go for a non-traditional pumpkin and use other colors, but I decided to stick with orange today! My block took 3 coats.
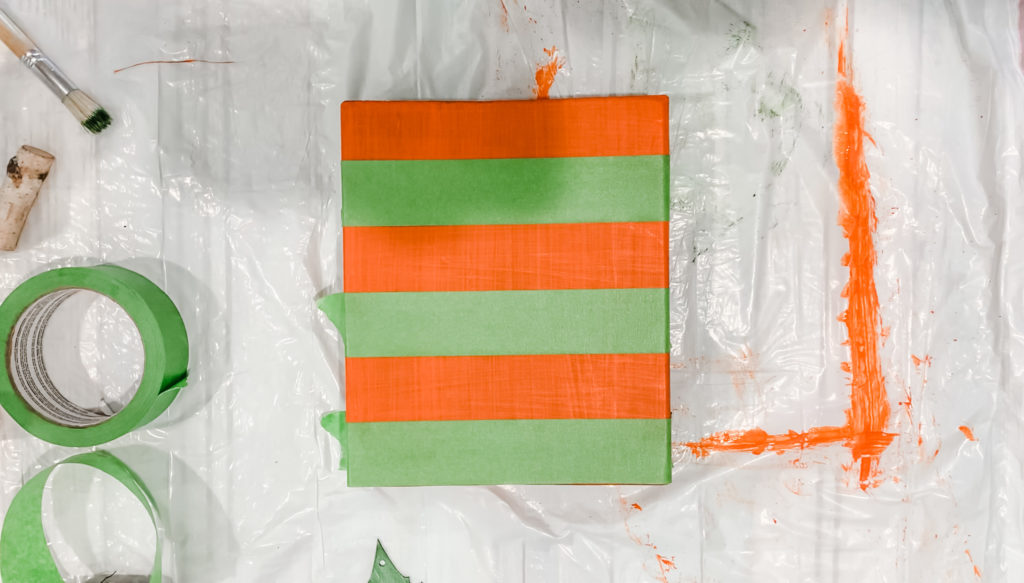
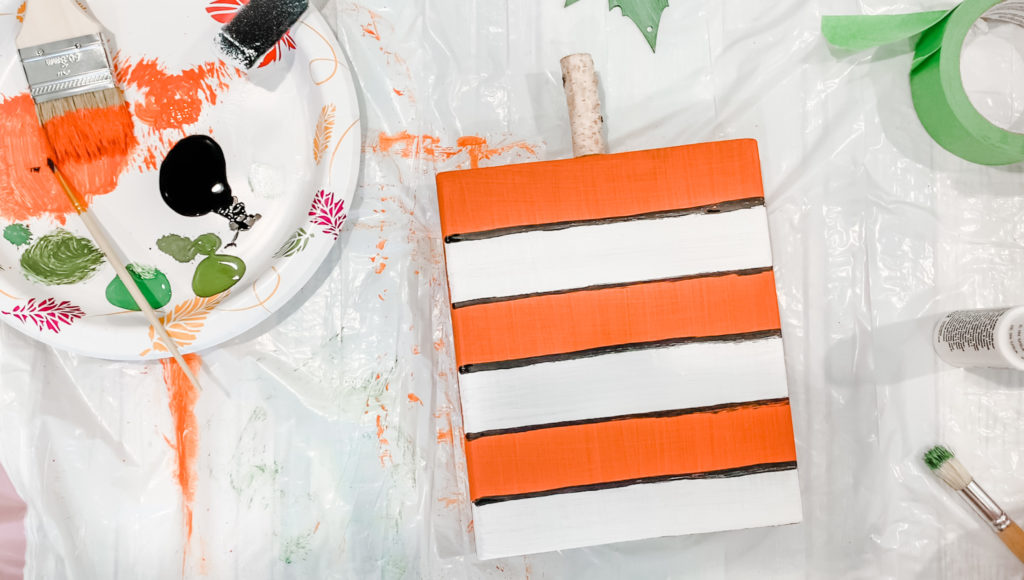
After the orange paint dried (TIP: I used a hairdryer to speed of the process!) I taped off where I wanted my white stripes to be. I just made the stripes the same width as the tape!
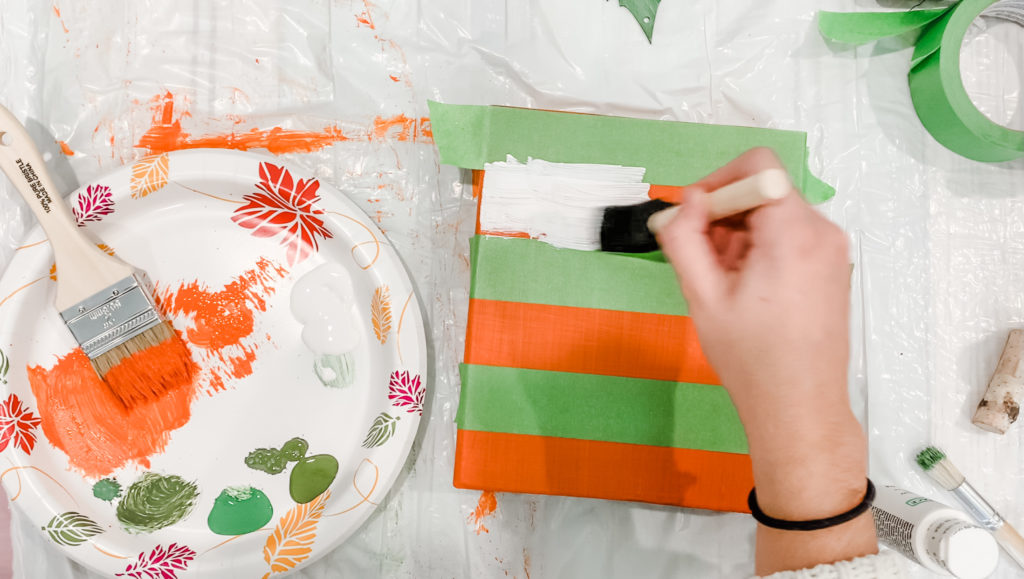
I made sure the paint was stuck down VERY good, then went ahead and painted the white onto the wood!

This part was super satisfying… tearing off the tape!! MAKE SURE the white paint is DRY before you peel it off!!!
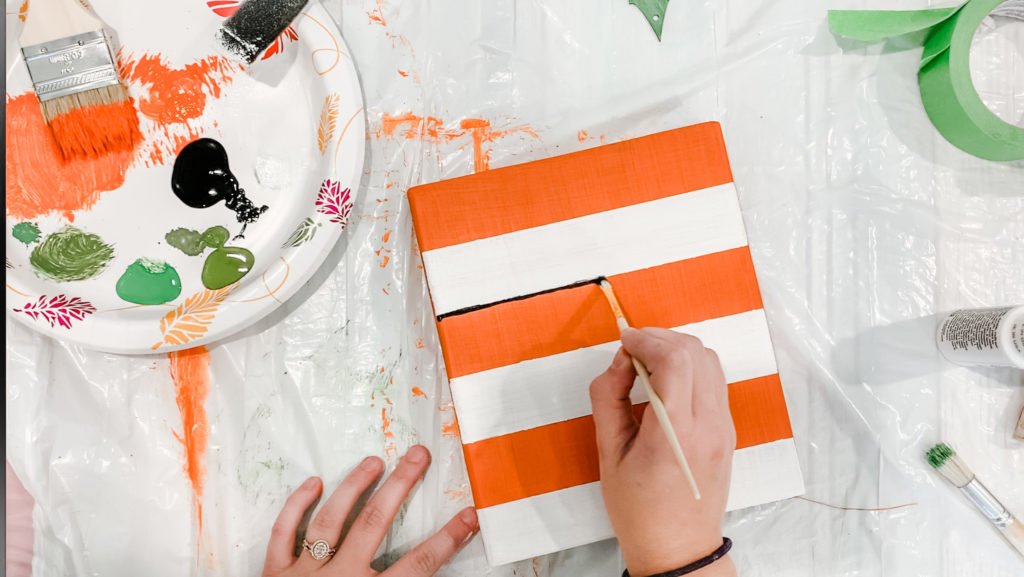
So, this step is totally optional. I decided to add a little more “whimsy” to my pumpkin, so I painted little black stripes where each white stripe ended. You could totally leave it just orange and white if you wanted!
After ALL the paint was dried, I went ahead and added my stem! I simply just hot glued on a little stick from Dollar Tree to the top. Easy enough!
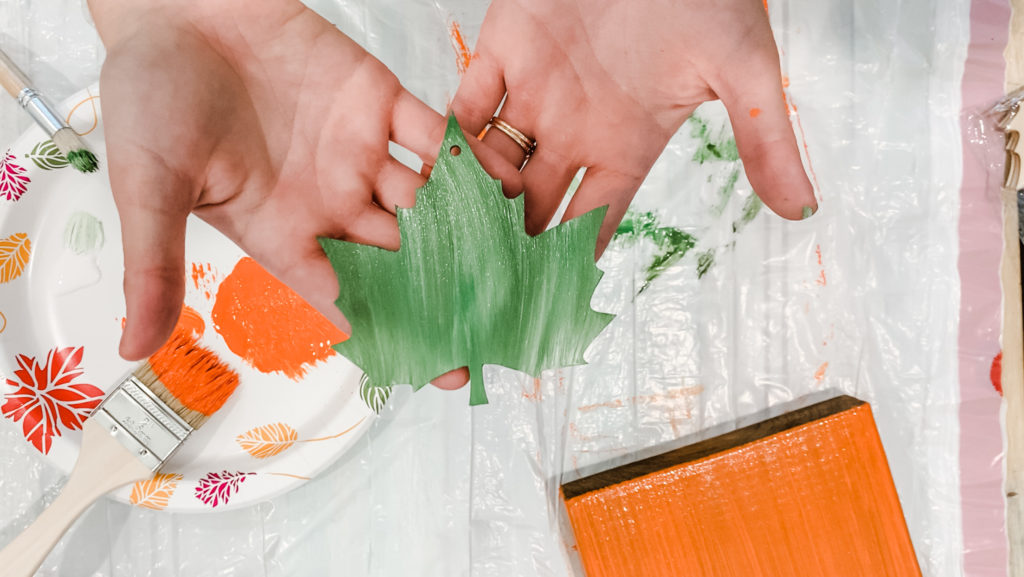
I went ahead and painted my little lead ornament while all the paint was drying. I used a mixture of Apple Barrel’s Marsh Green and White!
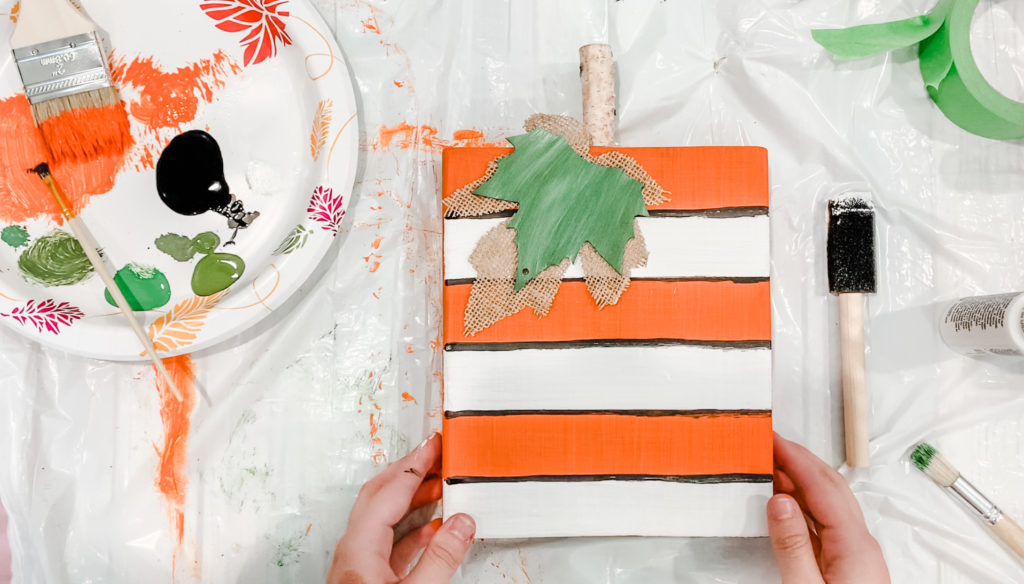
I decided to layer my leaves! I hot glued the burlap leaf down first, then stuck the wooden leaf on top.
After that, I wrapped around some twine to the bottom of the frame. This is what will hold down the picture to the pumpkin! I also whipped up a Re-Fabbed bow and tied it to the stem!
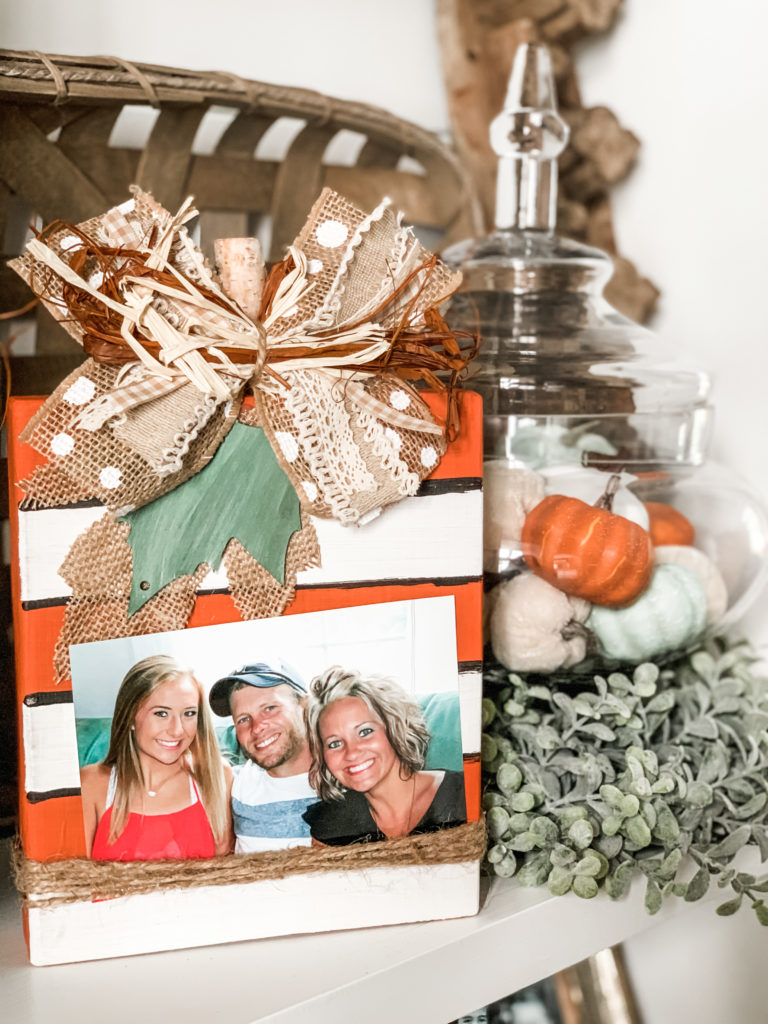
TA-DAAA!!! Now you have a pumpkin picture frame!
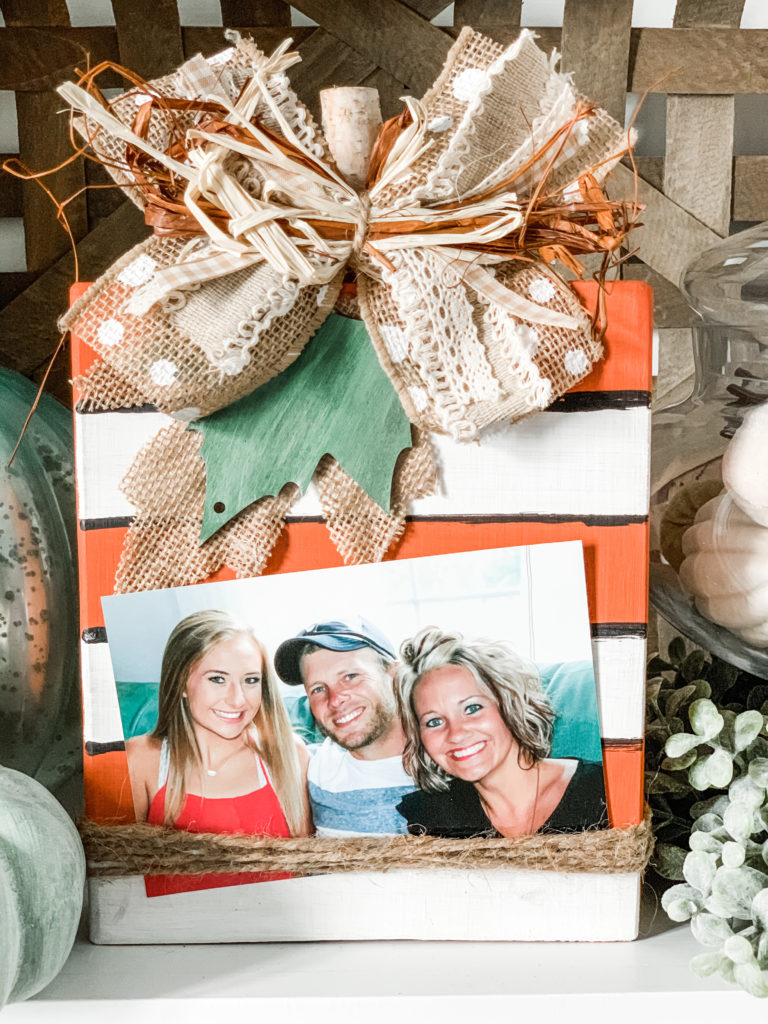
What do you think??? For a craft that I already had ALL the supplies for, I’d say it was pretty dang CUTE!
If you love the look of scrap wood pumpkins, I also have a tutorial on how to make a set of 3 pumpkins! You can see that tutorial HERE.
Make sure to pin for later!!!!


Last Updated on November 4, 2020

Leave a Reply