Re-Fabbed

  • Home
  • About Re-Fabbed
    • Contact Me
    • Story Behind the Name
    • Privacy Policy
  • DIY
  • Budget Decorating
    • Before and Afters
    • Room Renovations
    • Seasonal
      • Fall
      • Christmas
      • Spring
  • TRAVEL
  • Re-Fabbed Boutique
  • Brooke’s Creative Circle
  • Booking
    • Advertise with Me!

diy jack o’lantern sign

By Brooke Riley 4 Comments

9 Sep
Facebookpinterest
wooden pumpkins and galvanized sign used for this project

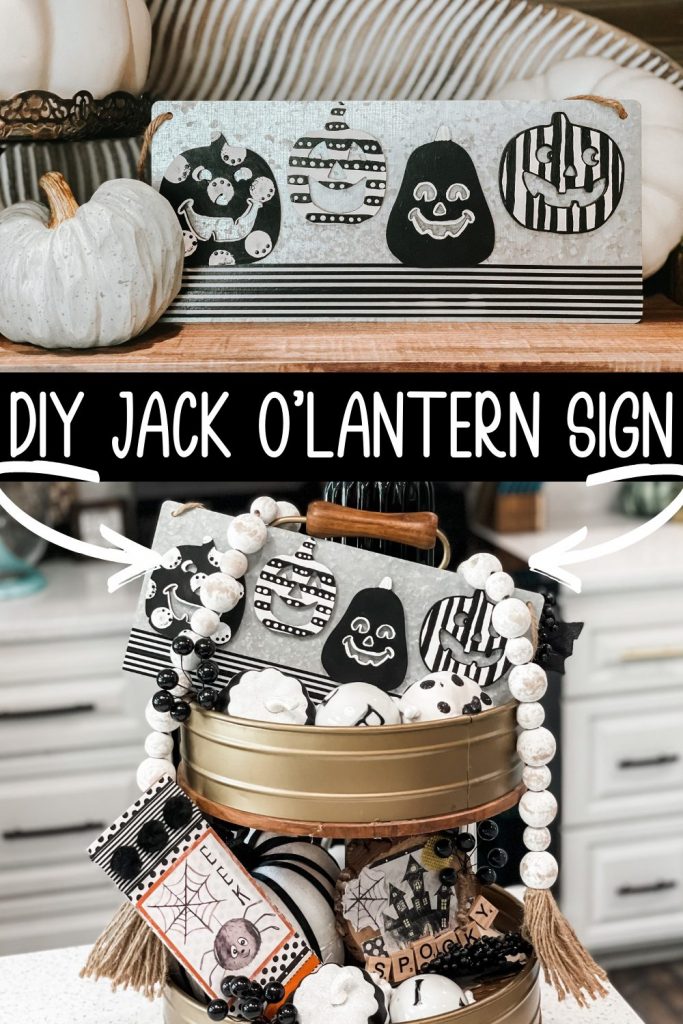
Who else loves decorating with jack o’lanterns?! This DIY Jack O’Lantern sign has definitely put me in the Halloween spirit… and looks so cute mixed in with the rest of my Halloween decor!

A huge thank you to Leigh from The Turquoise Valentine who sent me these adorable little jack o’lantern cut outs!! They were the perfect pieces to use for this project.

Here’s what you’ll need…

*click on the bolded item to shop my affiliate link! By shopping through my link, may receive a small commission at no extra cost to you!*

  • Wooden Jack O’Lantern Cutouts
  • Galvanized Sign
  • Black and white washi tape
  • Black and white paint
  • Spouncer
  • Hot Glue Gun
embellish each jack o lantern with your choice of design

Step 1: paint your jack o’lanterns! Since my Halloween decor is black and white themed… those are the colors I chose to paint them!

embellish each jack o lantern with your choice of design

Step 2: While the jack o’lanterns are drying, lets jazz up our galvanized sign a bit!

add black and white washi tape to the bottom of the galvanized sign

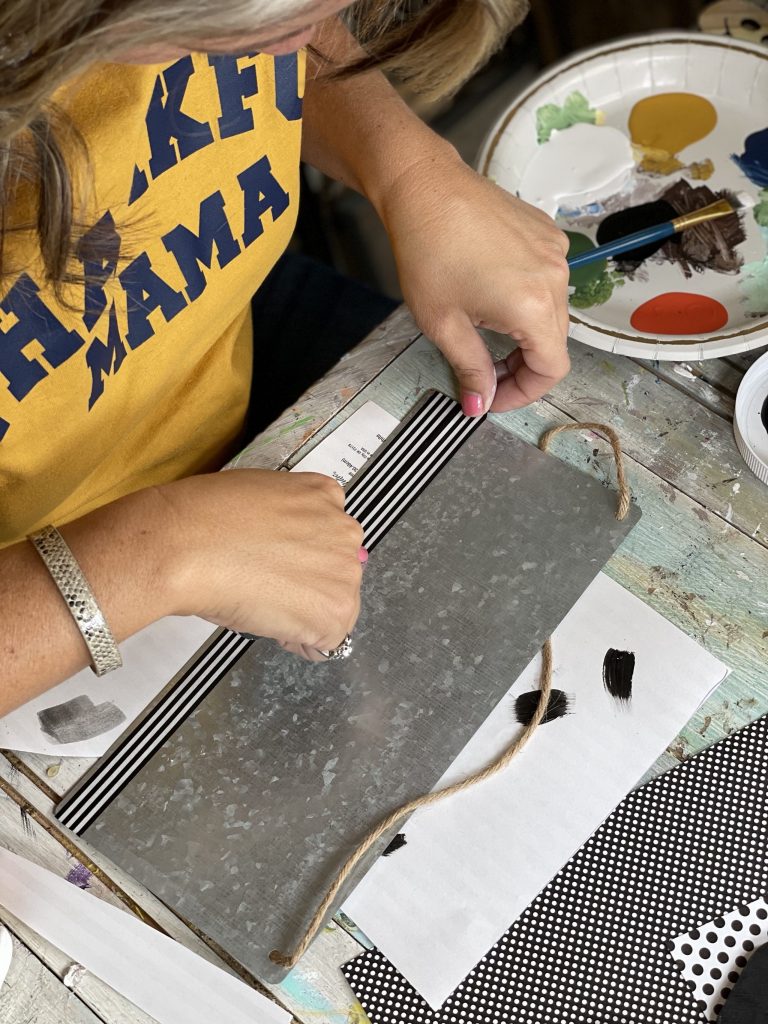
I decided to tape on two strips of black and white washi tape to the bottom of my sign. It’s a simple addition, but it truly helped pull it all together in the end!

embellish each jack o lantern with your choice of design

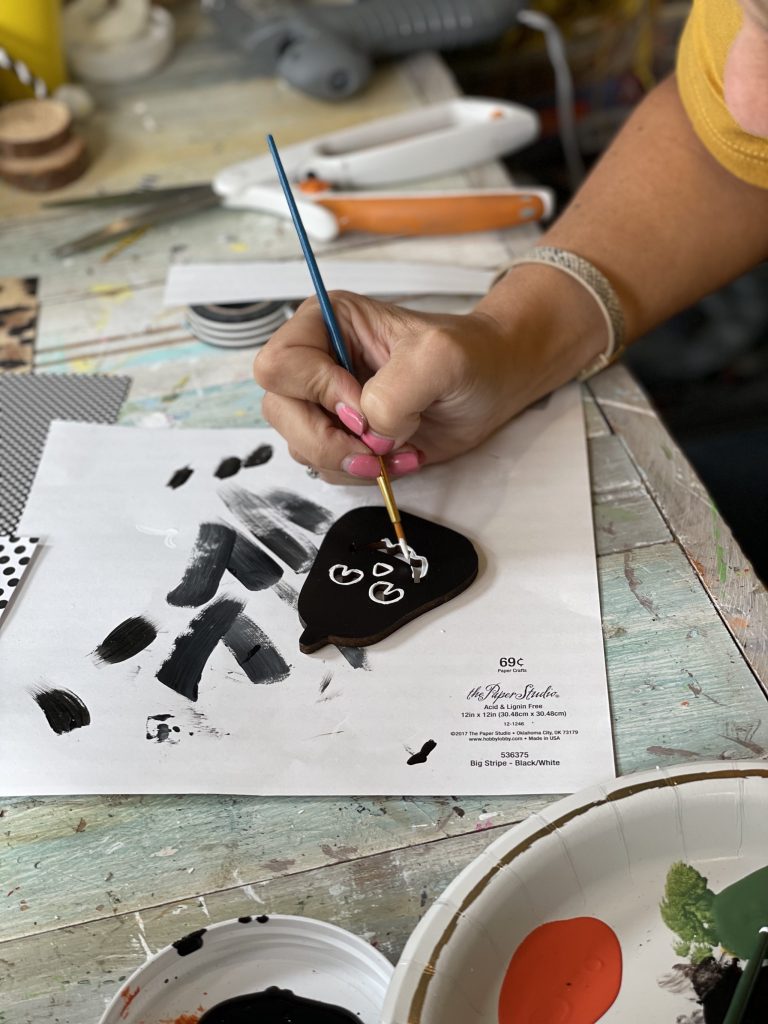
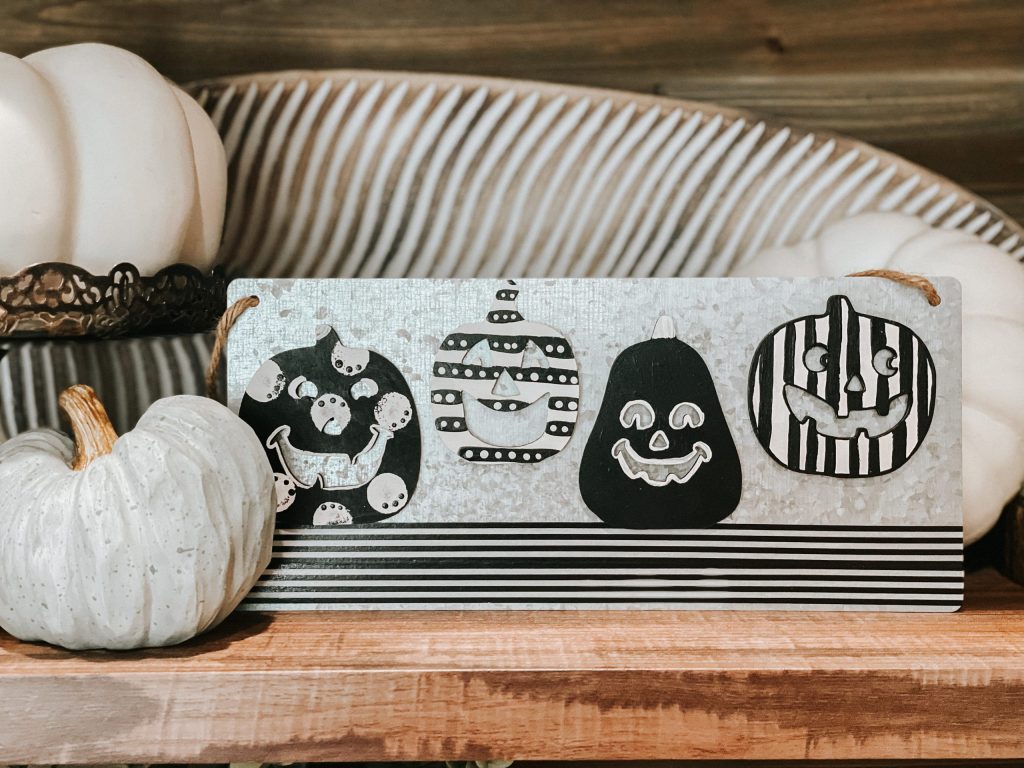
Step 3: Embellish your jack o’lanterns! I made each one have a different pattern!

embellish each jack o lantern with your choice of design

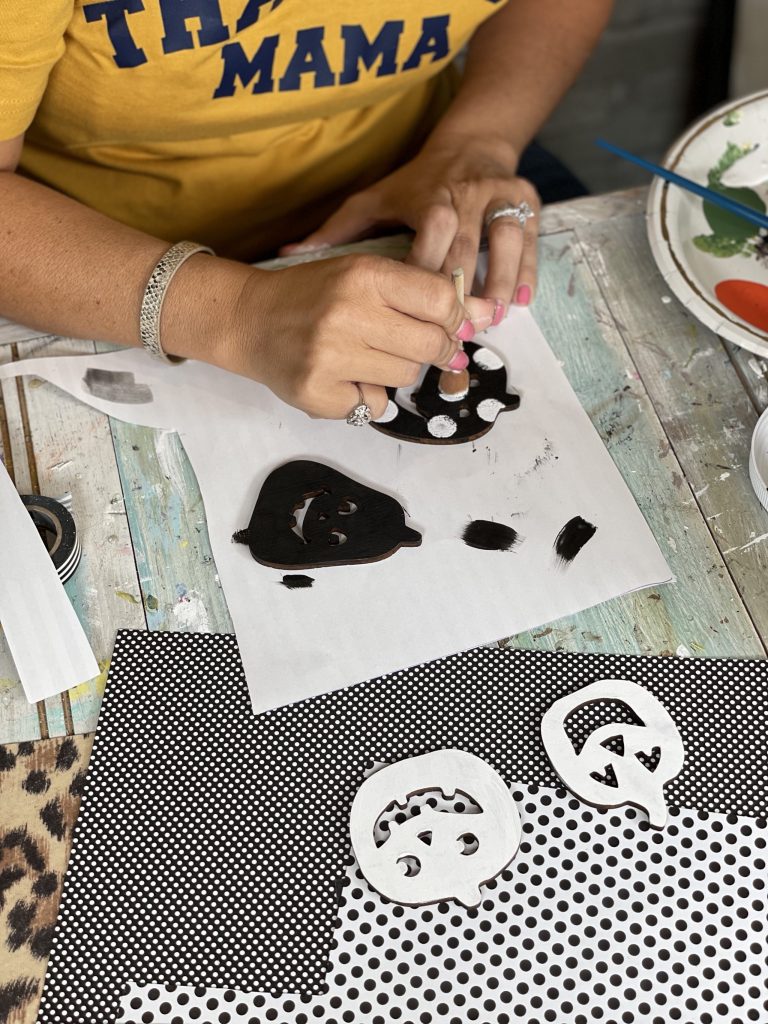
You already know I’m a HUGE fan of polka dots… so having a spouncer on hand is a life saver!!

hot glue your jack o lanterns to the galvanized sign

Step 4: When you are finished embellishing each jack o’lantern, hot glue them on to the sign!

final product of the diy jack o lantern sign decor

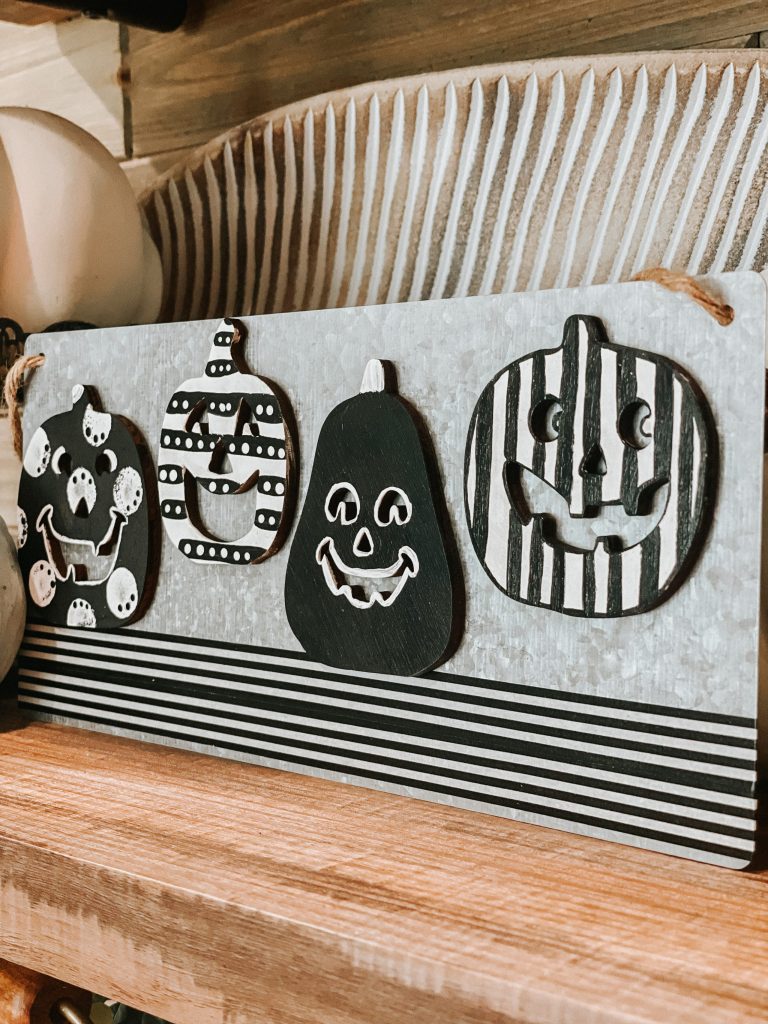
And there you have it! Your black and white jack o’lantern sign is COMPLETE!

final product of the diy jack o lantern sign decor

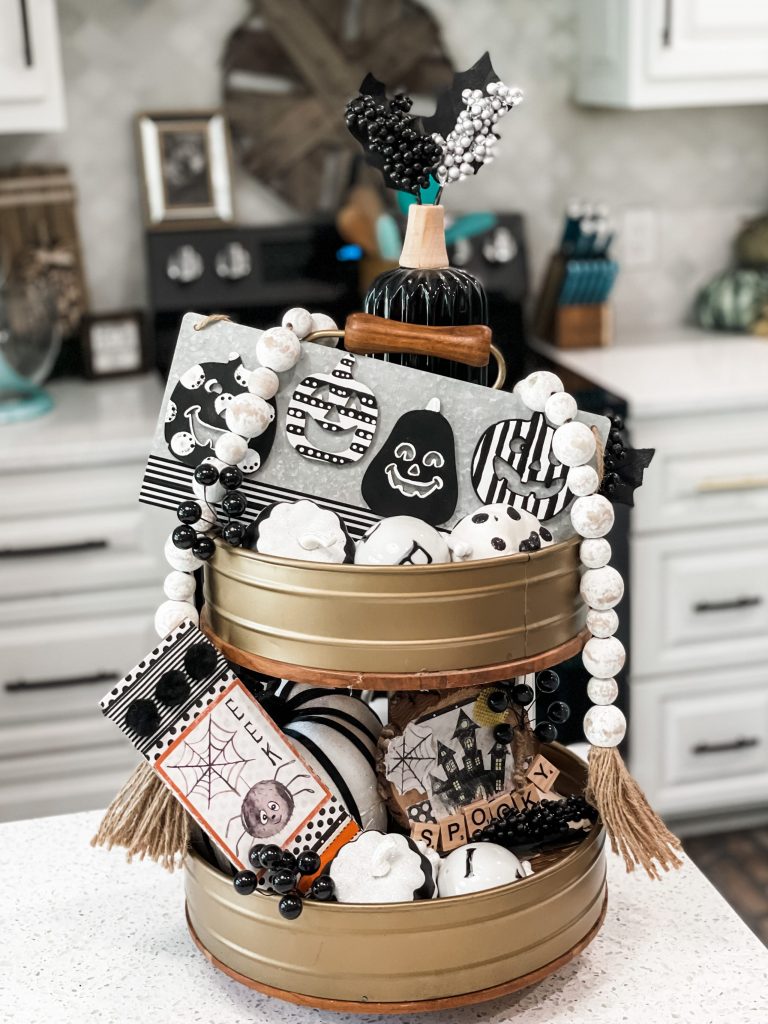
If you’re wondering what you could do with this precious little sign, the possibilities are endless! Use it on a Halloween coffee station, place it on your mantel for Halloween, or even style it on a Halloween tiered tray!

final product of the diy jack o lantern sign decor

PIN THIS FOR LATER!

JOIN MY TEXT LIST!

FOLLOW ON INSTAGRAM!

SUBSCRIBE ON YOUTUBE!

FOLLOW ON TIKTOK!

Last Updated on September 9, 2021

Facebookpinterest
« diy hocus pocus sign
DIY Haunted House Decor »

Comments

  1. Bev Nelson says

    August 24, 2024 at 12:04 am

    The sign looks amazing! I love the makeover and colors!

    Reply
    • Brooke Riley says

      August 26, 2024 at 6:31 pm

      Thank you!

      Reply
  2. Bev Nelson says

    September 11, 2024 at 9:11 am

    Great makeover, looks beautiful.

    Reply
  3. Wendy Fincato says

    September 12, 2024 at 9:29 pm

    How stinking cute is this, Love ???? it!!

    Reply

Leave a Reply Cancel reply

Your email address will not be published. Required fields are marked *

Recipe Rating


Brooke Riley

Profile Picture Blog

Hey y'all! I am Brooke, and I am SO glad you have dropped by my blog! Re-fabbed is a site designed to bring you everything from decorating on a budget to fun and easy DIY projects, with a few deep thoughts in between. I LOVE to share my journey through this crazy life!

Browse by Category

Copyright © 2025 · Refined Theme On Genesis Framework · WordPress · Log in · Privacy Policy