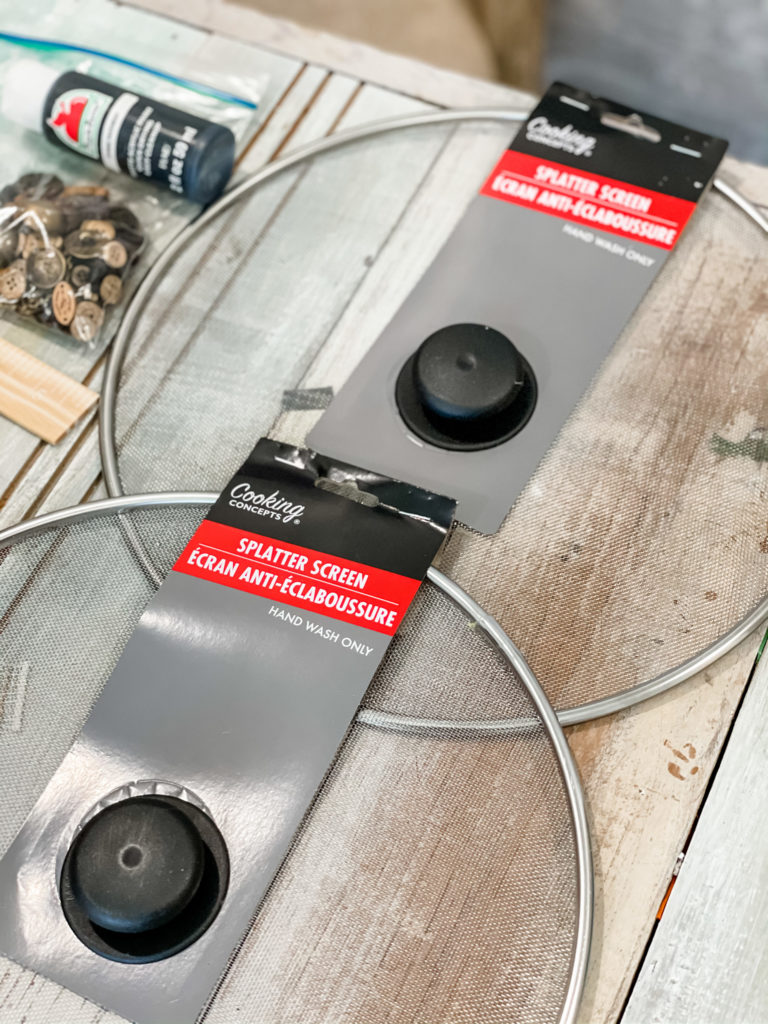
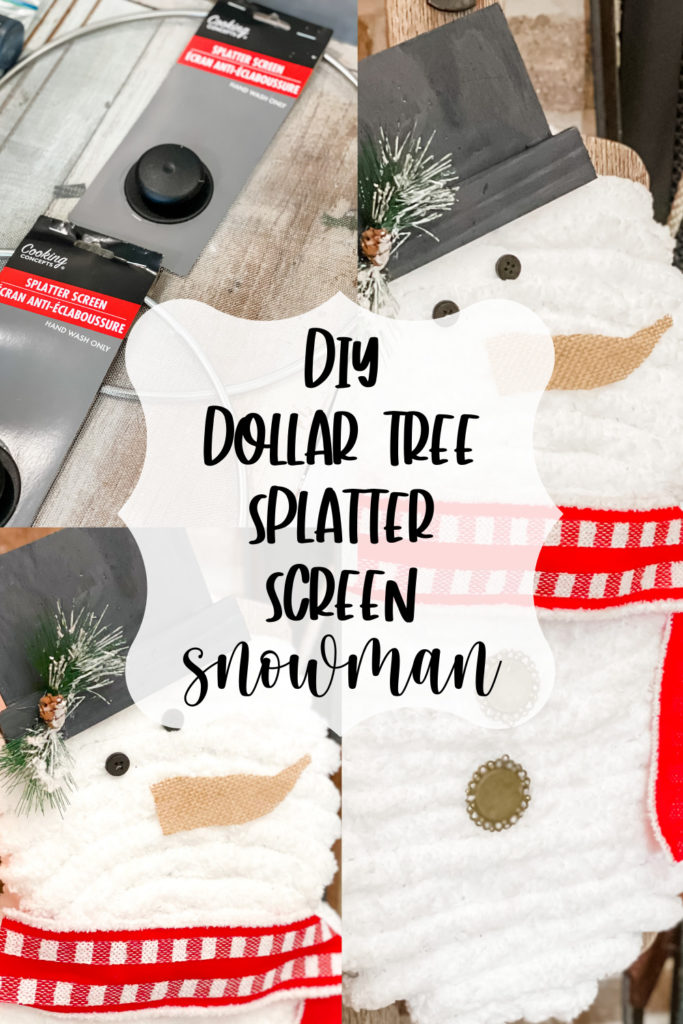
Did you think splatter screens were only good for cooking?? Well… I’m about to change your mind!!!! I’ve had these Dollar Tree splatter screens sitting in my craft stash just waiting to be used… and today, I think we’ve came up with the perfect craft for them! That’s right… we’re building a SNOWMAN! *cue the song off Frozen*
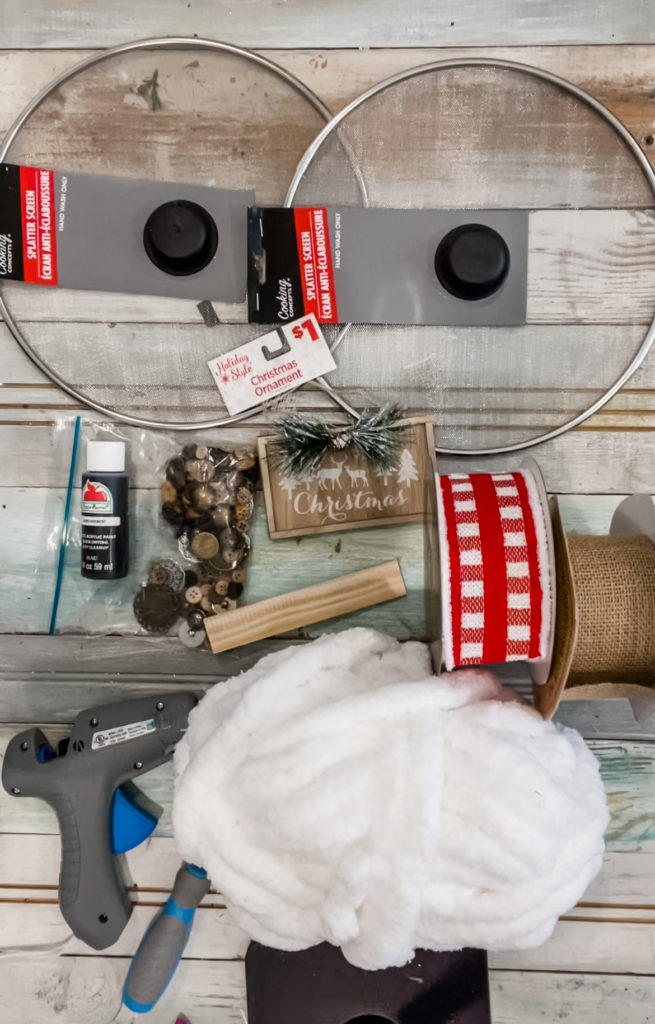
Here’s what you’ll need…
- 2 splatter screens from Dollar Tree
- white yarn
- scissors
- hot glue gun
- 4 buttons (2 big, 2 small)
- screwdriver
- $1 Dollar General ornament (or anything that is rectangular)
- half of a ruler/paint stick
- black paint
- burlap
- ribbon
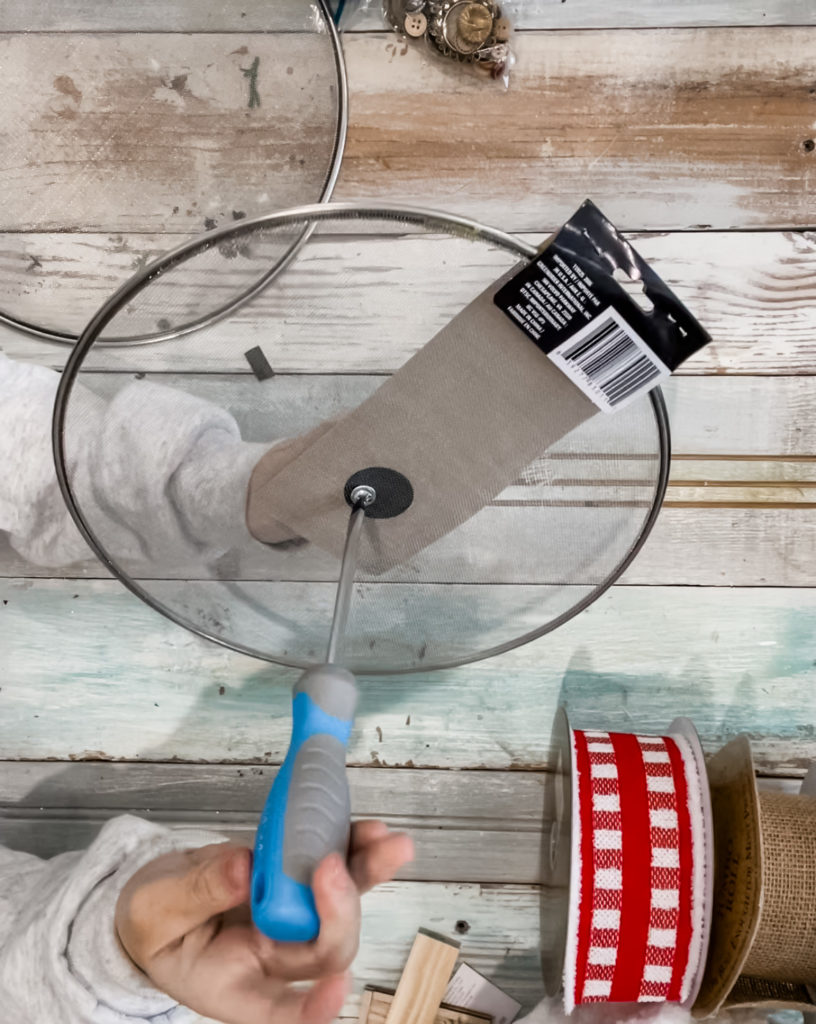
To get this party started, we need to unscrew the tops of the splatter screens off… do this to both screens!
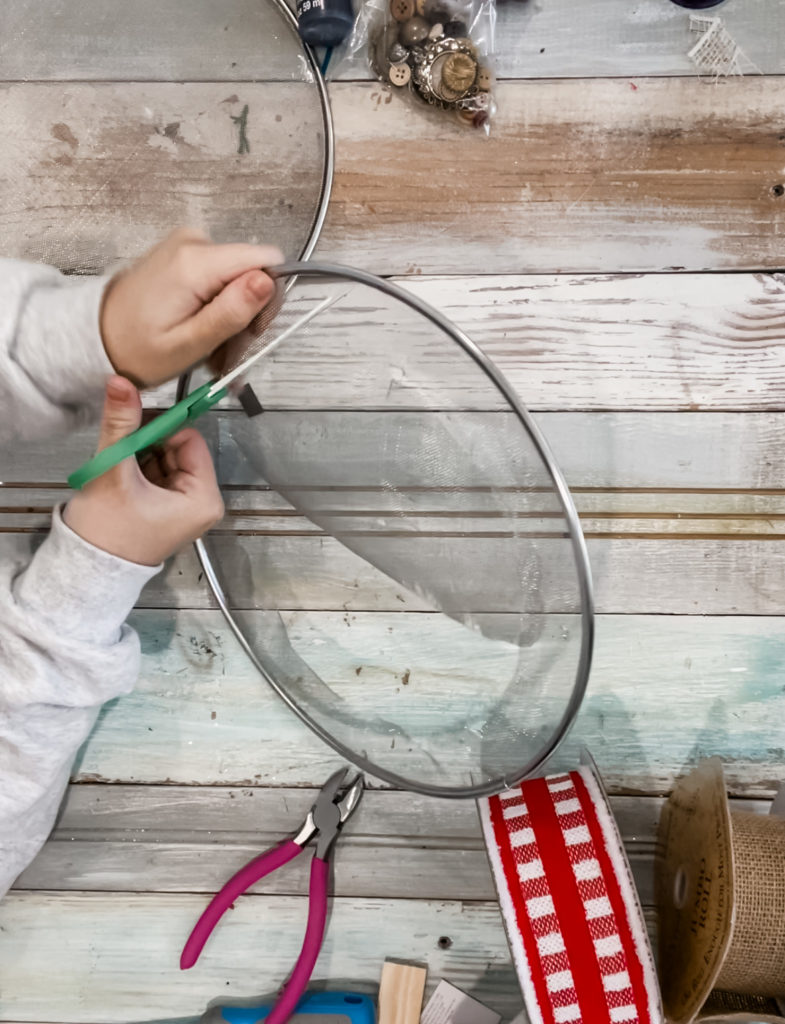
Next, we need to make the head of the snowman. Cut one of your screens into a smaller circle shape.
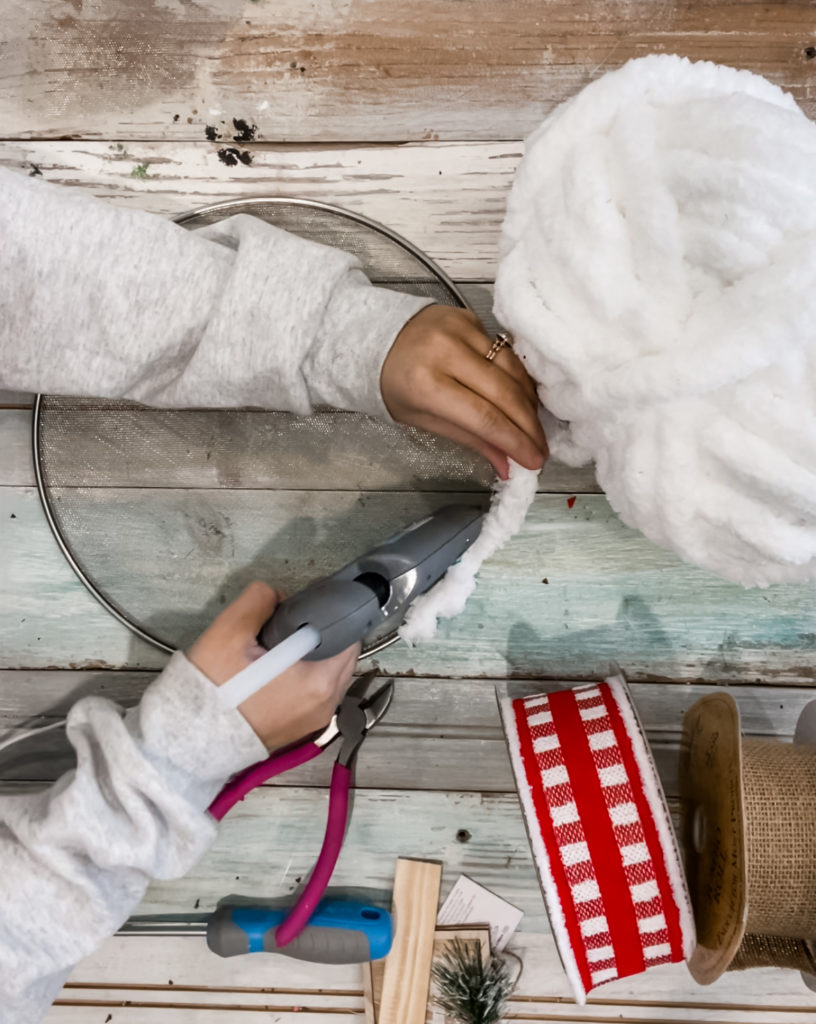
Now, take the first screen, and begin hot gluing the yarn onto it. We started by gluing onto the metal, then just wrapping the yarn around while occasionally hot gluing it down…

…like this! Keep doing this until you cover the whole screen.
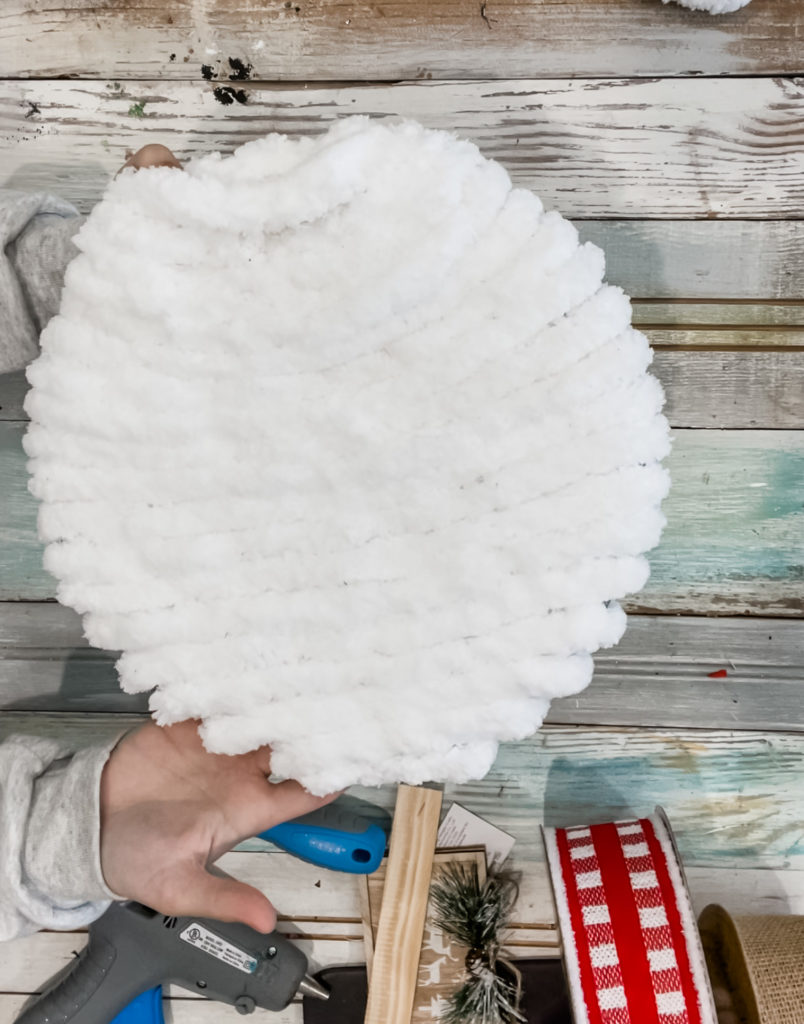
Ta-da! Now, set this one aside, and do the exact same thing to the smaller screen.
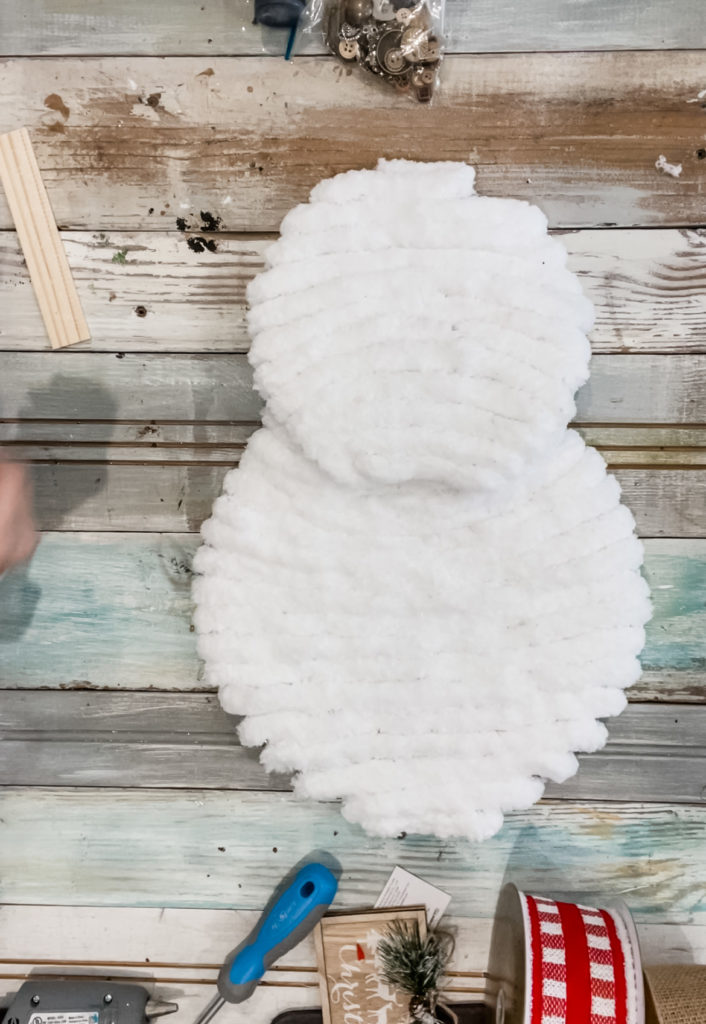
Now that we have both screens completely covered, hot glue the head onto the body.
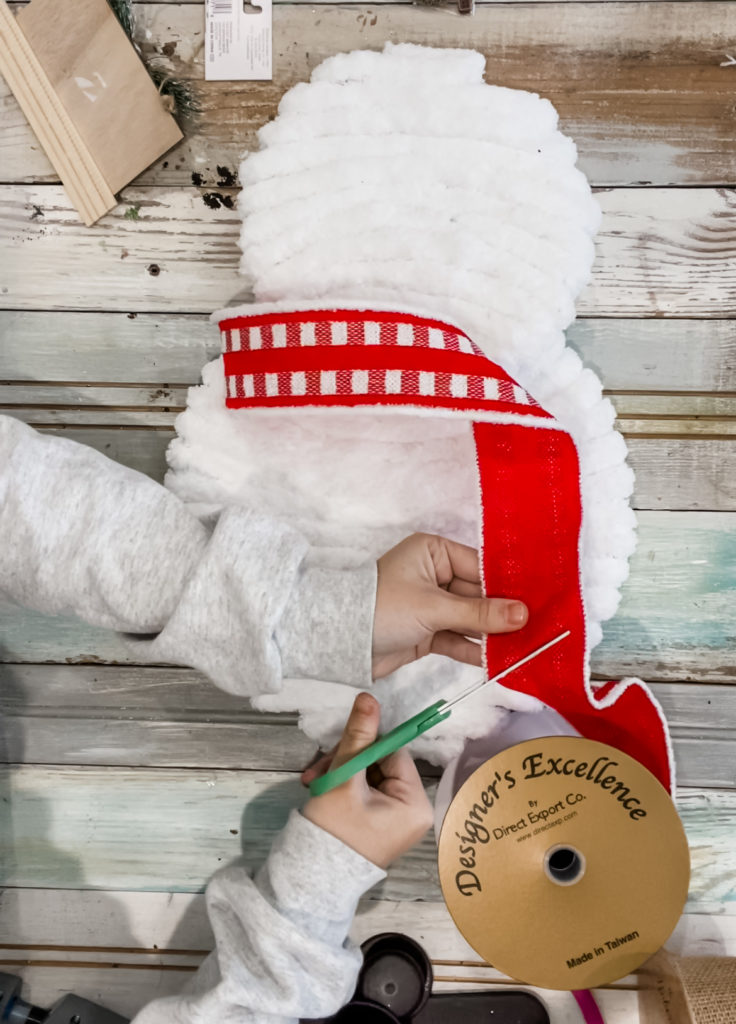
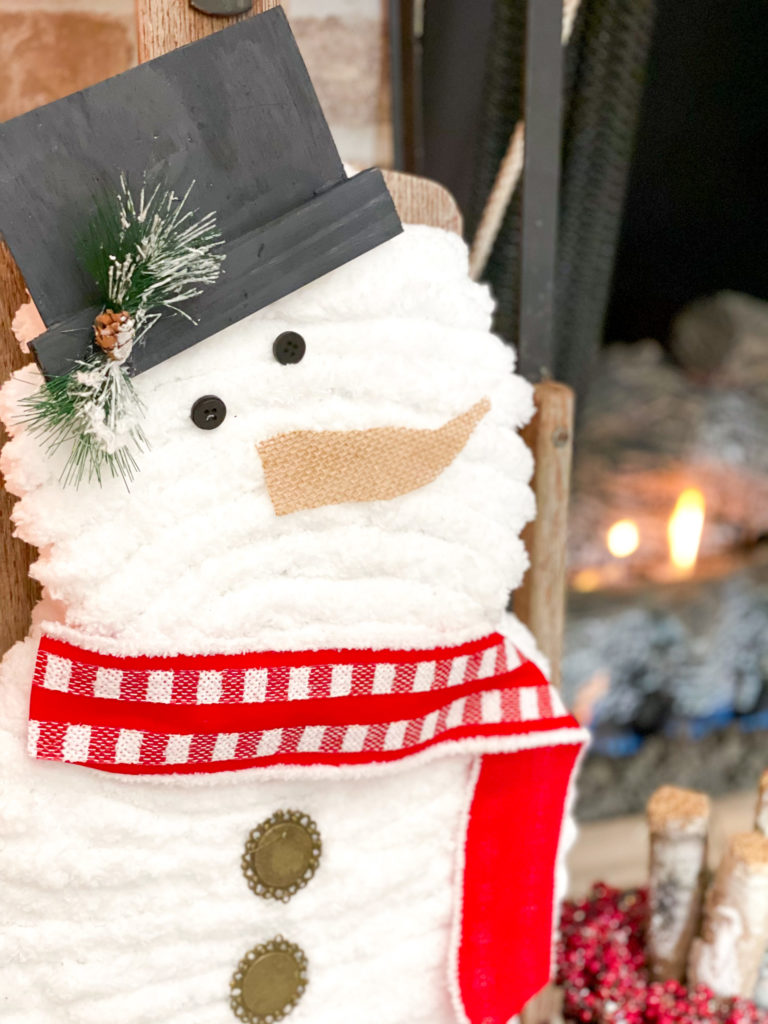
Now comes the fun part… embellishing!!! I took some thick ribbon, folded it over, and hot glued it on for the scarf! You can make the scarf look however you want… you could even wrap it around his neck and tie it if you wanted!
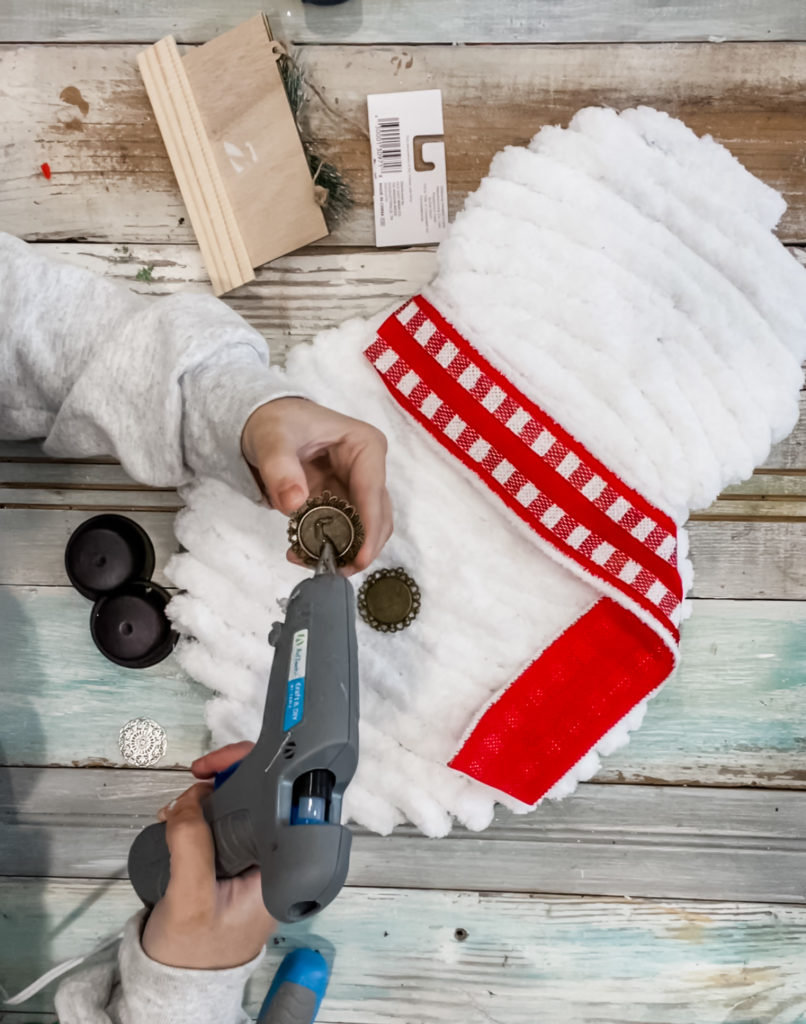
You can’t have a snowman without BUTTONS! We decided to use only two big buttons for the body, and two small black buttons for the eyes.
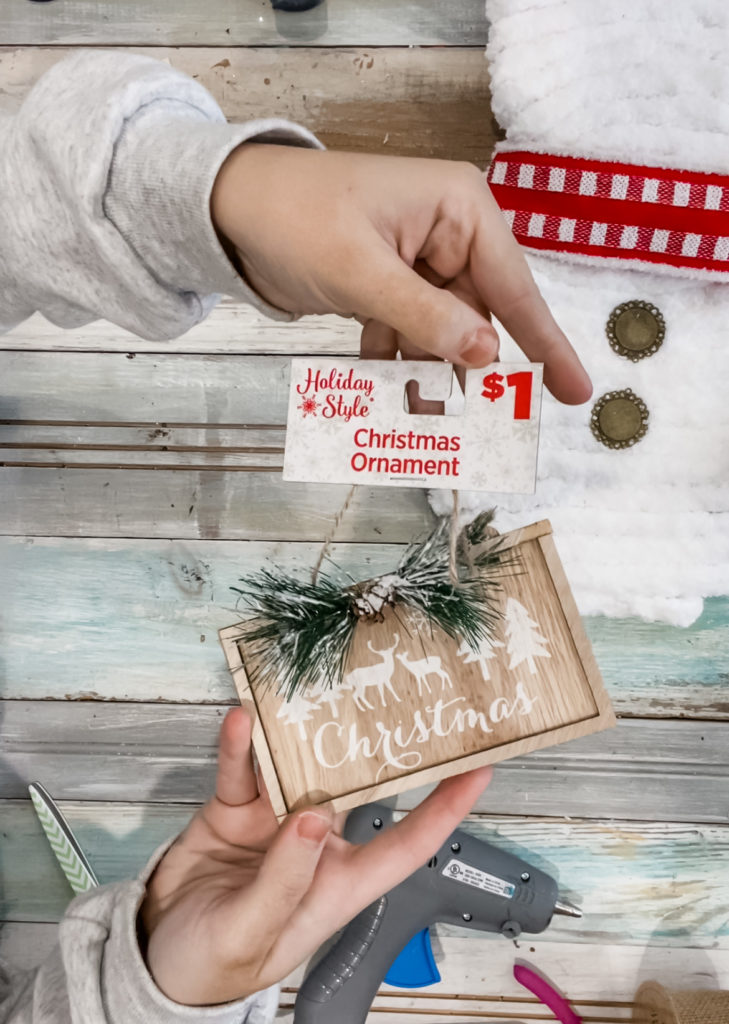
Moving on to the hat, we took this $1 Dollar General ornament and transformed it! First, take off the little greenery stem and set aside… we’ll be using this later!

For the brim of the hat, we used half of a wooden ruler (which you can get from Dollar Tree), and hot glued it to the back of the ornament. You could also use a paint stick!
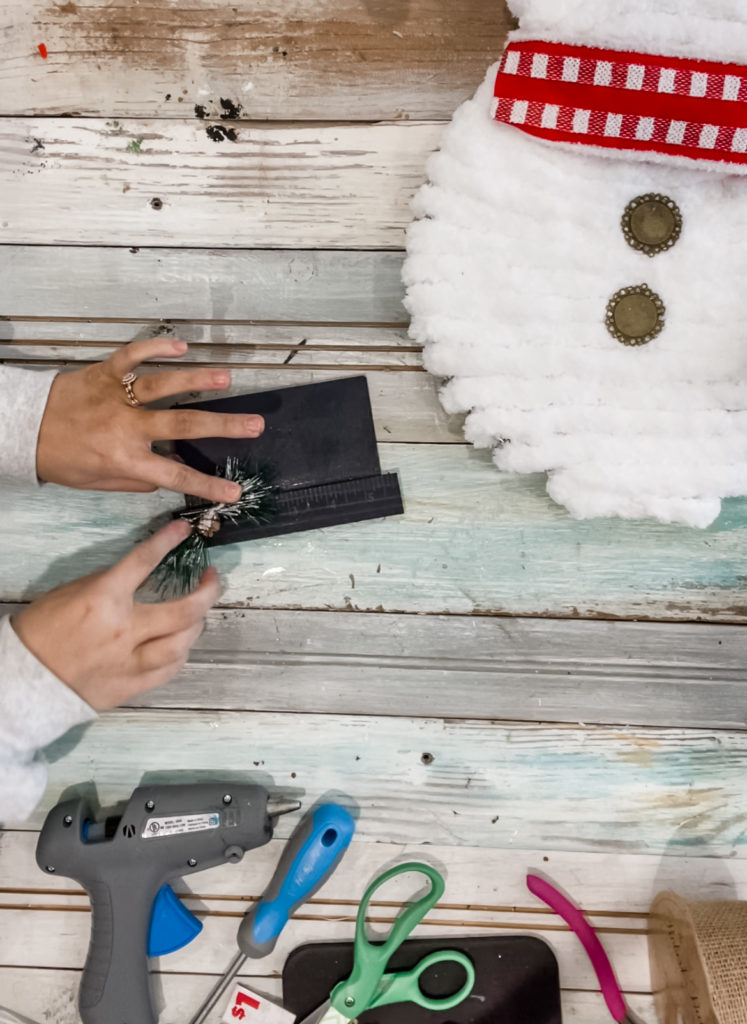
Paint that bad boy black (or whatever color you want the hat to be) and glue on the embellishment from the ornament!
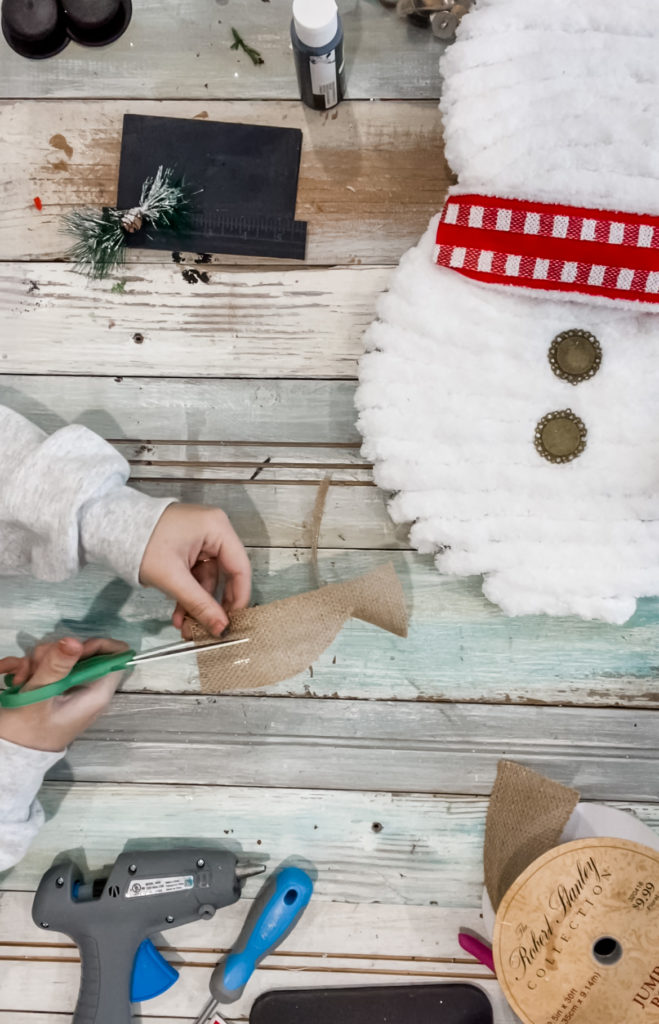
The final step was to make his nose… we just took some regular burlap, and cut it into the shape of a carrot! Now you’re DONE!!!
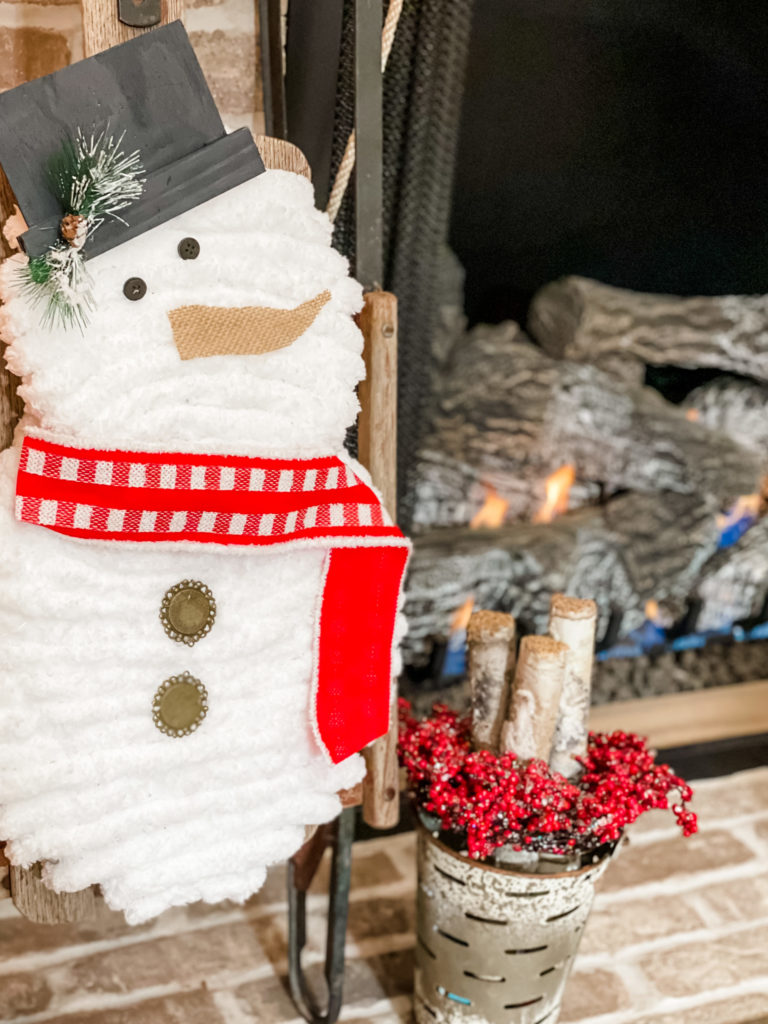
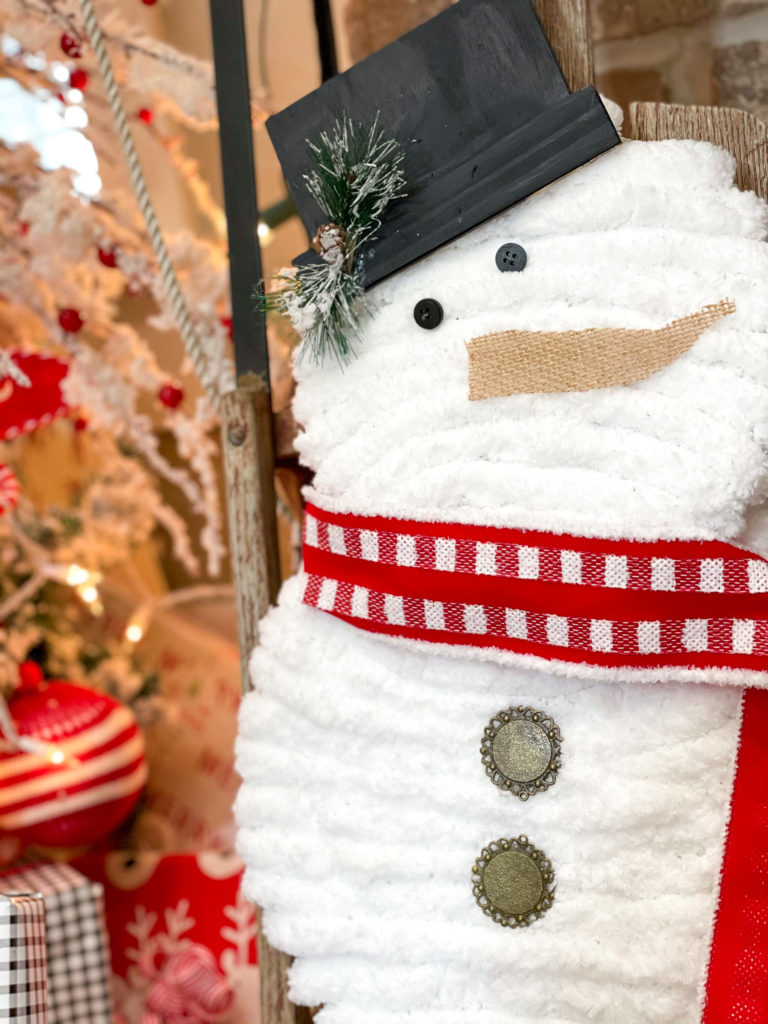
Here he is!!!! You can use him as a wreath attachment, or to layer within your decor like I did here!
There are so many ways you could make this your own… pick out whatever ribbon, buttons, and hat you want!!! This is just the items I already had on hand, which made this project a whopping $2 for me for the splatter screens! WIN WIN!
No matter how you decorate your snowman, be sure to not overthink it… crafting isn’t about perfection, it’s about HAVING FUN!
BE SURE TO PIN FOR LATER!

Last Updated on December 15, 2020

He’s adorable
Omgoodness this is too adorable ☃️❤☃️❤☃️ I love it ❤❤❤ thank you so much ☃️
How Cute!!!!!!!!
This is so adorable
The splatter screen snowman and the galvanized trees are 2 of my favorite projects you’ve done since I started following you recently! You make them look so easy and they are so inexpensive yet really look great. I can’t wait to try making them. Thanks for your great ideas! I am thoroughly enjoying all of your blogs and videos. Donna, from Illinois.
Curious why you removed the screening, only to cover it with the yarn?
Love watching and getting your great ideas. Thanks for what you do.
I’m in love ❤️ SNOWMAN ARE MY FAVORITE ⛄️
Thank you ~ thank you ❣️ I’m going to make this I’m so so so very excited ????????⛄️
I love the snowman. I will definitely be on the hunt for splatter screens. I want to me a snowman. Thanks for sharing.
So cute!
Thank you! ❤️
This is really really cute.
Thank you!