You know it’s a good day when you pick up new crafting supplies from the DOLLAR TREE! I found this Santa sign and immediately knew I wanted to give it a makeover… it is honestly pretty cute in it’s original state, but I wanted to make it look a little more like my style!
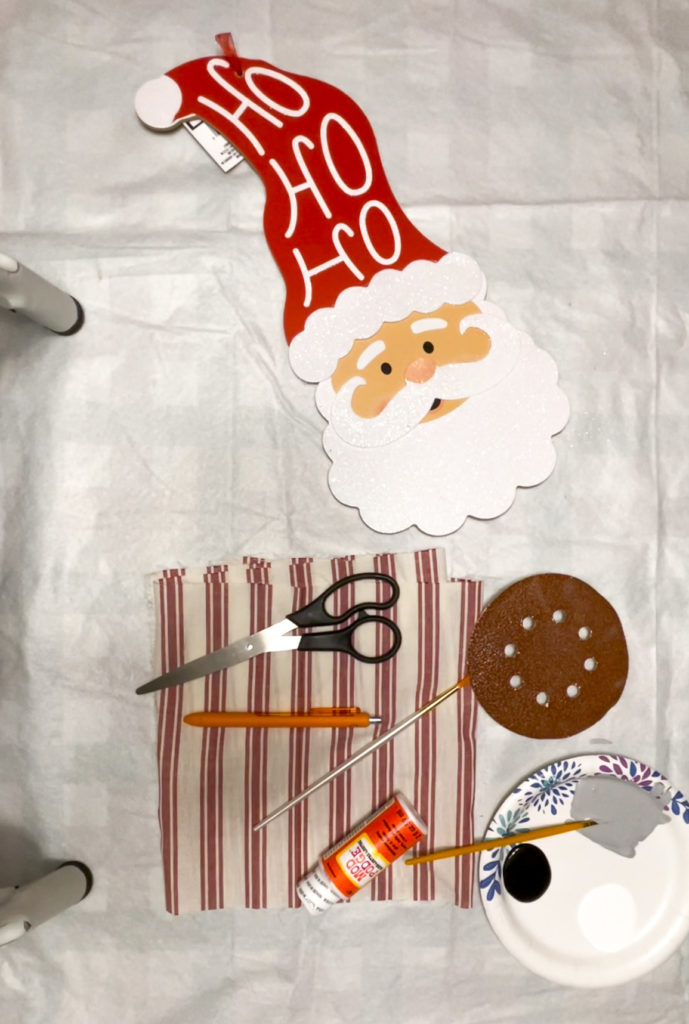
What you’ll need:
- Santa sign from Dollar Tree
- mod podge
- grey and white paint
- paint brush
- fabric (or scrapbook paper)
- scissors
- pen
- sandpaper
- cotton ball
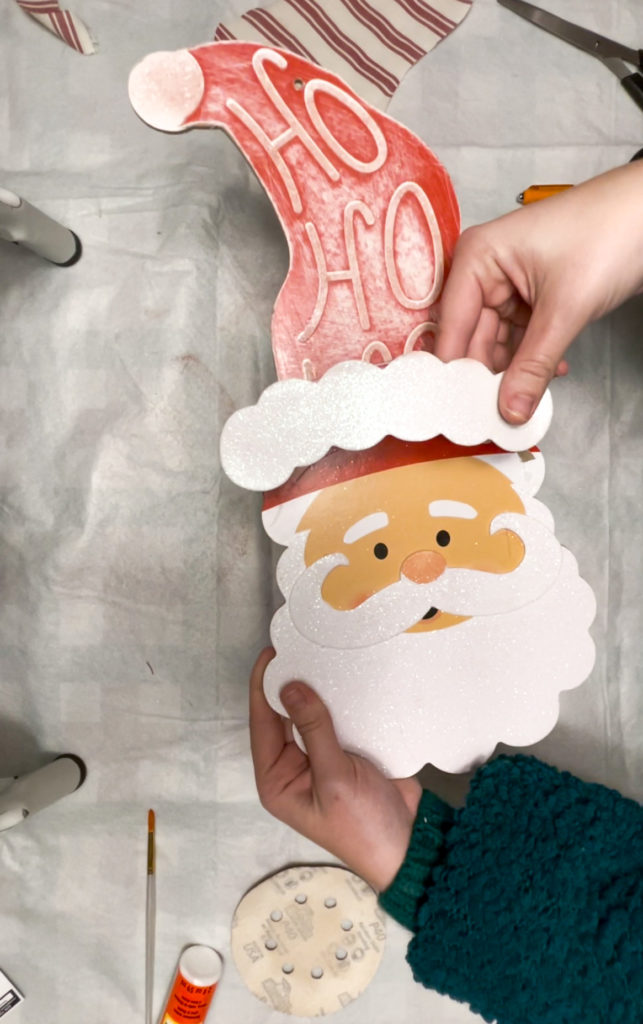
First, pop off the foam trim of his hat. We wont be using this!
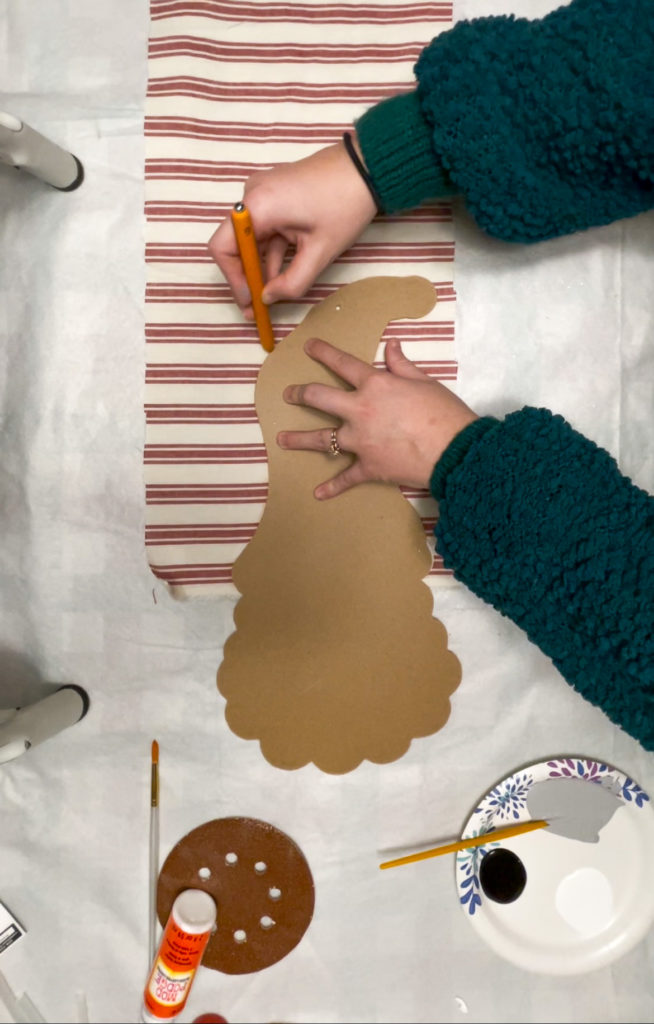
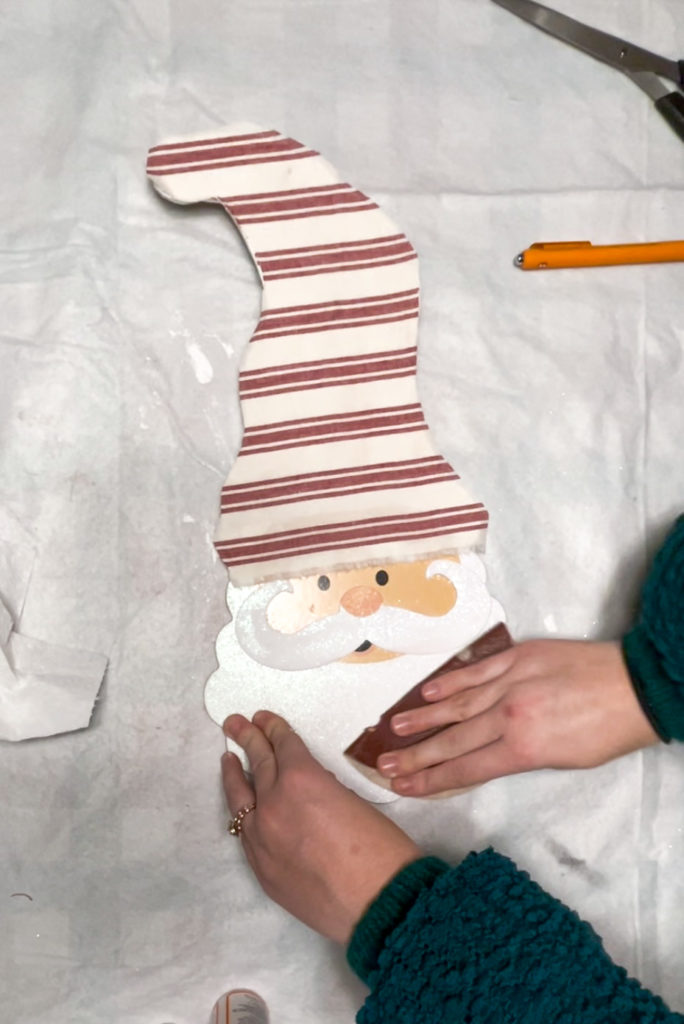
Next, you’ll want to trace the outline of Santa’s hat onto your scrapbook paper or fabric. I used fabric because I loved this print, and I already had it on hand! But scrapbook paper will work just as good.
After you trace, go ahead and cut it out and set aside.
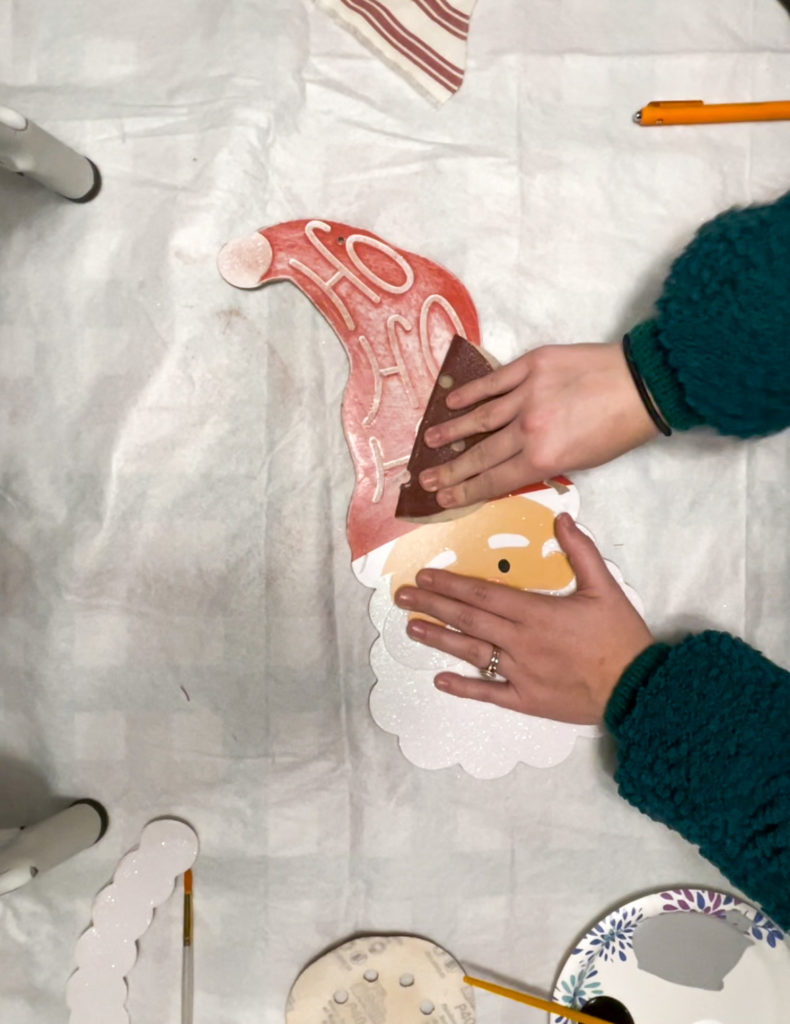
Now it’s time to sand! This part of the hat has glitter on it, so you’ll need to sand that off so we can paint over it. Even though we will be covering this with the fabric, you could still see the “ho ho ho” through the fabric, so I needed to paint over it!
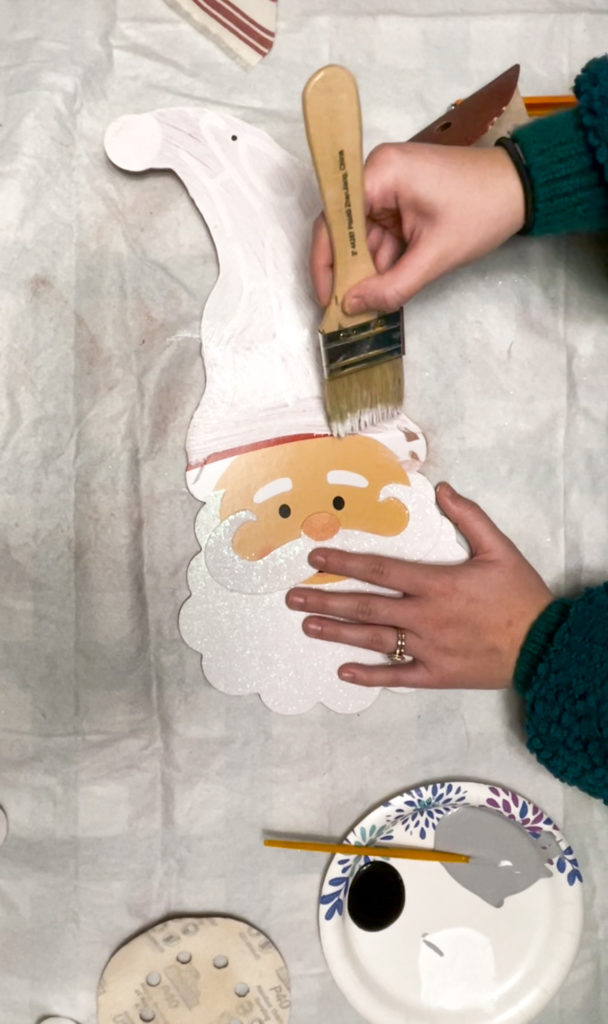
Go ahead and paint your hat! Like I said above, if we didn’t paint it- then you would be able to see the ho ho ho through the fabric… but if you were using scrapbook paper, this step probably wouldn’t be necessary!
After your paint is dry, simply mod podge your fabric right on top!
Let’s move on to the beard. Again, there was glitter all over it- so we needed to sand this down so we can paint!
Now this is the fun part! I painted the whole beard and mustache solid white, but while it was still wet- I added in gray swirls onto it. Y’all know I love the whimsy style… so the swirls was a must!
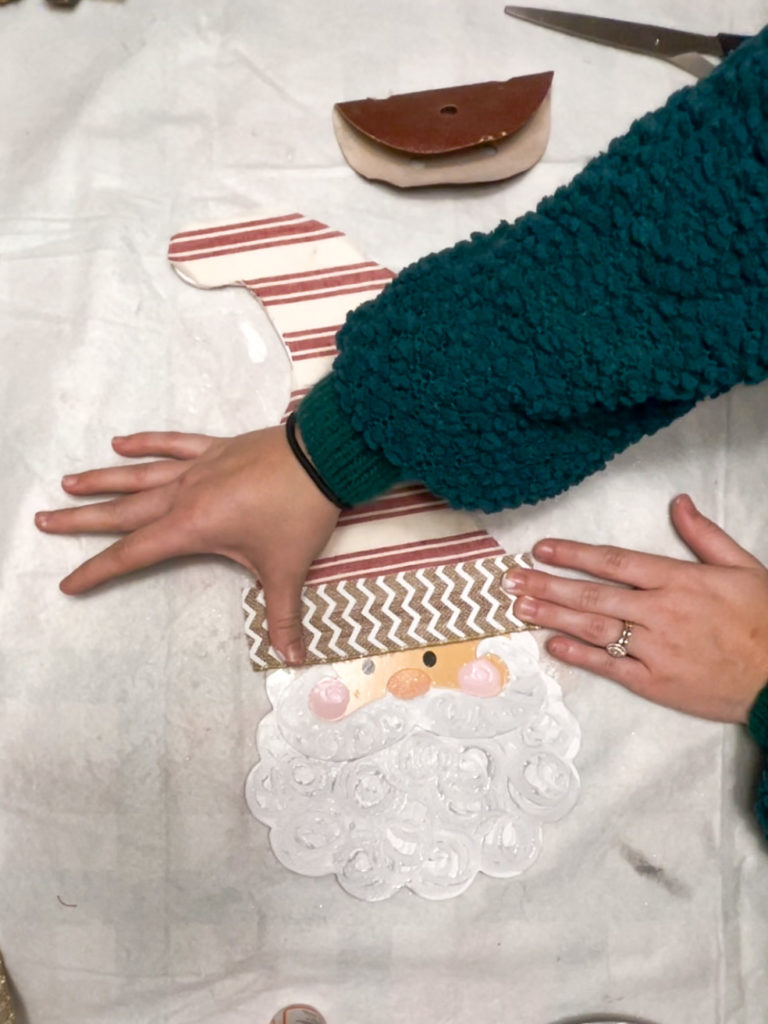
I also painted on some little rosy cheeks!
I thought the hat needed a little extra somthin’ somthin’… so I added this chevron burlap from Dollar General!

Now add a little cotton ball to the top of the hat… and we’re done!

How CUTE does it look stuck in a tree?!?!?! I just LOVE it!
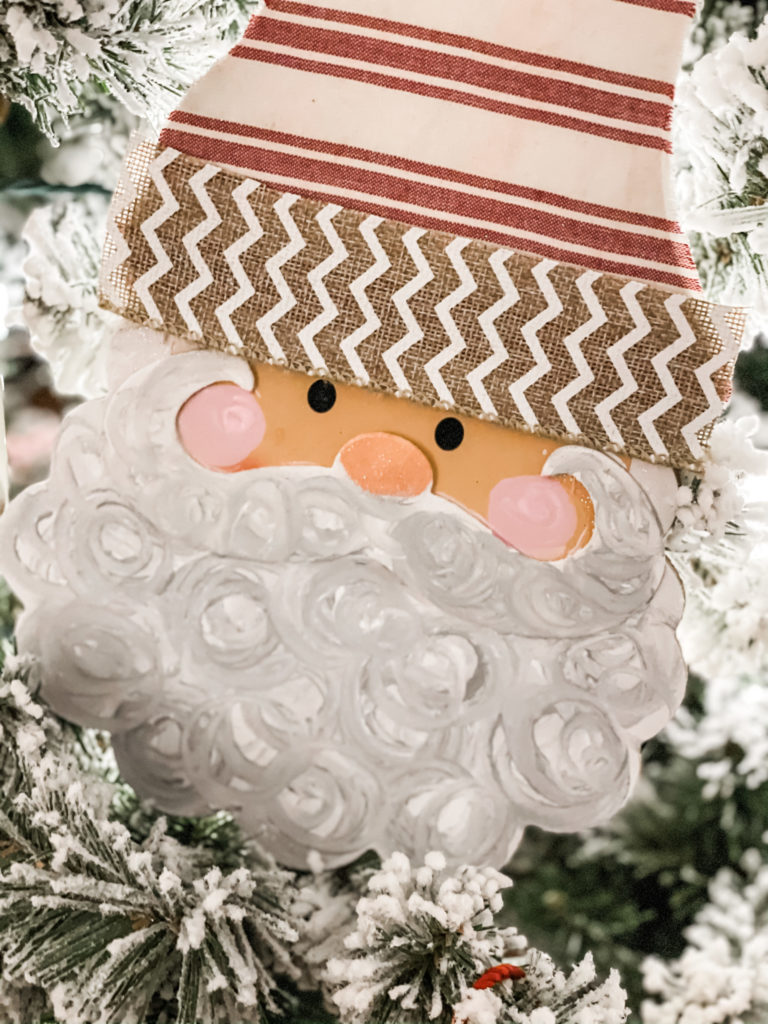
You could also add it into a wreath, set it on a shelf, hang it on a door… anything!!! So may possibilities!
PIN FOR LATER!!!!


Last Updated on December 3, 2020

A little makes a big difference!!! Love ut!
This Santa is so so adorable, really cute!! Amazing how a few simple changes to a traditional look brings it forward to almost old world decor. Great job!!
Adorable ‼️????????
I absolutely love the santa. The swirl panit on beard is aweaome.
So cure!!!!
Love it! I would have never thought to jazz it up like that.
So cute!!
This is too cute! I have that Santa, I may have to give him a make over. So fun. Thank you for all you do.❤????
So Cute! Love idea of adding him to a wreath! Thanjs for sharing!
Really cute! I enjoy creating your great ideas.
This is just too cute. Love it!!
Such a cute Santa. I truly like the fabric you used for his new hat. He looks a lot happier with the changes you gave him. Merry Christmas!
Such a cute idea! I love the finished one!
Too cute, I love it! Your so creative Brooke
He is Soooo CUTE!!
Look so cute
Adorable!
You brought him to life!!! He looks Fabulous, I Love Him! ❤ ????????
I think what you did looks awesome. Keep inspiring us to create.
Love him. It does look so much better.
I love this, Brooke! It looks pretty easy, yet made it so much better!! I’m going to look for a Santa. Thanks!
So beautiful Brooke just like you beautiful lady all your crafts are so beautiful sweetheart love ❤️ them all so much I wish I had money to mathematician with you sweetheart and i hope I can next year sweetheart love ❤️ you so so much sweetheart
Beautiful
I absolutely love what you did, it’s adorable.
Thank you so much! ????
Love it!
Love yours so much more. I really need to get out of the house more and find some projects to do.
Thank you!