If you’re anything like me, you have a lot of earrings, with no where to store them. I really needed somewhere I could hang them, so that way I could easily see what all I have, instead of having to dig through a basket full of earrings… so I went to my local Dollar Tree and tried to see what I could come up with!
Here’s what you’ll need:
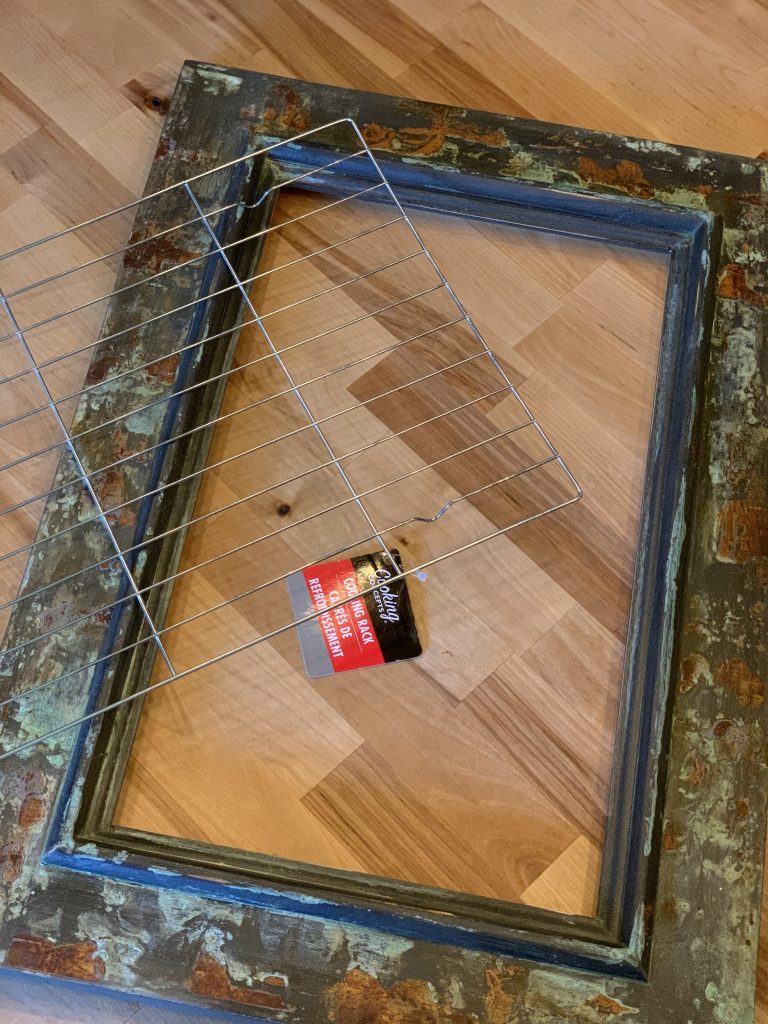
- Cooling rack from the Dollar Tree
- A picture frame without glass (I bought this one from a friend on Facebook for $5!) Mine is 14″ x 8.5″
- Hot glue gun
- Spray paint of your choice
The best part about this project is that it’s super quick to make, AND it was cheap, too! Like I mentioned above, I bought this frame exactly like this from a friend on Facebook for only $5… which means this project only put me out $6. Can’t beat it!!
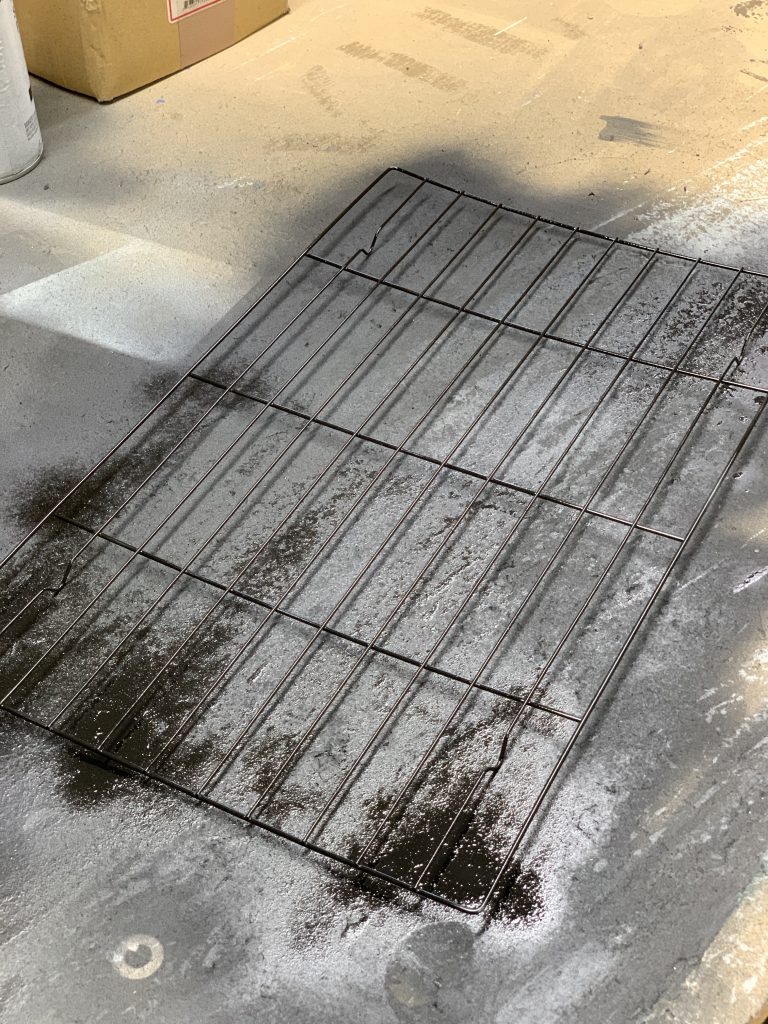
The very first thing I did was spray painted my cooling rack black… you can use any color, but this is what I thought would match the best!
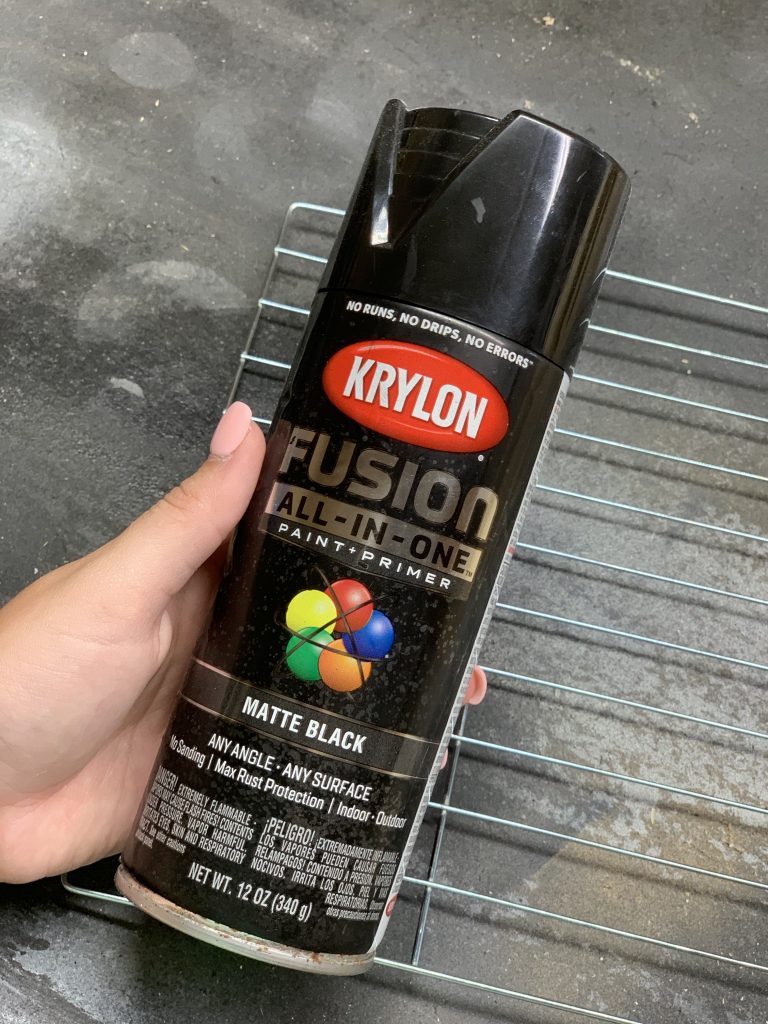
This was the spray paint I used- but like I said, it truly doesn’t matter what brand/color you use!
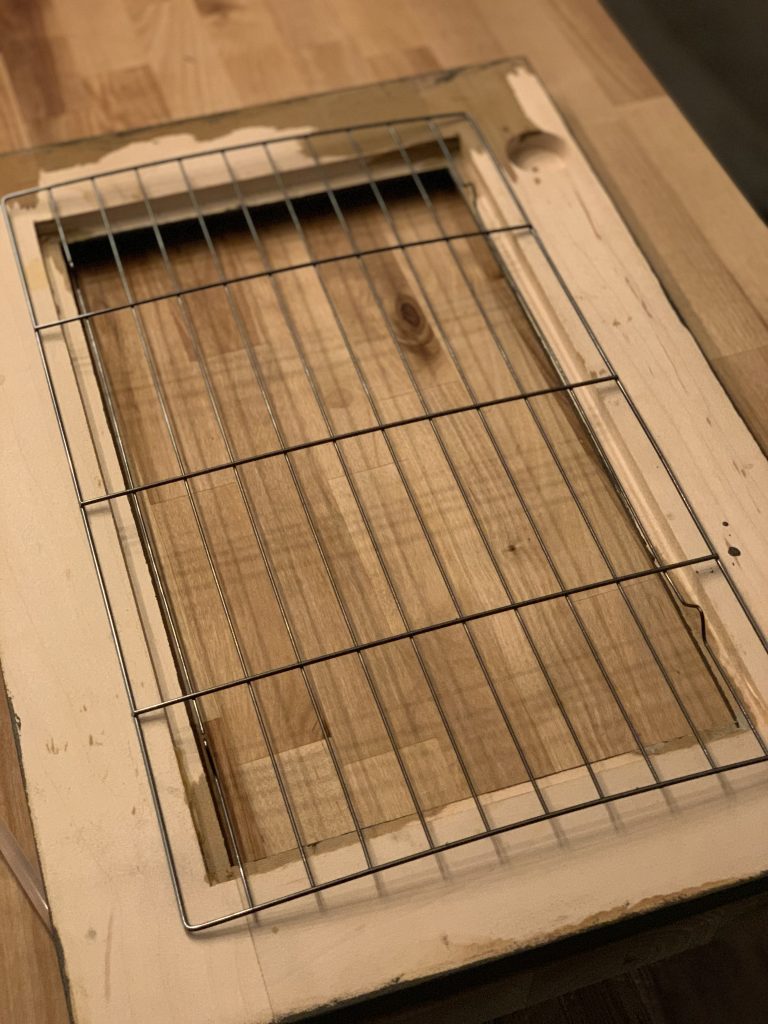
After the rack had enough time to dry, I went ahead and placed it on the back of the frame. The rack ended up fitting perfectly where I didn’t have to trim it- but it could easily be cut to fit your frame!
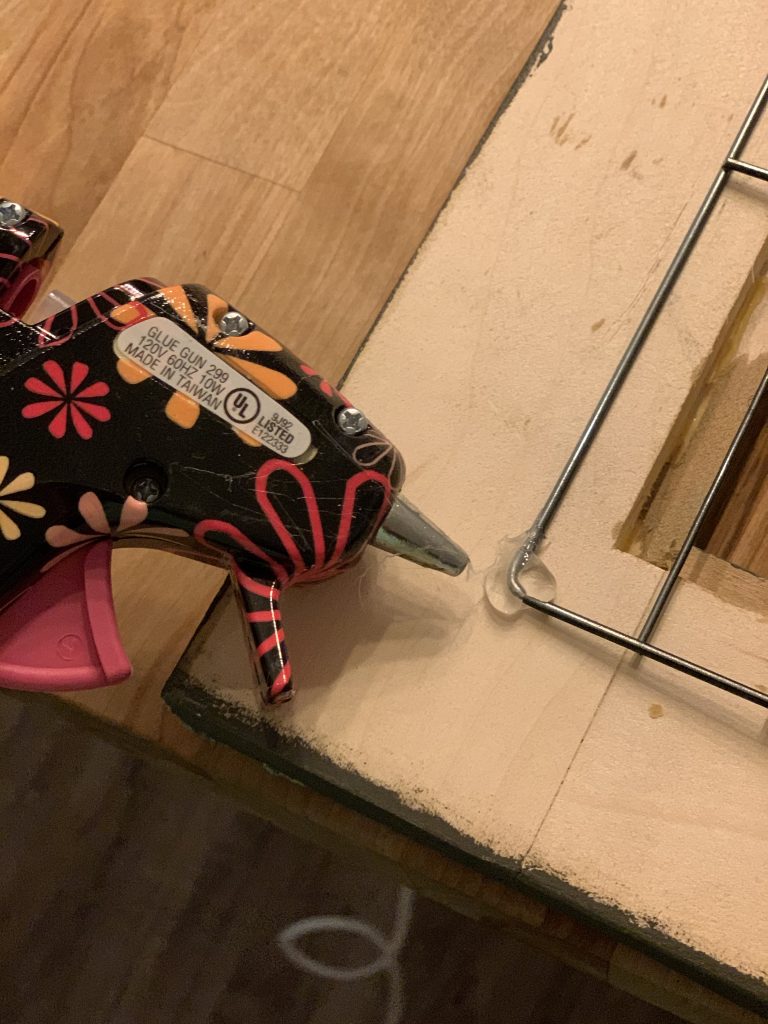
All I did from here was hot glue all the corners down, and made sure it was on there securely!
…and THAT’S IT!!!
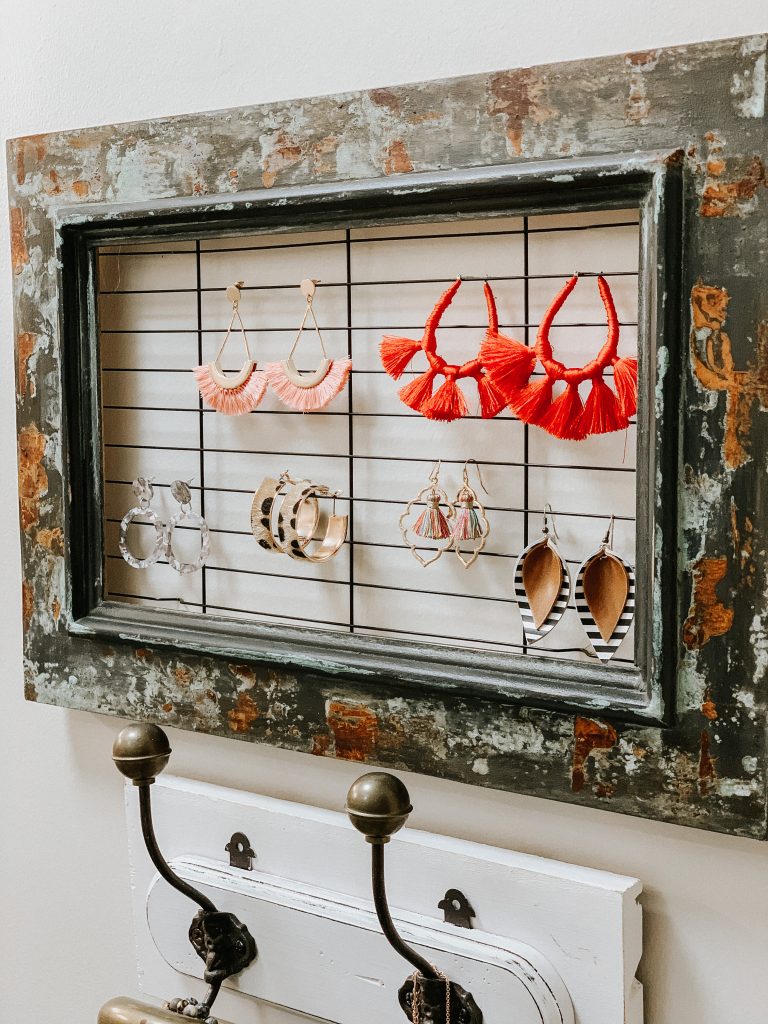
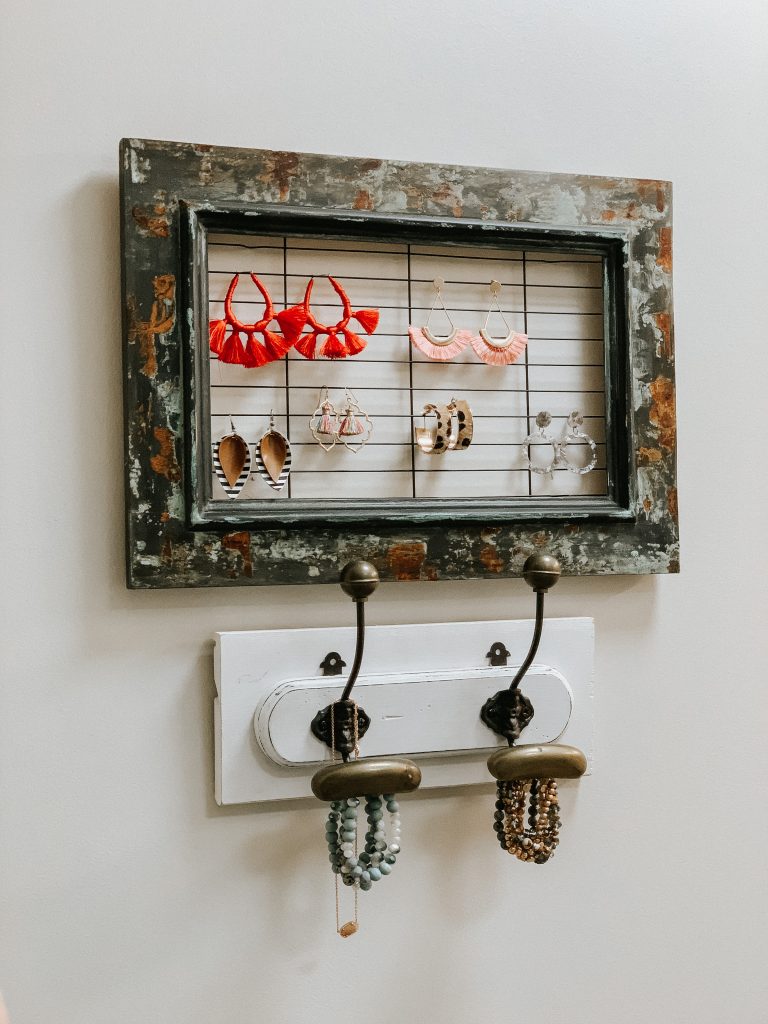
So, what do you think if my $6 earring holder?!?! I think it was the perfect fix!!!
Now… do you need somewhere to store your necklaces? I have you covered! Just click HERE to see my diy project for necklaces!
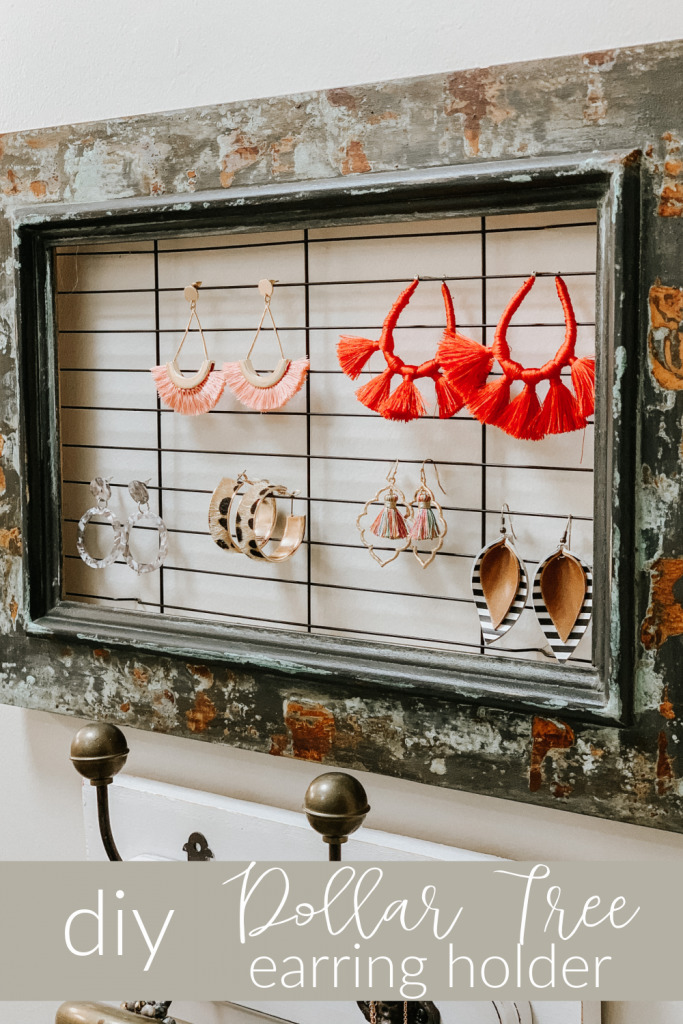
DON’T FORGET TO PIN FOR LATER!! ?
Last Updated on November 4, 2020

Very clever idea! A great craft with a great purpose!!
LUV LUV LUV
Super cute idea!!