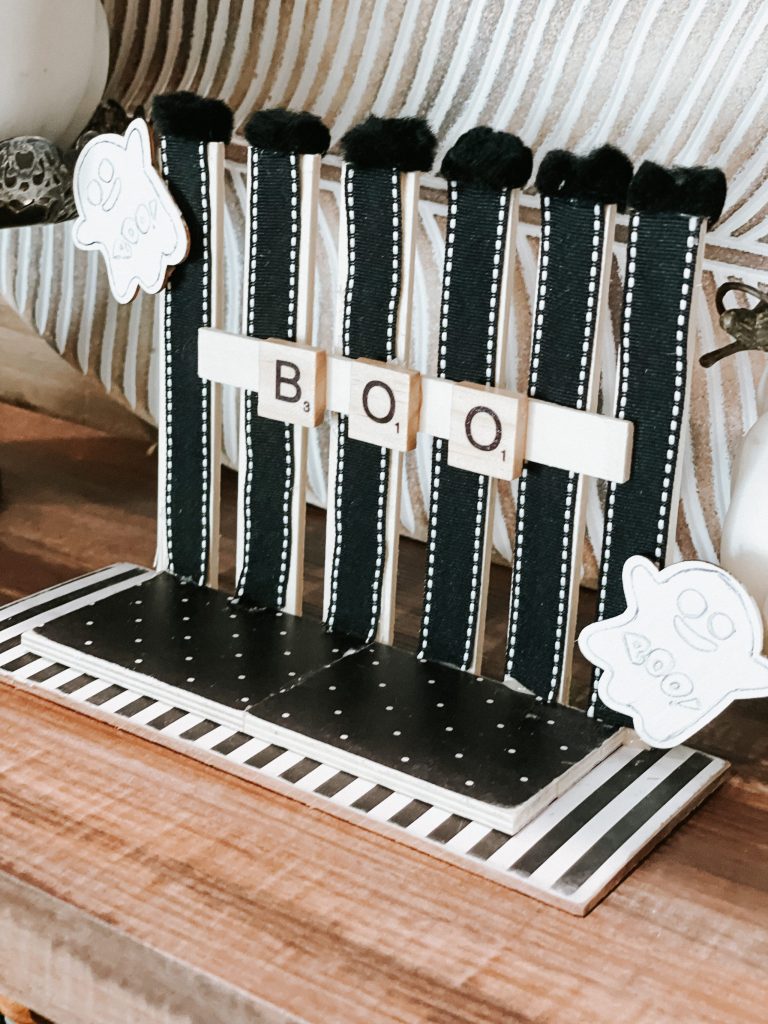
This DIY Dollar Tree BOO decor turned out WAYYYY cuter than I thought it would! It was one of those projects that I had in my head, and was just hoping it would turn out… and it DID!
Supplies you’ll need
*tap on the item to shop my affiliate link! If you shop through my link, I may receive a small commission.*
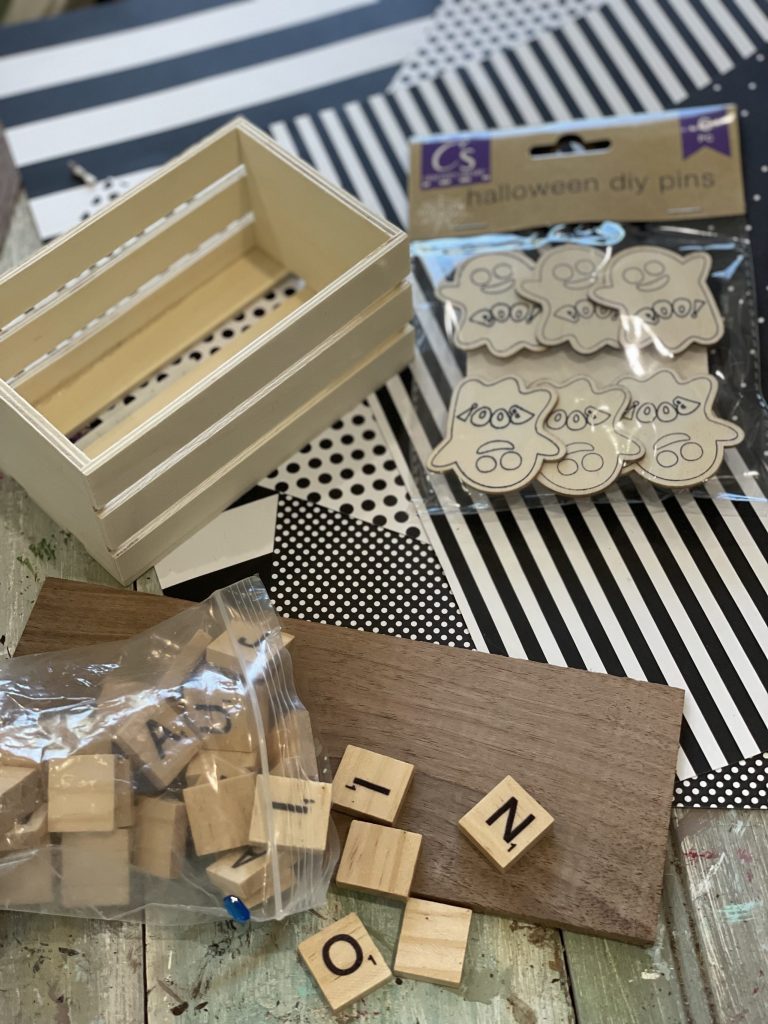
- Wooden shim/cardboard
- Scrapbook Paper
- Dollar Tree crate
- Dollar Tree “boo” ghost pins
- Scrabble letters
- Hot Glue Gun
- Sanding block
- Mod Podge
- Embellishments of your choice
Instructions
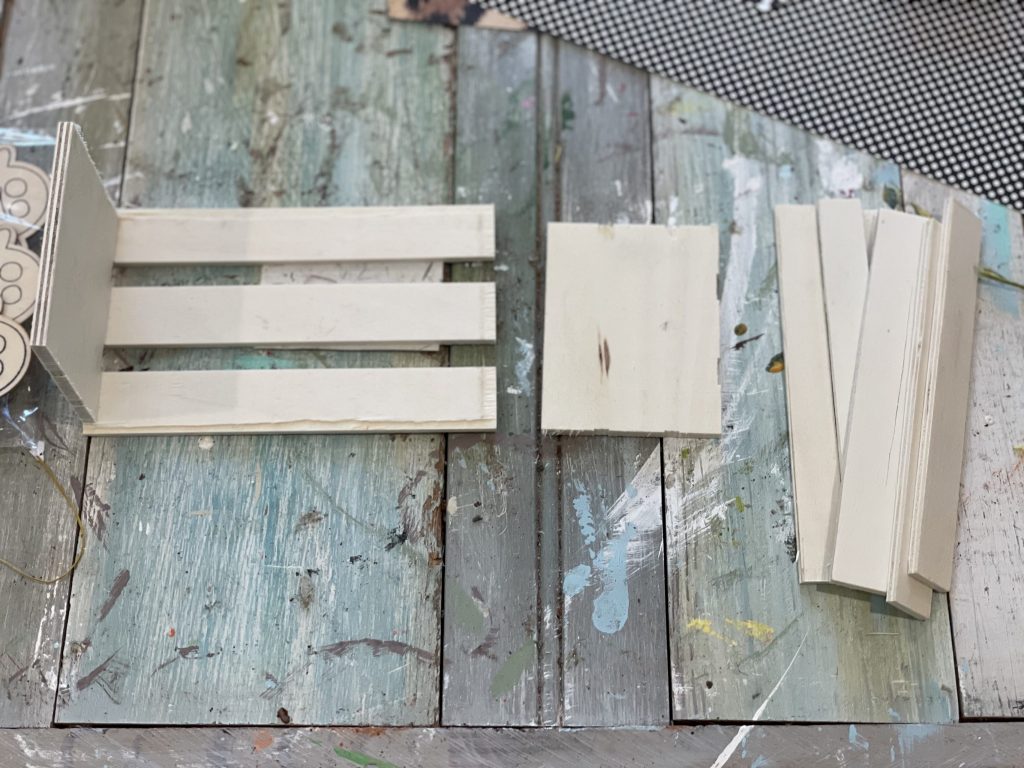
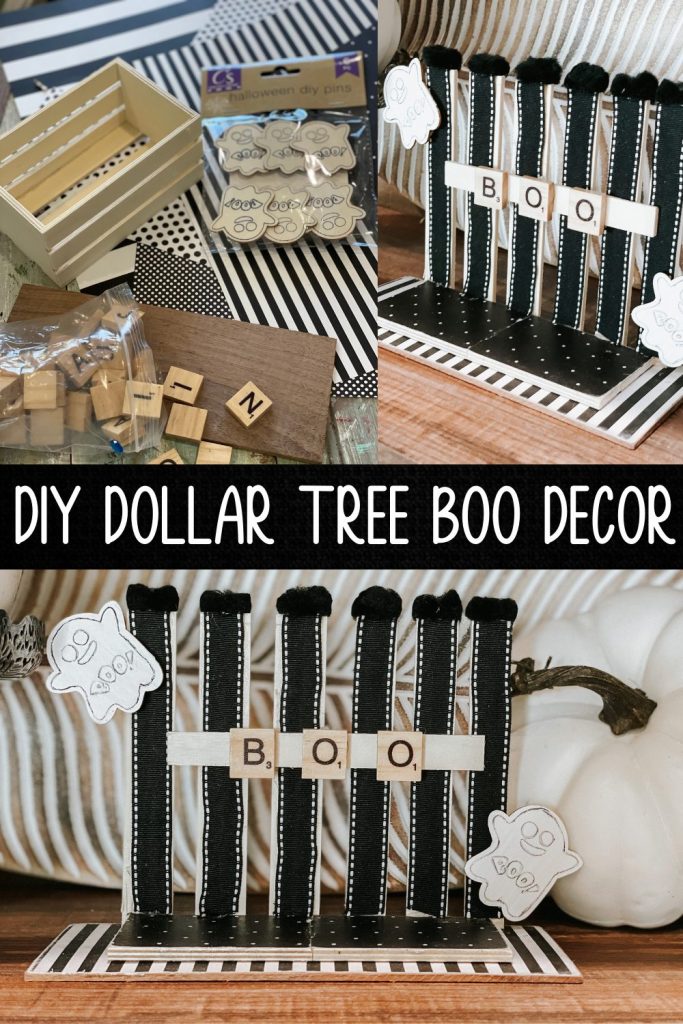
First step, deconstruct our wooden crate! You will need to remove one of the end pieces, and 6 of the slats- like pictured above!
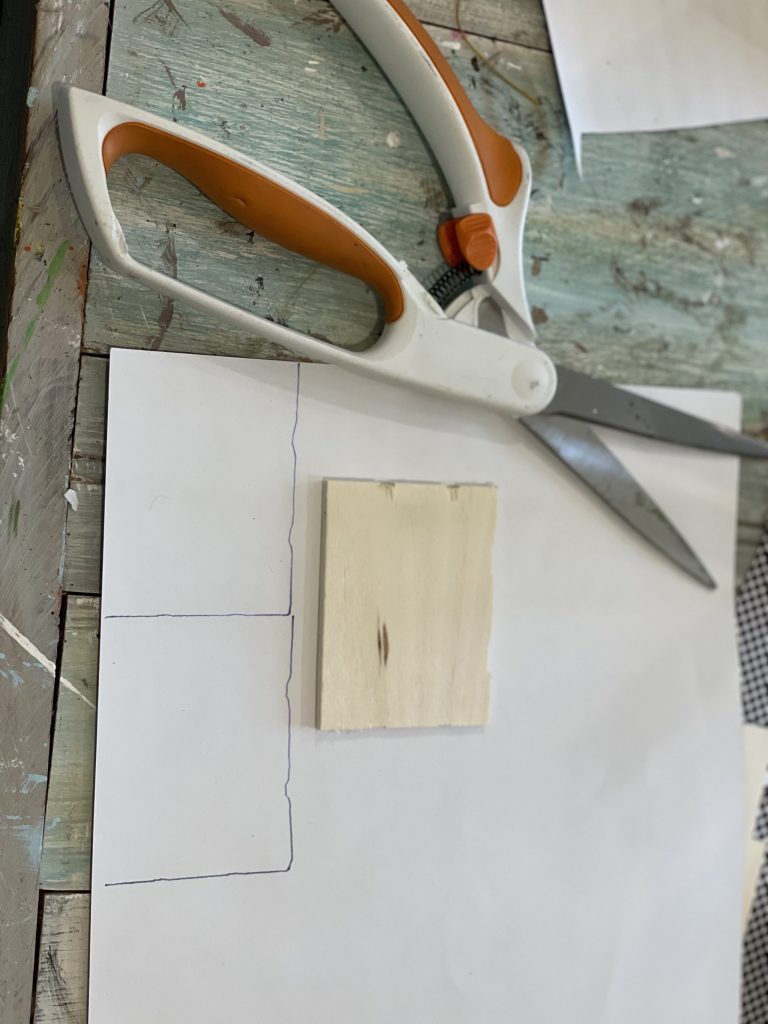
Step two- take the end piece, and trace it out on your scrapbook paper. Make sure you trace it twice so you can have enough to cover both end pieces.
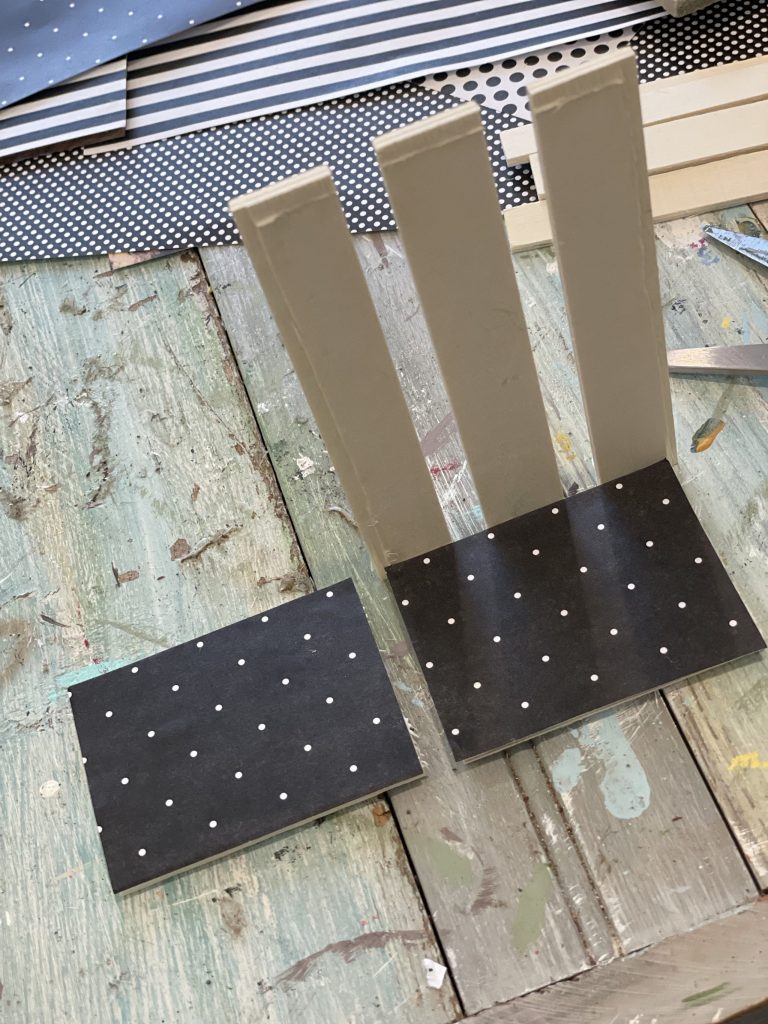
Now, mod podge your cut out scrapbook paper onto the end pieces!
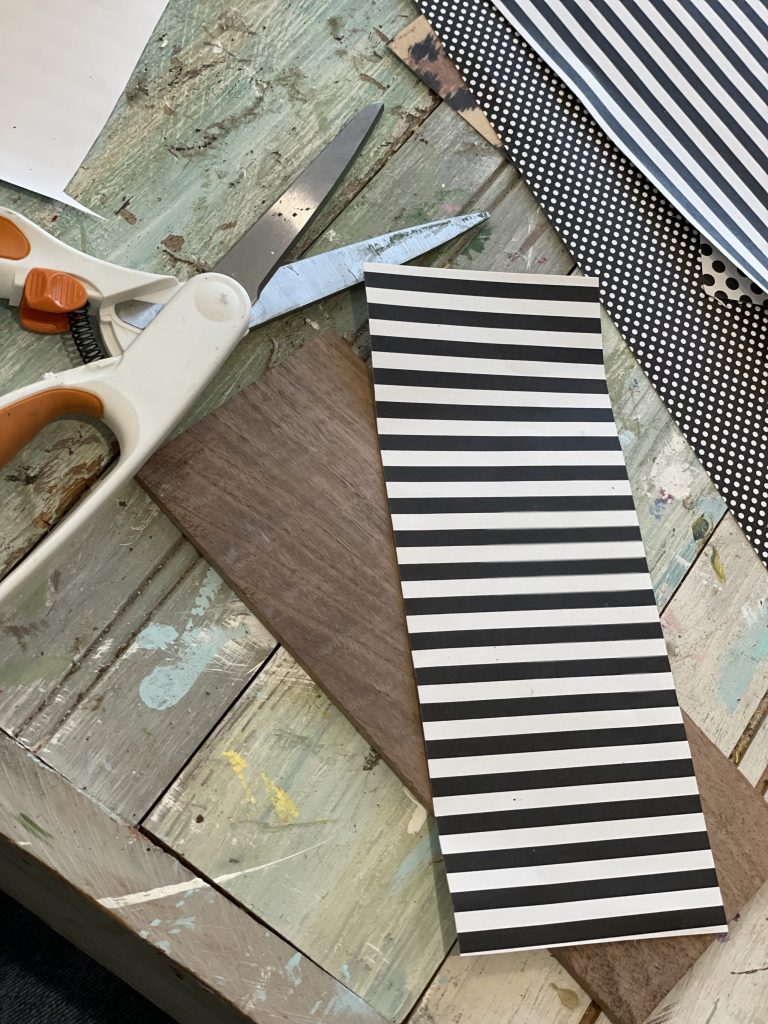
For this step, you will basically do the same thing- take your wooden shim/flat piece of wood/cardboard and trace it onto scrapbook paper, and cut!
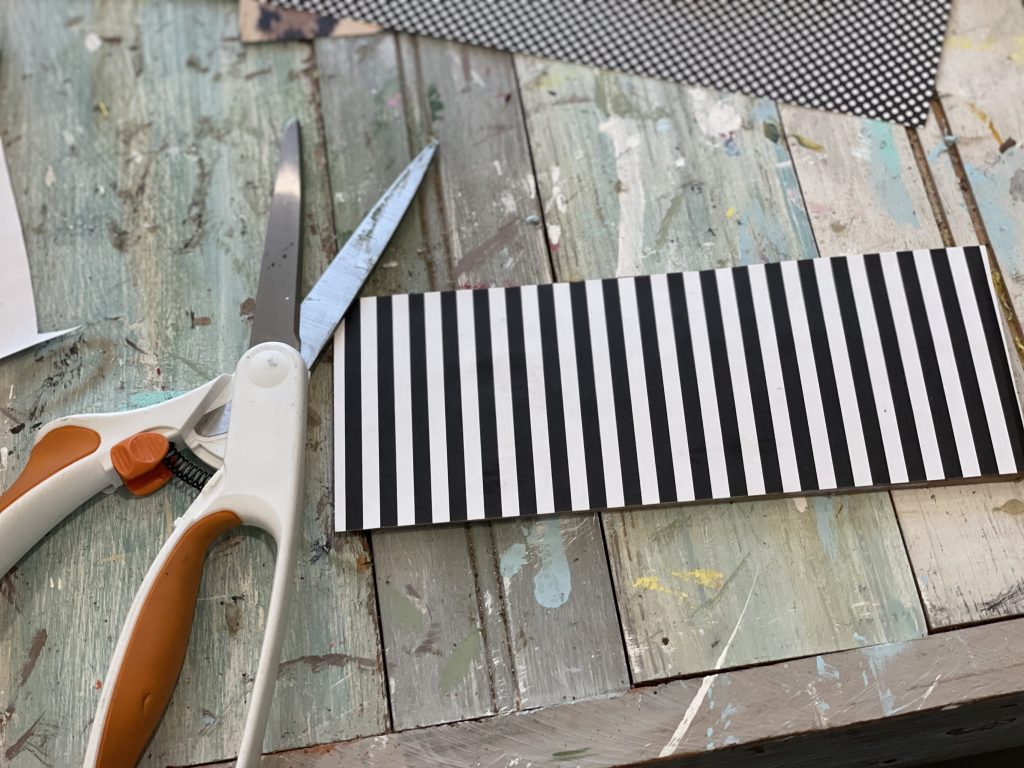
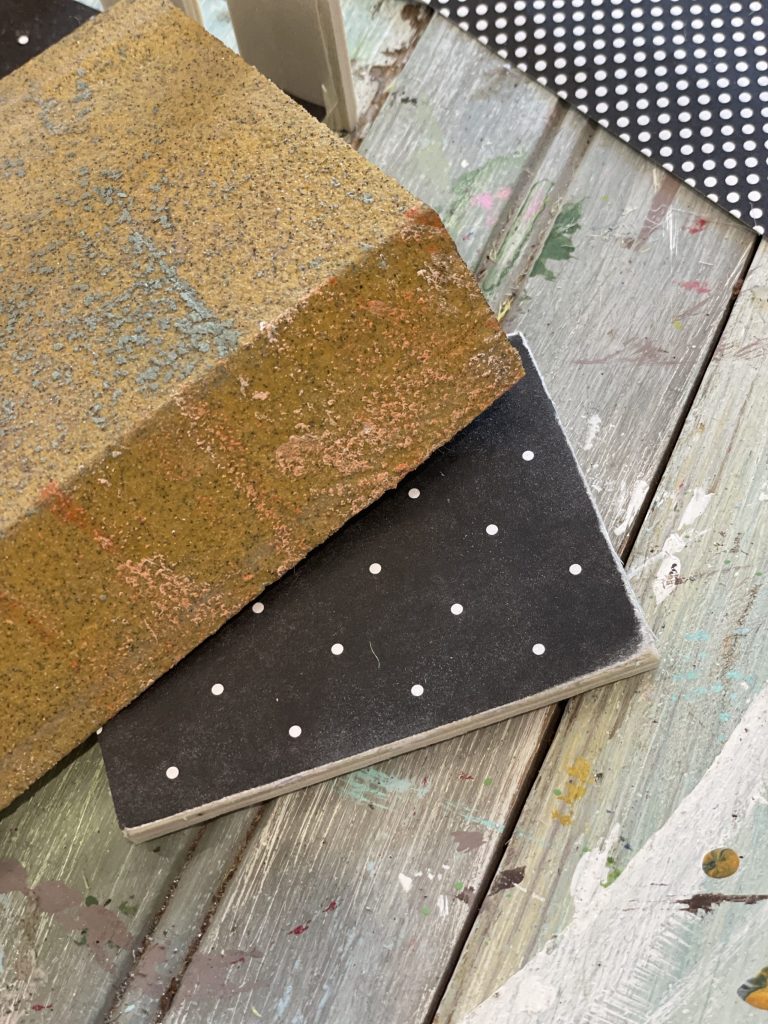
Mod podge your paper on, then take a sanding block and sand the edges down.
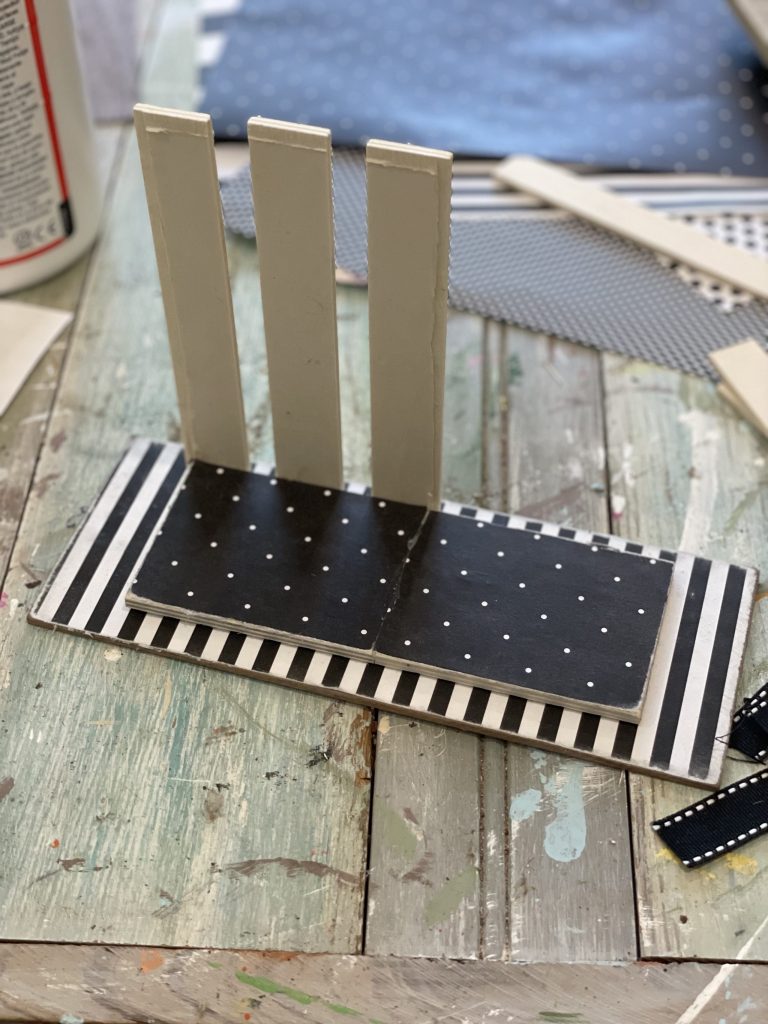
Now, hot glue your end pieces onto the top of your wooden shim/cardboard/whatever you decide to use!
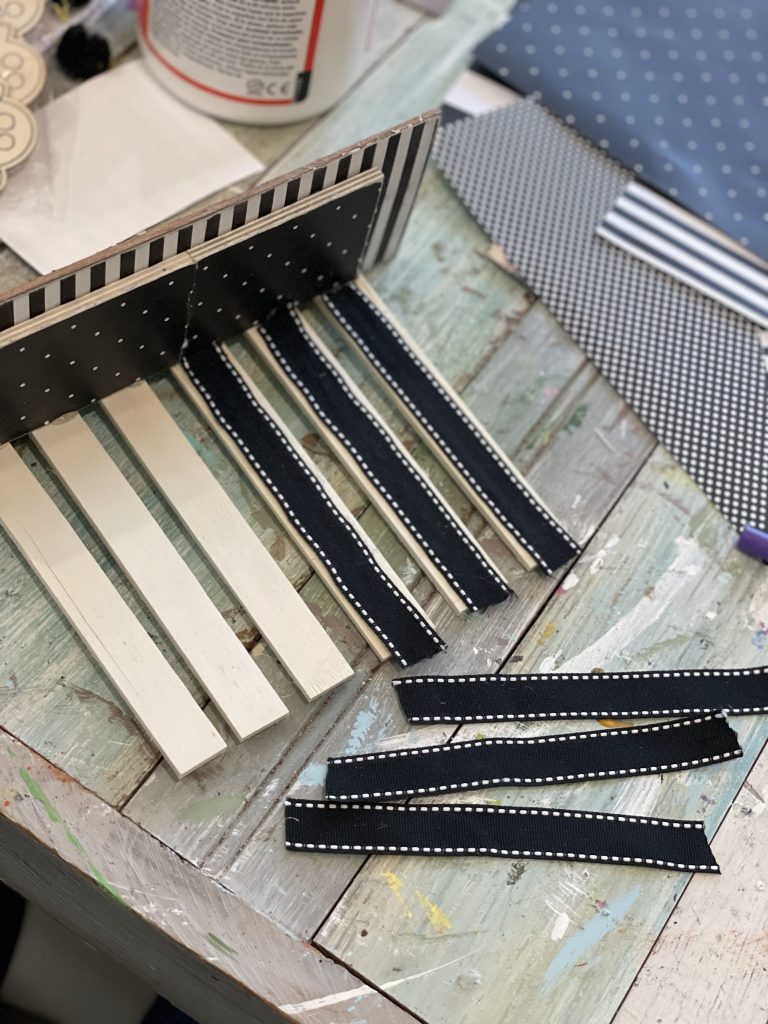
Moving on to covering the slats! I used ribbon for this- but feel free to use scrapbook paper! Simply hot glue each ribbon to each slat.
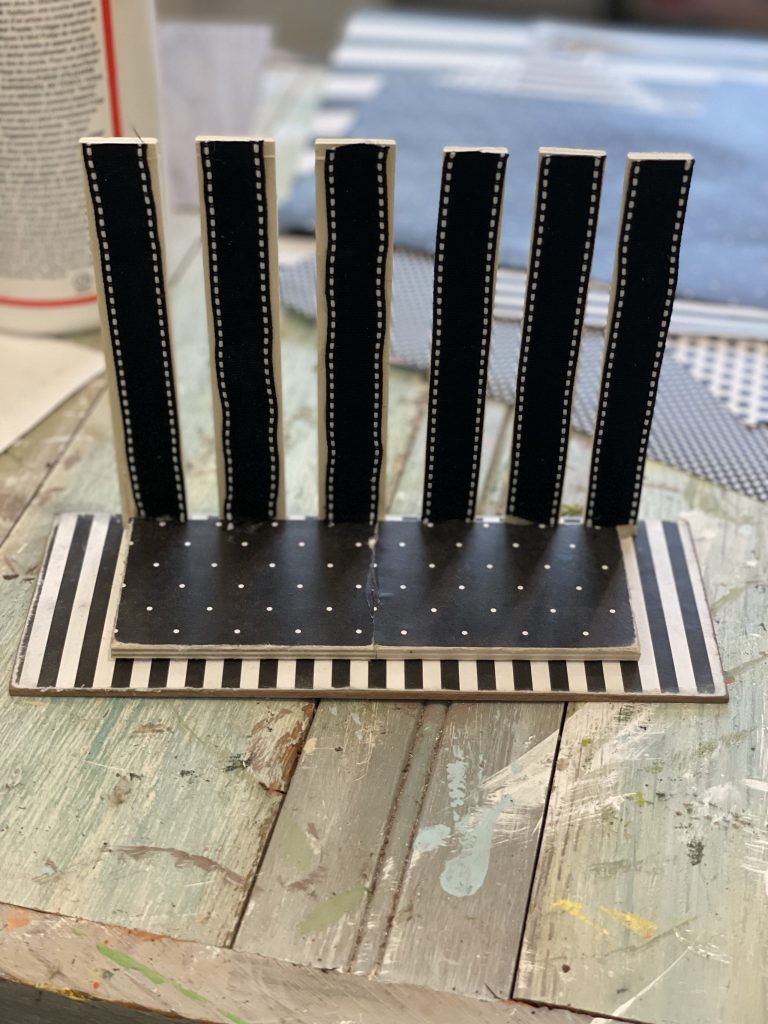
Ta-da! Now that all our pieces are covered, let’s get to embellishing!
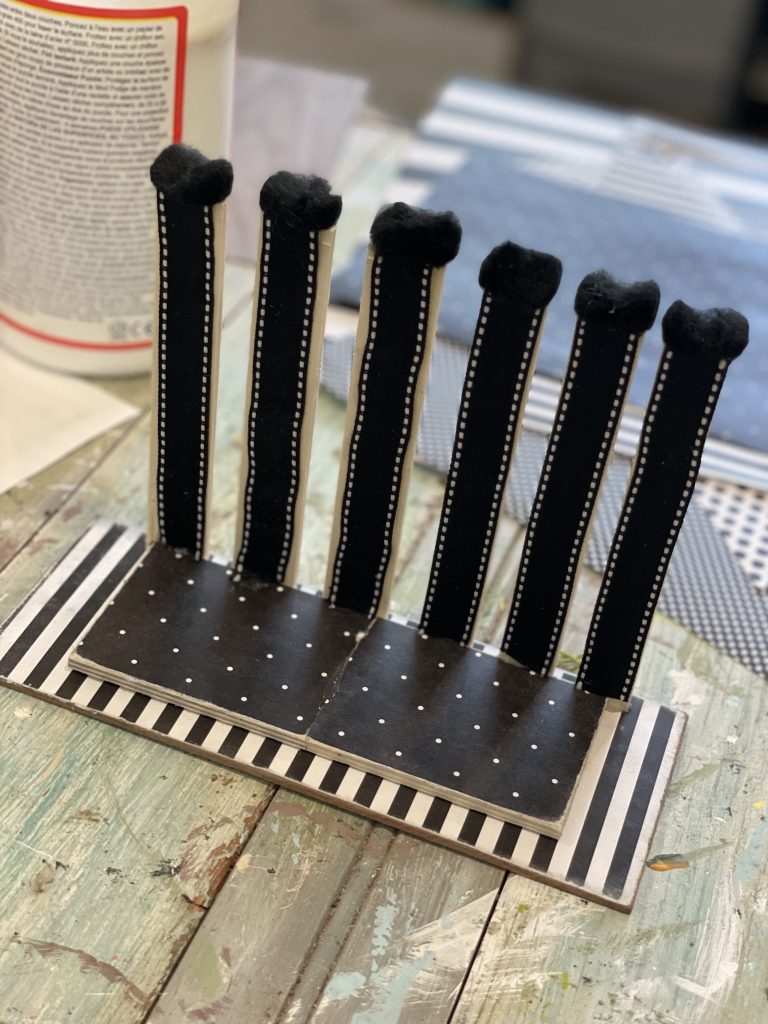
The first embellishment I used are black pom-poms from Dollar Tree! I hot glued them on to the top of each slat.
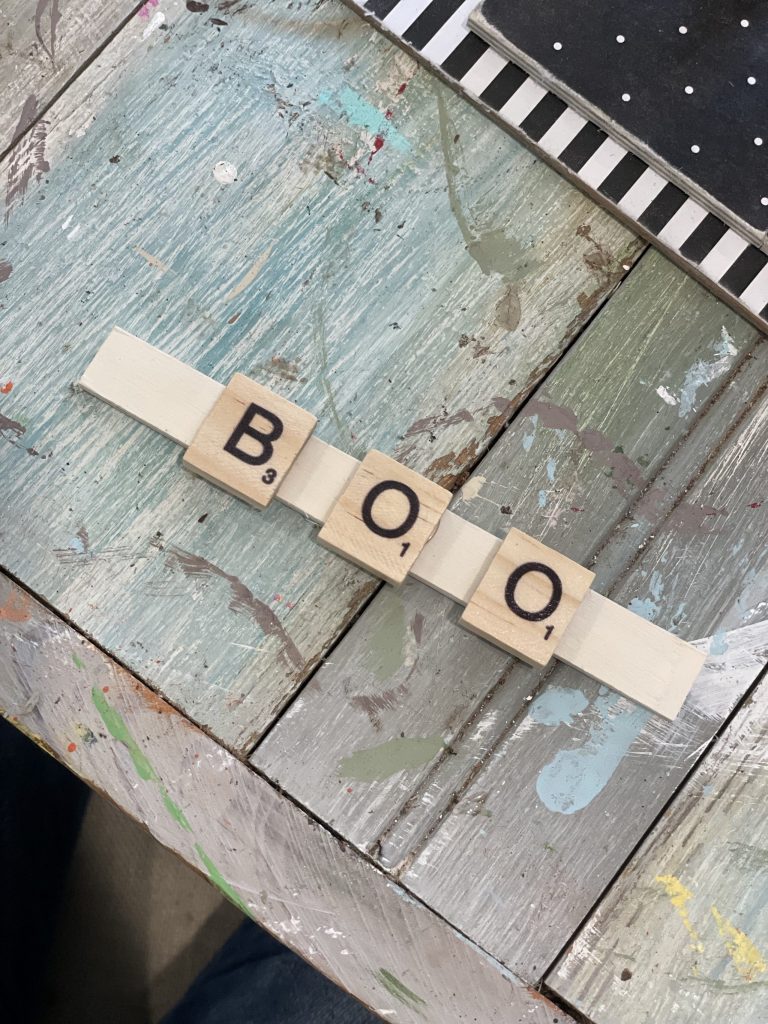
Next, I took an extra slat, and hot glued my scrabble letters that spell “BOO” on top!
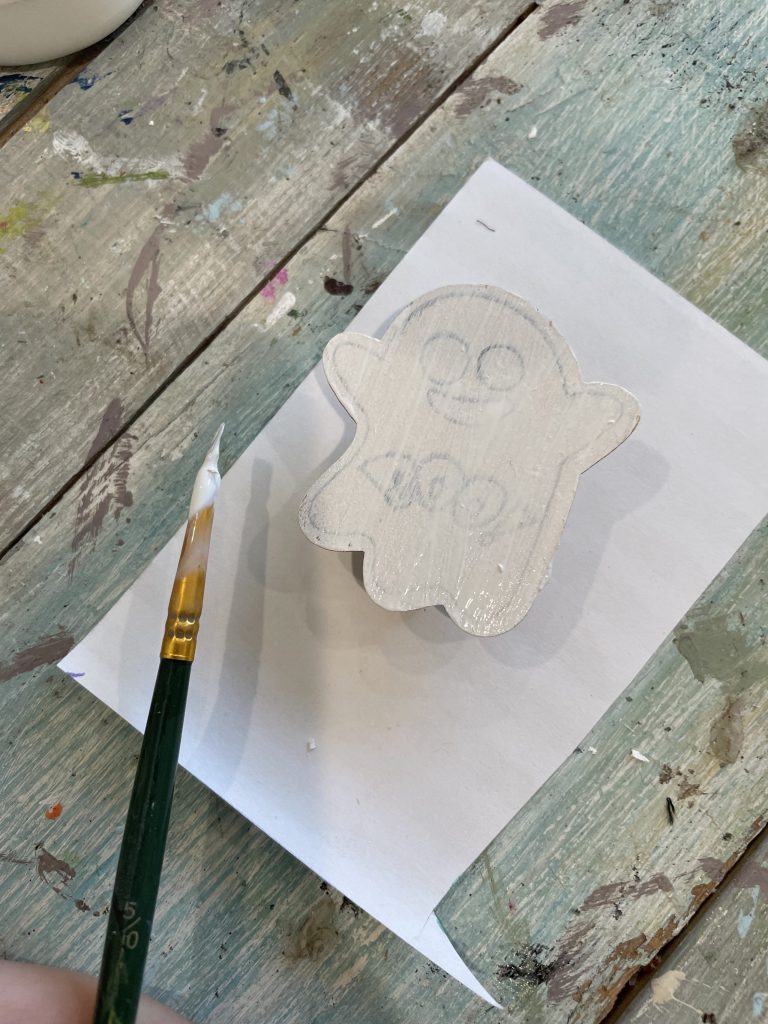
The last embellishment are my ghosts! I didn’t love their natural looking color, so I painted over them white.
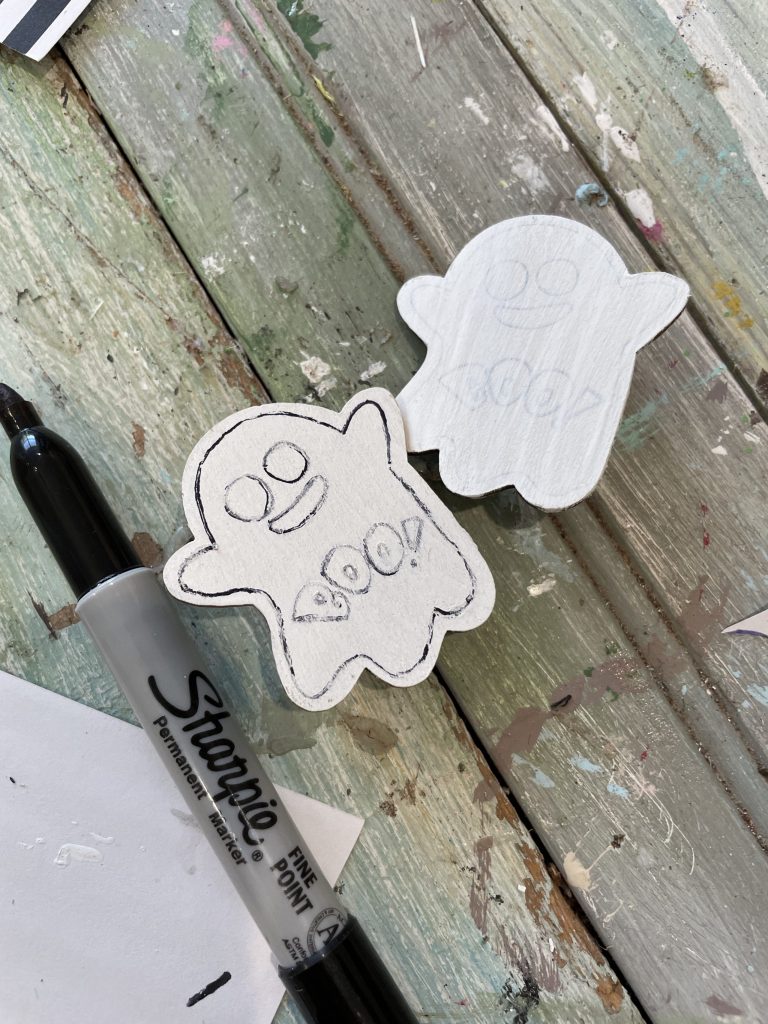
After the paint was dry, I took a black sharpie and outlined the already existing lines!
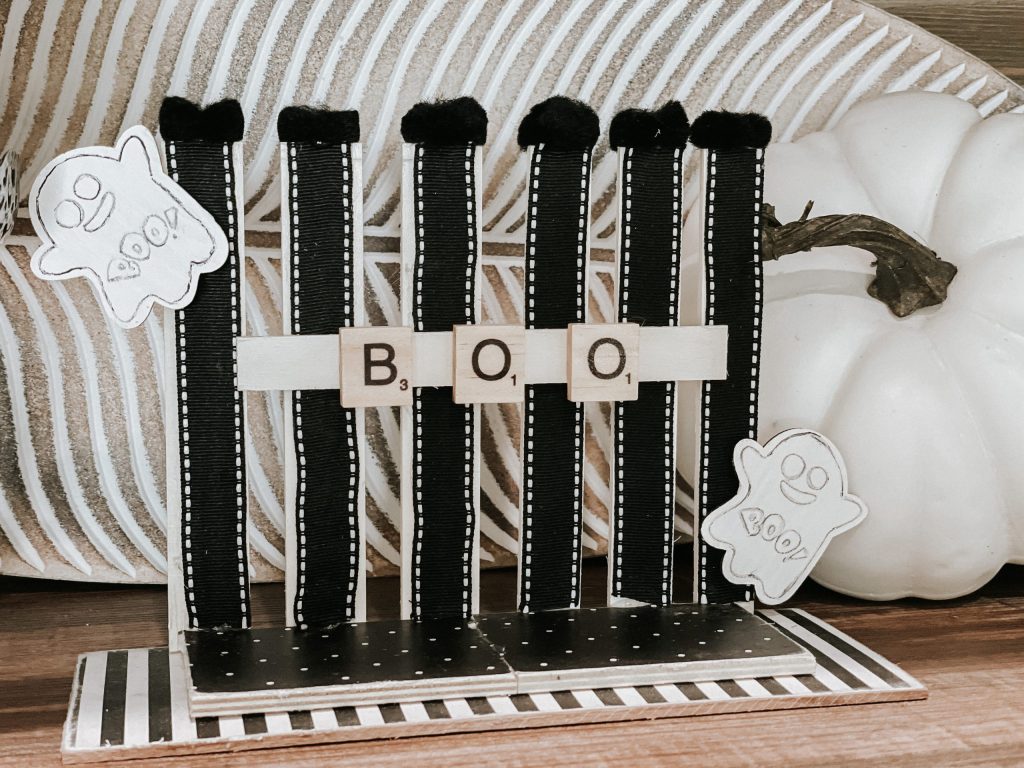
After attaching all my embellishments, we are DONE!
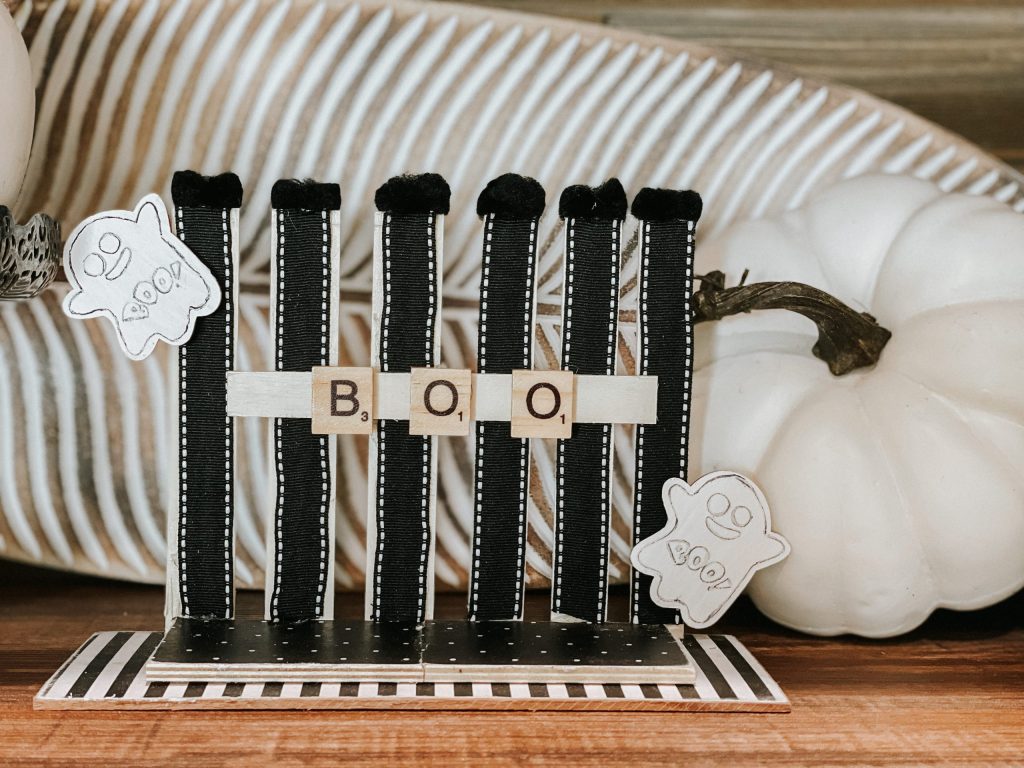
HOW CUTE would this be on a Halloween Coffee Bar, or a Halloween mantel???
If you love this type of project, you will REALLY love my Dollar General Halloween sign I made the other day!
Pin this for later!
JOIN MY TEXT LIST!
SUBSCRIBE TO ME ON YOUTUBE!
FOLLOW ME ON INSTAGRAM!
FOLLOW ALONG ON TIKTOK!
Last Updated on September 2, 2021

Very cute!