
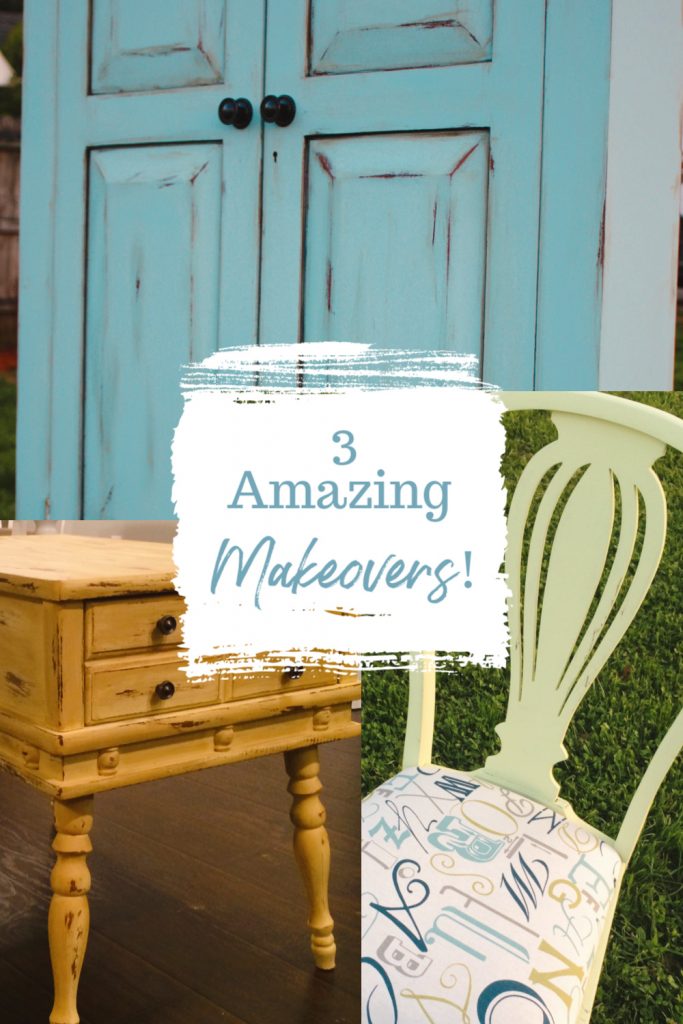
There is just nothing more rewarding than taking a piece of furniture that has seen its better days and turning into something beautiful! This is literally my very favorite thing to do. It still amazes me EVERYDAY what a little bit of paint can do! Today I want to showcase 3 of my favorite furniture make-overs.
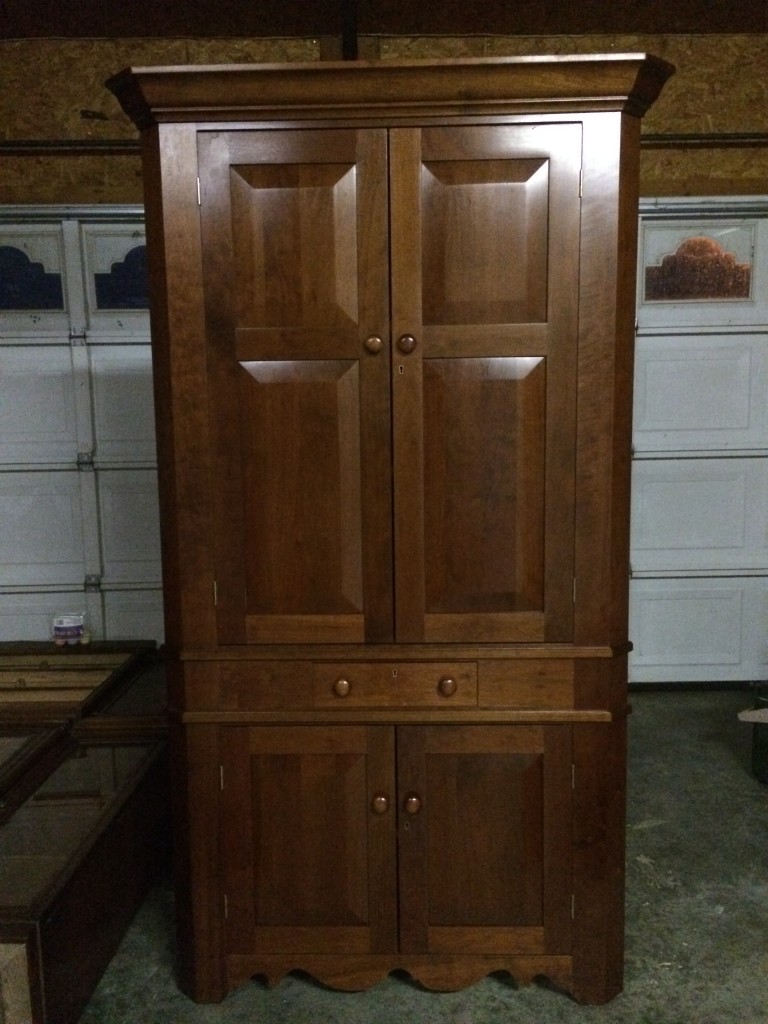
The first piece is a corner cabinet that was brought to me from a dear friend to paint. This piece was not your typical “ugly” piece at all. In fact, it was a pretty piece. It was simply not what she had in mind for her dining room, and she wanted it completely redone. I LOVE to do that, so it was right up my alley! She knew the color that she wanted (Vintage Market & Design~Blue Heron), but other than that, she really didn’t have a clear idea of the end result that she was going for. She said words to me that were music to my ears…”Do whatever you want. I trust you!” YES!! I love to do that! I knew I could turn this into a fabulous piece with just a little work- so I got right to it. For this post, I am skipping all of the in between pictures and simply focusing on the Before and Afters, but I will give a brief run down of what was done to each piece.
Here it is before! Not bad at all…but soooo much potential!!
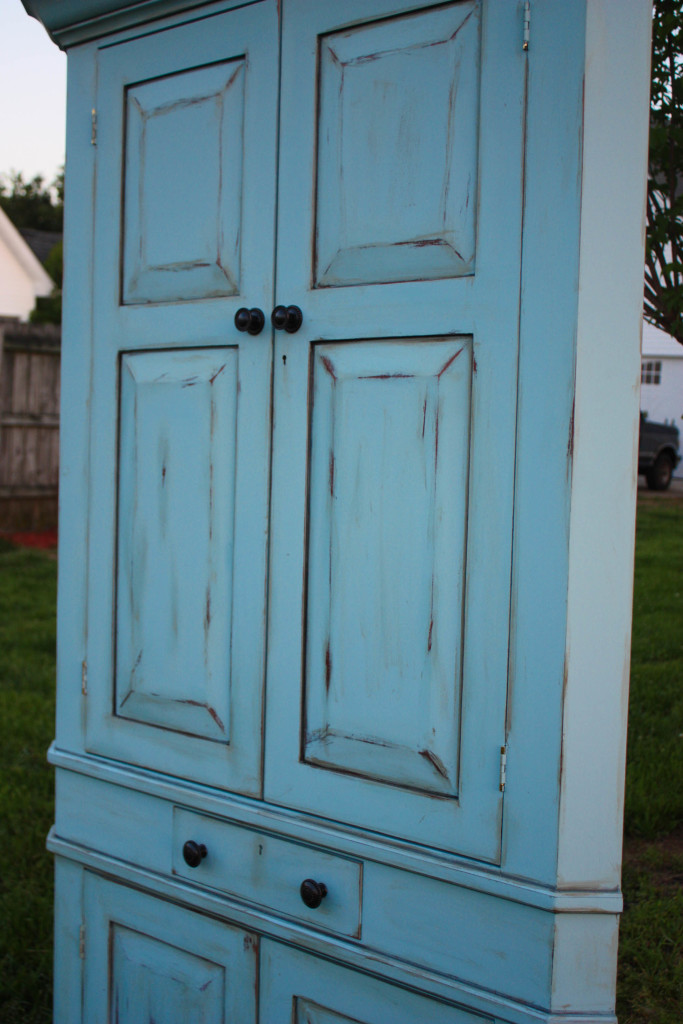
After taking all of the doors and hinges off, I immediately went to town painting this beauty. In only 2 coats, the “painting” was finished! (Chalk paint is awesome~no prep work at all!)
I then took coarse sandpaper and did some distressing to several areas of the cabinet, mostly in the creases and the lines.
After the distressing, I took my Annie Sloan dark wax and dabbed a little bit (and I do mean little bit~maybe the size of a dime) on an old rag and barely pressed it into the areas that I had distressed and let it kind of soak in. After a few minutes, I went back with my rag and rubbed it back and forth in the area I had just put wax on. I then took a sanding block and “buffed” the area to make it smooth and less noticeable. I wanted it to be well blended, and it was.
I did this to the entire piece- which took some time, but not as bad as you may think. I would say it took about 2.5 hours total when I began this process.
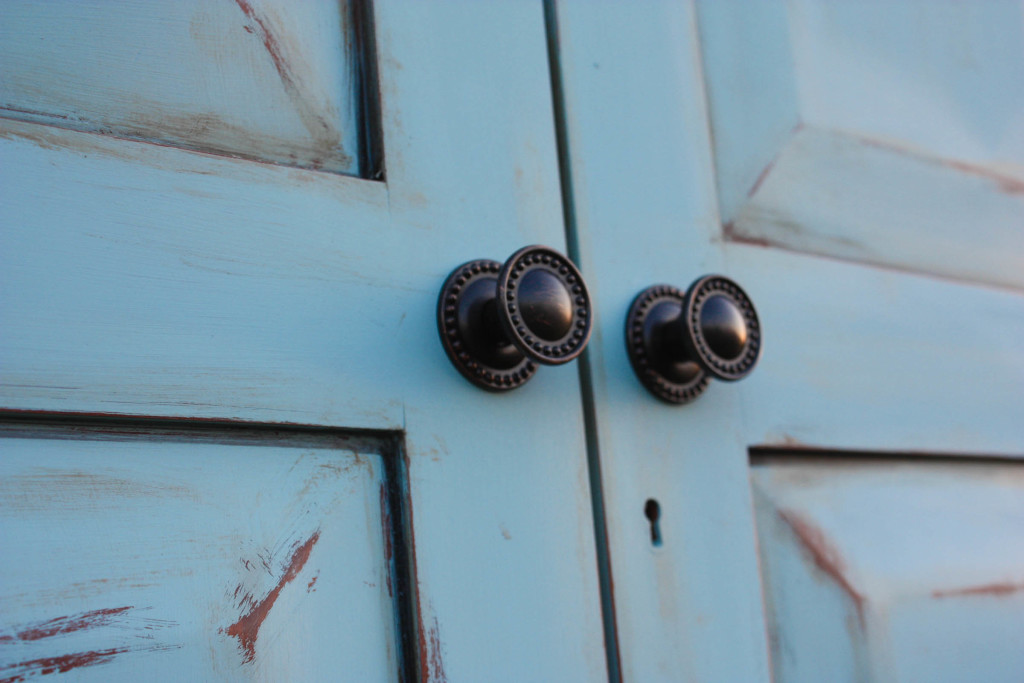
After that was complete, I changed the knobs to some that I found at Lowe’s, and VOILA- complete! She LOVES it…and so do I!
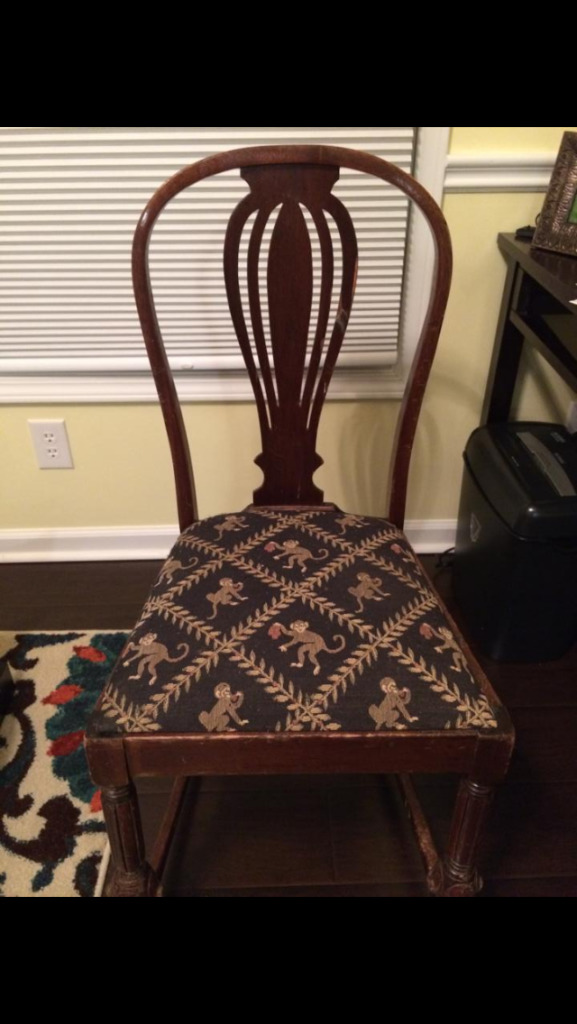
The second piece I wanted to show was an old chair with quite possibly the ugliest monkey fabric I have ever seen.
I got this chair at a flea market approximately 3 years ago with the intention of immediately transforming it into a chair I would use at my computer. Well, I did use it as a computer chair, but it took 3 years to transform it! Oh me…once again, good intentions gone bad.
Anyway, I finally did it~ and I literally have NO idea why it took me so long. It was super quick and very easy!
I took the hideous monkey seat off by unscrewing it underneath, and then I painted the wood.
While the paint was drying, I took my new fabric (which I LOVE) and covered the seat. On this particular project, I did not take the existing fabric off. It was one layer and there was no need. Yay! That makes it that much easier.
I then re-attached the seat once the paint dried, scuffed it up just a tiny bit, and I was done! All in all, this was about a 45 minute project (time for the paint to dry is included). Please tell me why I waited 3 years (and yes, during that time I let this chair be seen in my house…wow).
Here it is NOW!

For my third makeover, I have an ordinary side table. This has been one of my very favorite pieces so far! The minute I saw this piece, I knew I wanted it. It was bland and dull~but wow…I loved the legs and the drawer that looked like 4 little drawers. For whatever reason, I was just drawn to it. (Can you find me in the background taking the picture?! HA)
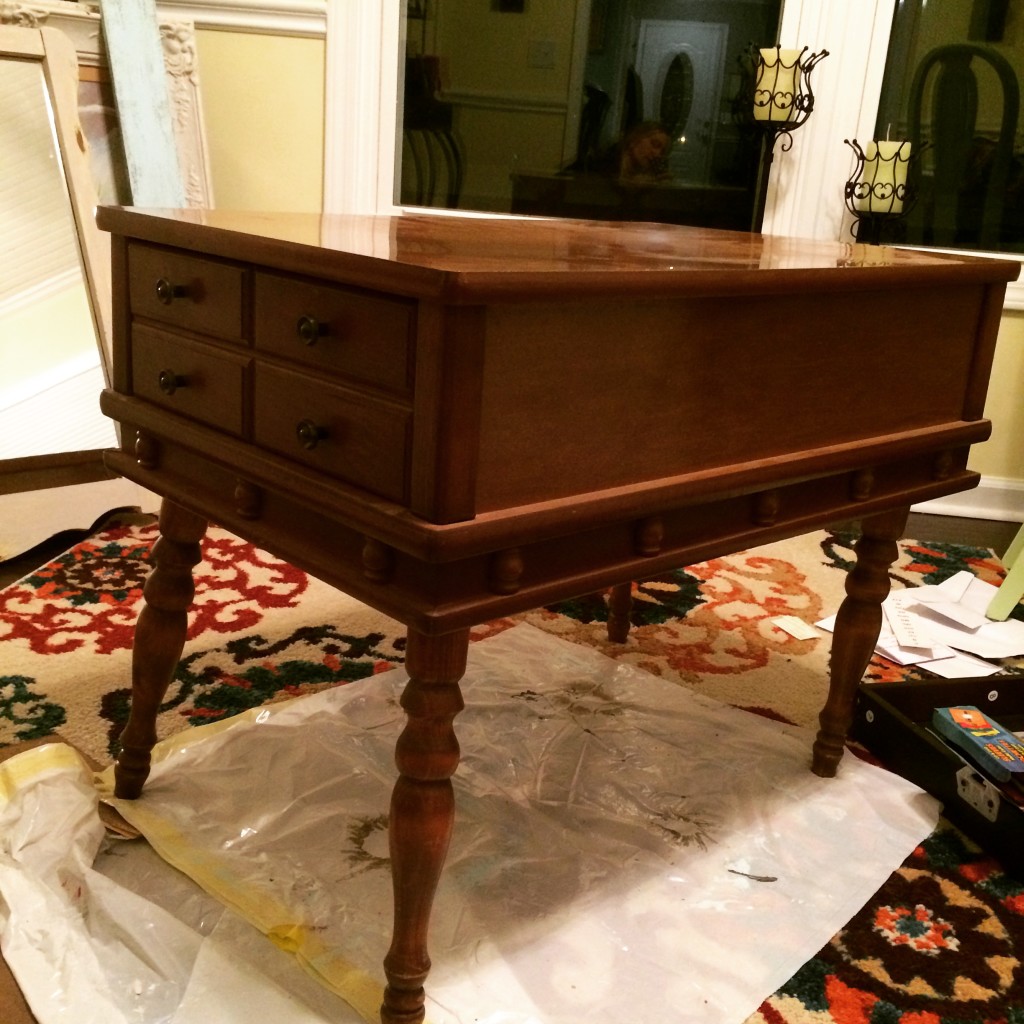
I had found the perfect color~and wouldn’t you know it, it was Vintage Market & Design-Maize. I couldn’t wait to try it on this piece!
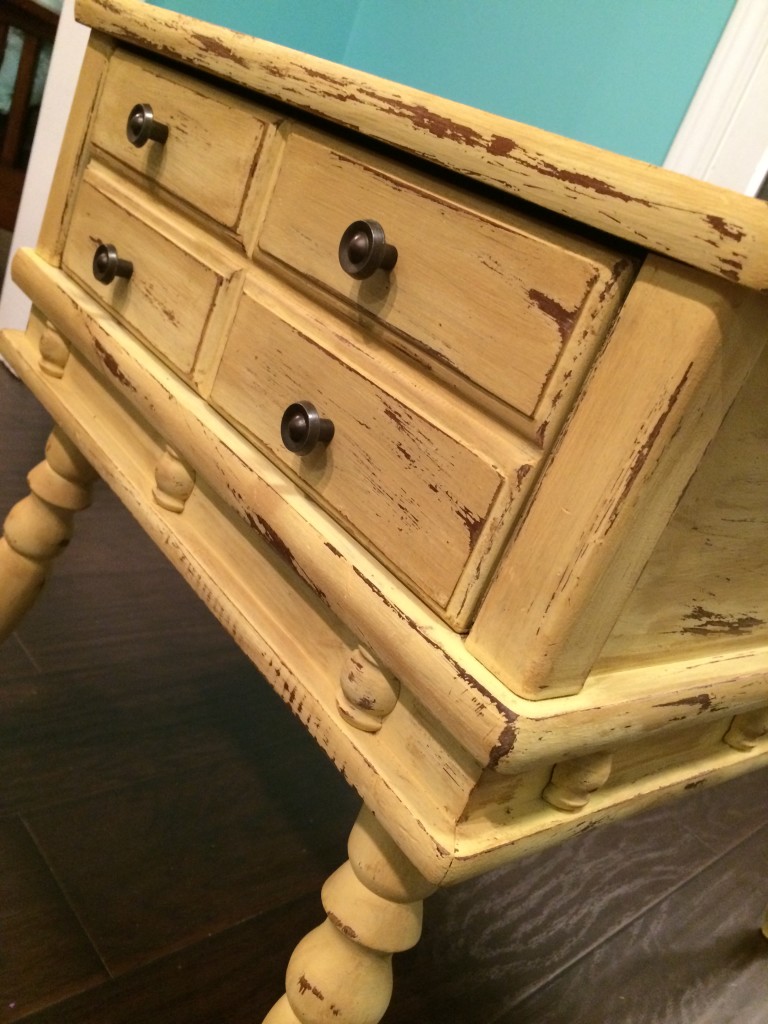
This piece pretty much followed the same steps as the blue corner cabinet, except after the painting, I did quite a bit more distressing…and not as much waxing.
*Note- don’t be scared to distress a piece! Everyone is scared at first, but just take that sandpaper and go crazy. There truly is no right or wrong way to distress a piece of furniture. Just work with it until you get the desired result. If you happen to mess it up, paint it again! That’s the worse that can happen :)*
Here is the final product! I still just LOVE the color. It truly is a beautiful piece.
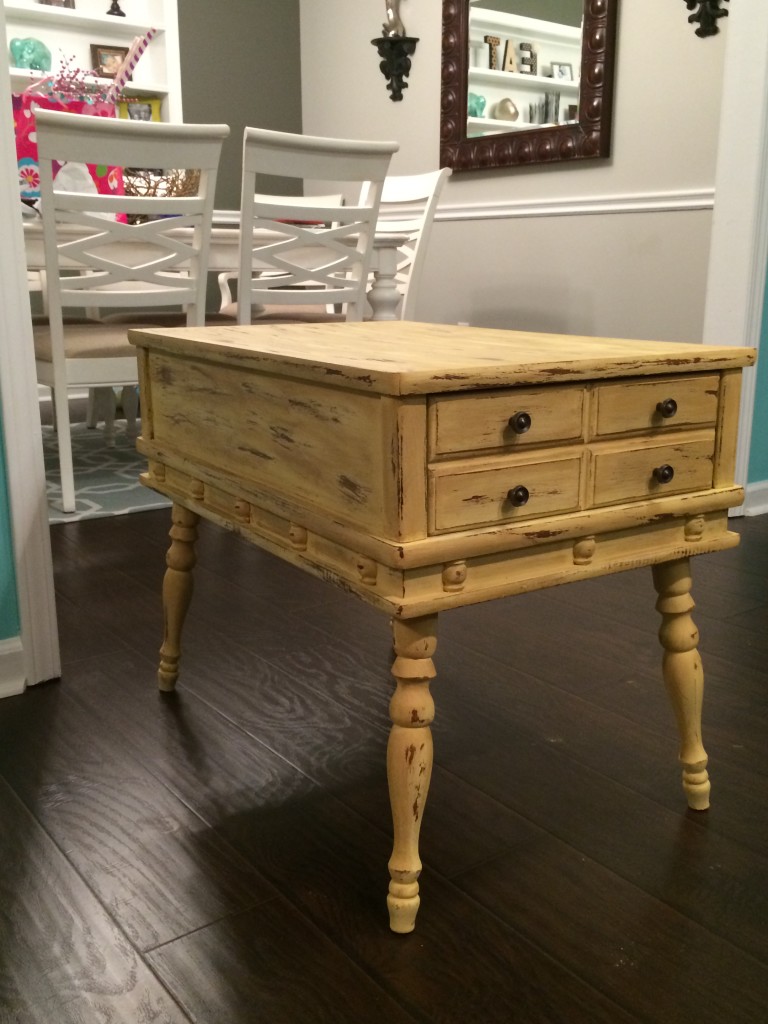
(Pardon the party decorations!)
What do you think about these make-overs?! Doesn’t it make you want to get busy on those outdated pieces around your home? DO IT!
PIN FOR LATER!
Last Updated on February 17, 2020

Love that corner cabinet! Just found your blog. Thank you so much for following mine!
Paige
For some reason, I am just seeing this! Thank you very much 🙂 I enjoy your blog!
All three beautiful
Thank you, Margaret! I appreciate your sweet feedback!
All three are fab, but I especially love the chair plus the fabric on the chair is great! Did you find the fabric locally or on-line?
Well thank you so much! I love that fabric too. I found it at Hobby Lobby.
I just love love love the chair, and the cabinet you surely did take that from ugly to Fabulous Refab. Great job.
All the pieces look amazing. You are so creative & do such a beautiful job. I love your style. Thank you for always being so positive & uplifting.