If you’ve been following us for long, you probably know that my team member, Melanie, has been working on updating the house that she and her husband purchased from her in-laws after they decided to downsize. You will want to check out her guest bathroom HERE and her kitchen HERE if you haven’t seen them yet!
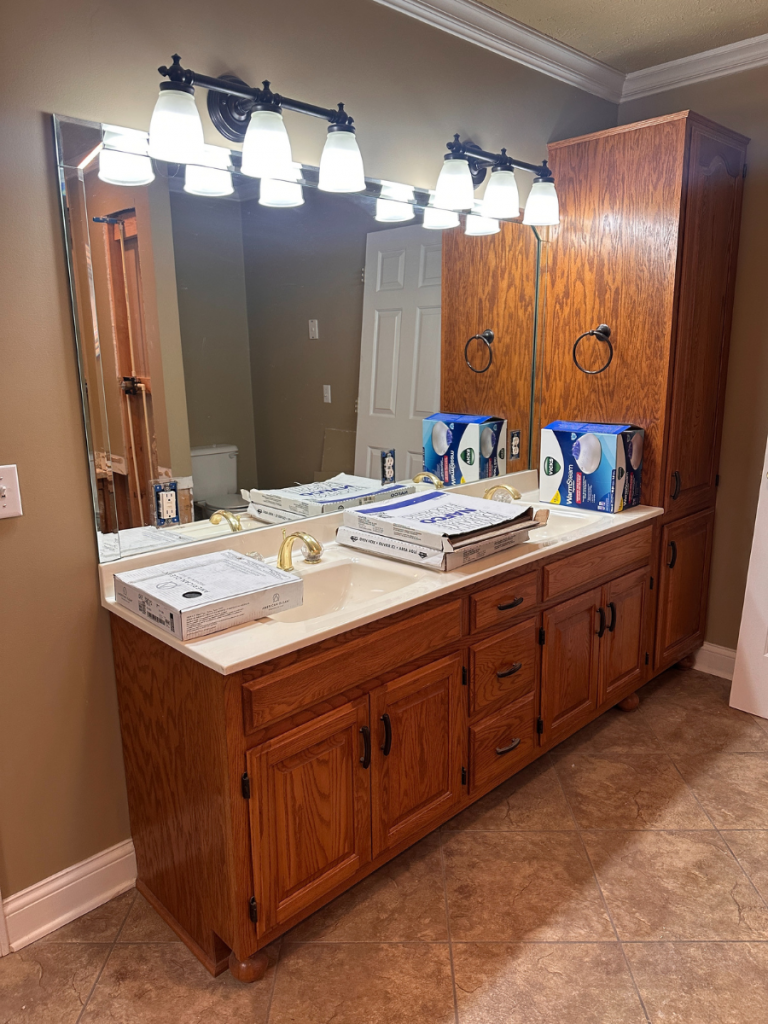
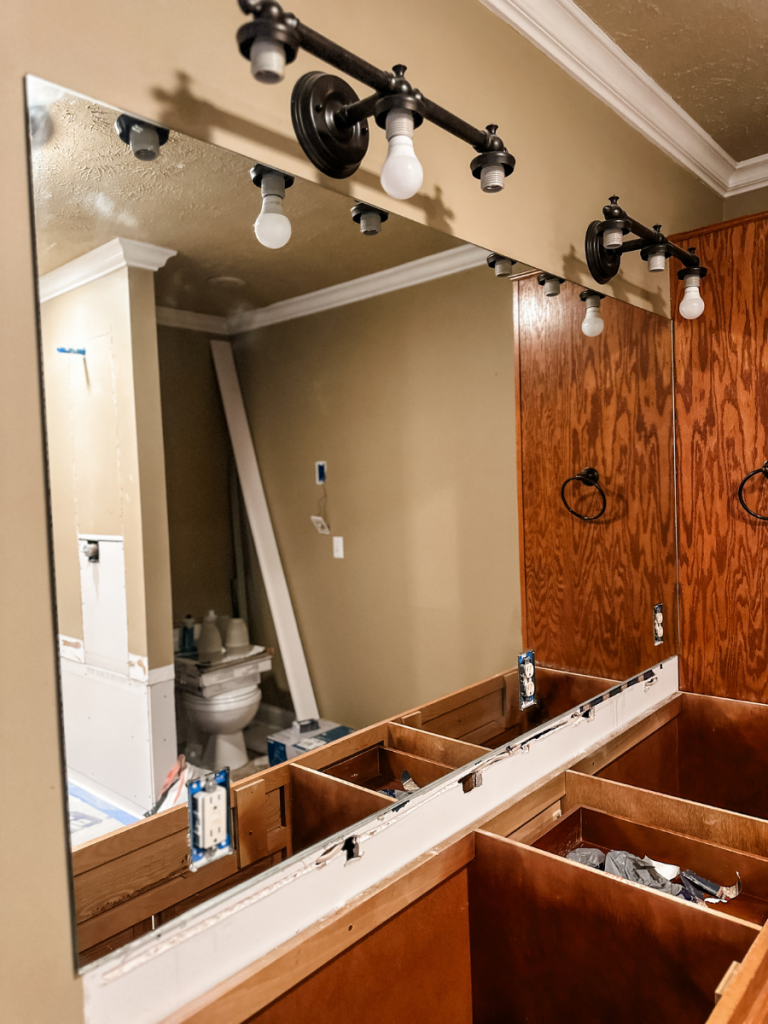
They’re now in the process of working on the master bath and had a dilemma with the large mirror over the vanity. Melanie just didn’t like the mirrored trim around the large mirror because she felt like it looked a little dated. However, removing the big mirror, repairing the walls, and dealing with the outlets that were already there was going to be a huge hassle and expense that she was trying to avoid! She did some research and decided to attempt removing the mirrored trim for an instant update!
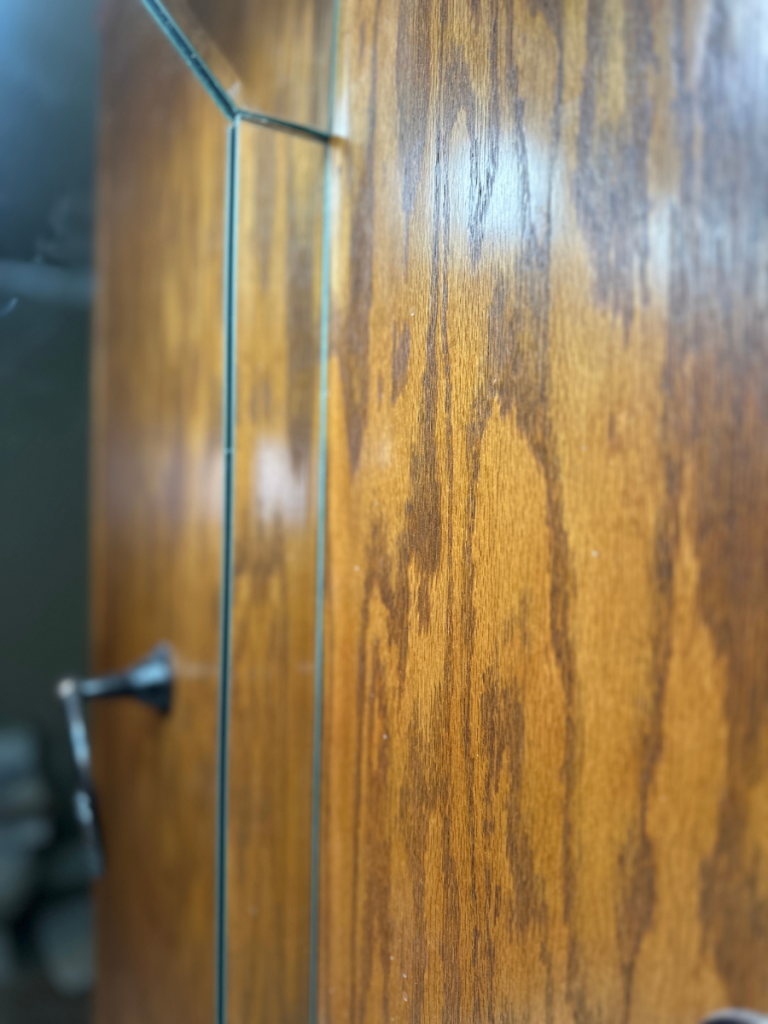
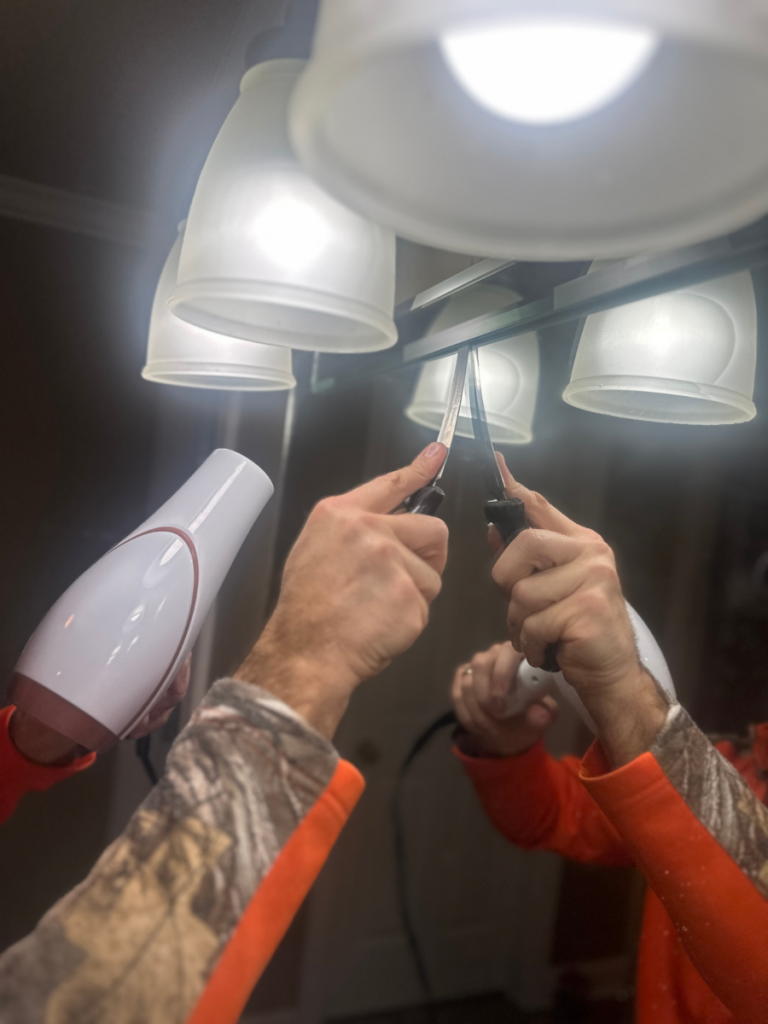
She had a hard time finding a lot of articles on this DIY, but did find one that gave some insight on removing the whole mirror. She just followed that as a guide and started off by using a blow dryer to heat up the double-stick tape that was attaching the trim to the mirror.
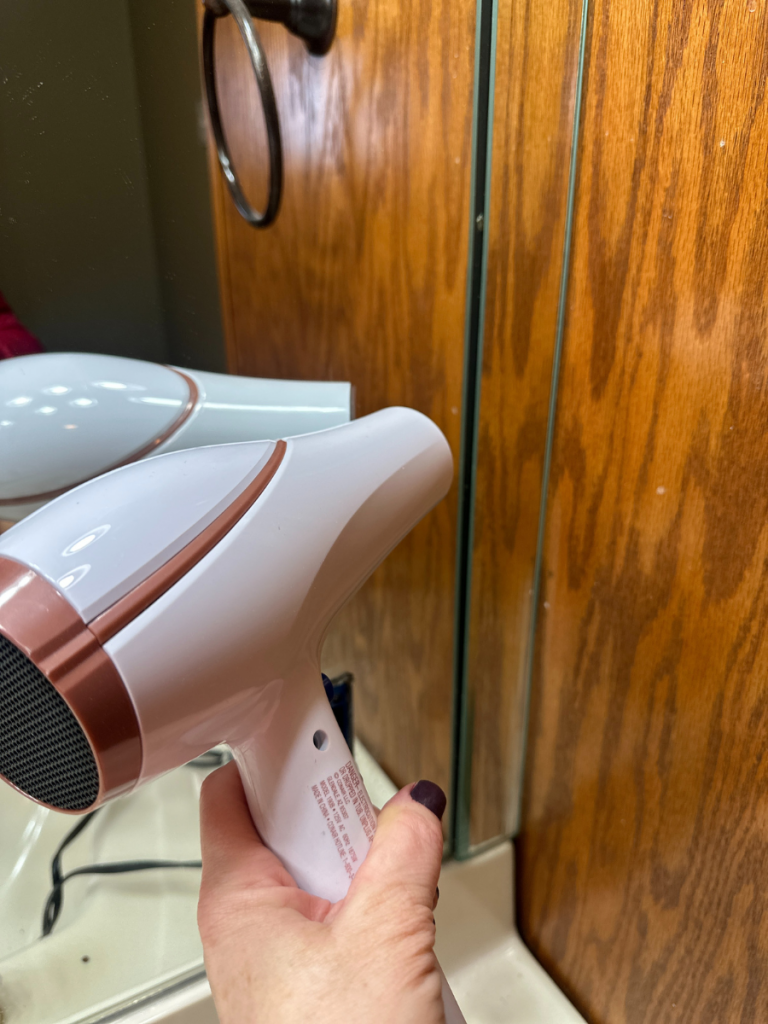
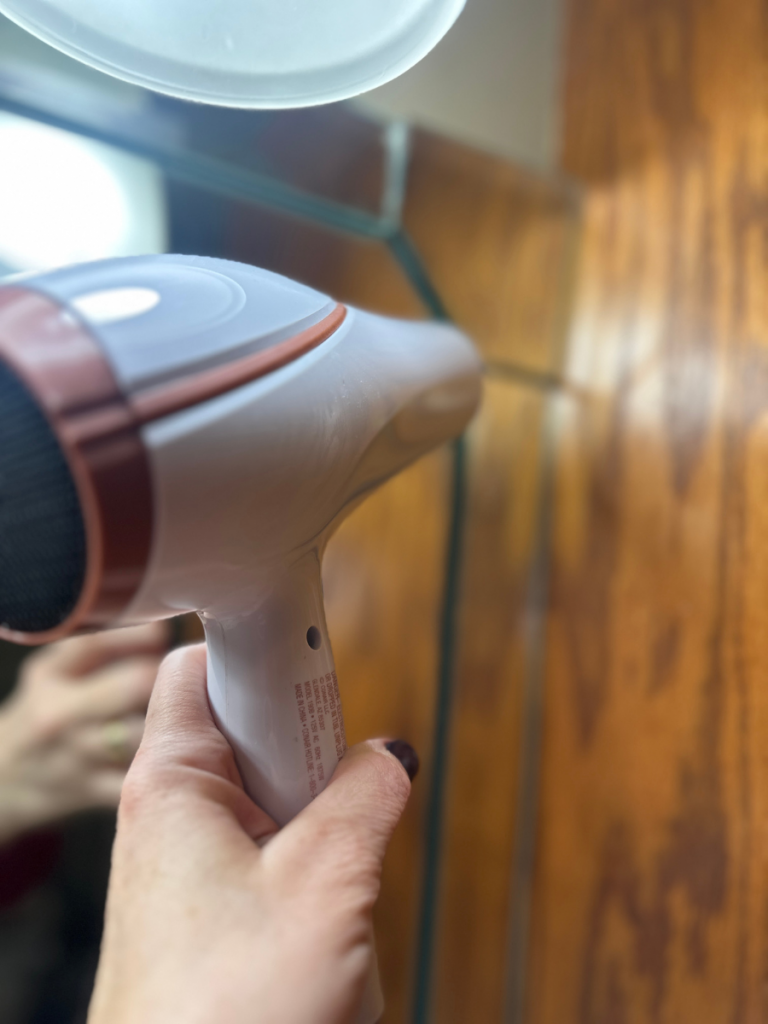
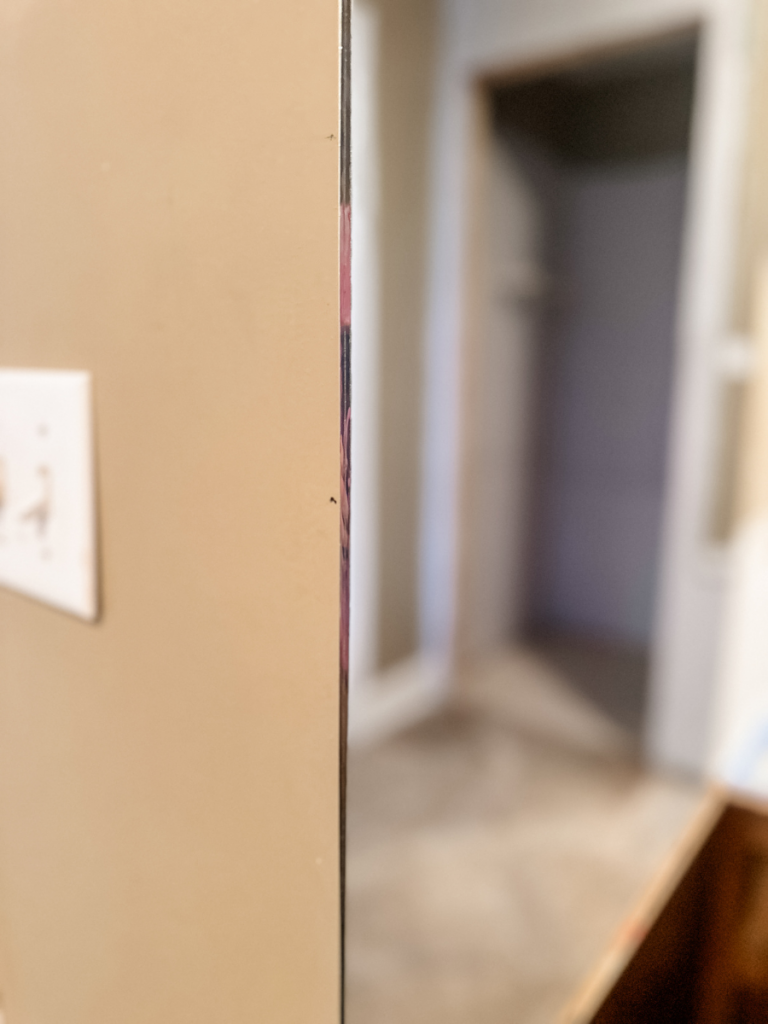
After softening up the adhesive, she then took a knife with a long, thin blade and worked it in behind the trim. She gently pried the trim, continuing to use the blow dryer to keep it warm.
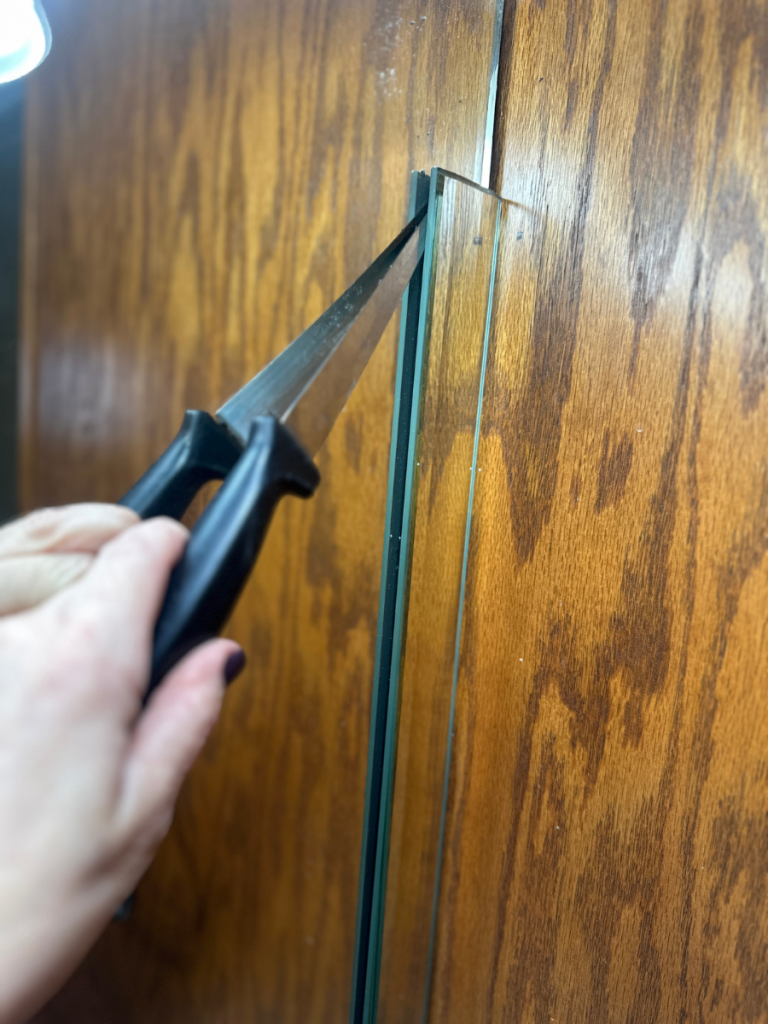
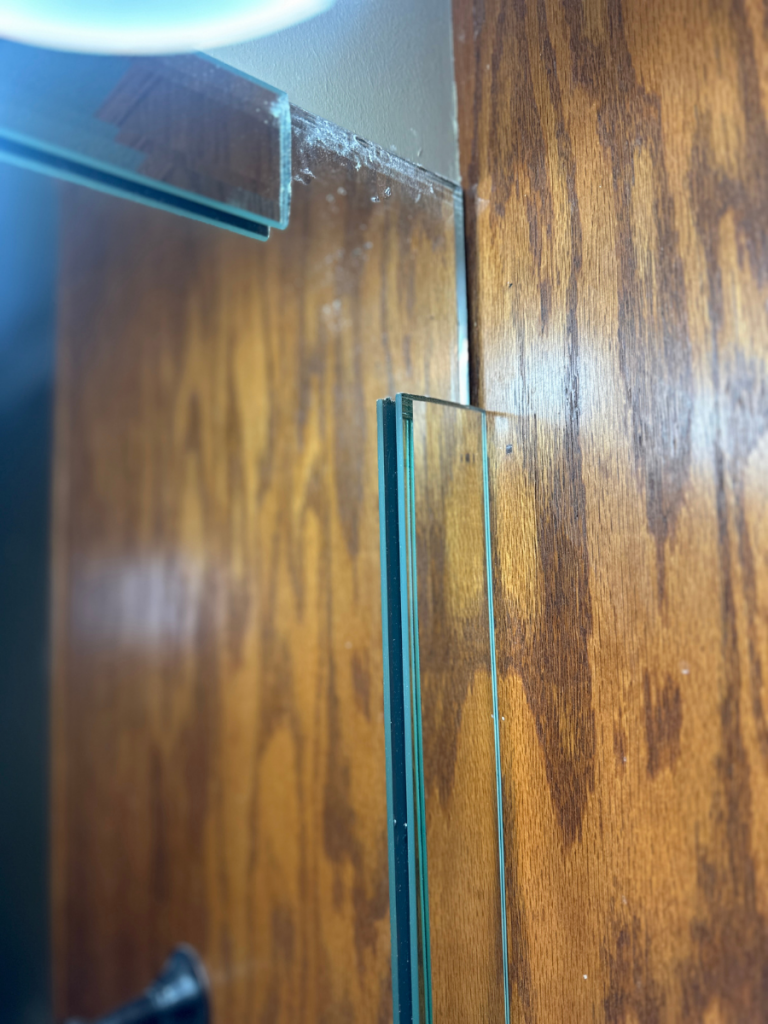
Ahhh! Finally a corner piece came off! This made it much easier to access the remaining pieces!
This is the double-stick tape that was attaching the trim pieces to the mirror!
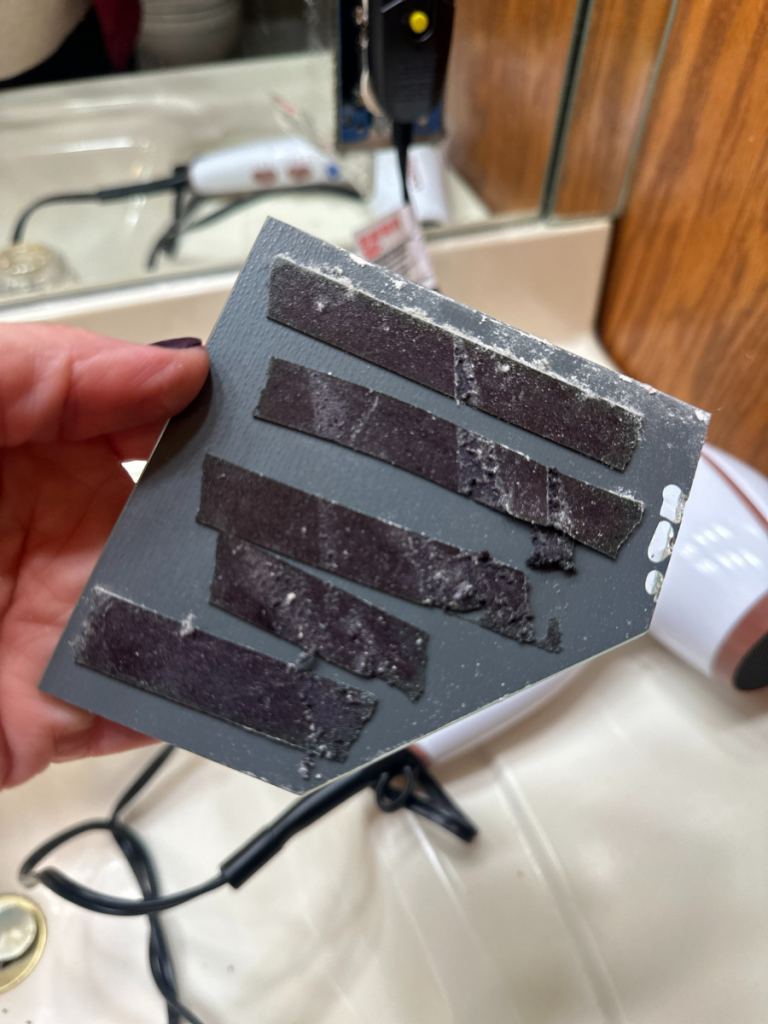
It left quite a bit of residue that needed to be removed.
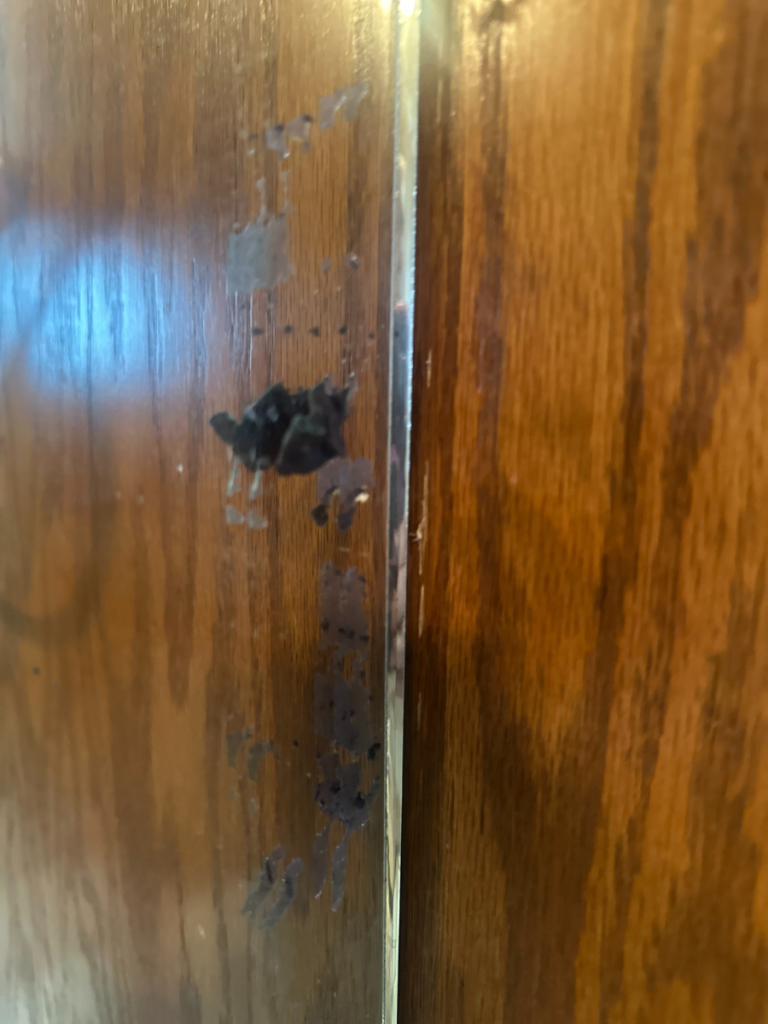
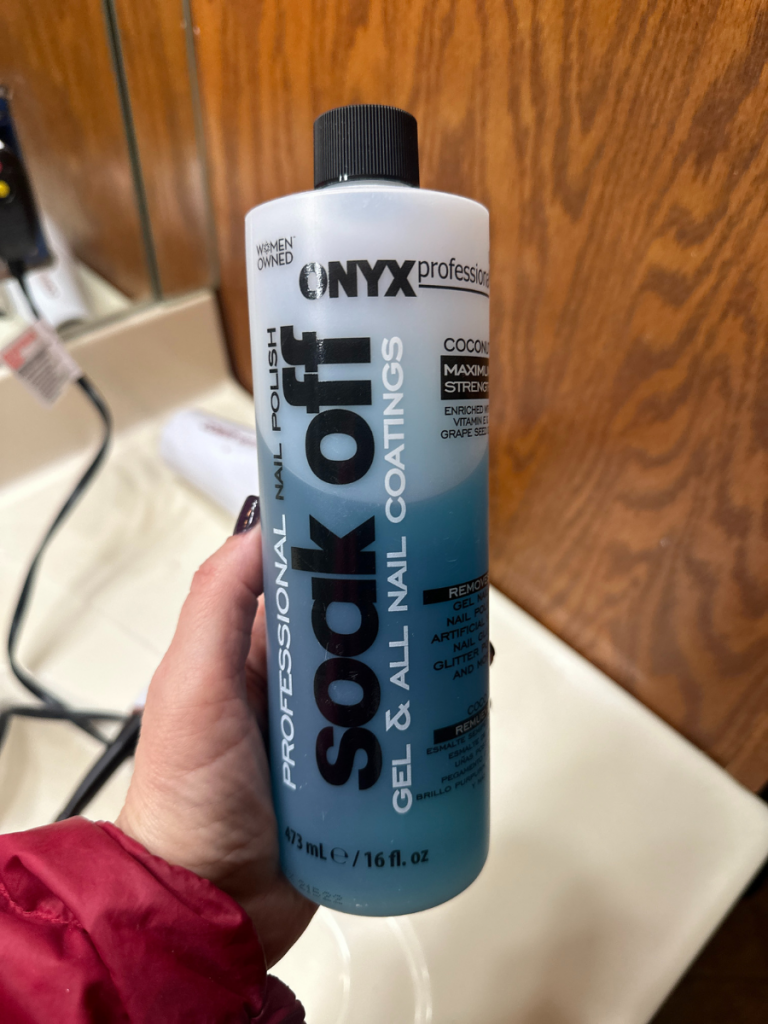
She grabbed this acetone that she’d used to remove her acrylic fingernails and it worked like a charm!
Her hubby hopped in to help with the pieces along the top because they were too hard to reach!
A little elbow grease and the acetone and she was able to get all of the tape residue removed!
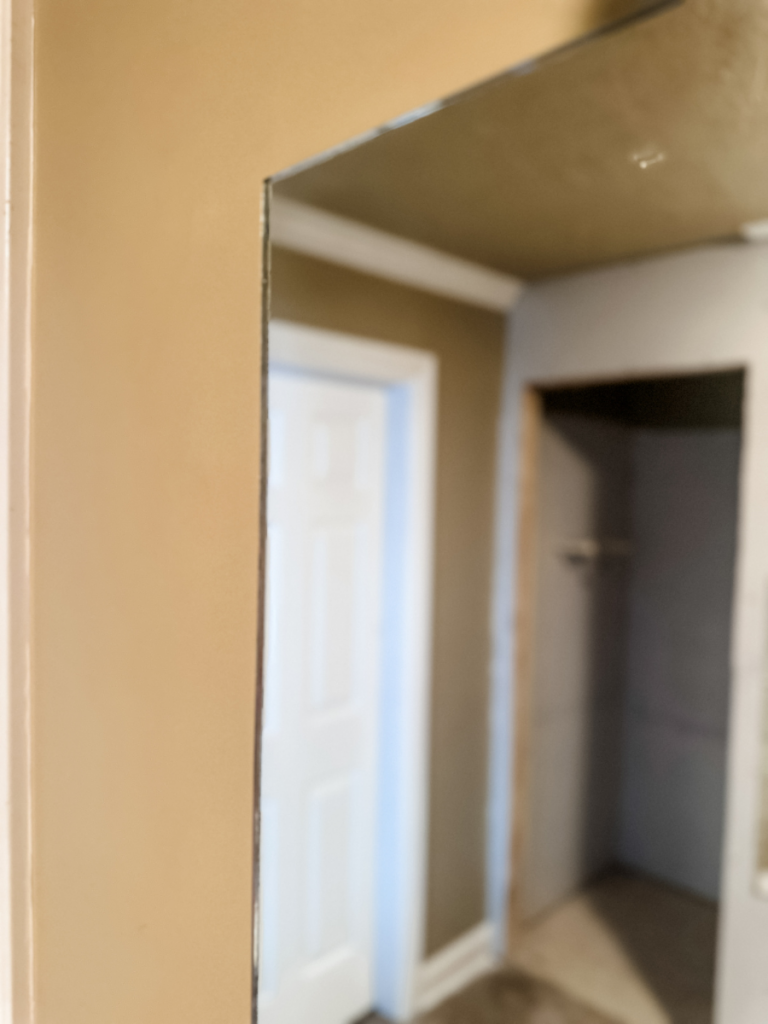
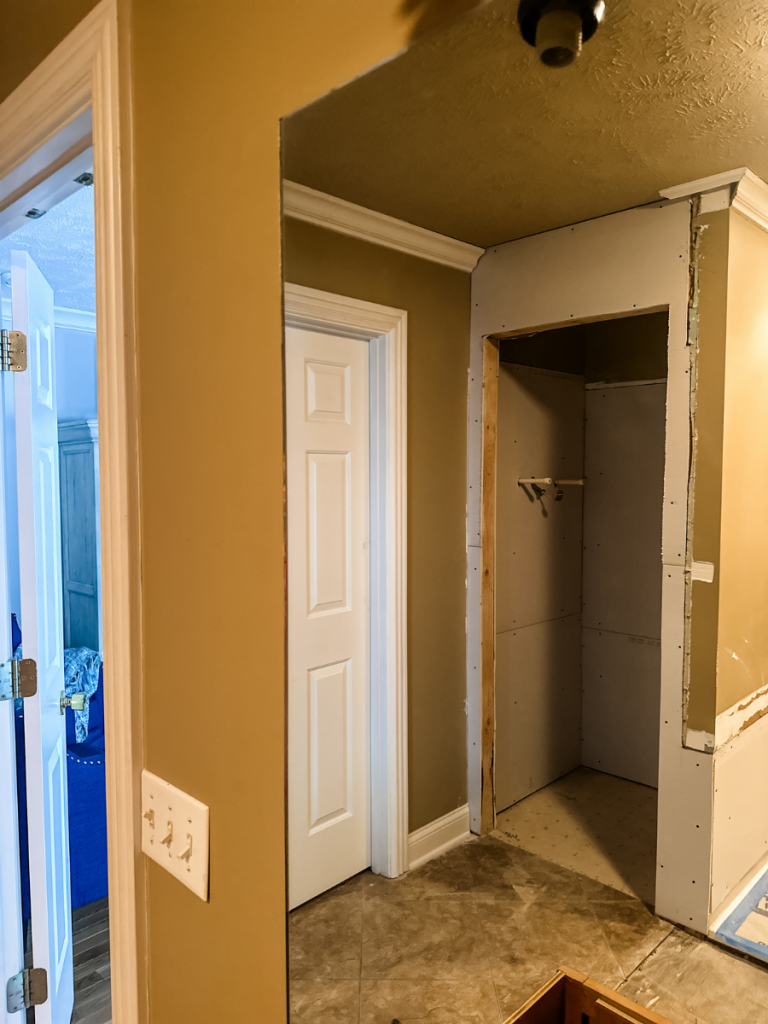
You can see that there’s a lot of work left to go to finish this project, so keep watching for updates on Mel’s bath remodel!
That mirror cleaned up as good as new!
She will decide whether to add a wood trim or just leave the mirror plain as she gets the rest of the bathroom updates completed! What do you think? Would you leave it plain? Maybe you love it and would have left it as is??? Let us know!!!!
Be sure to pin for later!
Last Updated on January 14, 2025

It looks so much better! In regards to finishing it, either are a great option. For me it would really depend on what the plan is for the rest of the bathroom. I can’t wait to see where she goes from here!
Thank you so much!
Great idea!! Can’t wait to see when finished!!
I’m glad I found this and see it is so easy. I have the same huge mirror in my bathroom, and after getting the trim off, I thought I’d paint the glass with Kilz, then paint the mirror, matching the wall color, but leave 2 rectangular areas above the 2 sinks unpainted. Then make two frames, glue them to the untouched mirror area above the sinks, and that might really update my bathroom. If it fails, I’ve got a great scrape the paint off project, ha ha.
Let me know how it turns out!