

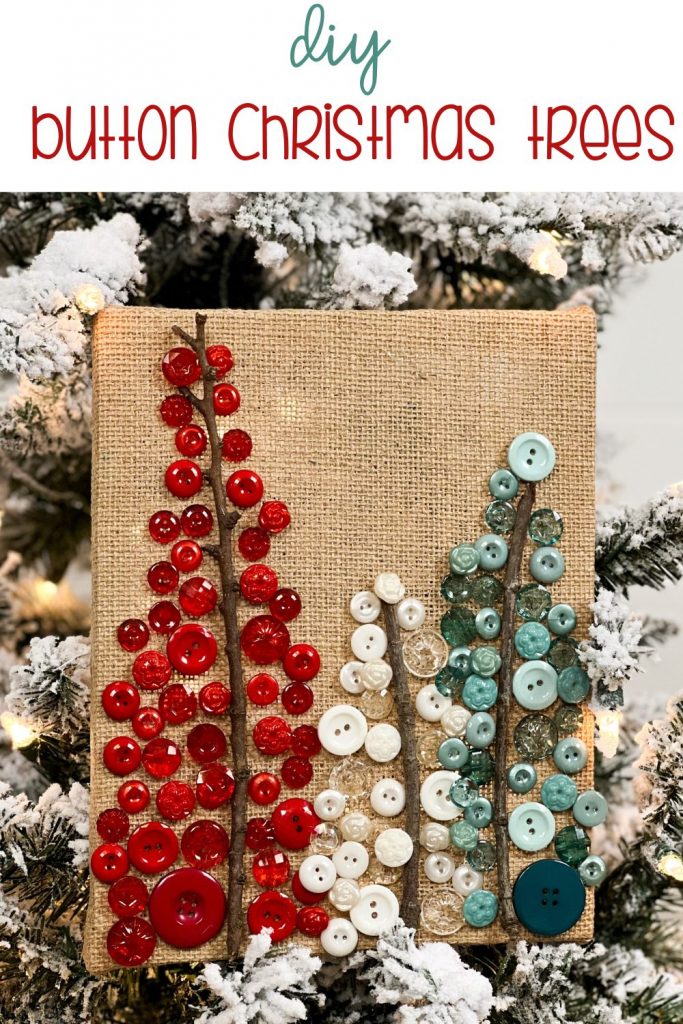
Buttons, Buttons…who’s got the buttons?! This project is the most ADORABLE button project ever! Hobby Lobby often has buttons on sale for $0.99-$1.99, so a few months ago, I grabbed a few packages that caught my eye. I stowed them away in my craft supplies and recently pulled them out for a CHRISTMAS project!!! I’m so excited to show y’all what I made with all the buttons!
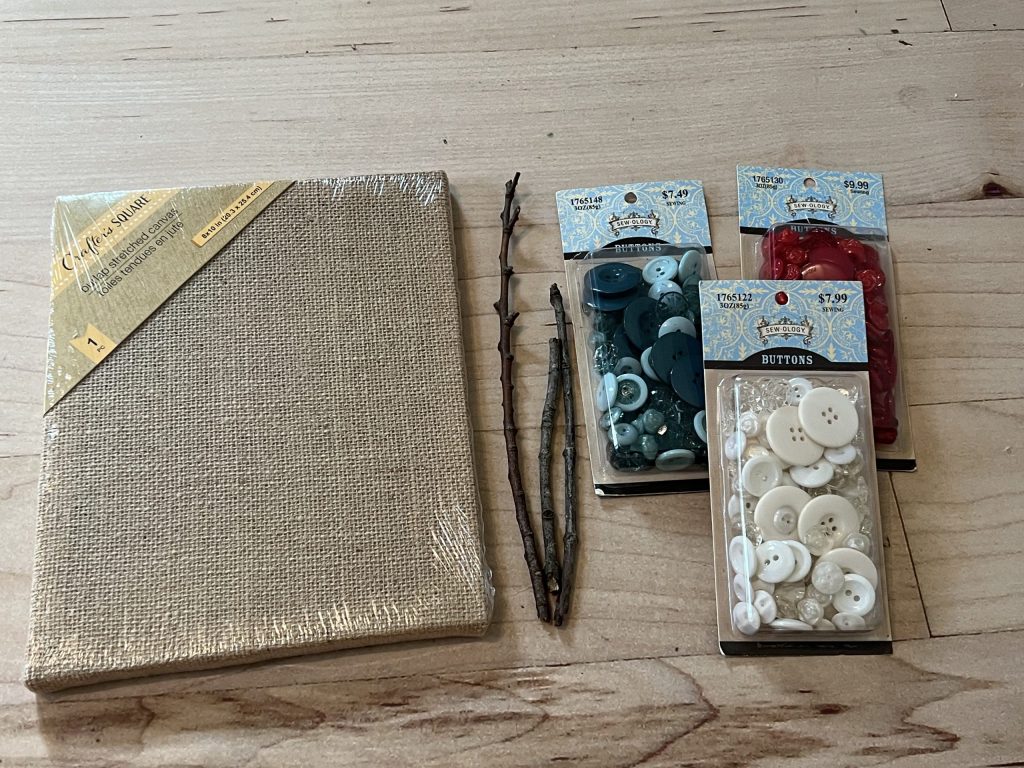
For this project I used the following supplies:
- 8″x10″ burlap canvas – Dollar Tree
- (3) packages of buttons – Hobby Lobby
- (3) twigs from my yard
- Hot glue gun
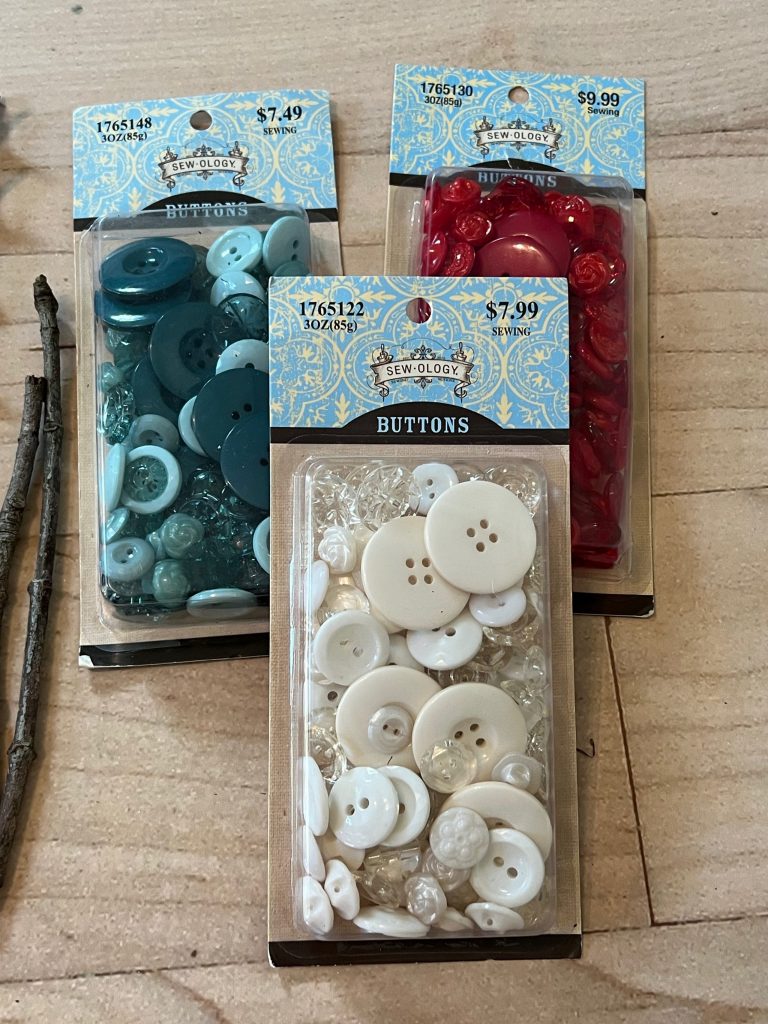
When I purchased the buttons, each assortment was on sale for only $1.99! There are so many in a package, so at that price, they were a total steal!
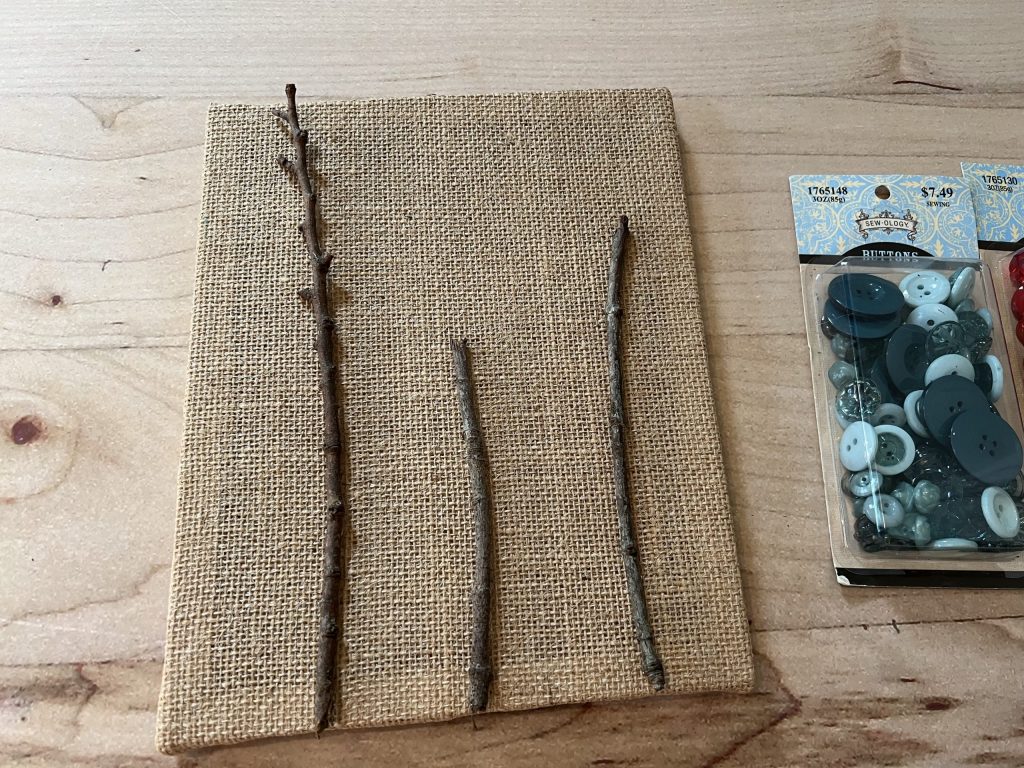
Little sticks and twigs are so easy to find in my yard, so I grabbed a few of varying lengths to use as tree trunks. I loved that they had a little curve to them!
To start the project, I glued down the sticks with my hot glue gun.
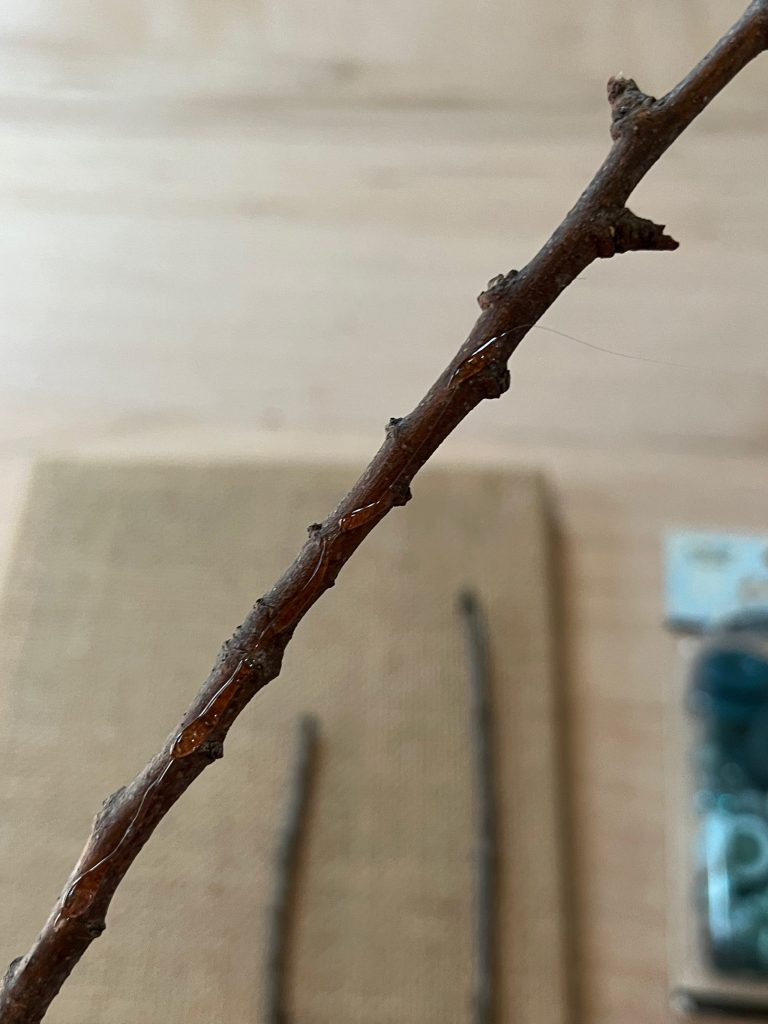
After the sticks were secured to the burlap, I began gluing the buttons, starting at the base. I just glued them in a random pattern, starting wide at the base and tapering towards the top.
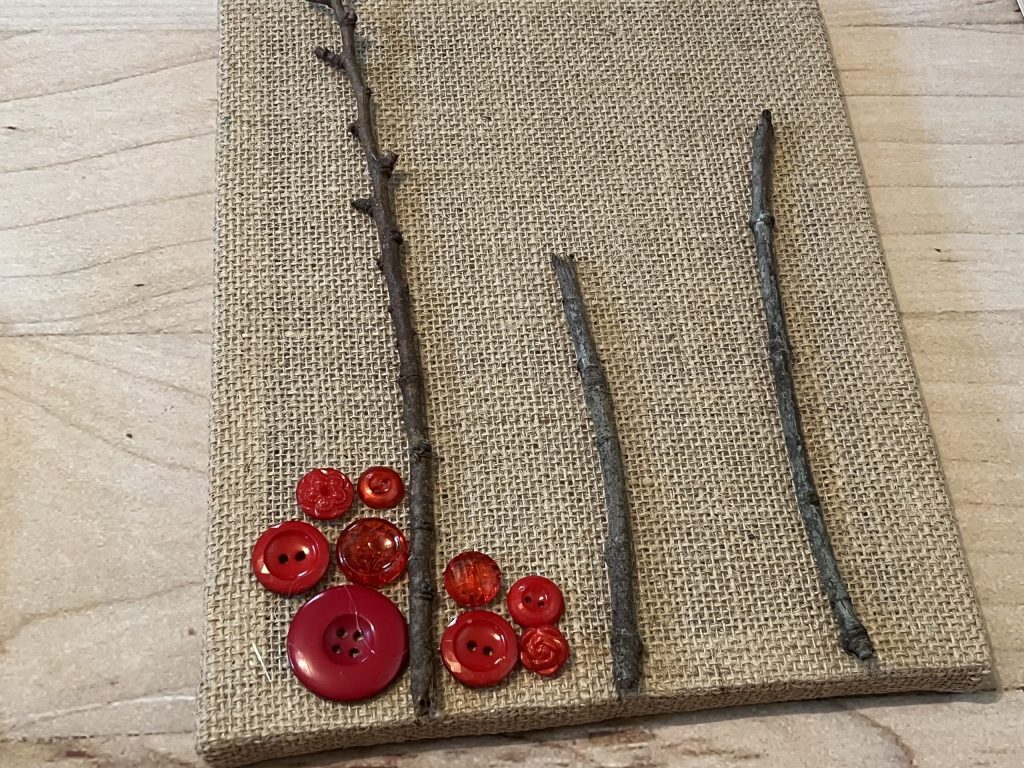
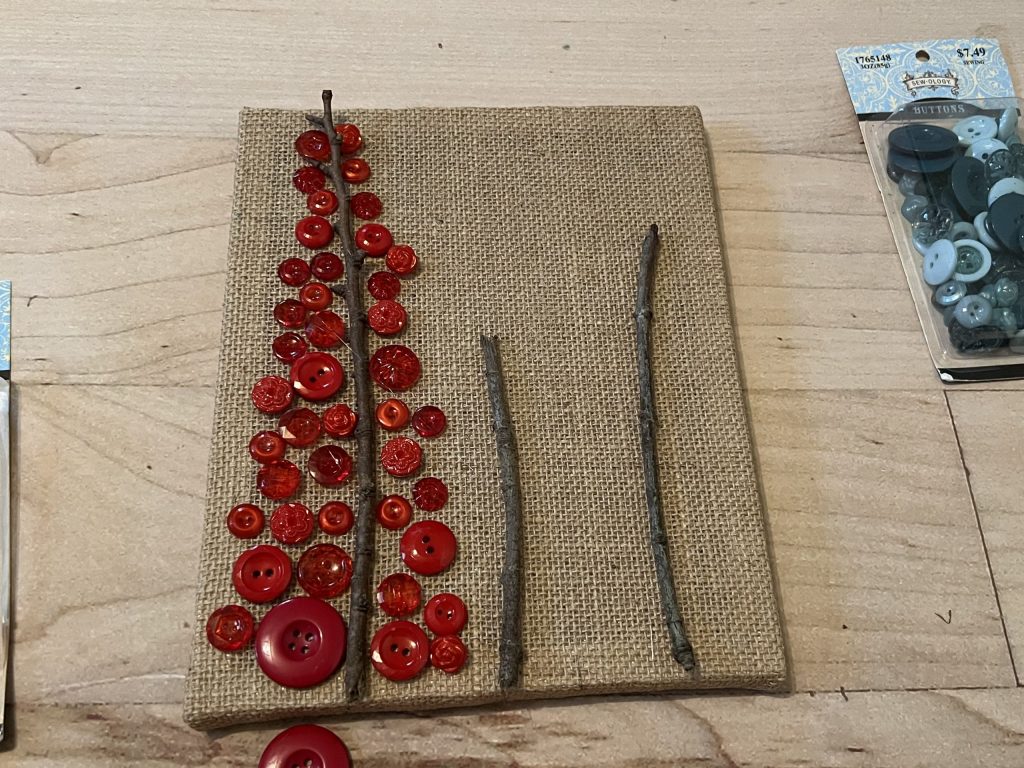
I didn’t quite have enough room to start the base of the middle tree, so I pulled the stick off and shifted it over just a tad.
Then, I glued the white buttons down.
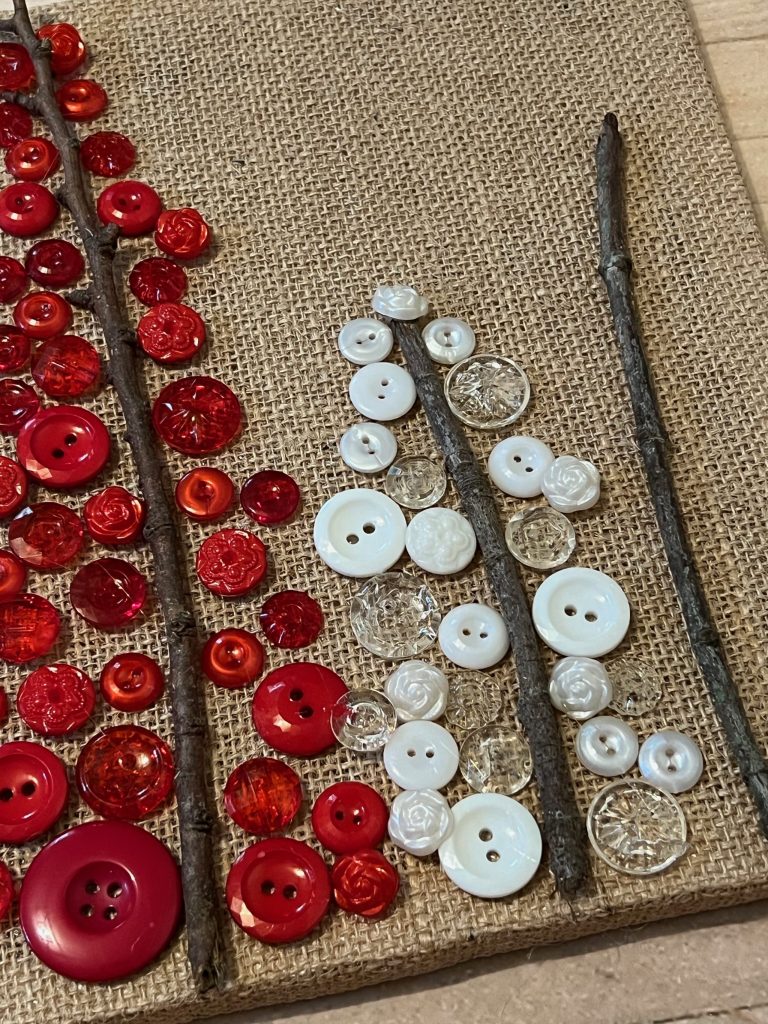
I continued with the same process for the last tree. As I was filling in the tree, I started overlapping some of the buttons and really liked the fullness of the tree.
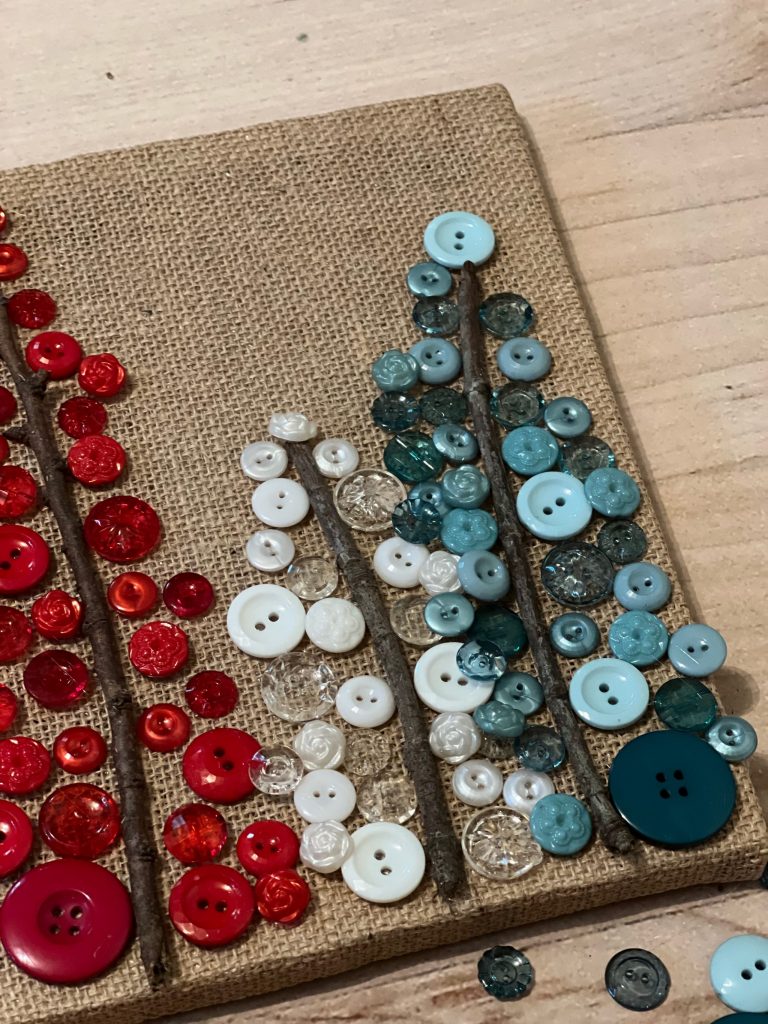
After finishing the blue green tree, I went back and added more buttons to the white and red trees, overlapping them just a little.
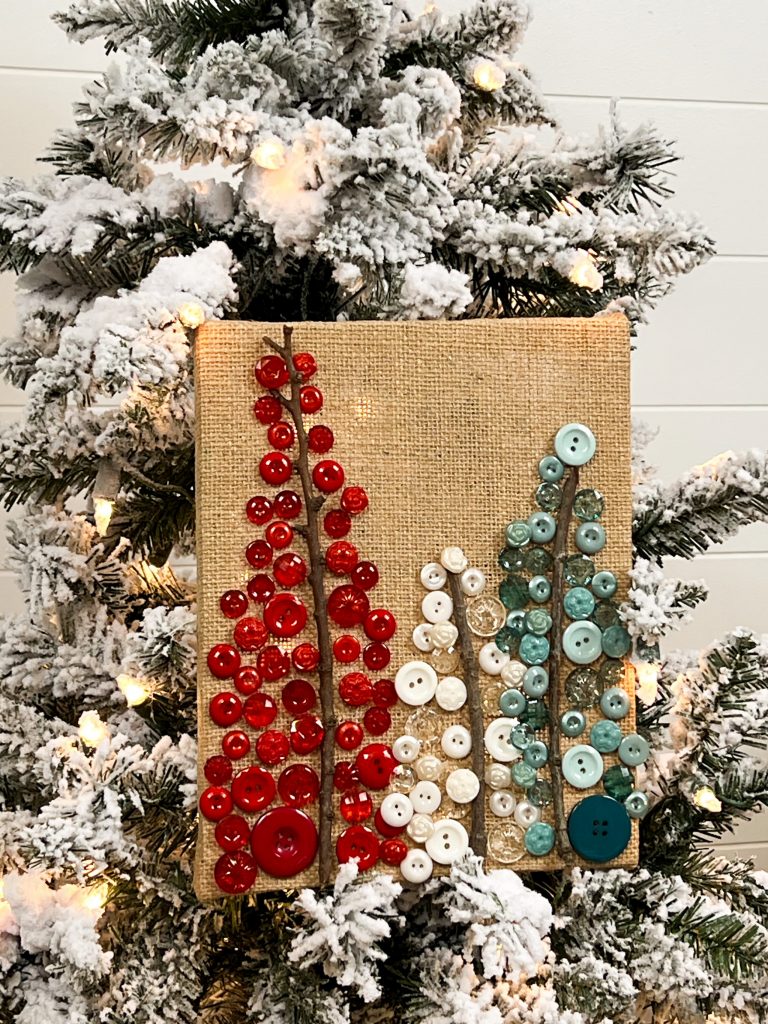
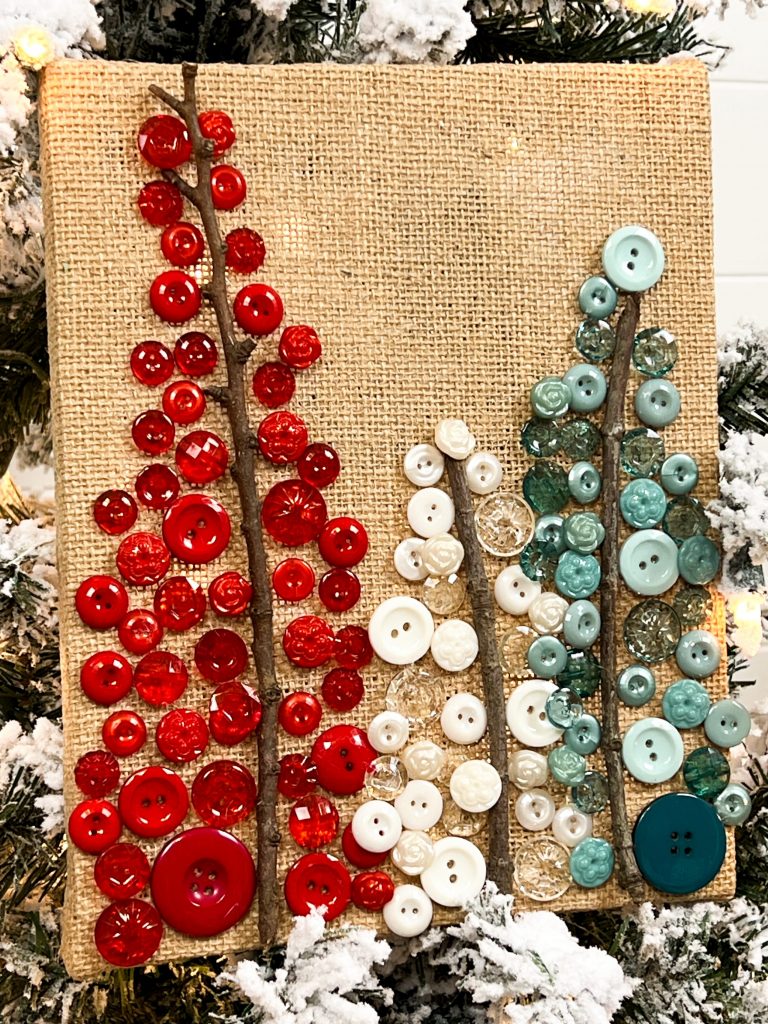
How adorable did these little trees turn out???! This was such a fun, fast and EASY project! Not only that, but it was very inexpensive! This would be a perfect project to do with kids. I used a hot glue gun for all of the gluing, but you could definitely use all-purpose glue with the kids!
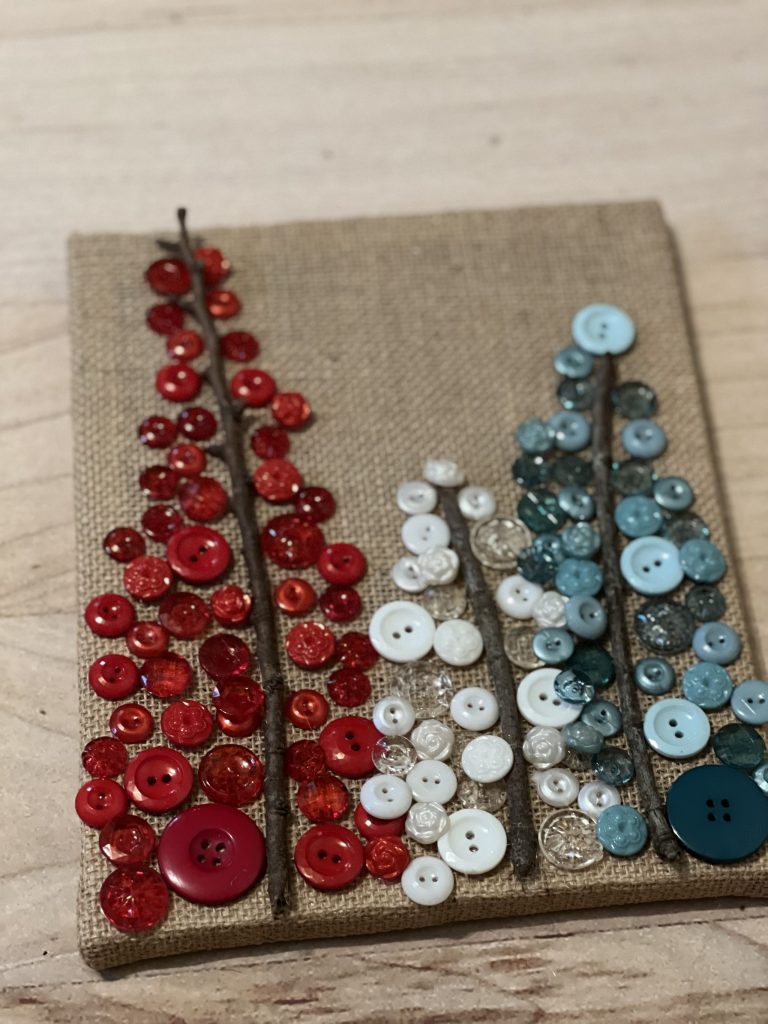
What do you think? I hope this inspires you to go grab some buttons and get crafty!
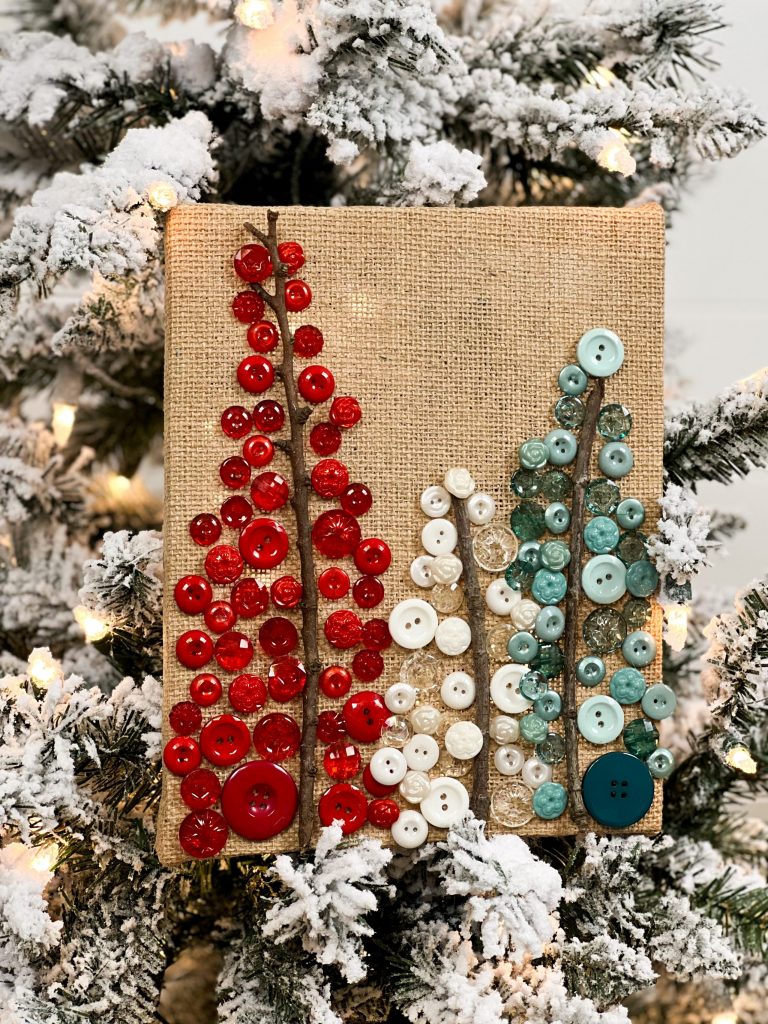
I am just totally in LOVE with this, y’all!!! Make some and show me YOURS!!!
Last Updated on July 27, 2023


I love this! Great idea!
Another really cute Christmas craft! You are amazing!
These button trees are so stinkin’ cute!!!!
Very cute project. I love the color choices, but there sure are a lot of possibilities.
Yes!! Thank you????
#replay Texas sprinkled
I really like it!