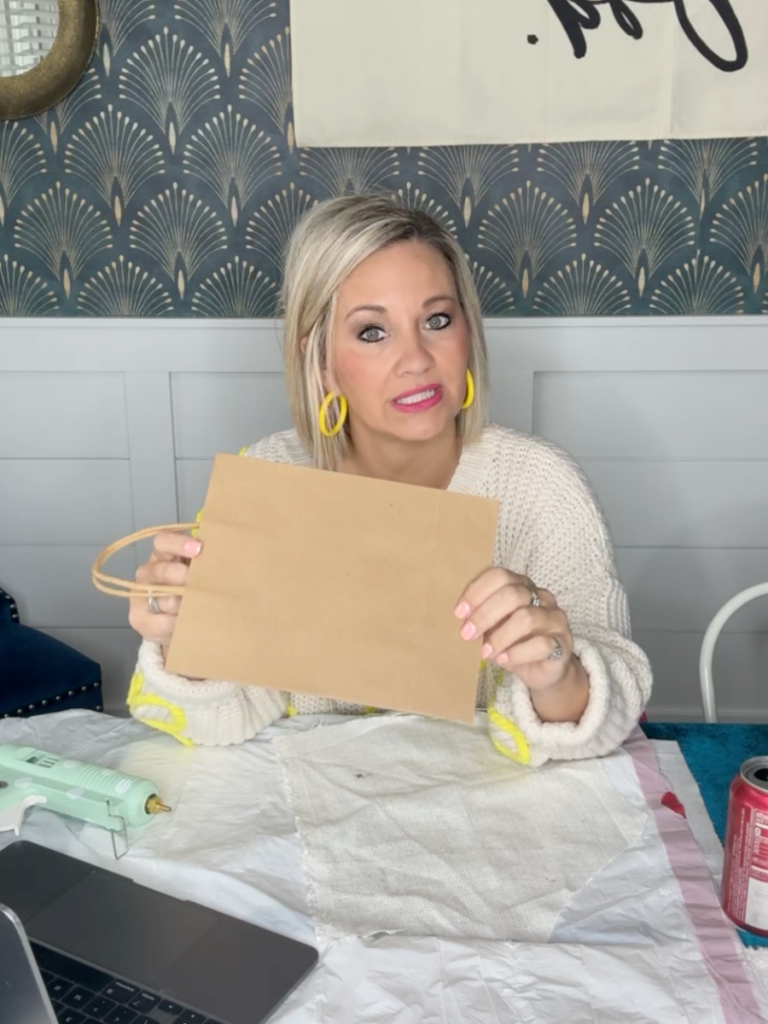
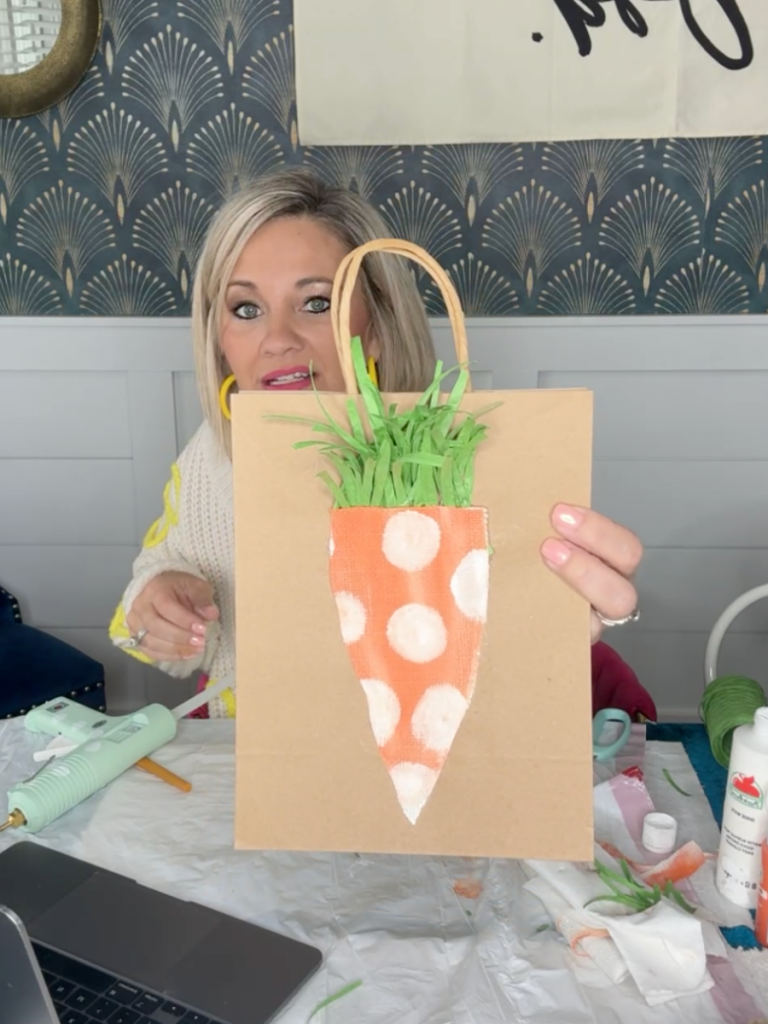
I just love doing projects with these super-cute kraft bags! I have created them for a lot of different seasons, but never for Easter! These are very inexpensive and a really fun way to give the cutest gift!!
I made these in my MVP GROUP! Are you a member?? You can join here for just $4.99/mo! I go live once a month with an exclusive live craft AND you get a 15% discount code every single month for the Re-Fabbed Boutique!!! It practically pays for itself!!
Here are the supplies you’ll need for this one:
- Kraft paper gift bag
- White fabric
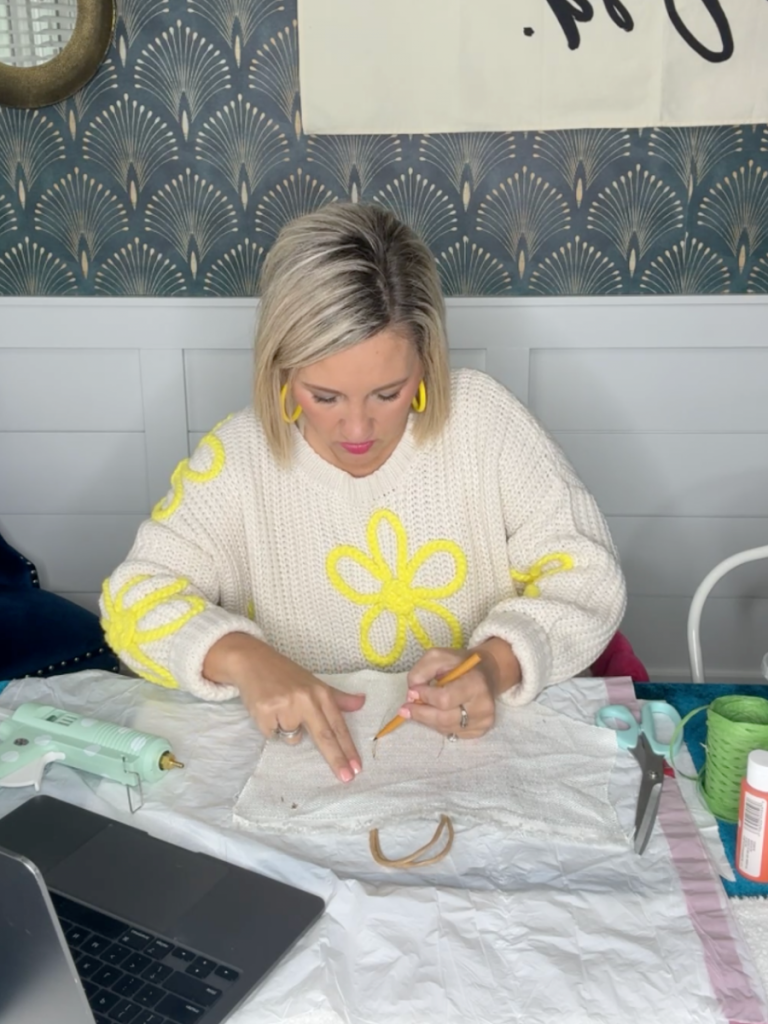
- Pen or pencil for sketching
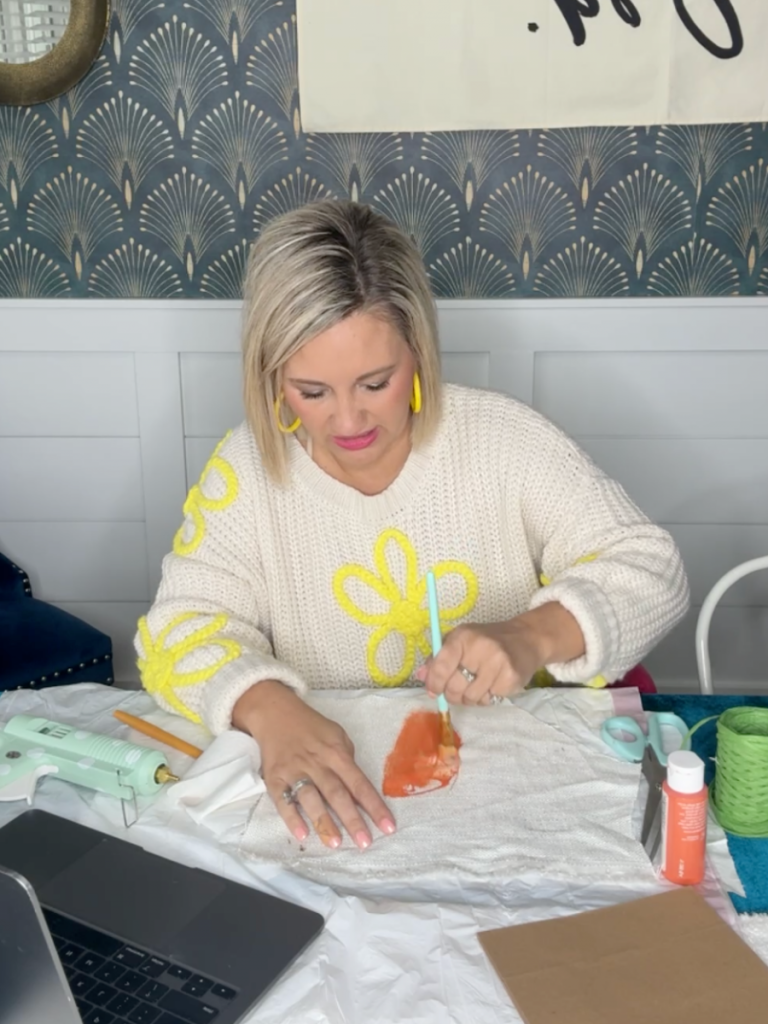
- Harvest Orange paint by Apple Barrel
- White paint by Apple Barrel
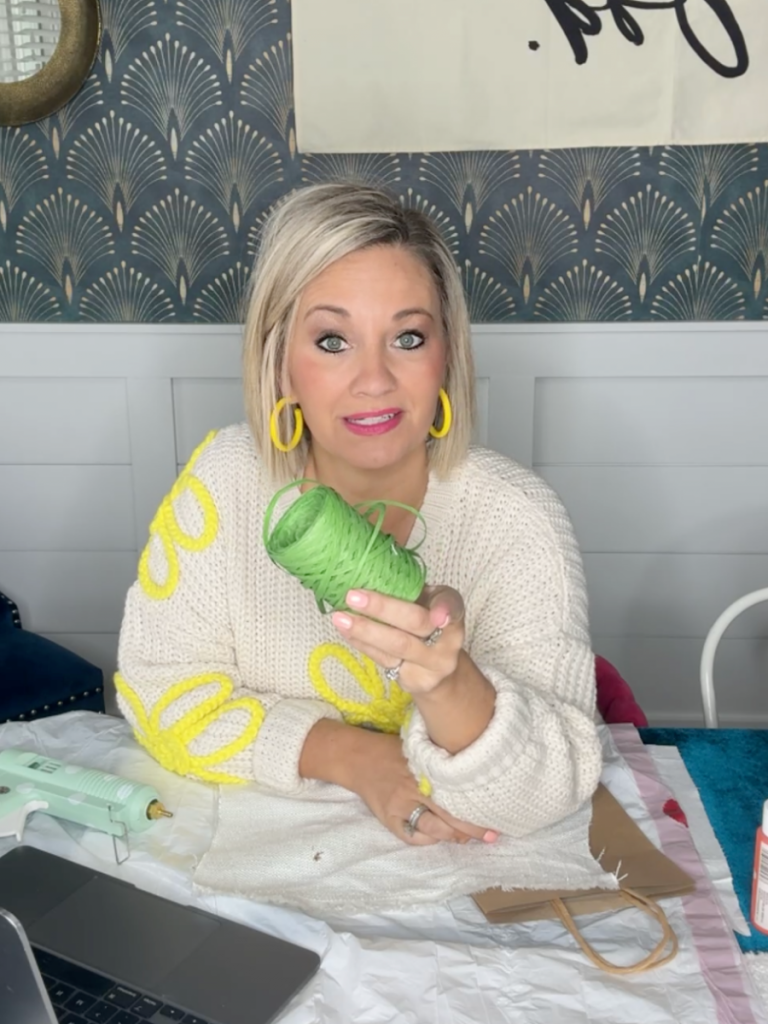
- Green Raffia
- Supplies to make bow
I used the green raffia from my Re-Fabbed collection for the fronds (I know y’all are impressed that I knew that word!!!) and you can get this and seven other PERFECT spring colors HERE!
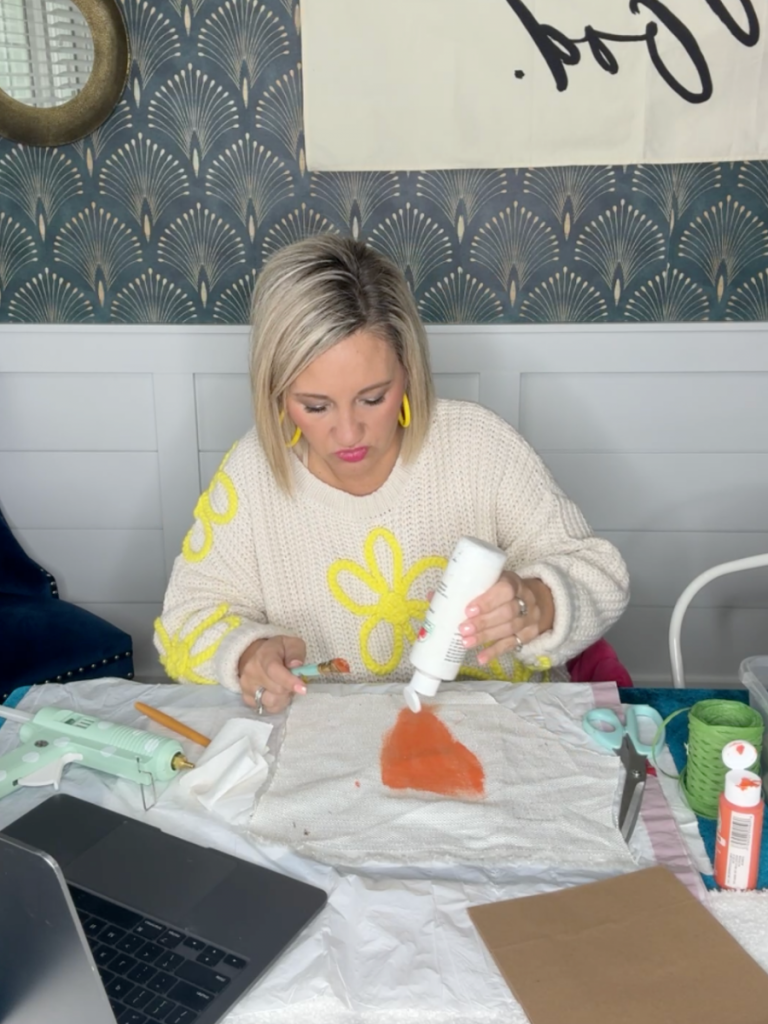
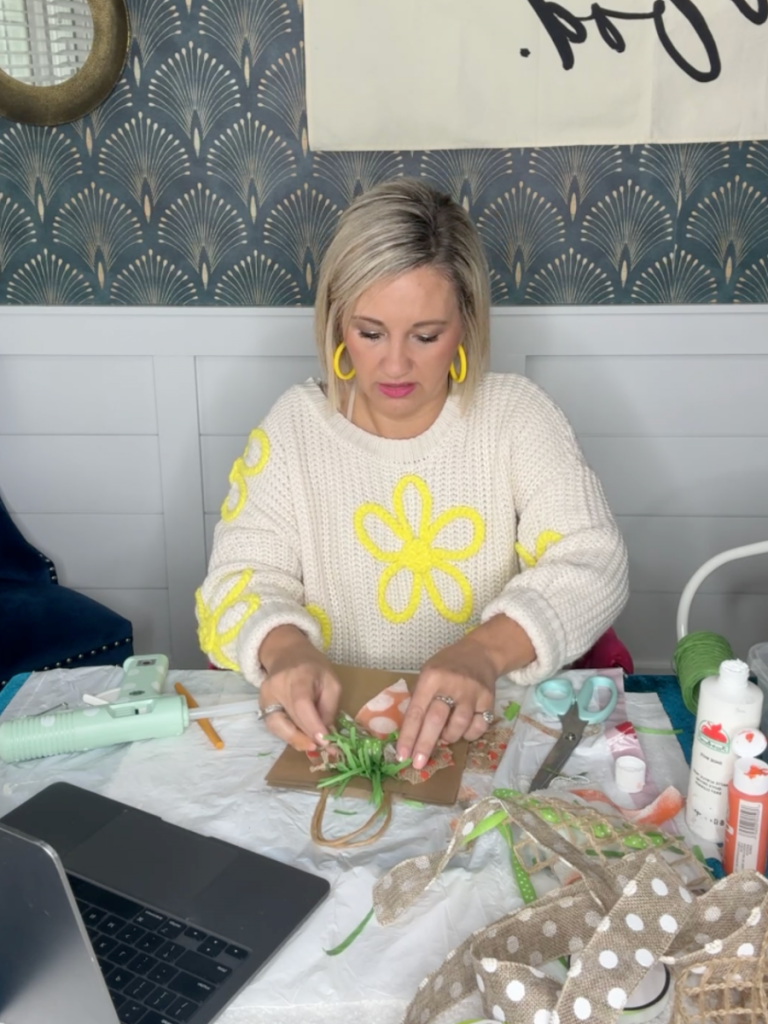
First, I placed my fabric on the front of the bag and sketched out my carrot design using a flair pen.
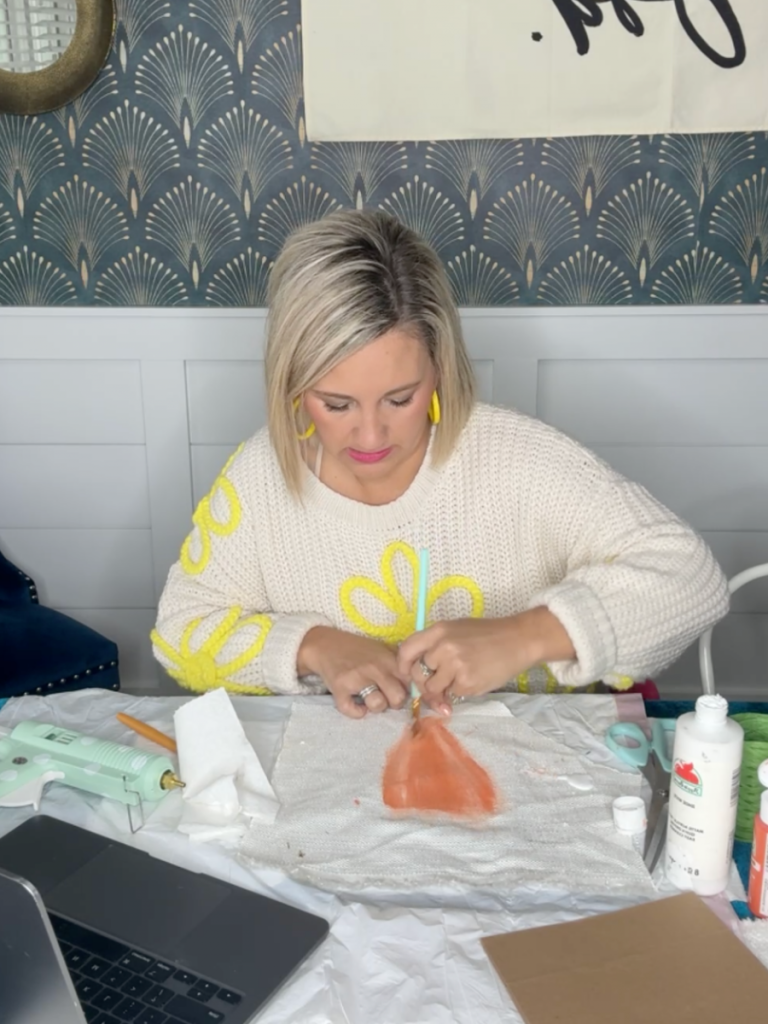
Next, I used my favorite shade of orange to fill in the carrot that I had sketched on the fabric.
Just to give it a little variation, I added in some white accents.
I didn’t want add a ton of white, just a little bit of “interest” to the orange because, to be honest, orange is NOT my favorite color!!
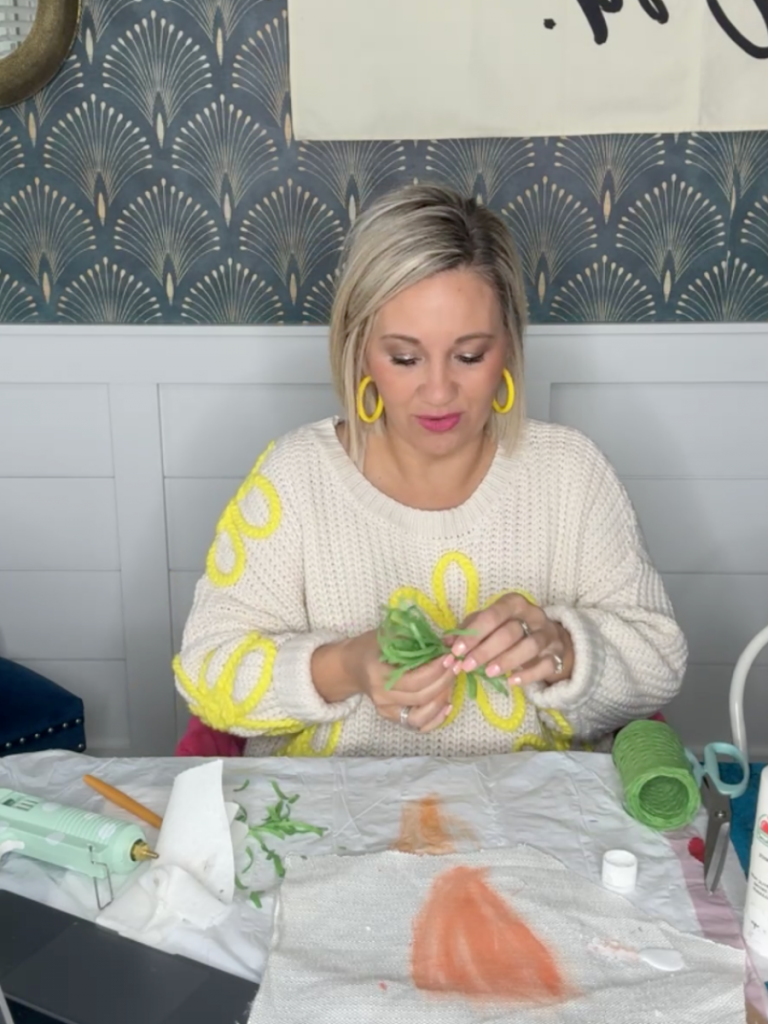
While the paint is drying on the carrot, I got my fronds ready. I just looped the raffia like I was making a bow, then used my scissors to snip off the loops!
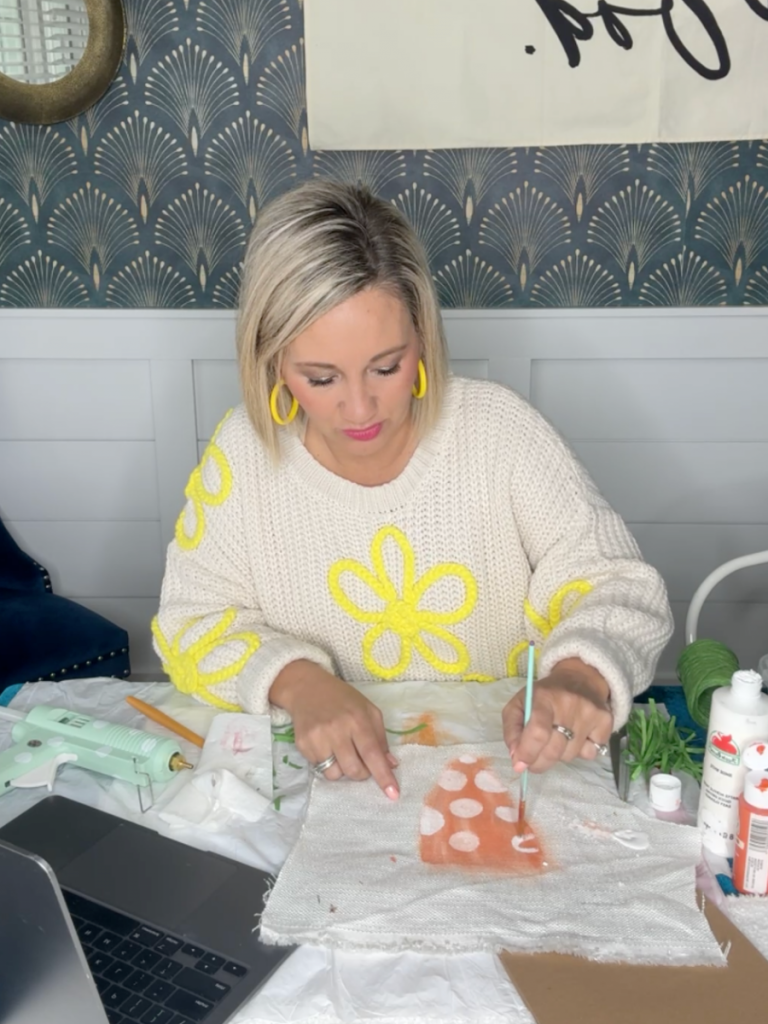
I decided to add some polka dots to the carrot because they just make everything SO STINKIN’ CUTE!!! I could have used a spouncer, but I prefer to freestyle! Be sure you make your dots where some of them are “half” dots to give it the best look!
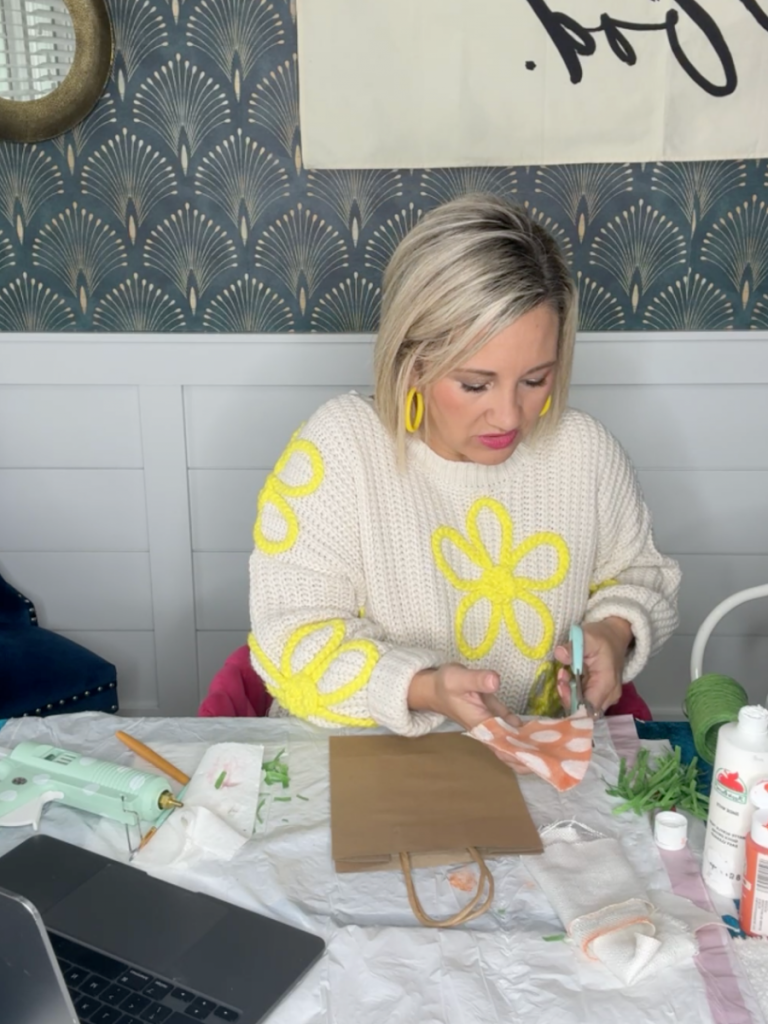
Next, I cut out my carrot to get it ready to glue to the bag!
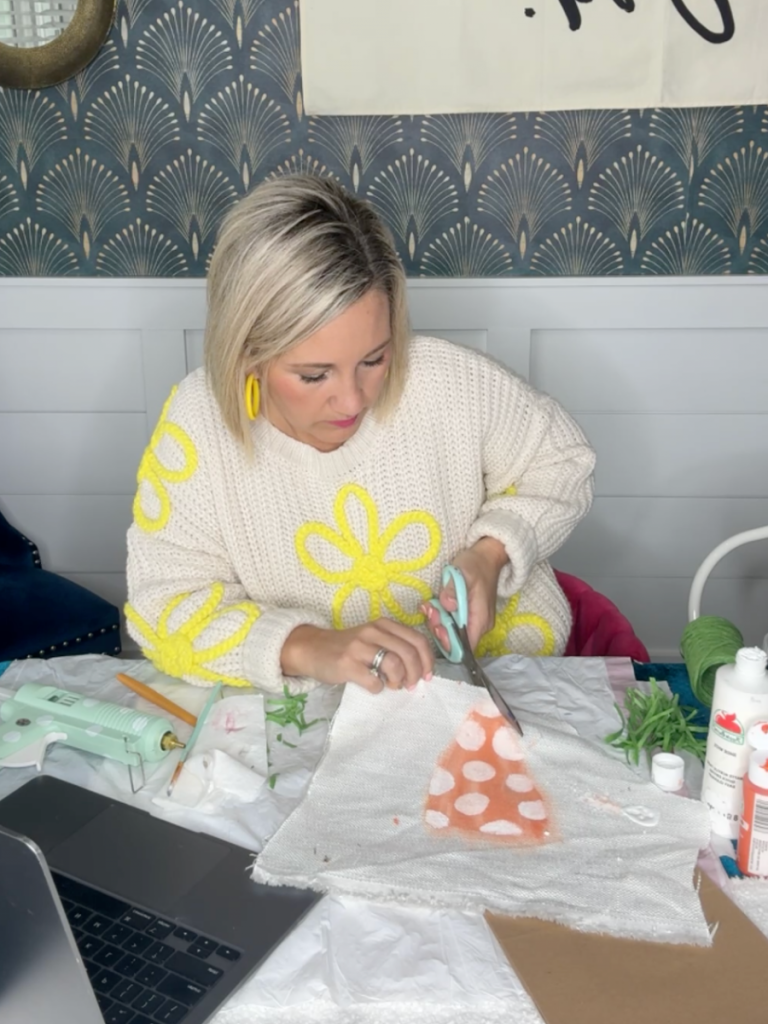
When I laid it on the bag, I decided to trim it just a tiny bit more to give it a skinnier look. I also cut some off of the top to give me room for the fronds on the bag!
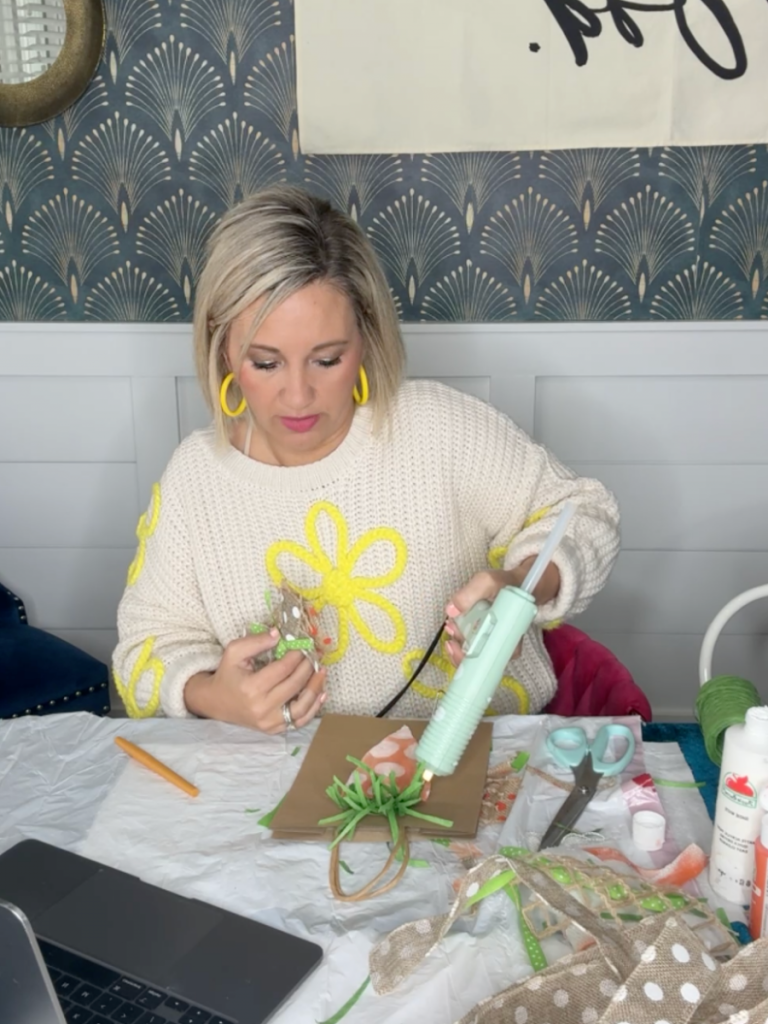
I placed my carrot on the bag and folded down the top so that I could glue on my fronds underneath it.
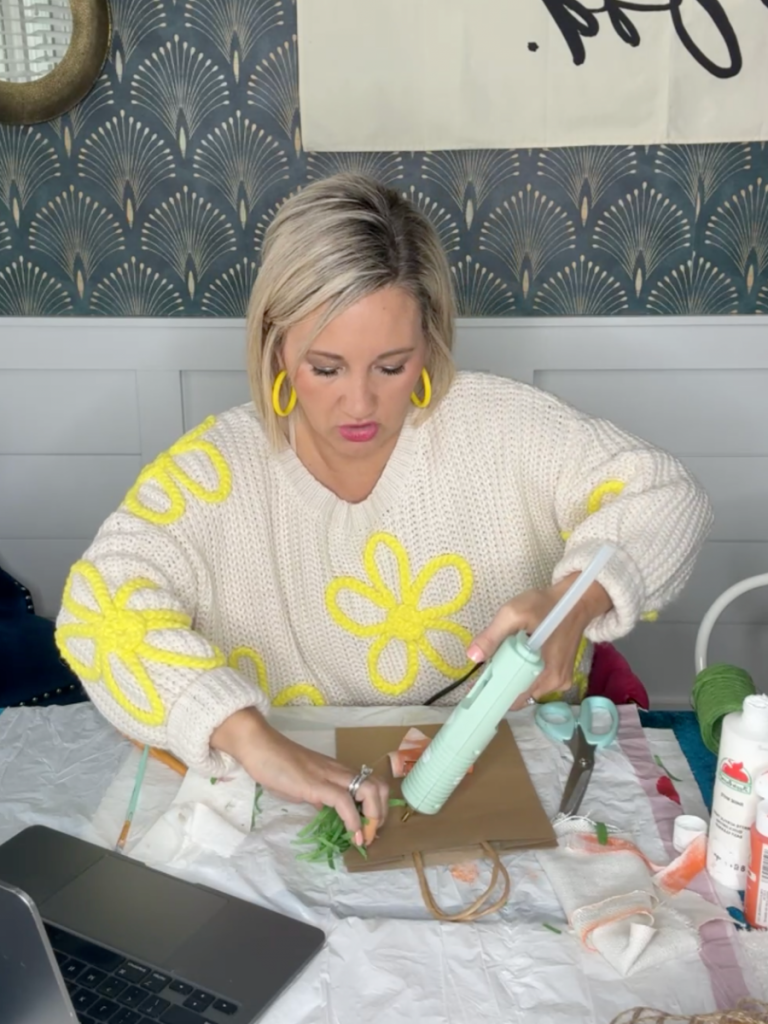
I used my handy-dandy glue gun to secure the fronds and carrot on the bag!
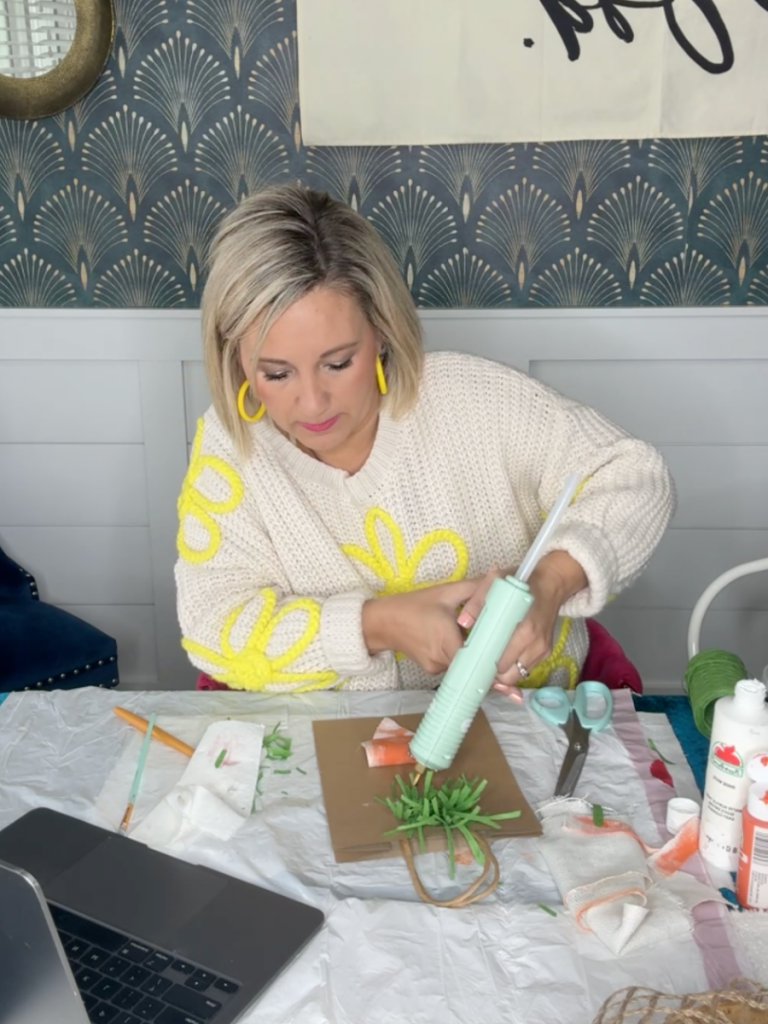
How CUTE is this looking already?!?!?
For the bow, I went in my craft room and just grabbed a hot mess of a bunch of ribbon to make my Re-Fabbed bow. If you want to know how I make it, you can see that HERE!!!
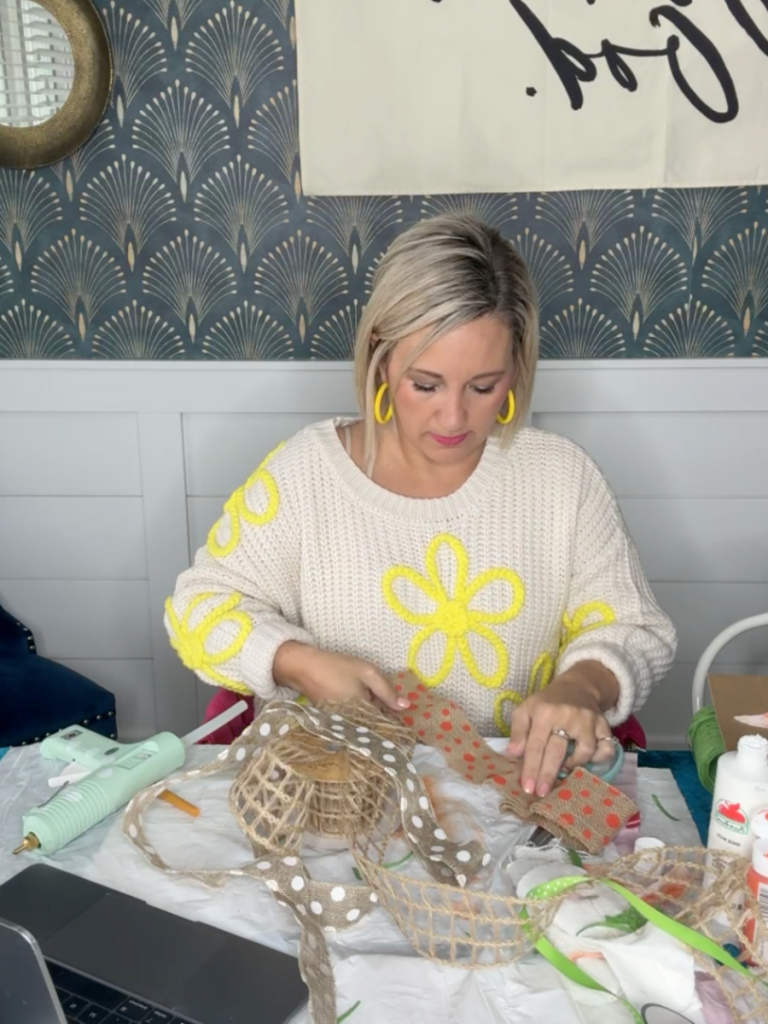
I criss-crossed several different sizes and styles of ribbon and I think the polka dots are literally PERFECT for this project!!!

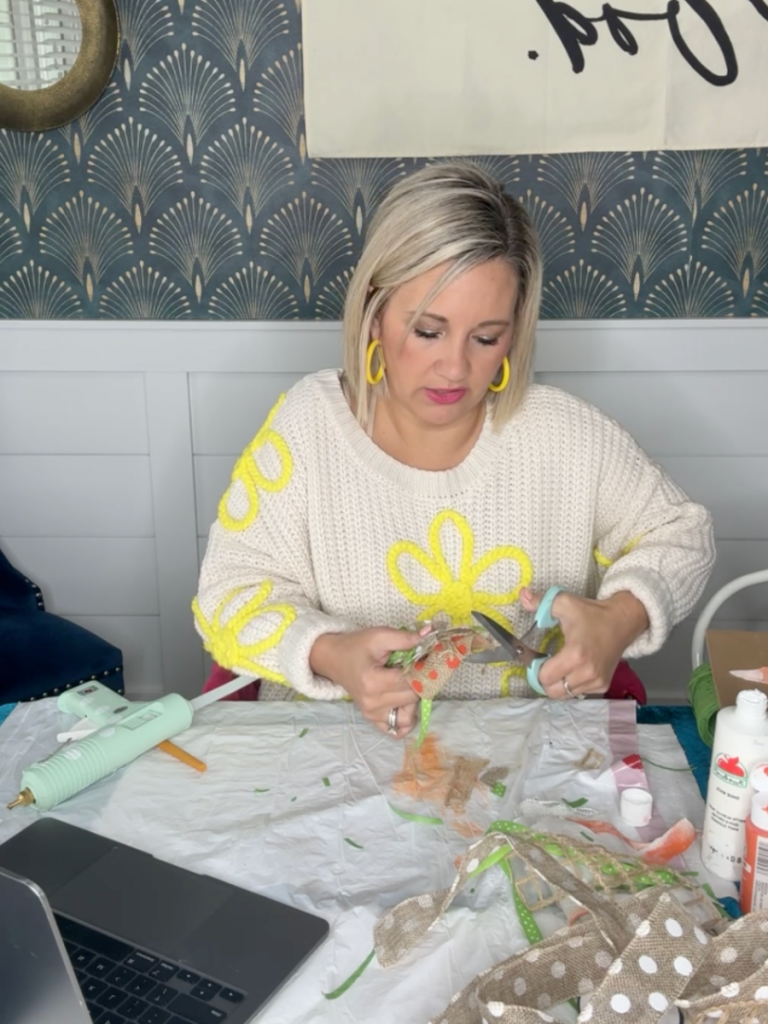
Just a quick trim to even up ribbon and it’s ready to go!
I used my glue gun to place it right under the fronds.
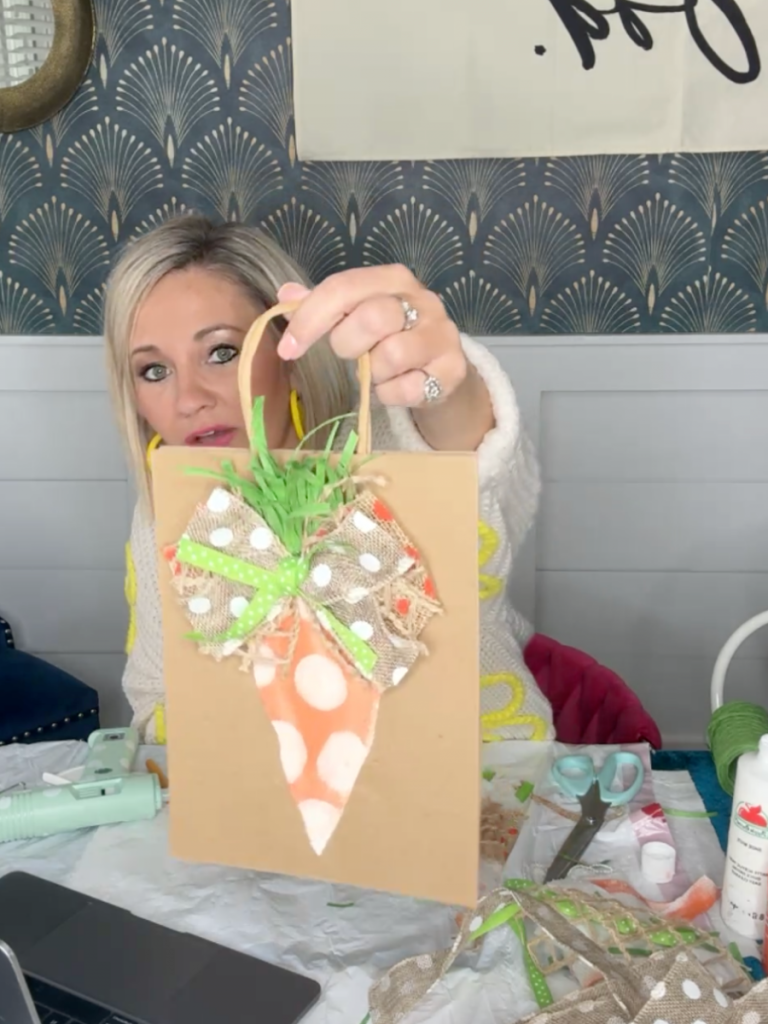
After a little adjusting to get it just right and some fluffing of the fronds….
THIS is the finished product!!! Y’all I cannot get over how ADORABLE this turned out!! I mean, who wouldn’t want to get an Easter gift in this cute bag?!?!?!
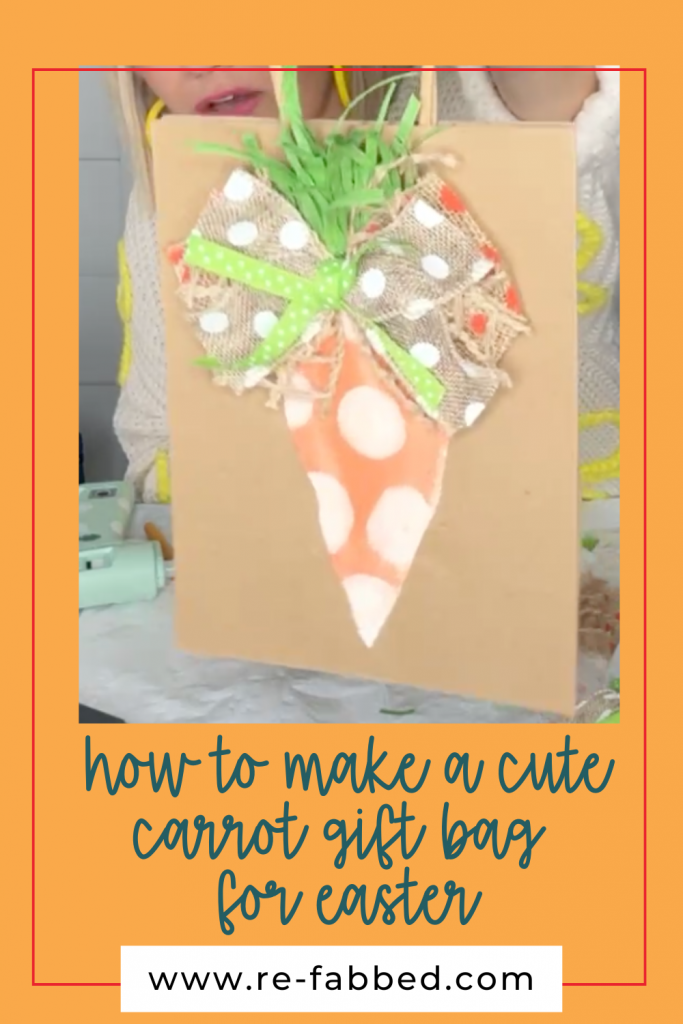
BE SURE TO PIN FOR LATER!!
Last Updated on March 28, 2025

I love all these ideas and can’t wait to do them, thanks for sharing!
I do receive your emails and enjoy all of them????
So cute ????
At first I thought “It doesn’t look right” then I kept scrolling and realized you weren’t finished. Silly me, of course Brooke would add finishing touches with her most adorable bow. Just love it!
Hi Brooke! You were the first crafter that I started watching way back when. You have inspired me and helped me to find my inner creativity. You have taught so many life lessons. Keep up the good work!