Have you every used decorative nails or tacks to enhance the look of furniture or maybe a piece of artwork? I recently spotted a package of brass decorative nails in the wood crafting section at Hobby Lobby, and they sparked an idea! This little wooden pumpkin was at a thrift store and I just had to rescue him! He was a bit dated and in need of a makeover! I’m going to share how I decorated this pumpkin with a little paint and some fancy brass plated tacks!
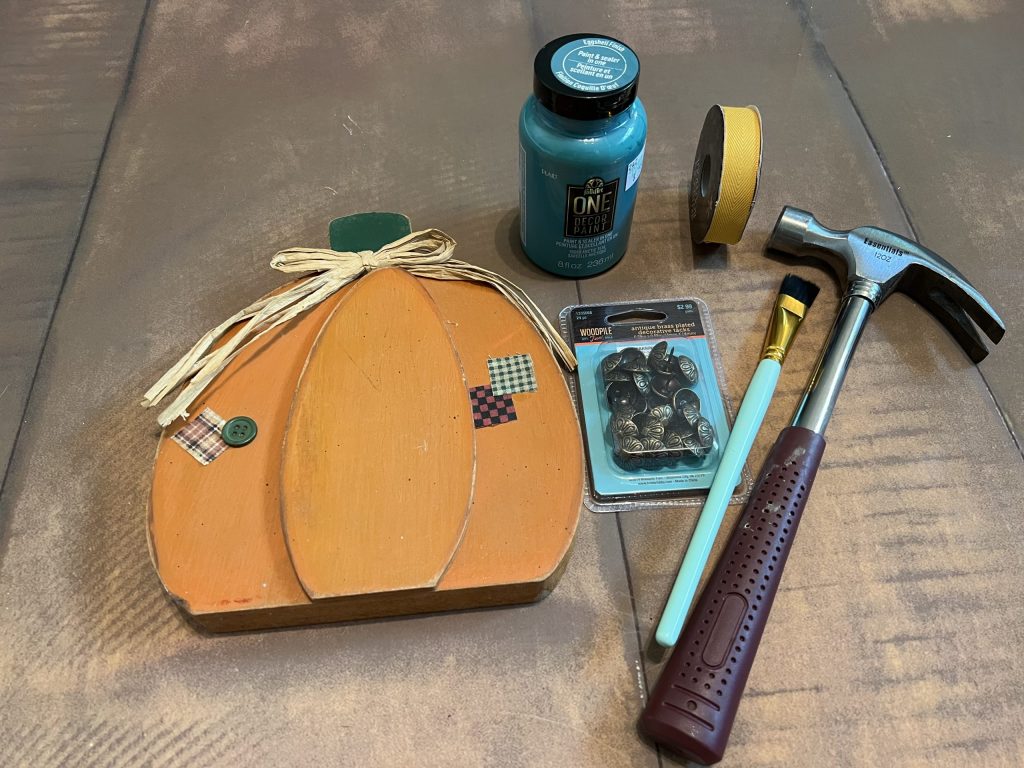
For this project, I used the following supplies:
- Wooden pumpkin
- FolkArt ONE Decor Paint in Arctic Teal
- Antique brass plated decorative tacks
- Paintbrush
- Hammer
- Sanding block
- Flat head screwdriver
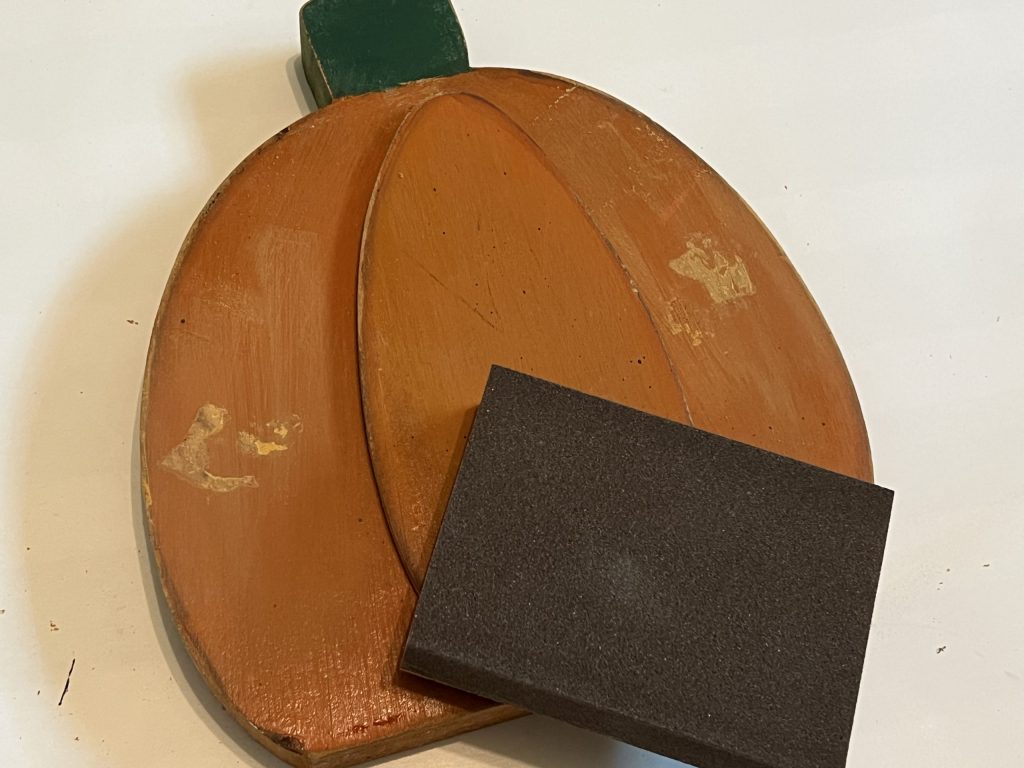
The first step in any thrift store project is always a thorough cleaning! I wiped down the ole pumpkin, and then I removed the little patches and button with the help of a flat head screwdriver. After I removed the bow and accents, I used a sanding block to smooth over the rough places.
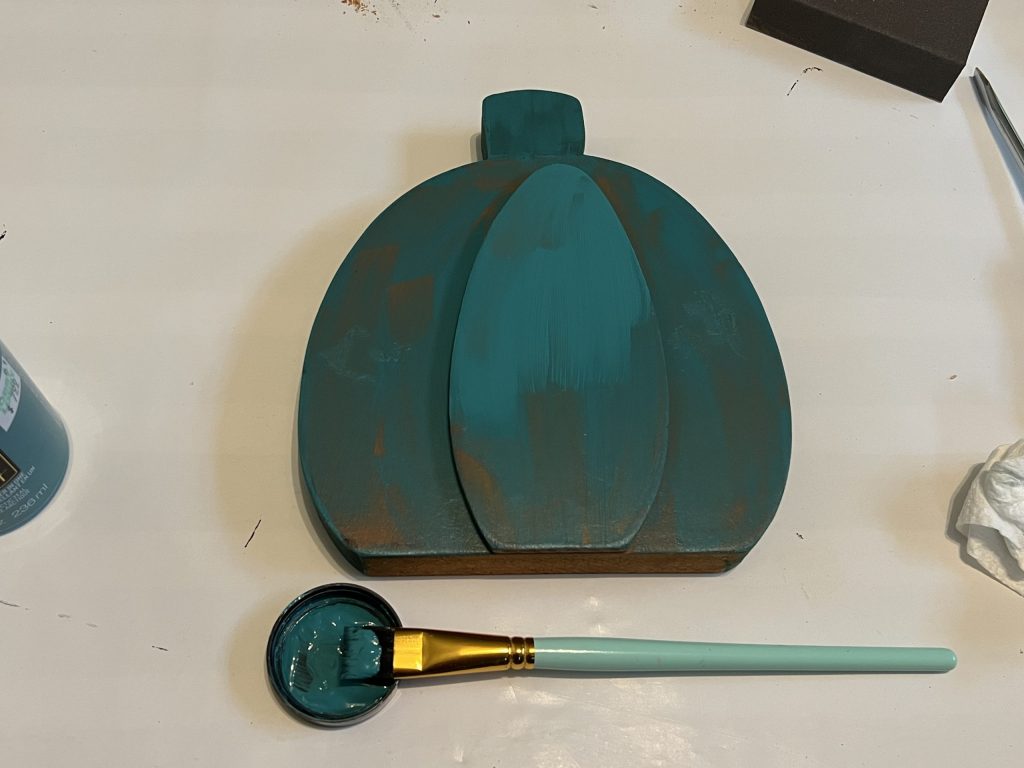
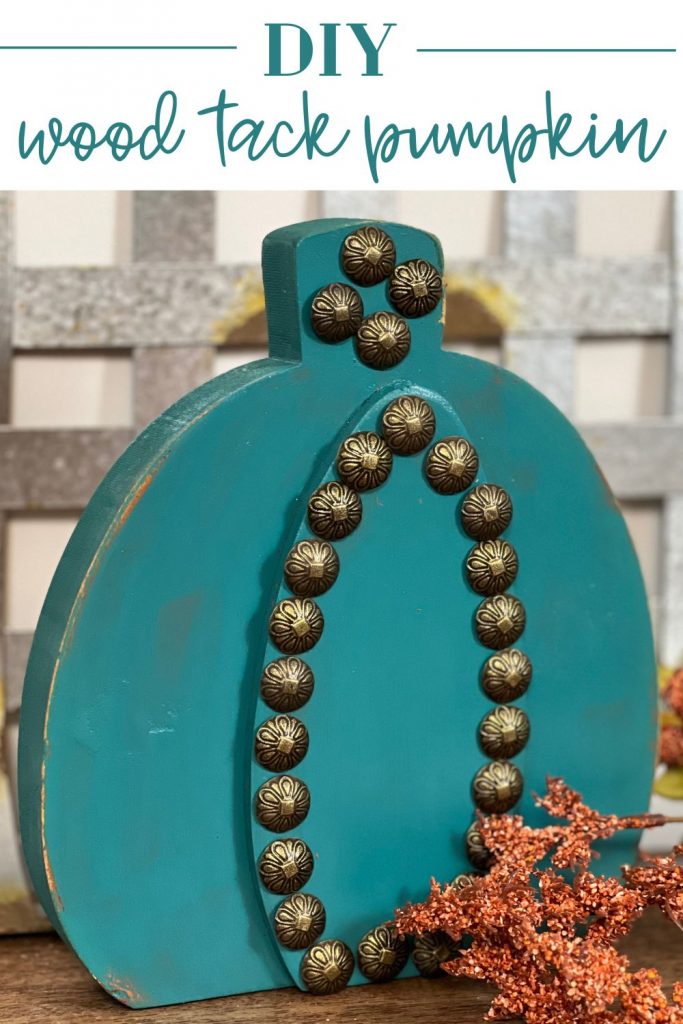
Next, it was time to paint the pumpkin! I had this beautiful teal color paint already on hand, and I thought it would pair perfectly with the antique brass tacks. After two coats of paint, I could still see just a tiny bit of orange peeking through, but I actually liked the look!
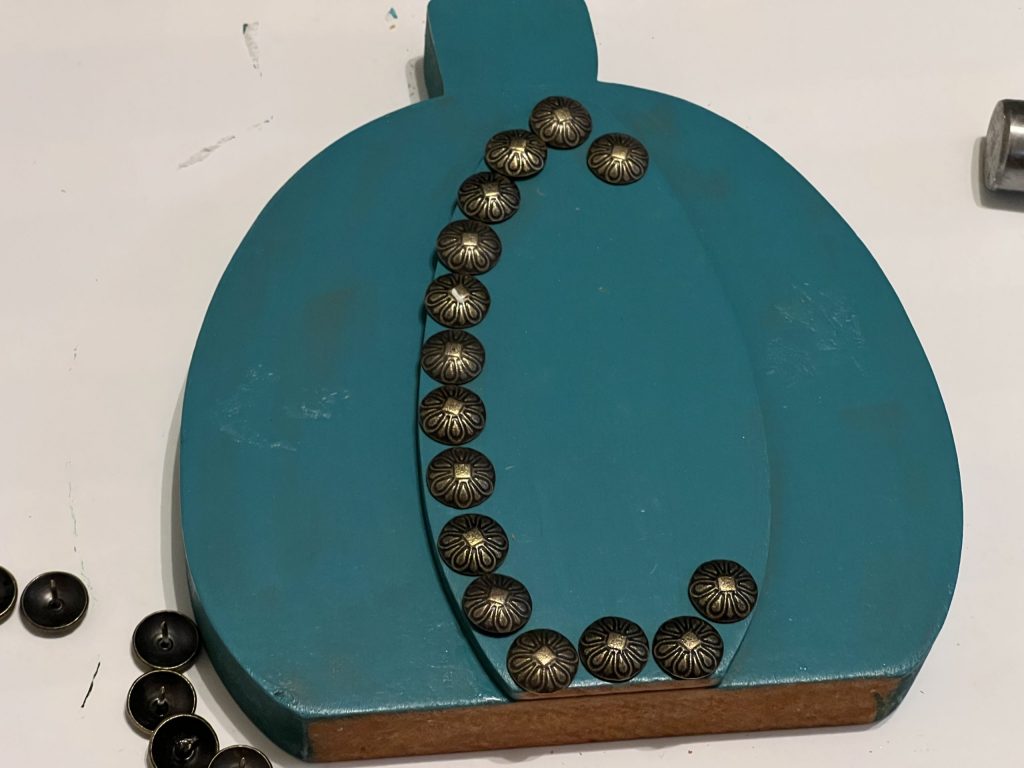
Once the paint had completely dried, I started to tap in the decorative tacks. I considered doing a pattern, but decided to just outline the center circle of the pumpkin. Beginning at the bottom center, I hammered in the first tack.
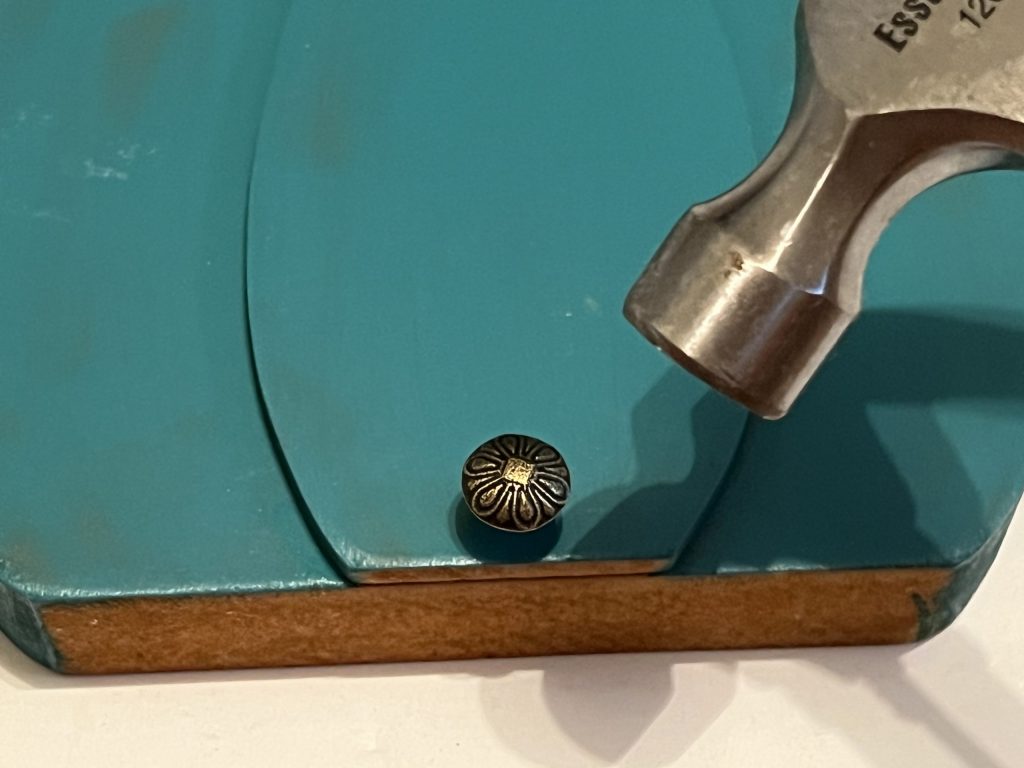
I filled the bottom row, then I worked my way up the left side. They definitely were not completely straight or evenly spaced, because that’s not how I roll! I just kind of winged it, and I think it worked really well!

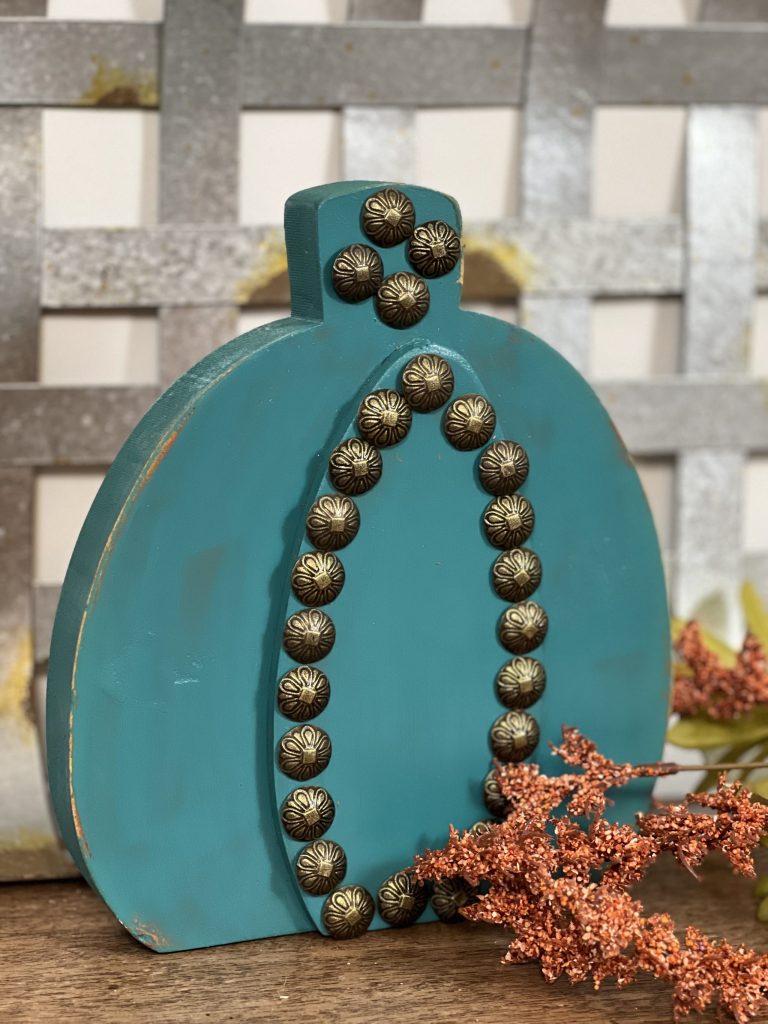
Next, I sanded on the edges just a tad to give it a little distressing.

It was at this point that I was trying to figure out what to do with the stem. I originally planned to add a mustard colored bow, but I kind of liked the simplicity of just the tacks. I also wanted the style to be versatile to mix and match with different colors. Ultimately, I just decided to add a few tacks to the stem! I’m glad I purchased two packages of tacks, because I had to grab a couple from the second package to complete the project!
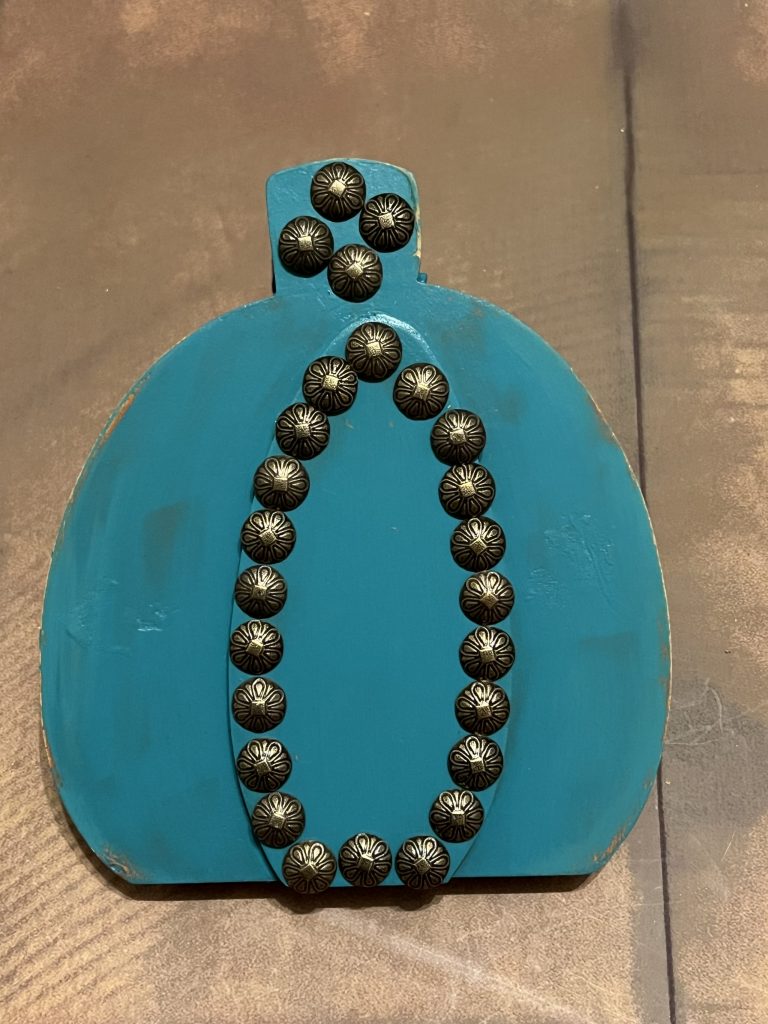
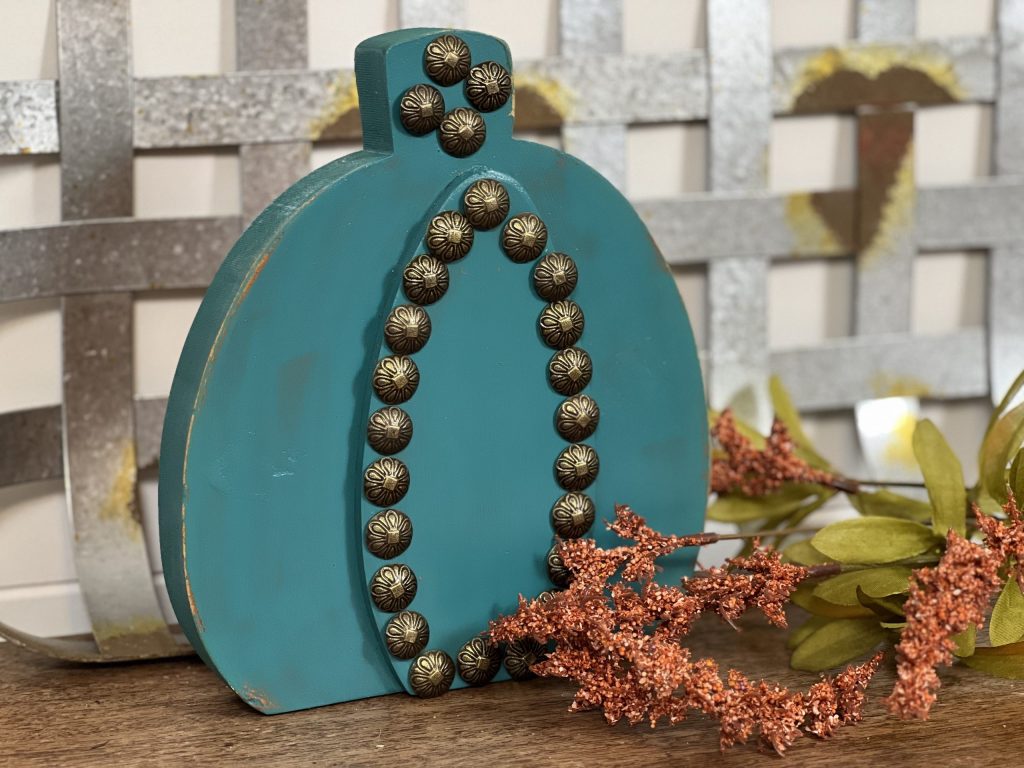
In the end, I LOVE how perfectly imperfect this pumpkin turned out! It has a few little dents and dings, but he really looks cute paired with some fall decor! I really love the character the tacks add to the piece. It was such an inexpensive transformation, and it took it from drab to fab!
What do you think? Have you ever used decorative tacks or nails to embellish something?
PIN this for later!!
Last Updated on September 10, 2023

I never thought of using decorative tacks or nails to embellish things. Love how this turned out and love the color you chose.