If you’ve followed me for any time at all, you know how much I love ALL THE CHRISTMAS THINGS and Christmas crafting is literally my FAVORITE!! (Are you a member of my FREE year-round Christmas group on Facebook?? If not, join me HERE!) I recently created this peppermint frame with some supplies I had on hand and it turned out even CUTER than I thought it would!!! It was also SOOO fun and easy!!!
Here are the supplies I used:
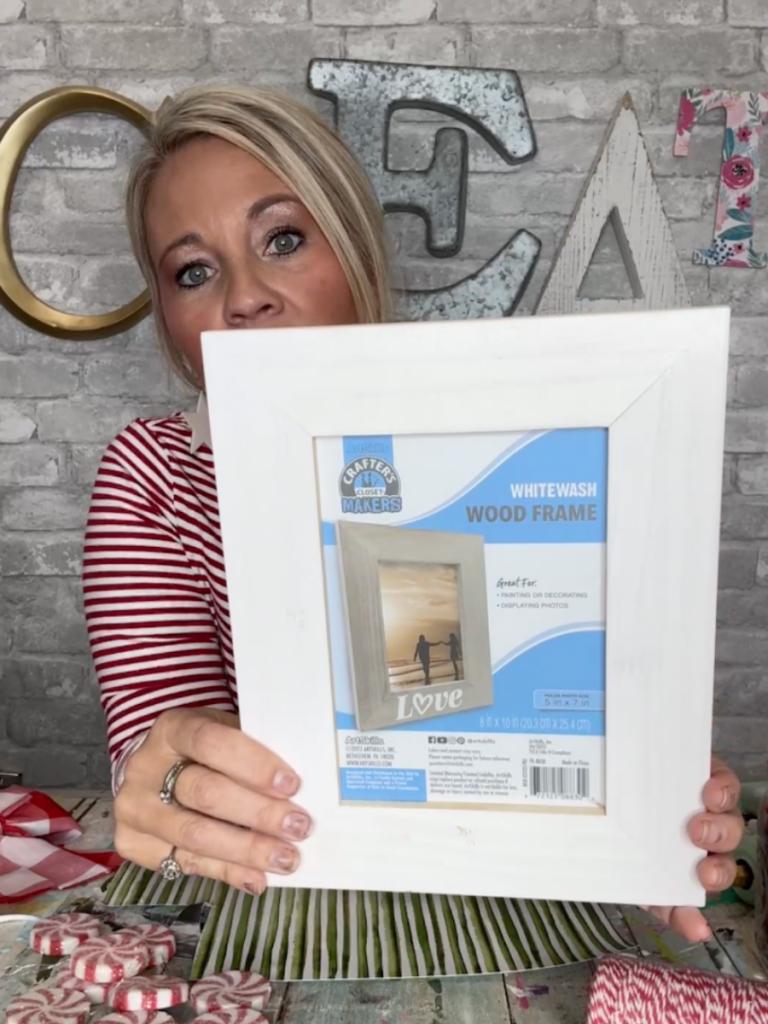
- Whitewashed picture frame from Dollar General (8×10)
- Peppermint discs from Hobby Lobby (I used 2 packs!)
- Red/white gingham gift bow from Hobby Lobby
- Scrapbook paper
- Re-Fabbed Hot Glue Gun (Grab yours HERE!!)
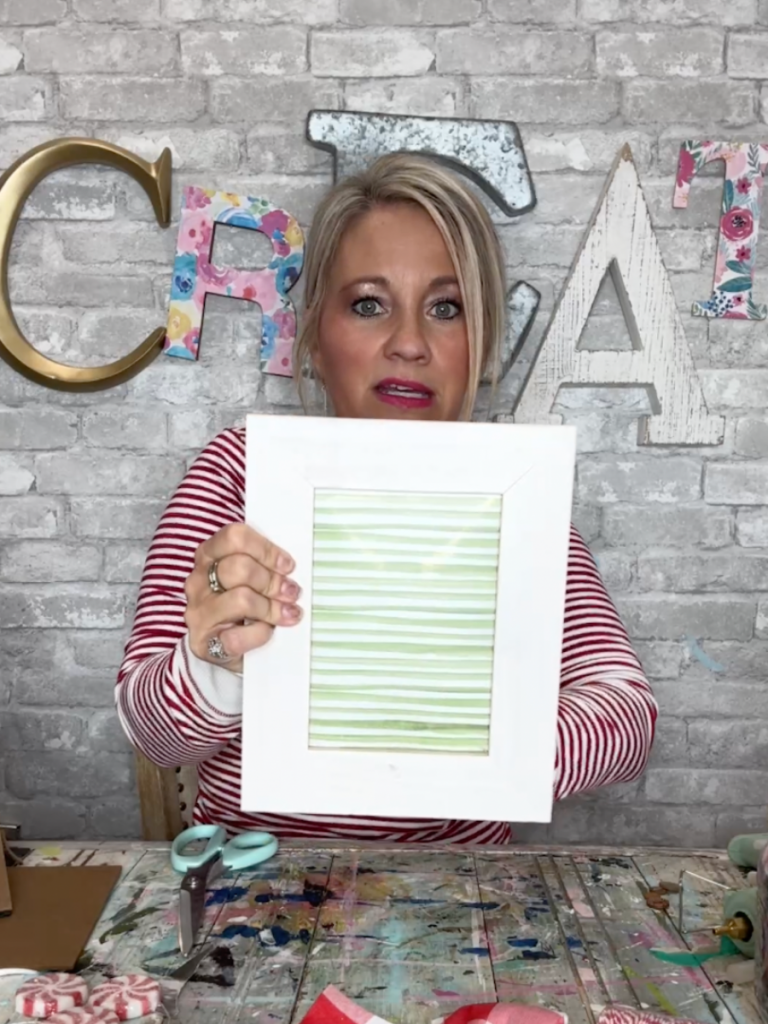
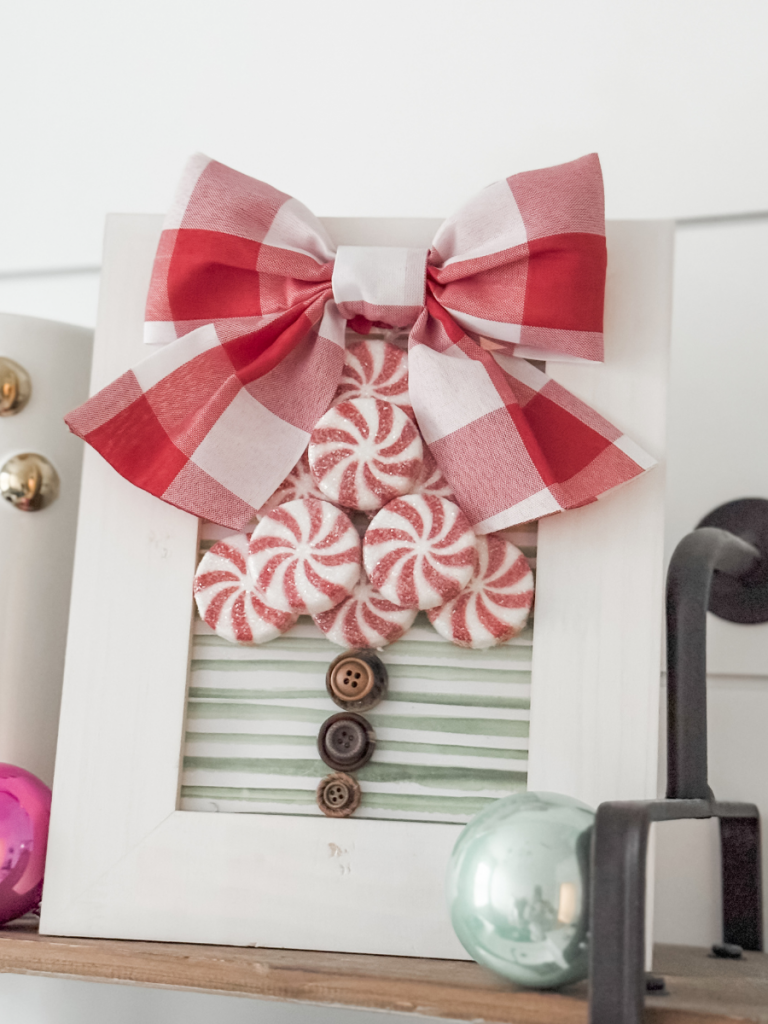
I started with this whitewashed wood frame that I’d picked up from Dollar General. I used 8×10, but you can use any size! I loved that the whitewash finish made it READY TO GO with NO painting required!!
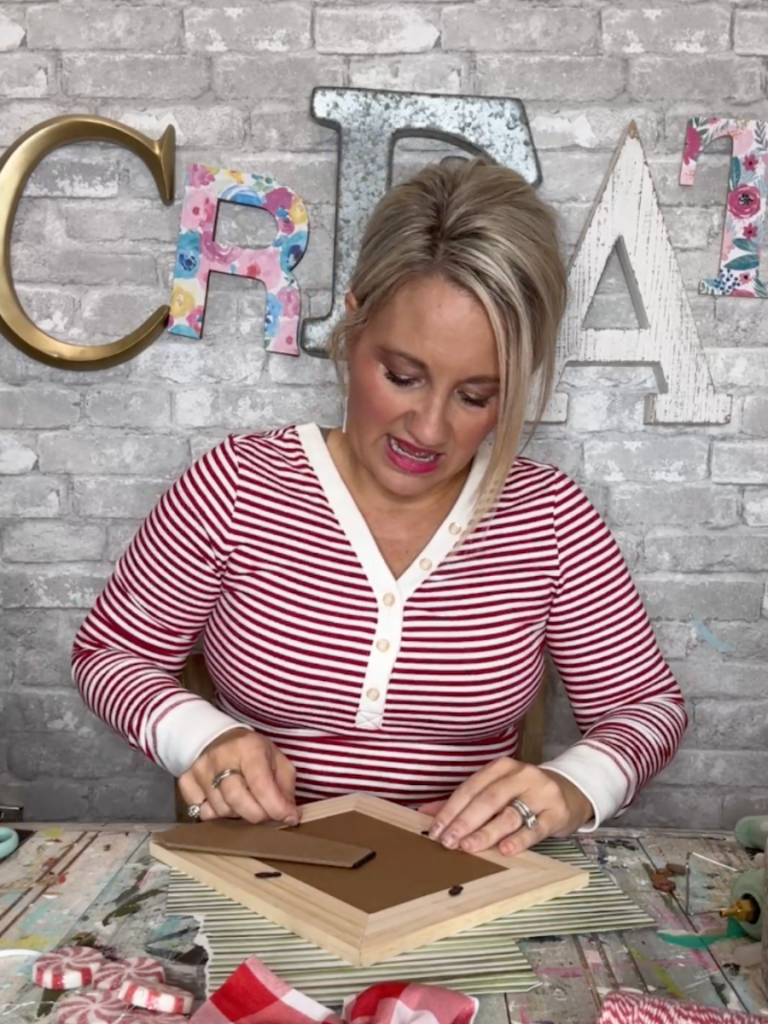
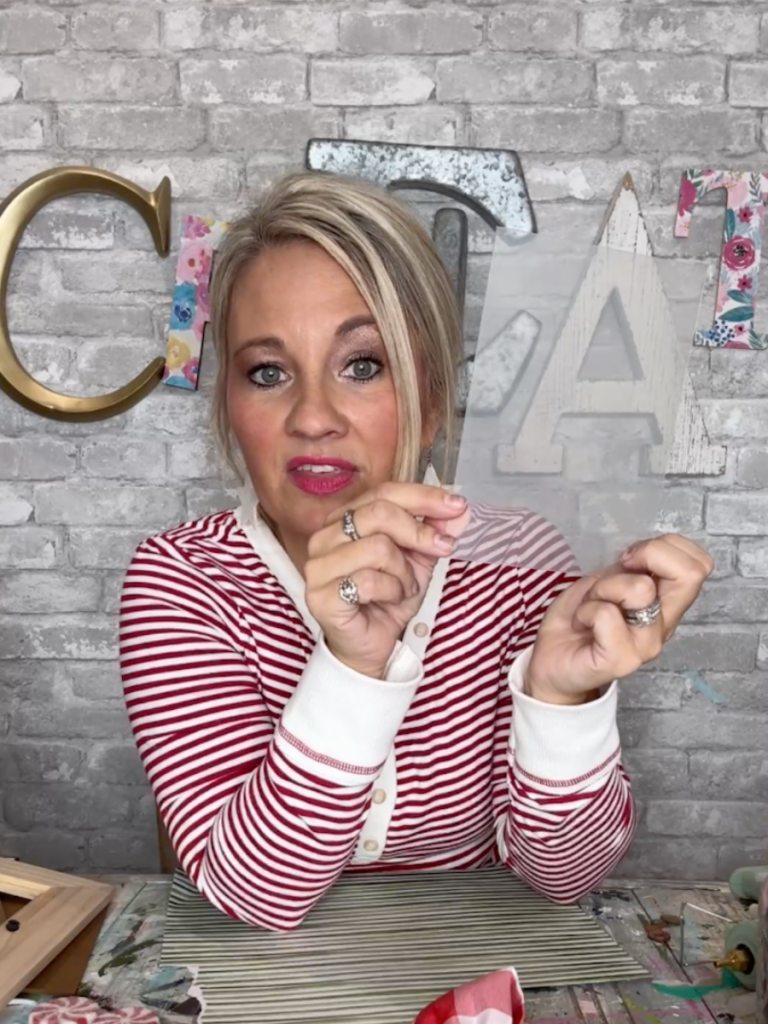
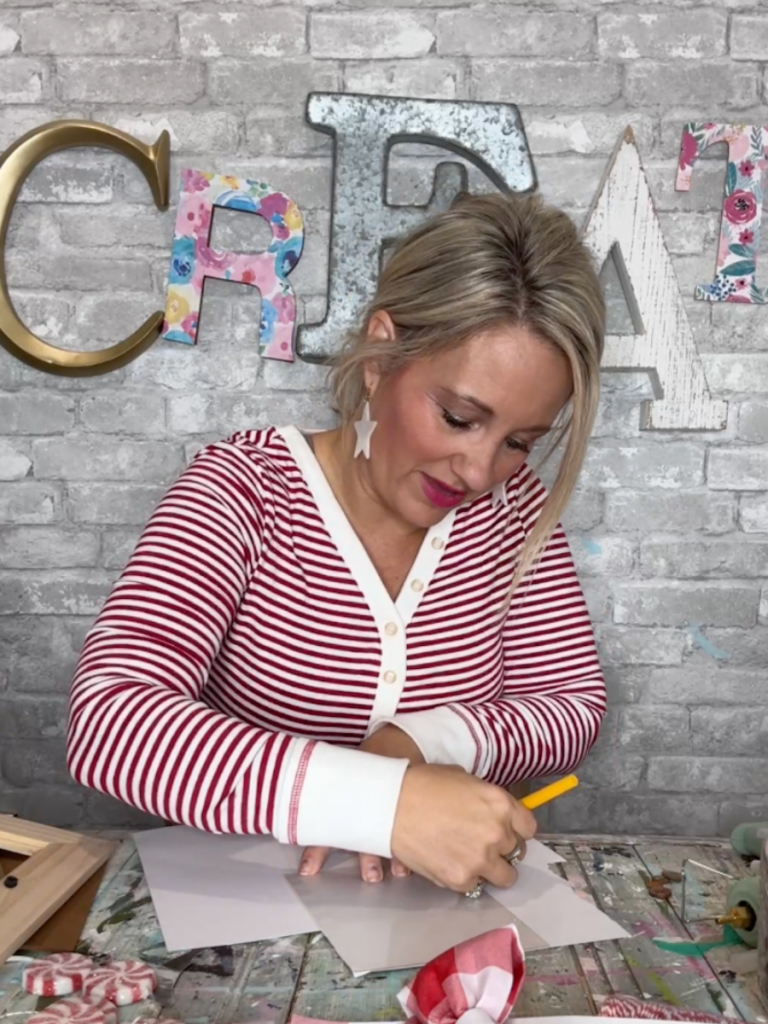
Next, I removed the back and took out the plexiglass to use as a template for my scrapbook paper.
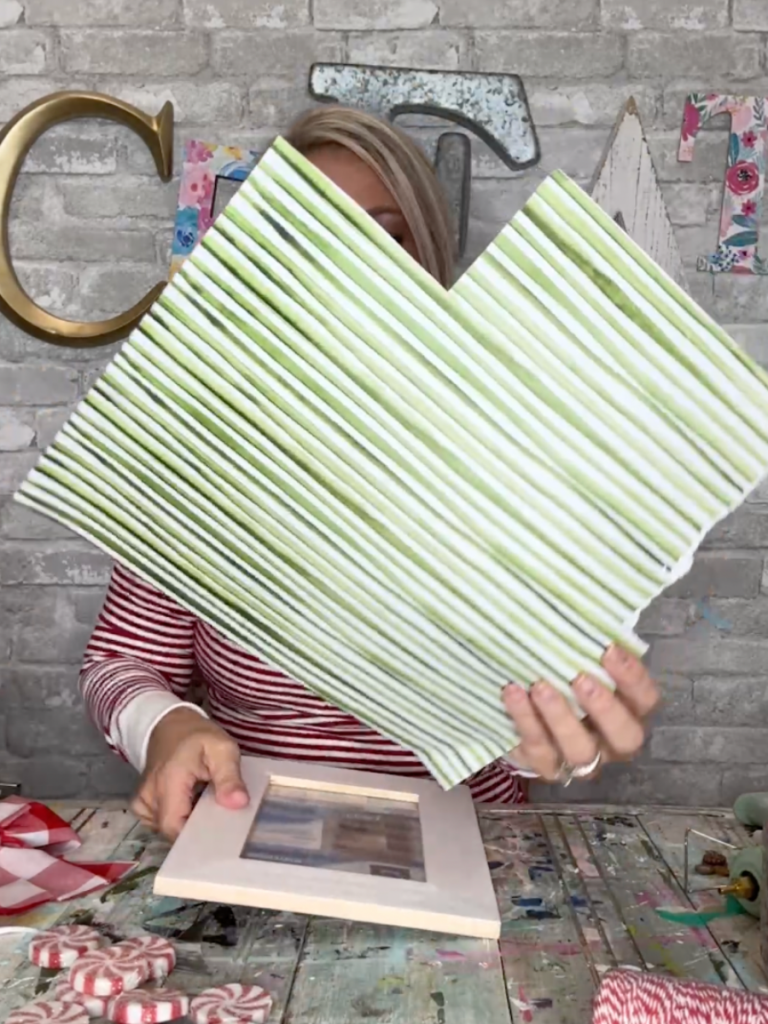
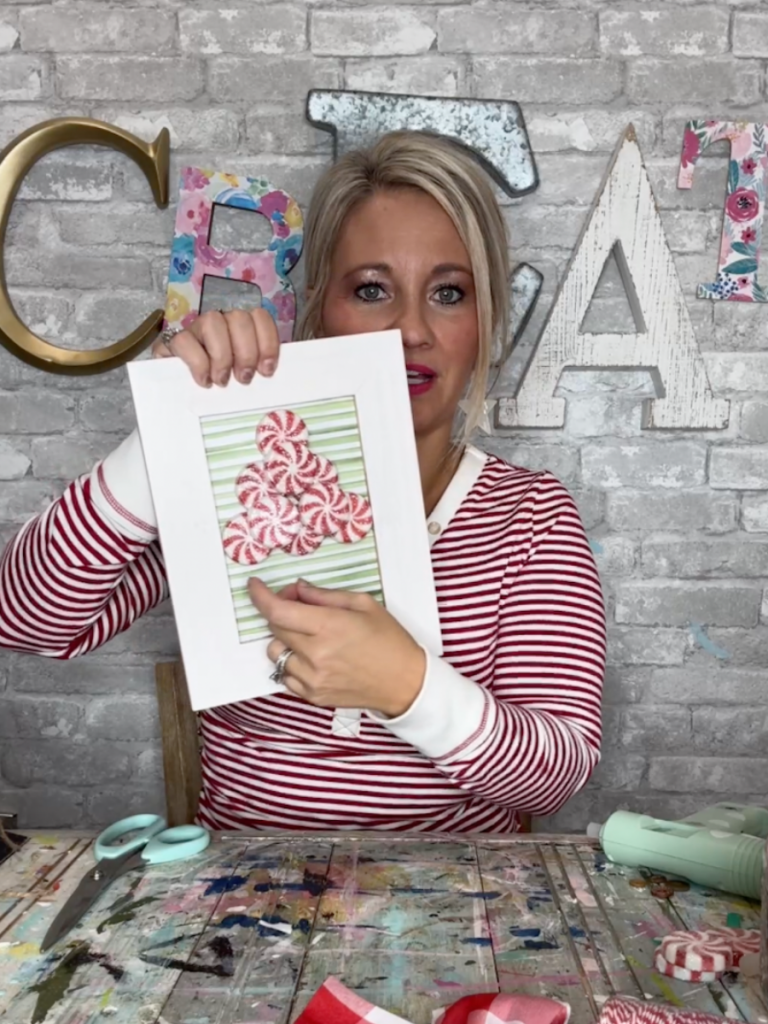
I thought this green and white stripe paper would make the PERFECT background for the red and white peppermints!!
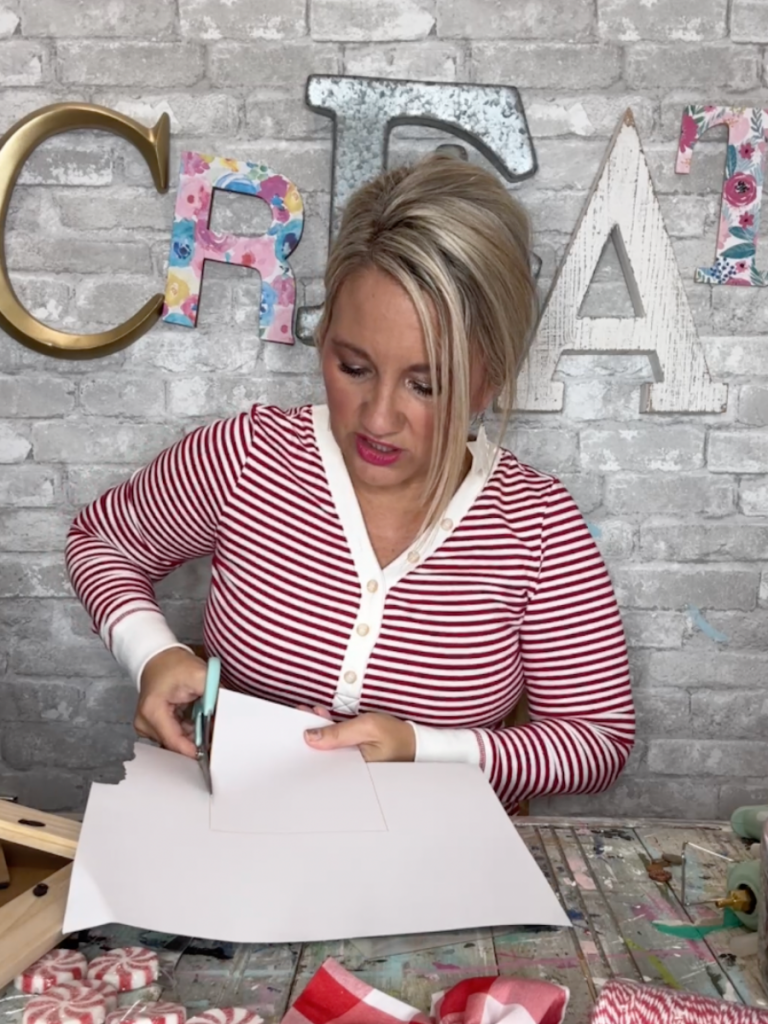
Using the plexiglass insert, I traced the shape onto the back of my scrapbook paper.
A quick few snips with my FAVORITE scissors and my background was a perfect fit in the frame!
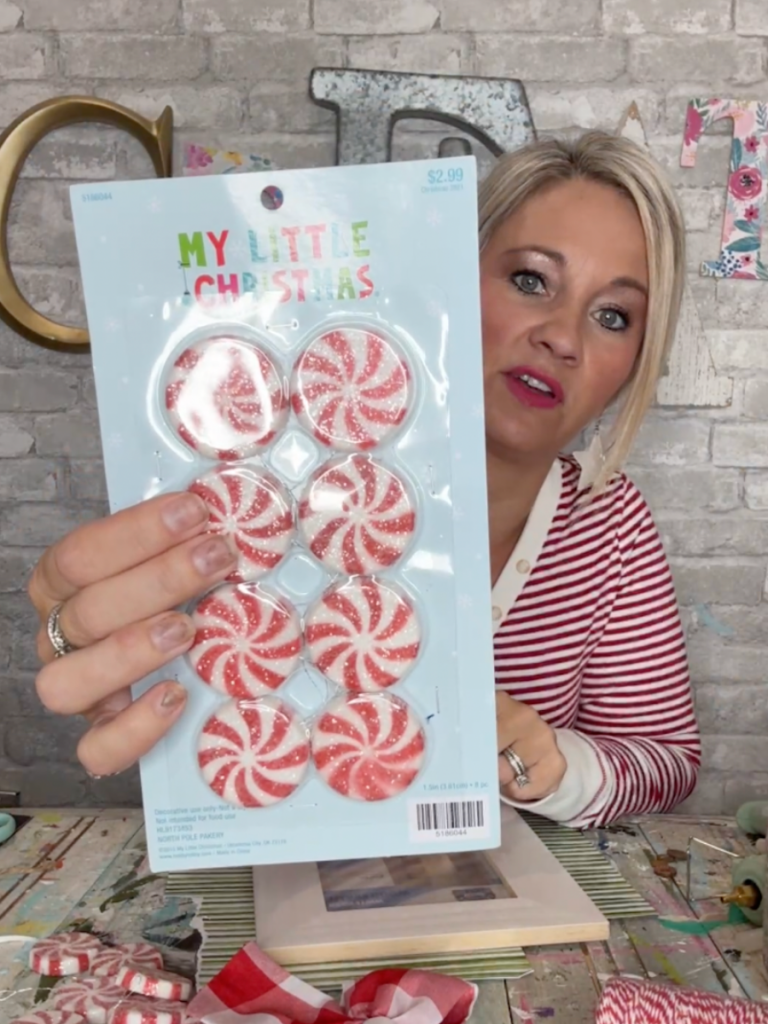
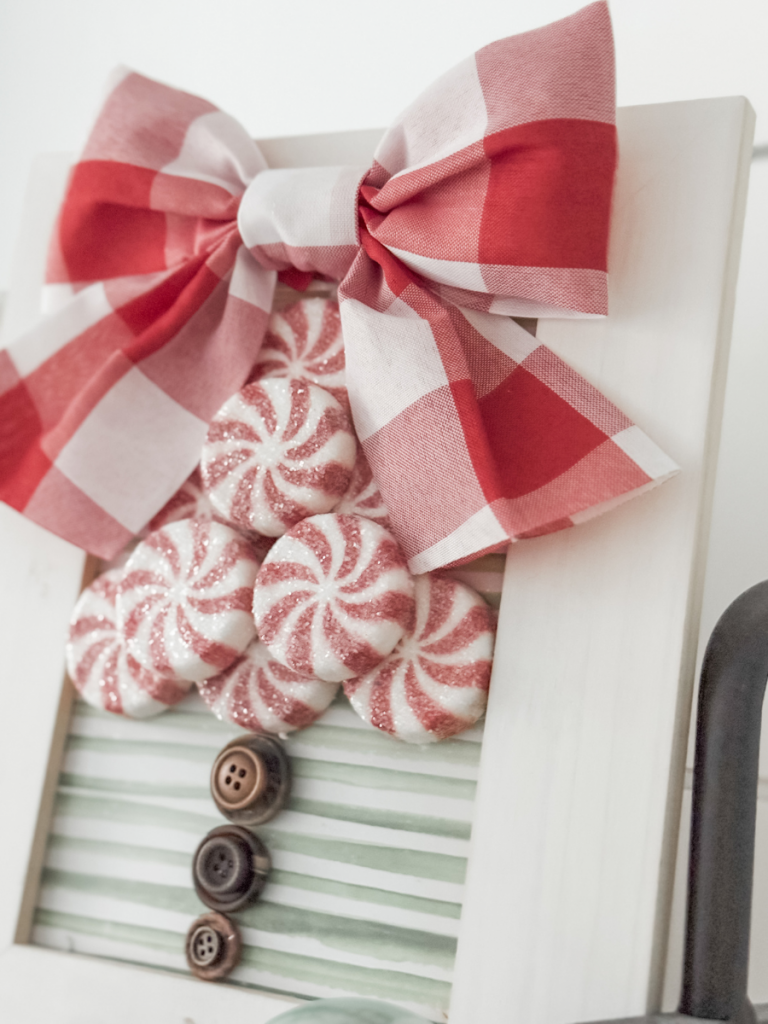
I grabbed these ADORABLE peppermint discs at Hobby Lobby for half off! I didn’t know what I would use them for at the time, but I KNEW they’d come in handy and I wasn’t wrong!!!! If you LOVE red and white inspo for Christmas, you will also want to check out my red and white dining room HERE!!
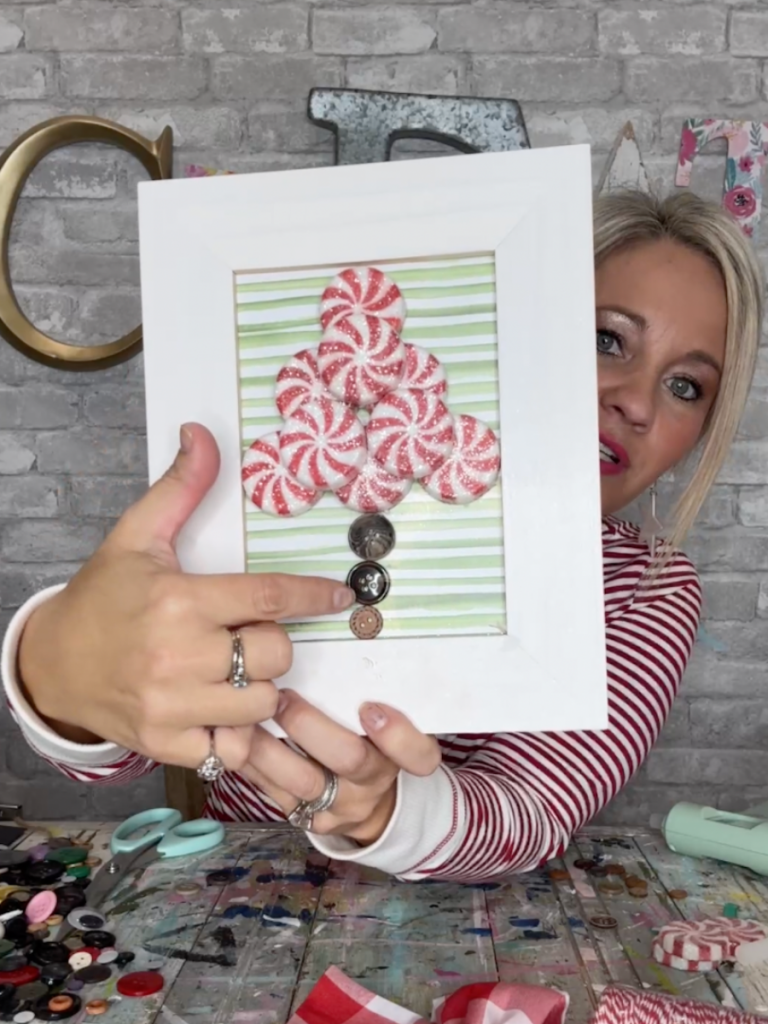
I placed them on the frame BEFORE I started hot-gluing to make sure I had my game plan!
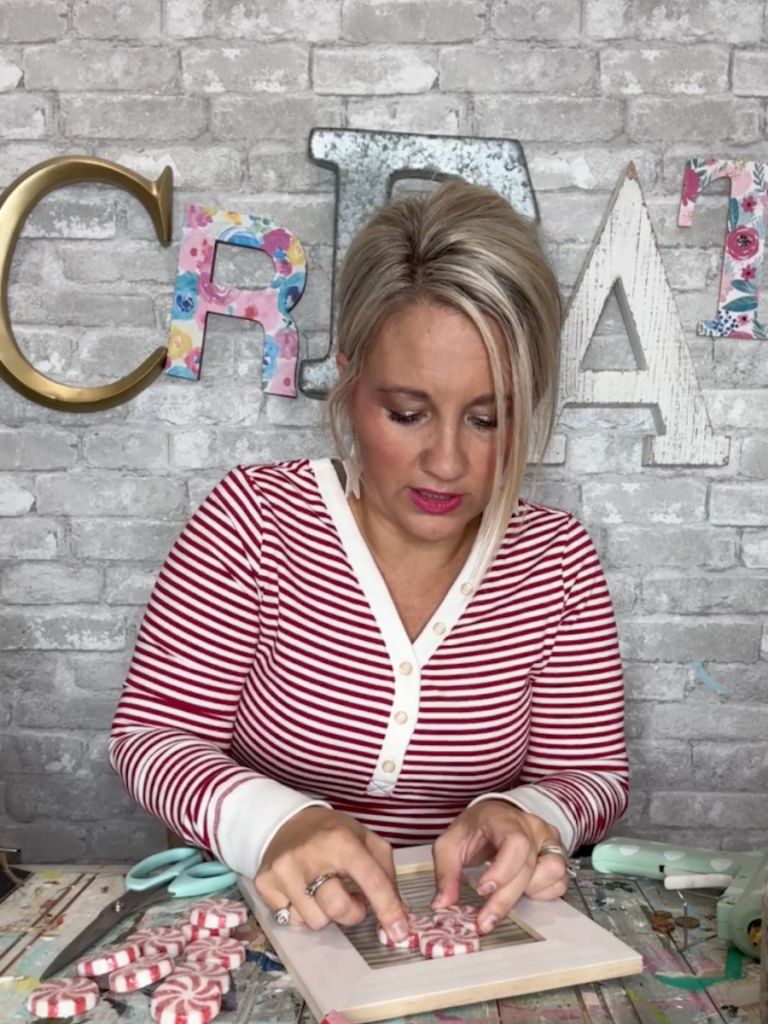
Then, I took my handy-dandy glue gun and attached those bad boys to the frame!
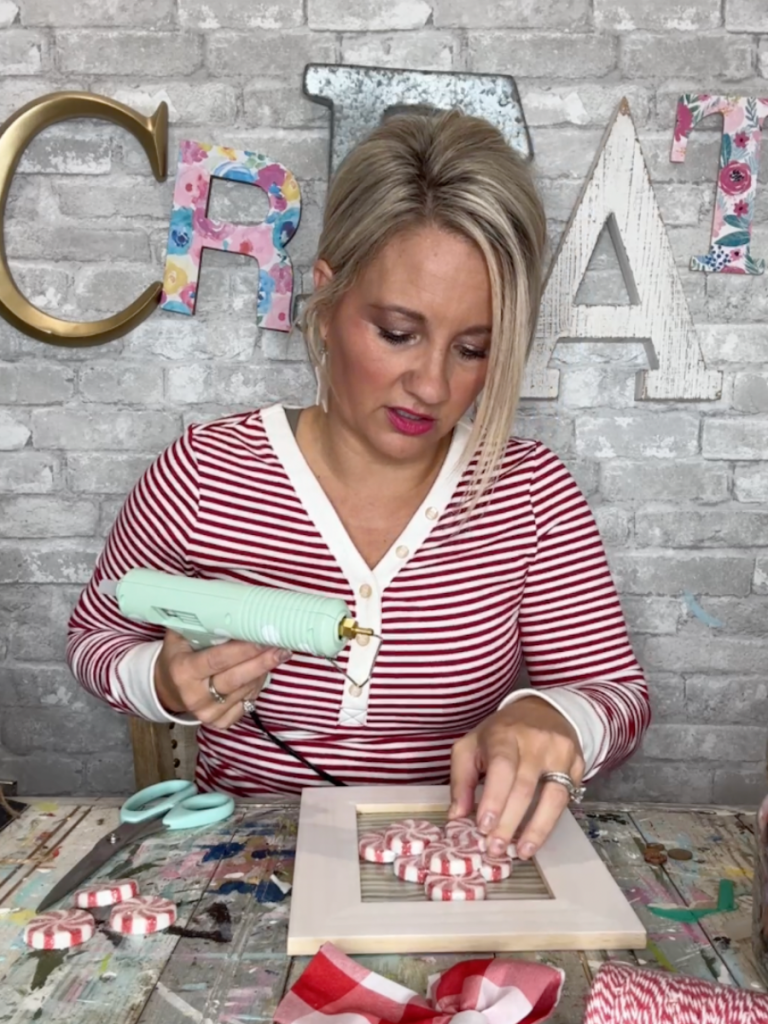
Y’all, I cannot even deal with how cute this is ALREADY!!!!
Next, and because every good Christmas tree needs a trunk, I grabbed my jar of buttons! I found some earth-tones that worked like a charm!
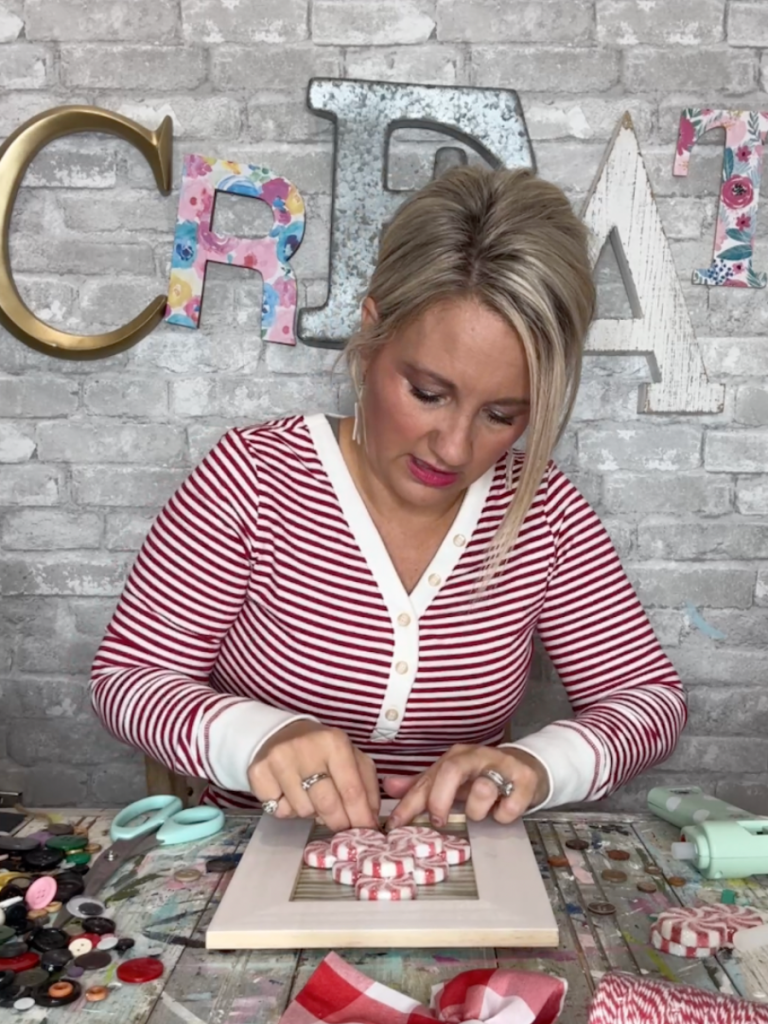
A little more hot glue and….

VOILA! Isn’t that a perfect little tree trunk?!? I LOVE using buttons in my crafts!!! HERE is another Christmas craft where I used buttons!!
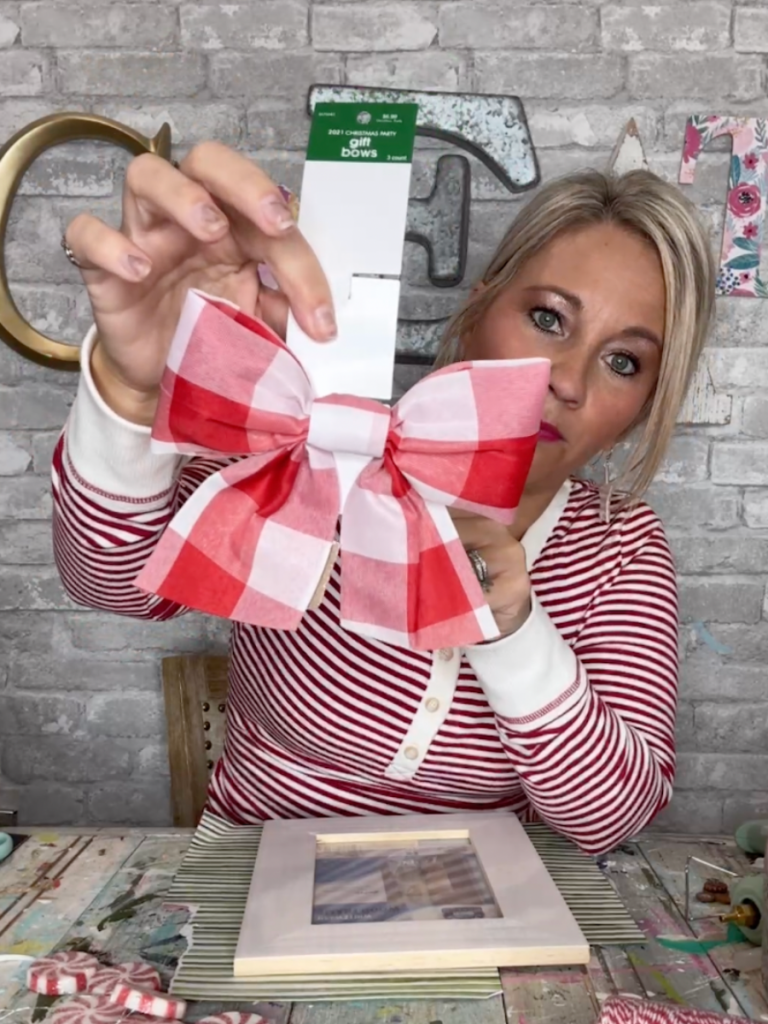
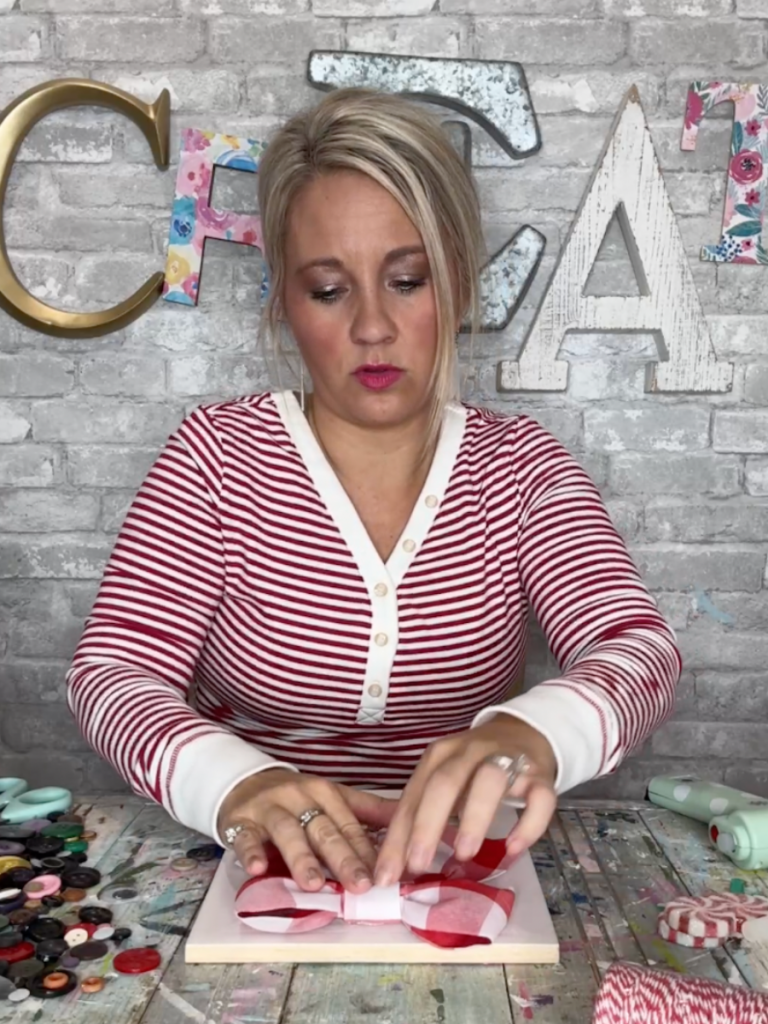
To finish up, I grabbed this red and white gingham bow that I grabbed at Hobby Lobby. I found it with the wrapping supplies, but I think it makes a PERFECT addition to this project!!
Y’ALL!!!!! How cute did this turn out?!?!? I seriously threw this together with random supplies in my craft stash, which explains why I can NEVER get rid of anything!!!
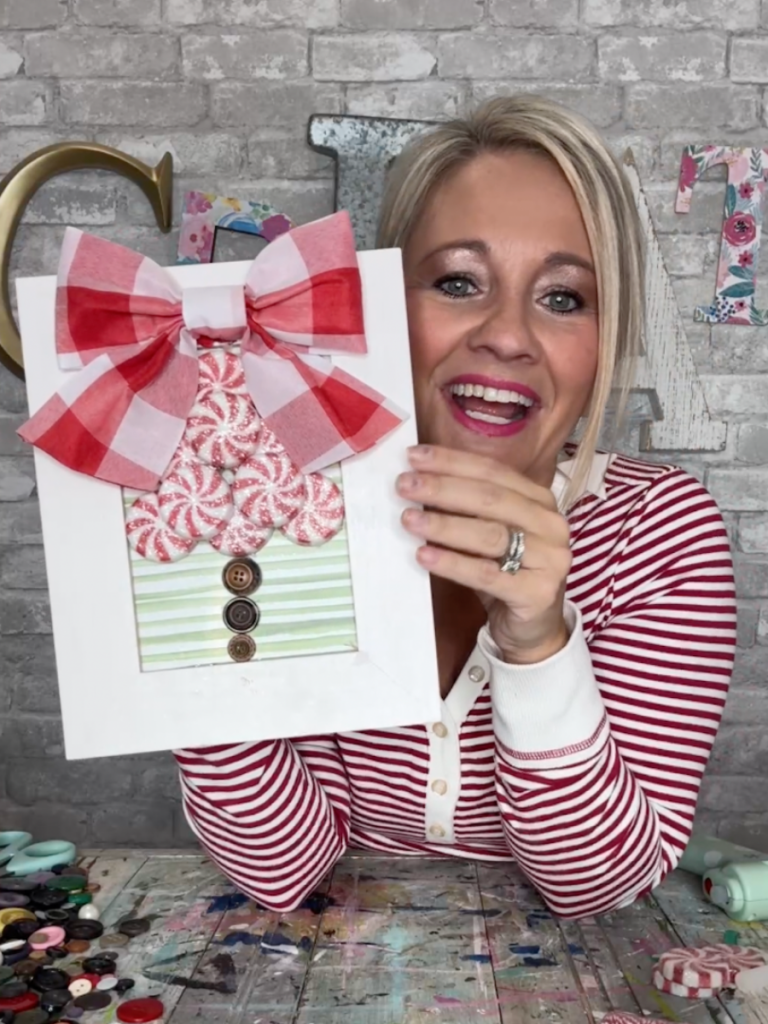

This little beauty is the CUTEST shelf-sitter and I absolutely LOVE it!!!
Let me know what you think about this peppermint Christmas tree frame!! You can also catch the entire video HERE!!
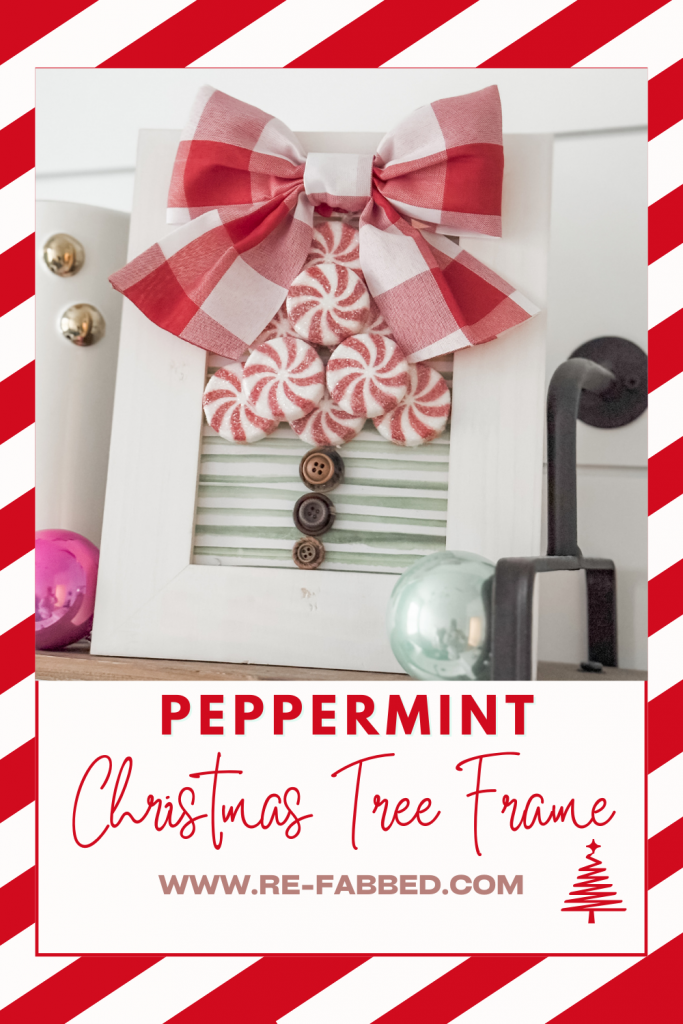
BE SURE TO PIN FOR LATER!!
Last Updated on December 16, 2024

This is so cute and adorable!!
Very cute