I am going to tell you right now…never sleep on the Dollar General decor section! It is literally getting better and better by the day. And, the best part, it is still very budget friendly. Today’s makeover is going to blow your socks off!
supplies used: (referral links used for reference)
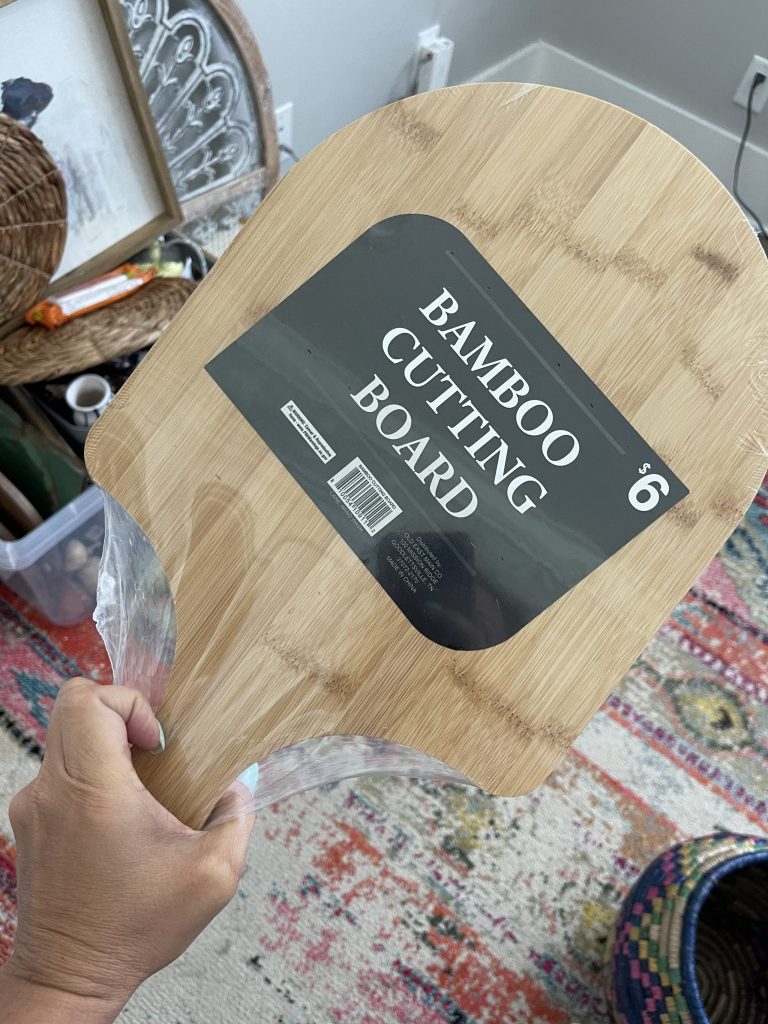
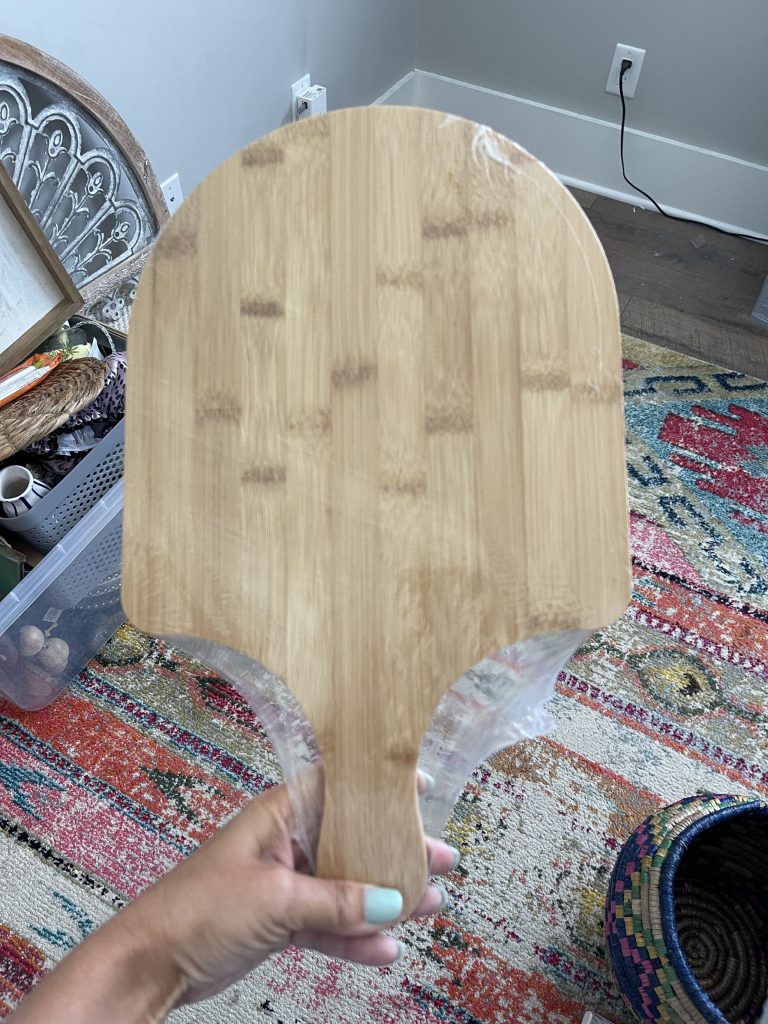
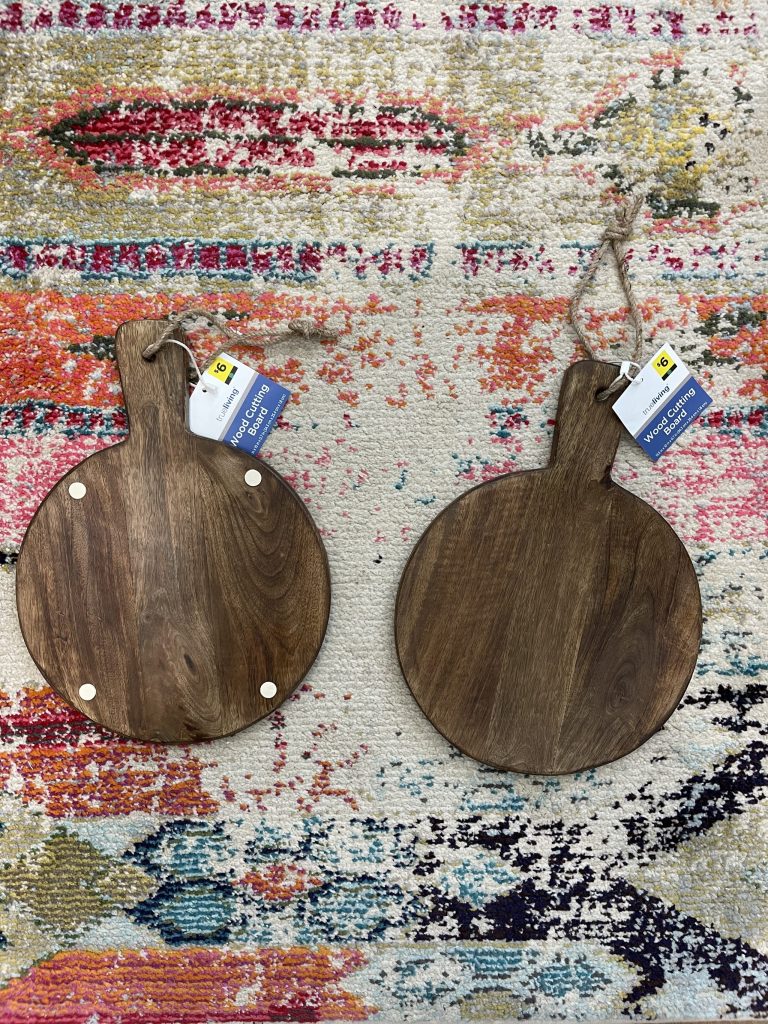
cutting boards of your choice from Dollar General: mine were $6 each and I got 2 styles
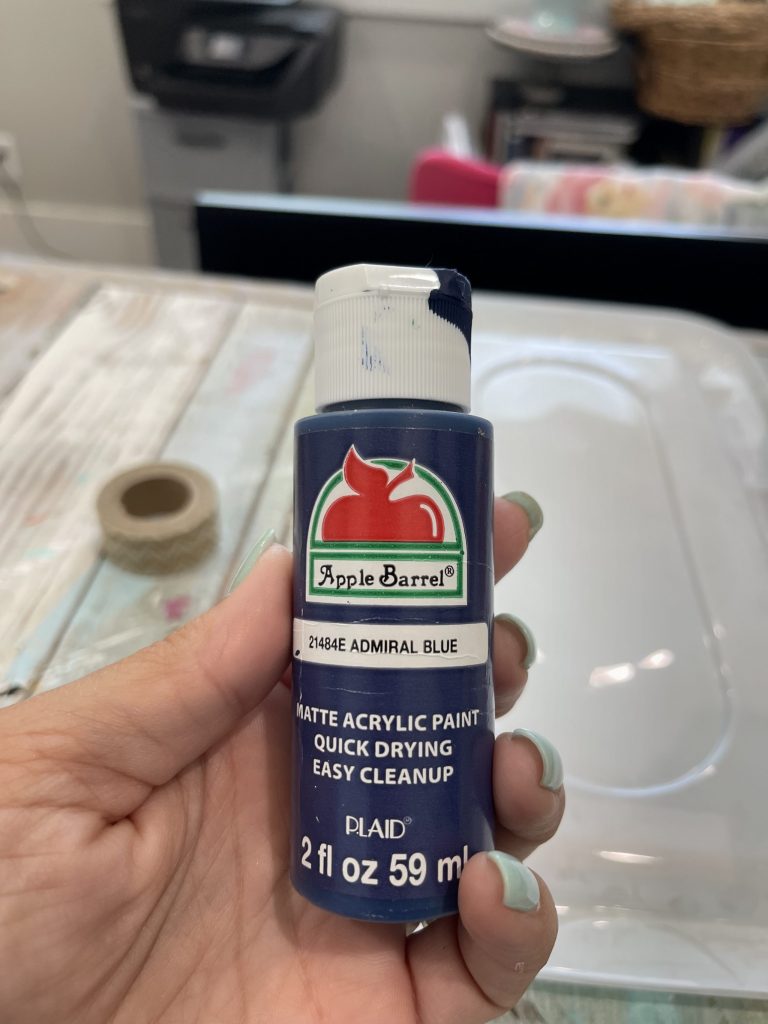
paint of your choice- I used apple barrel Admiral Blue
paintbrush
peel and stick wallpaper (my exact wallpaper came from Jennifer Allwood home line, but it is sold out)
scissors
command strips (mine are 5 lb strips)
spray paint
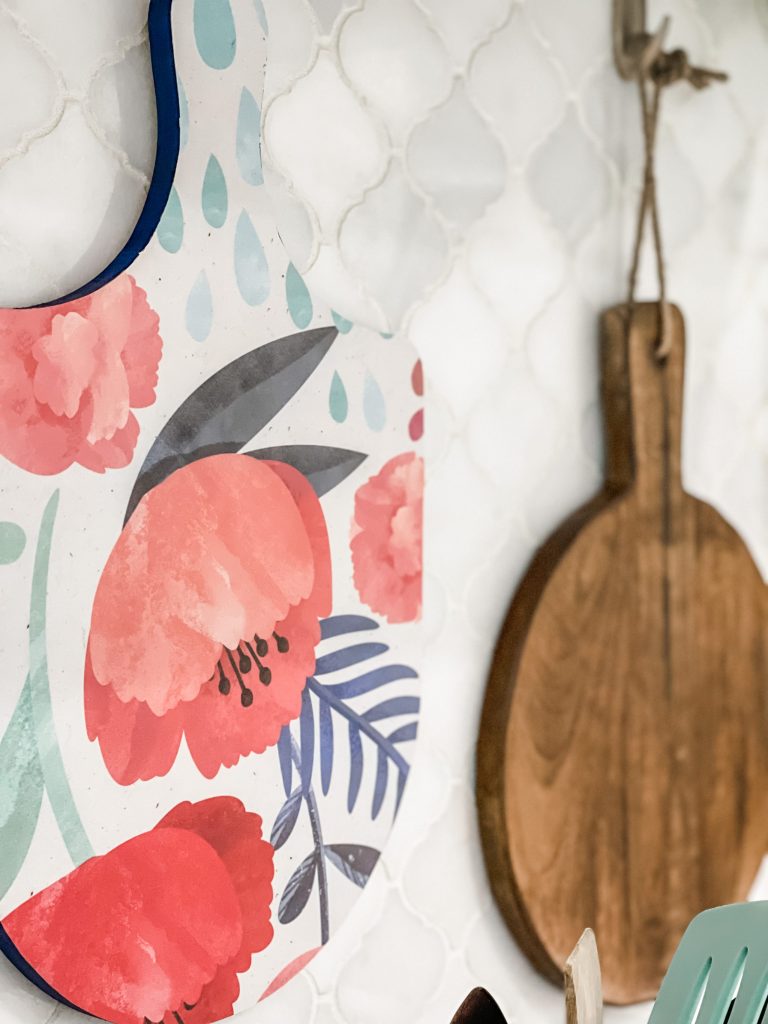
I am making over an ordinary $6.00 cutting board that didn’t have much character! You may have seen me show it in my video on Facebook where I was sharing the Dollar General decor haul! I said I was going to show you the makeover once it was done, and I just did it today! It was a super easy makeover that anyone can do…but man, that end result is stunning!
Let’s go over the process!
I did this first step backwards because I got too excited…so I am going to tell you the RIGHT way to do it!
Paint the sides of the cutting board whatever color you want. I chose Admiral Blue…a gorgeous navy!
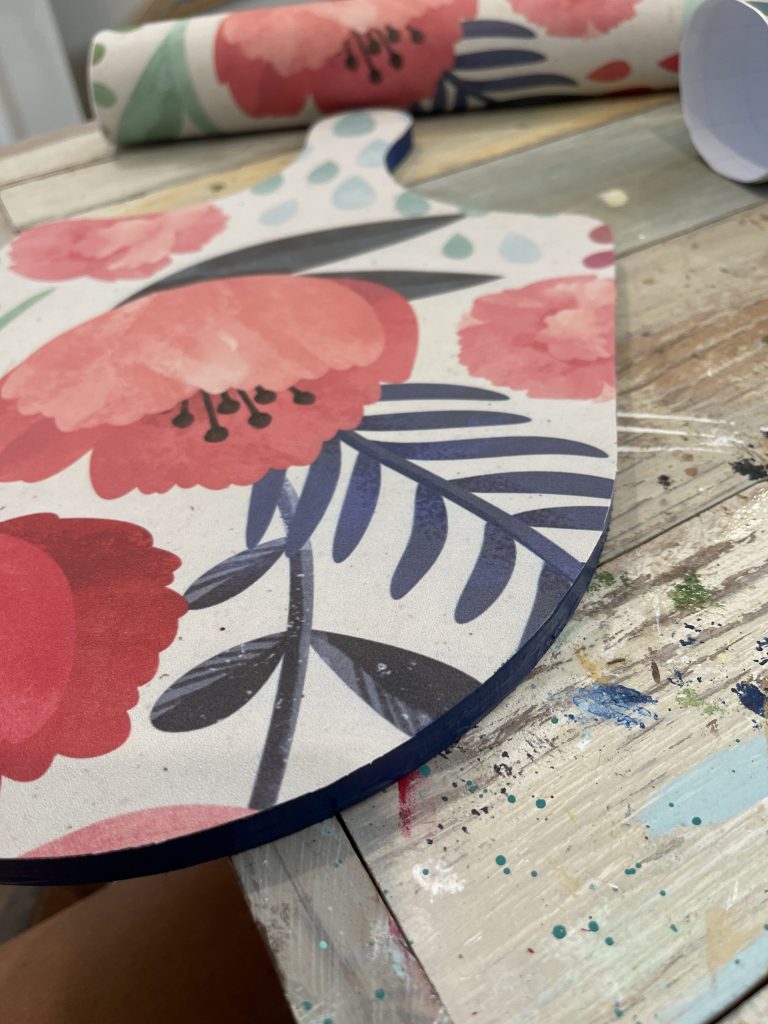
THEN, take your peel and stick wallpaper and lay it out where the design you want to show is in the correct place!
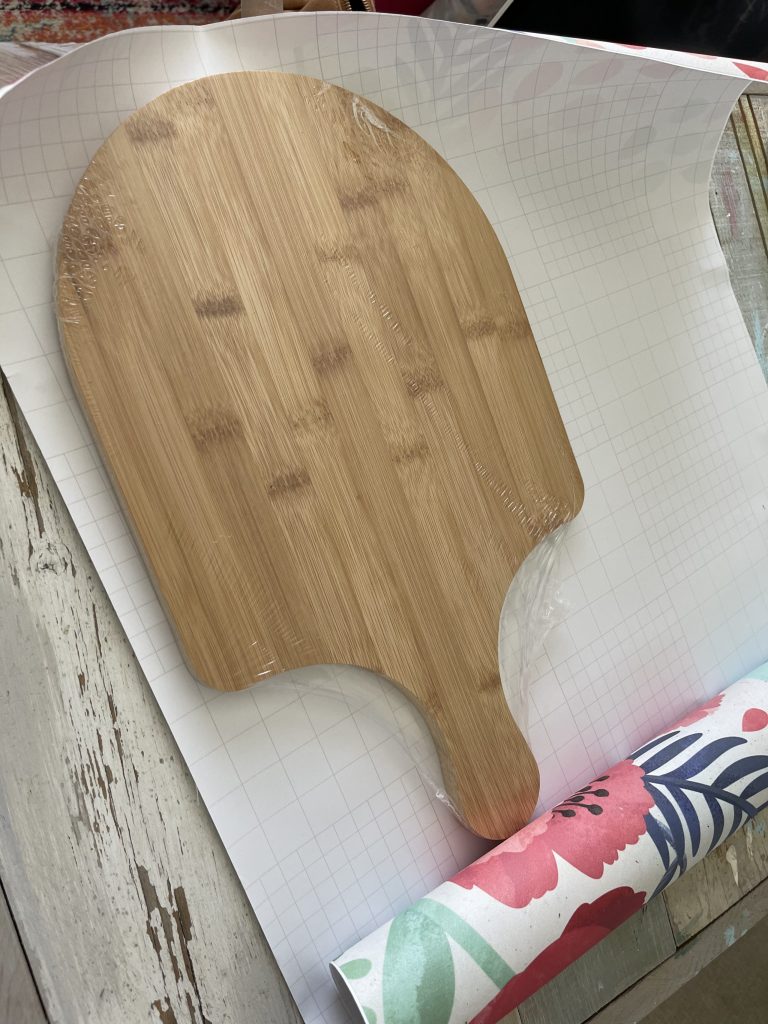
Once the paper is in the right place, cut around it where there isn’t a TON of excess paper.
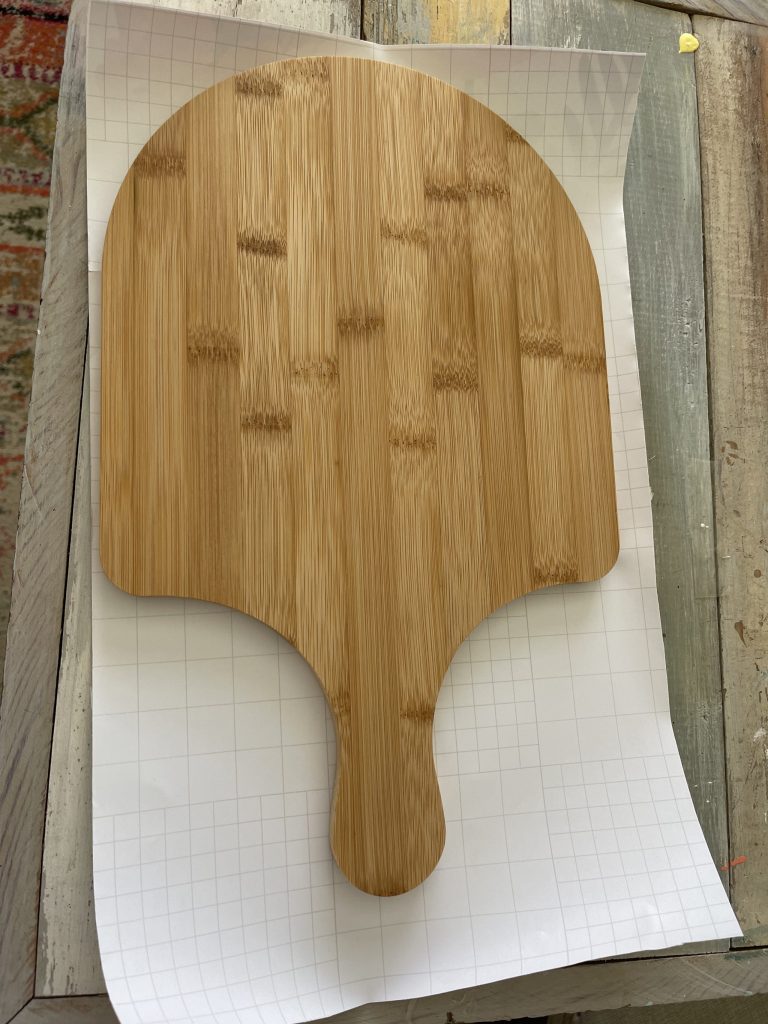
Then, take the backing off the paper and put it on the cutting board.

Once it was stuck, I took my exacto knife and cut it as close as possible to the board, so that there was no excess. It did a perfect job!
All done with that part!
After that, I simply took some velcro and stuck it on the back so I could attach it to my backsplash!
Now, for the next part!
I knew I was keeping my other 2 $6.00 cutting boards the way they came…because I loved their dark stain!
So, I just needed to use some command hooks to hang them up. The problem was, I didn’t want to use tacky white! So, I spray painted them gold!
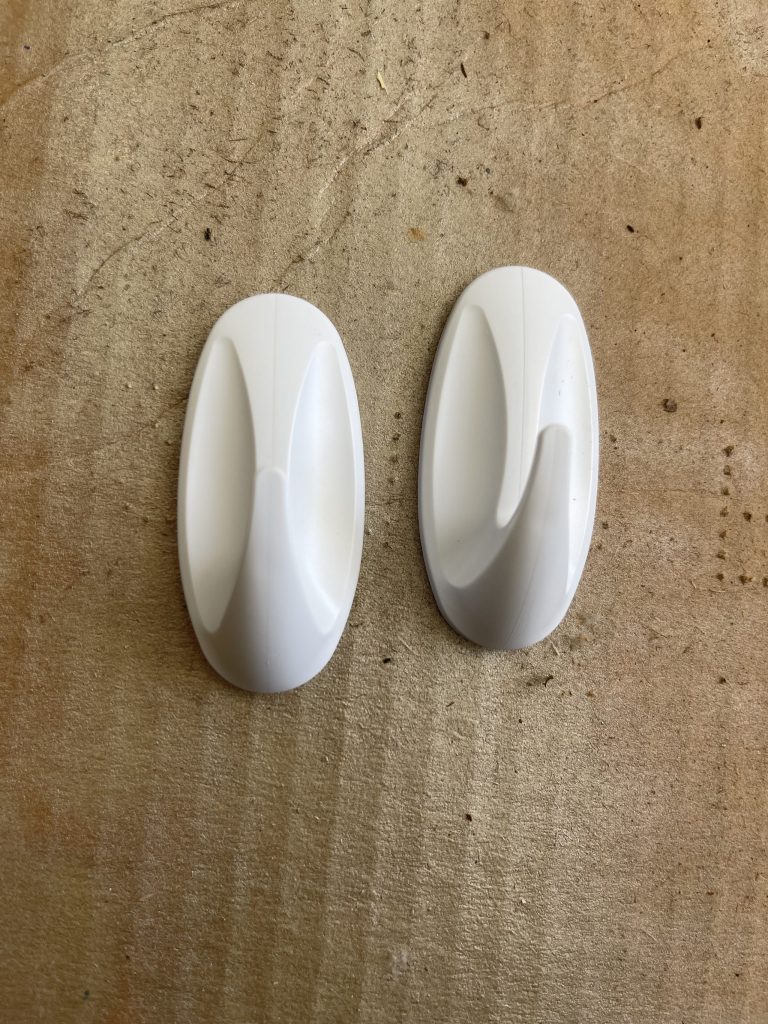
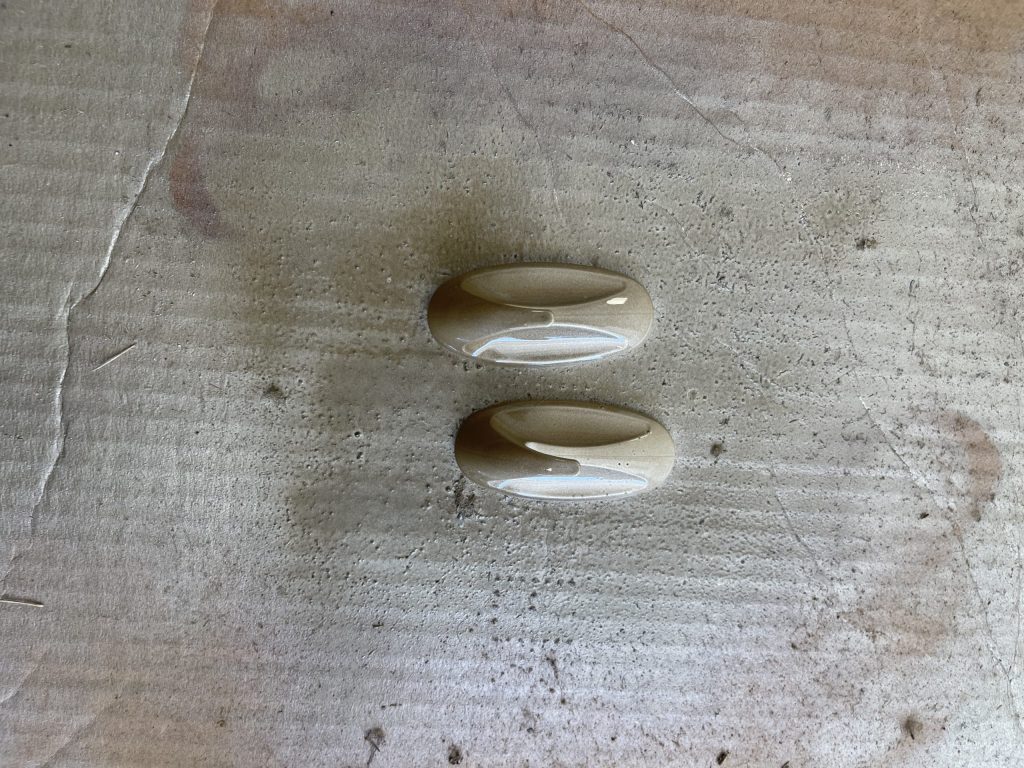
Once they dried, I stuck them to my backsplash to hang my cutting boards!
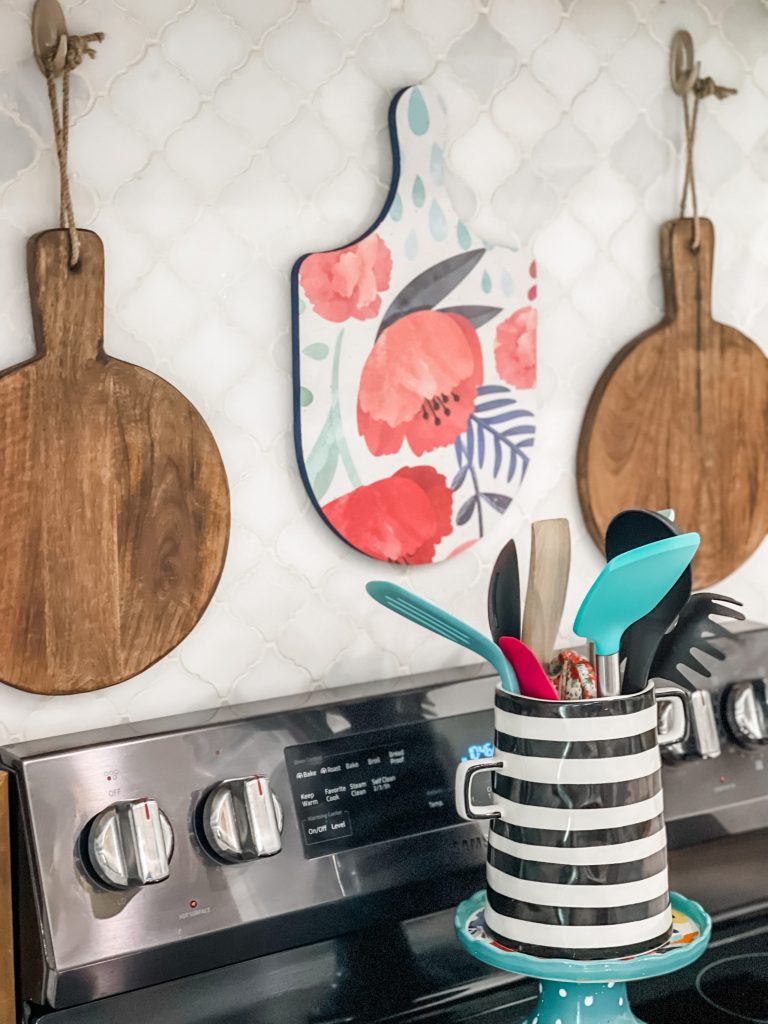
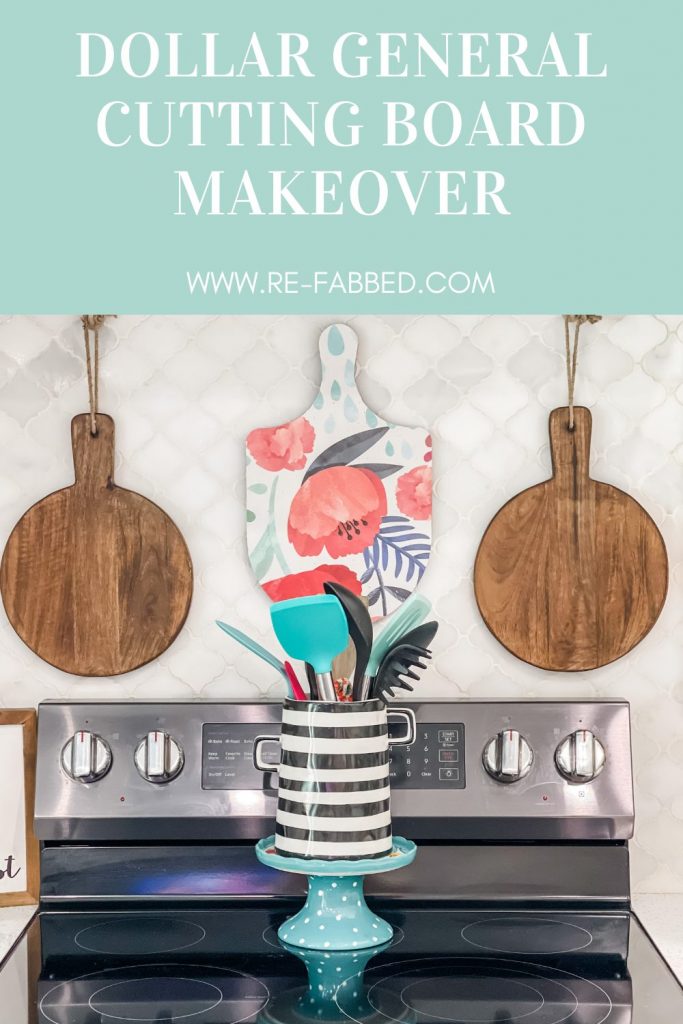
I hung the rectangle one in the center and the two circle ones on each side. For $18, I have a beautiful little arrangement with very little work! I call that a major win!
Here is the finished product!
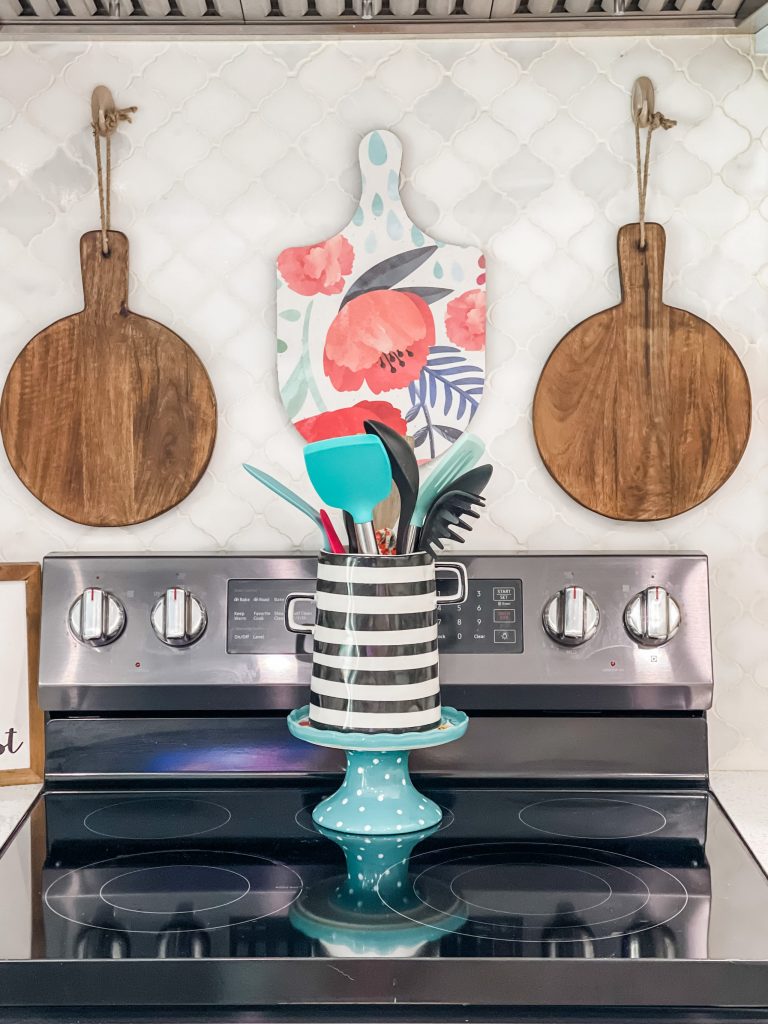
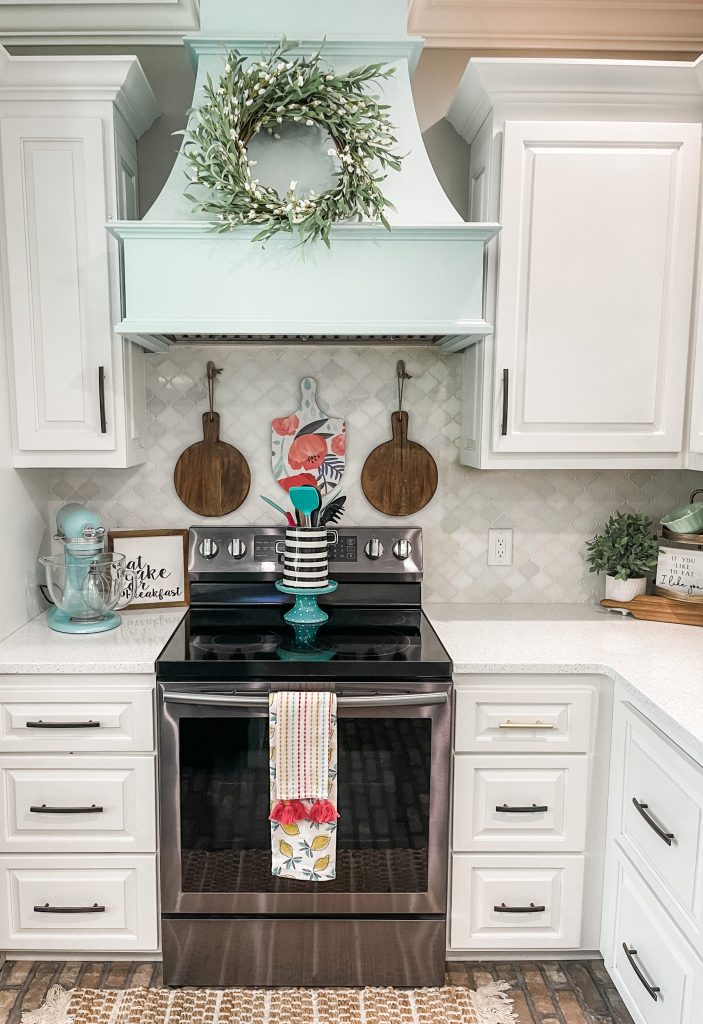
Well, do you love it??? I am tickled pink with how it turned out! PERFECT little set up over my stove!
Thanks for being here! Be sure to PIN FOR LATER!
Last Updated on June 20, 2022

Clever!!!
These are amazing!! You have such a wonderful eye for makeovers!!!
Cutting board make over looks great. And useful to. Easy to grab board and make a charcuteries board.
YES! Looks very pretty! But… what doesn’t that you do?! lol I love it!! Great job, as always, Brooke! Your friend from Bulls Gap, Tn, April
I love this look. As usual, u come up with the best ideas.
So freaking adorable!
Beautiful.
So cute!
Wow, beautiful! Great idea!
I love it!! You should be a interior decorator!! Love your style! And girl you are so beautiful inside and out!! Thank you for all your inspiration and creative ideas!!
U won’t use the pretty one? Just for decoration?
Those are absolutely adorable! Love the colors.
So cute, I love it!
Thank you so much! ❤️