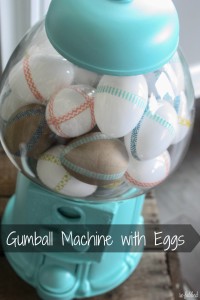
I admit it. I am a sucker for gumball machines. I am also a sucker for gumball machines that are not red! I think painting them adds so much extra spunk and is far less boring! Today I am bringing you my FREE tabletop gumball machine that I painted aqua! It has been sitting around waiting to be loved on, but I just couldn’t figure out exactly what I wanted to do with it. Finally, as I was messing with my Spring mantle, I had an idea!
You see, this machine started out red, as many {practically all} of them do.
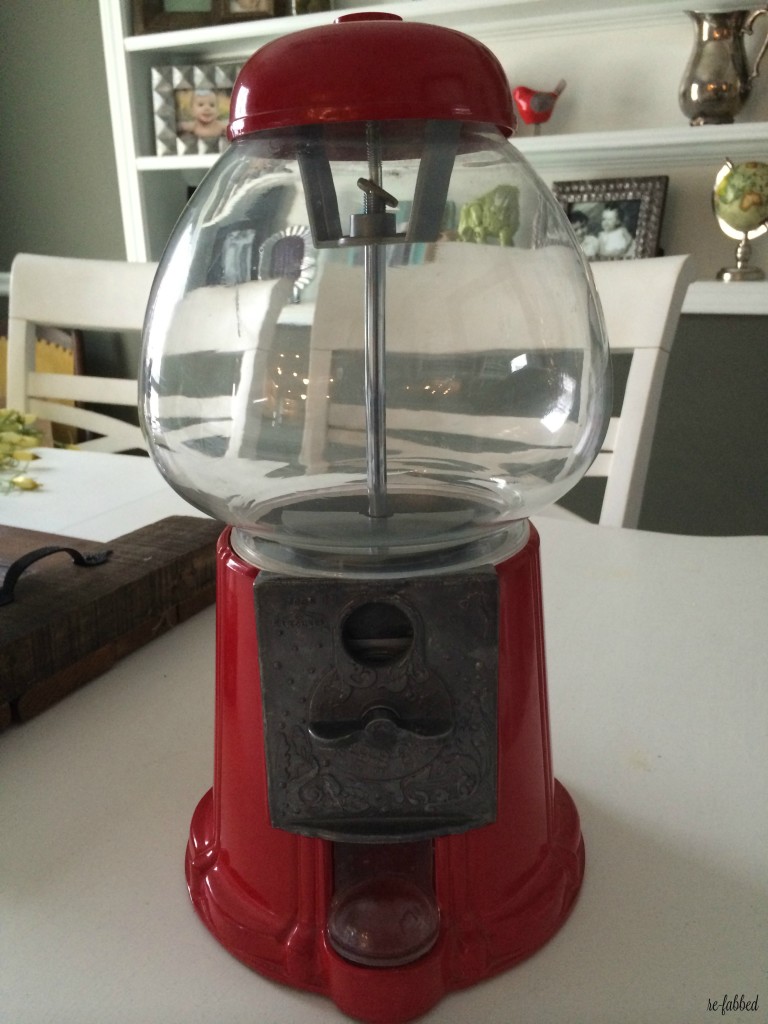
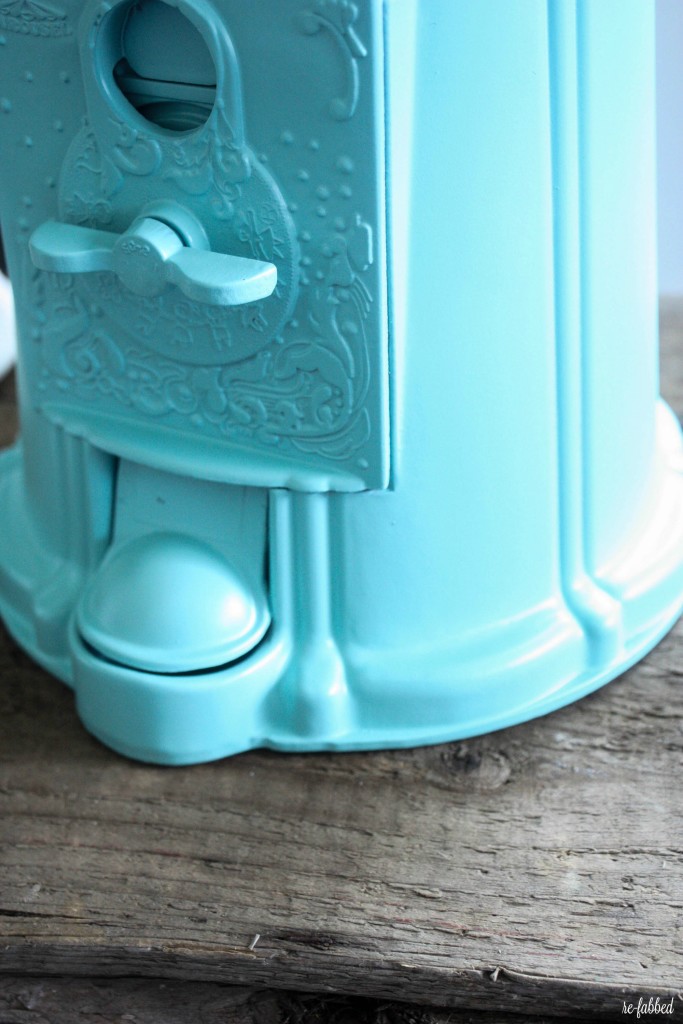
With this, all I did was spray paint it a pretty aqua. You can see the process in a previous post where I re-did another gumball machine!
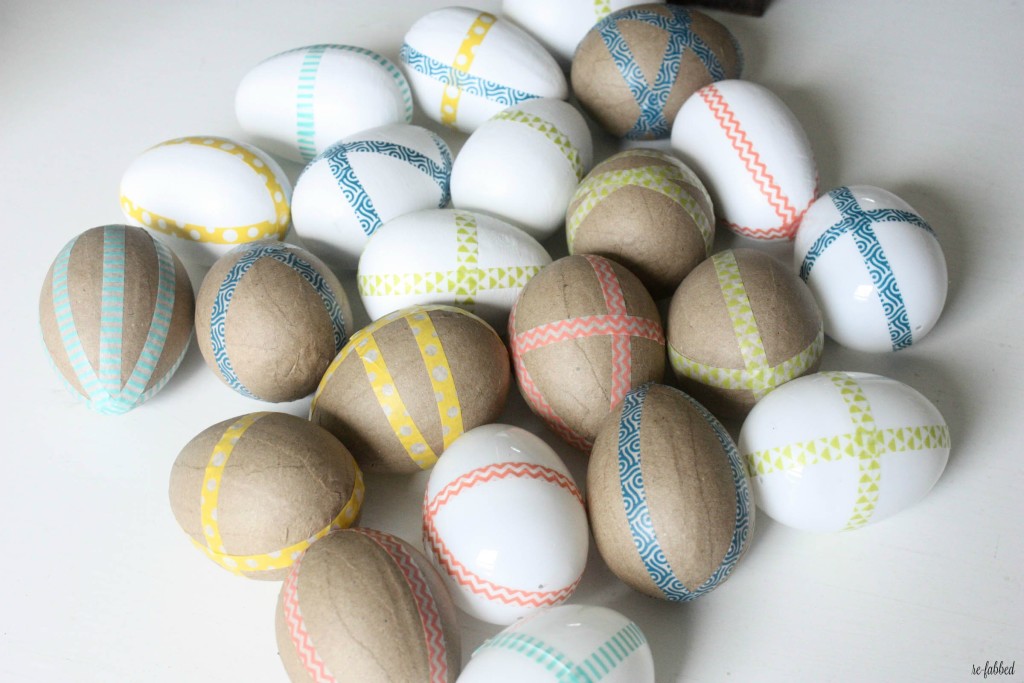
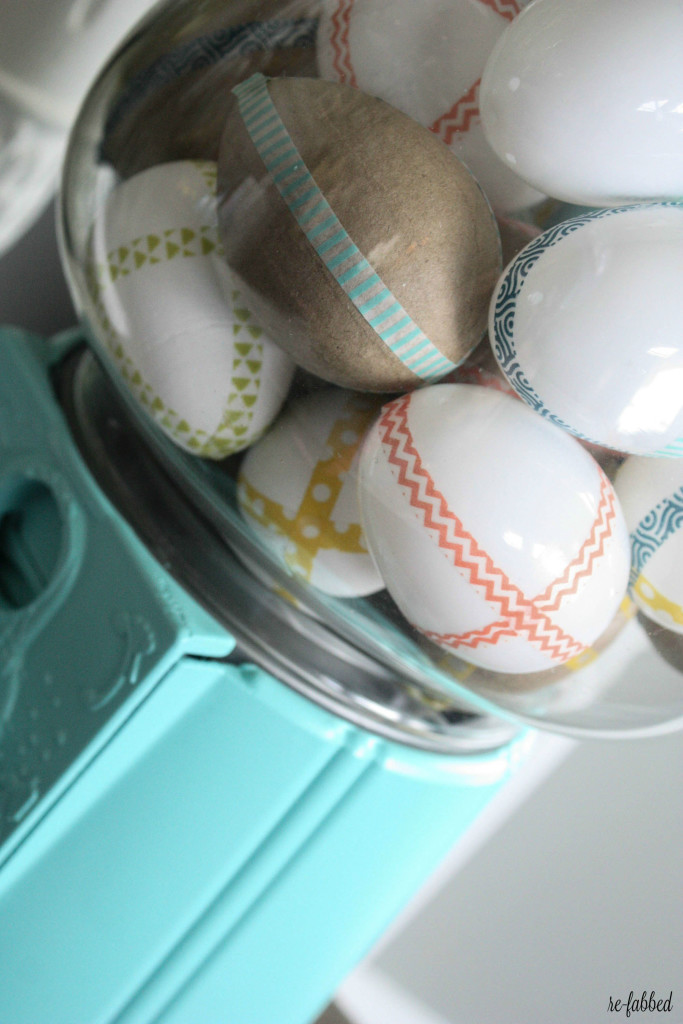
To go inside of it, I wanted something “springy” and NOT food! I wanted it to make a statement and be different, so I decided to do something a little out of the ordinary. I put eggs in it! They were plastic, paper machet and wooden. I had a little of all from Hobby Lobby, so I just mixed and matched!
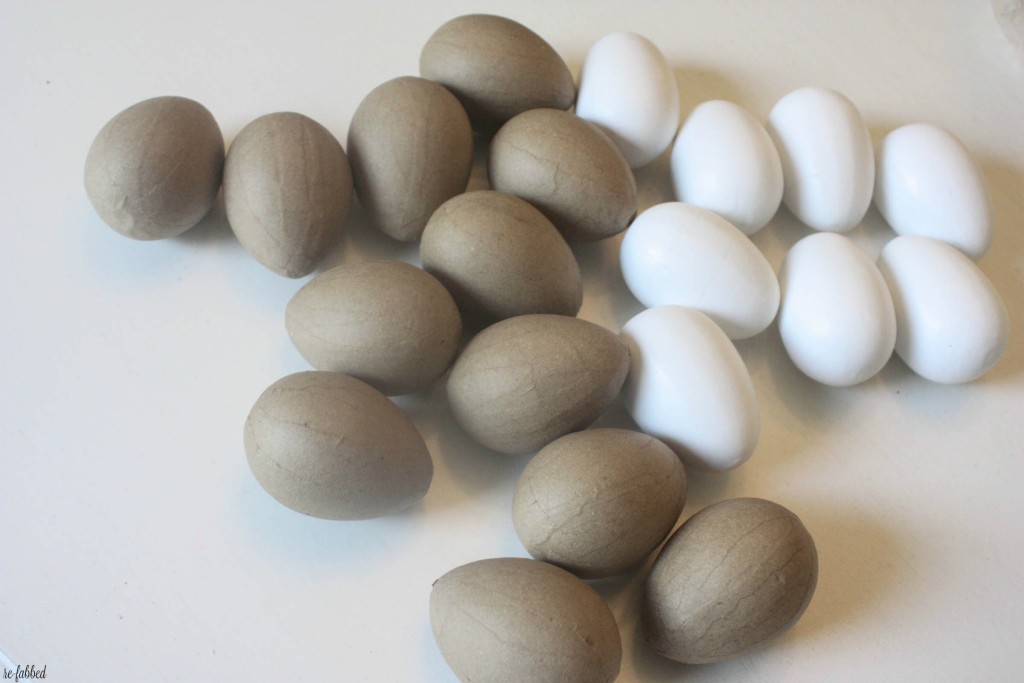
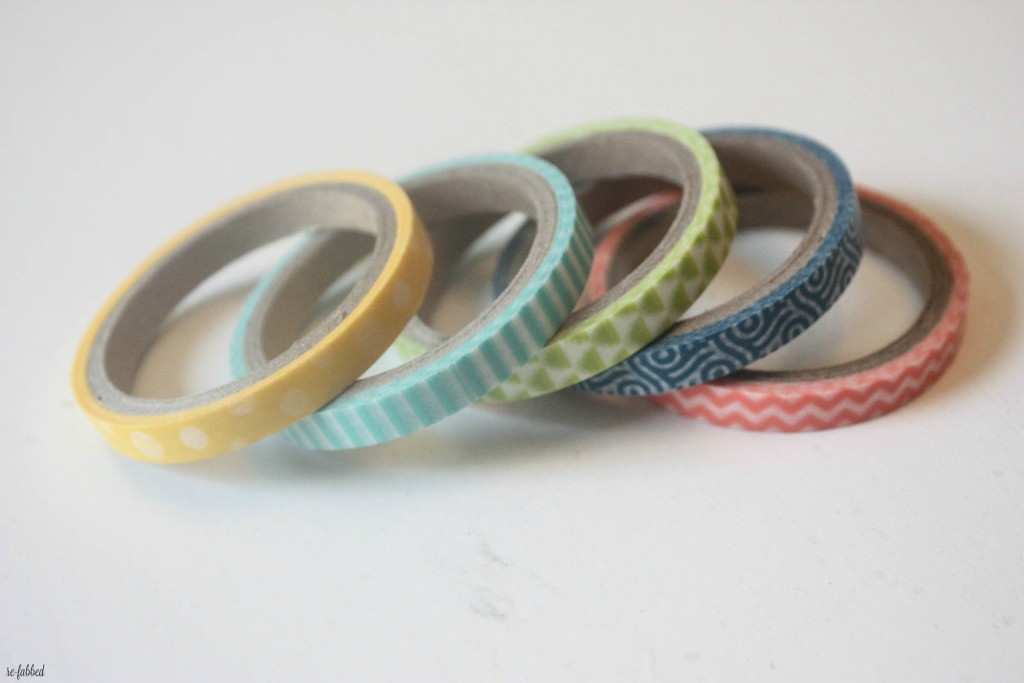
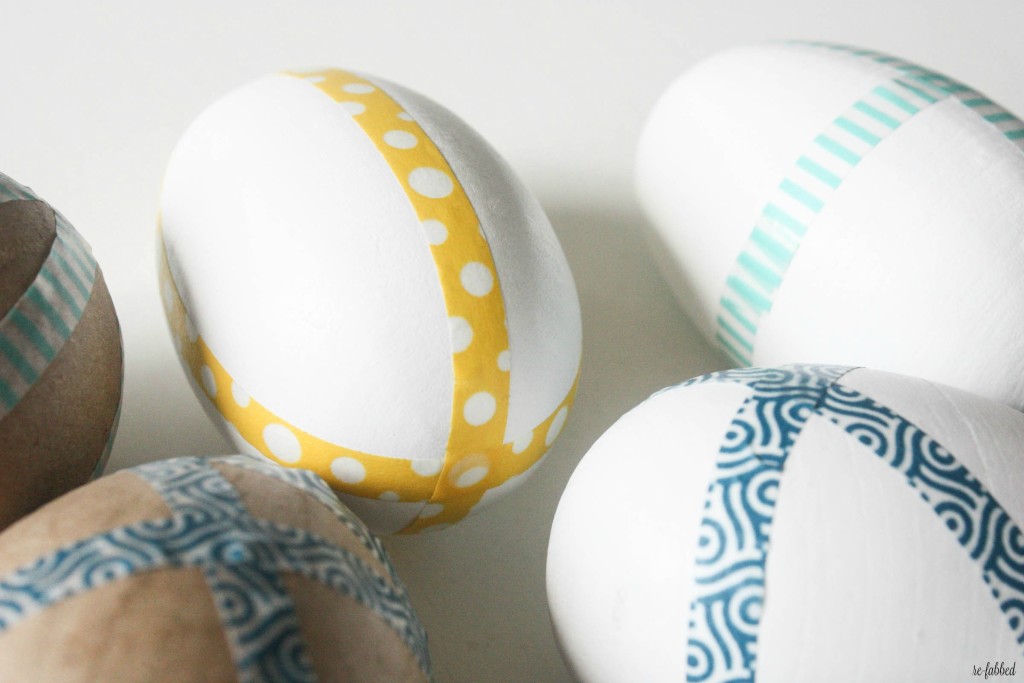
To jazz them up, I got out my trusty washi tape that I had on hand and started wrapping! It didn’t take hardly any time, and they looked so cute! I loved the spring colors and the different designs.
When I finished taping them up, I simply placed them into my gumball machine and voila~ an instant spring statement piece!
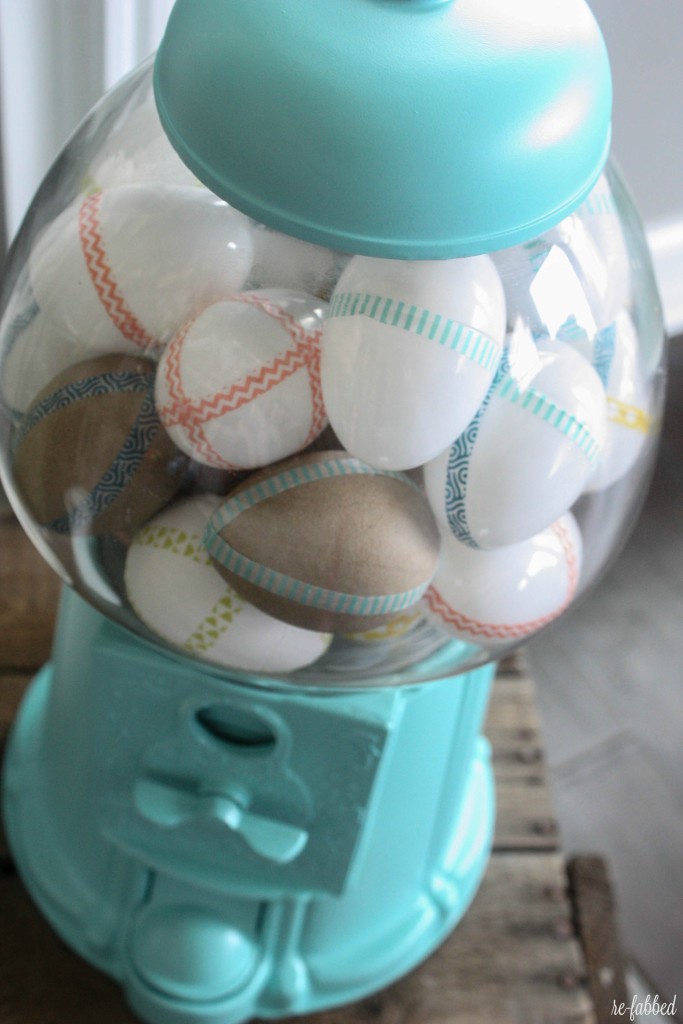
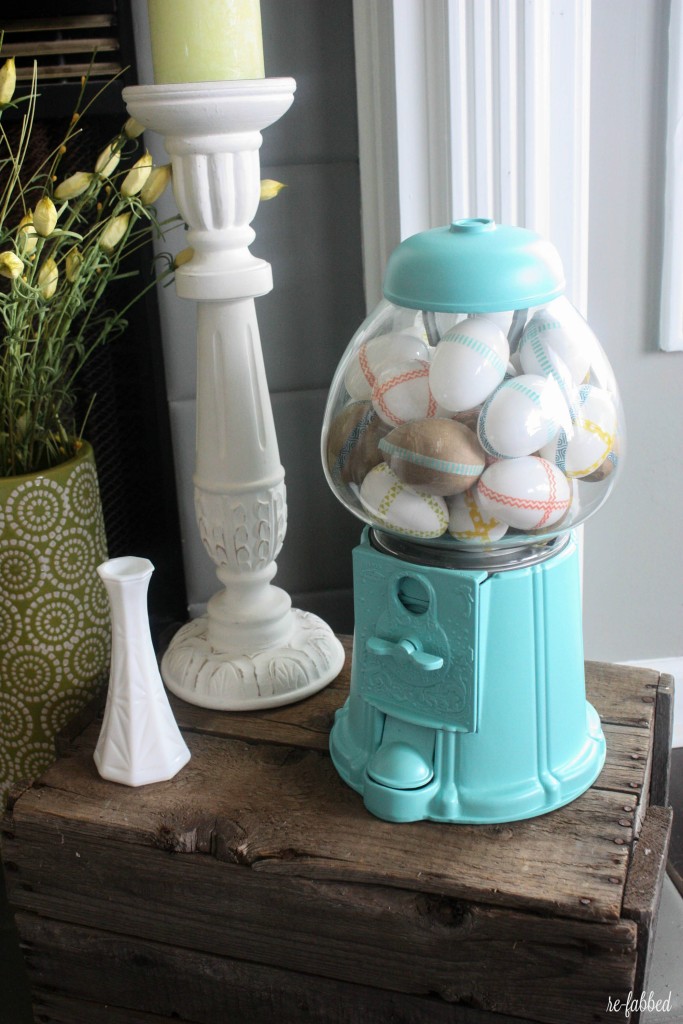
I couldn’t be happier with the color and the fun little addition it brought to my fireplace. I will be showing the entire mantle and set up very soon, and I am so excited!
This was such a fun, easy and inexpensive way to add some Spring cheer to my living room! What fun ideas have you been working on to get yourself into the Spring spirit?
Pin me for Later!
Follow along by Email!
Follow along on Social Media!
Facebook/Twitter/Instagram/Pinterest
Linking up at: Tatertots and Jello
Last Updated on April 9, 2016

How cute it turned out….great spring color. I have a red one that I’ve had forever. Great idea from you. Keep up the great blog
Thanks so much, Vickie!!