I have a confession. I am not a Halloween decorator. I think it is so cool when people go all out, but I just never have been one to do much, if any. Well, this year is no different, to be honest…BUT I couldn’t let the season go by without a tiny bit of decorating. I didn’t want to spend much {if any}, so I decided to look through some of my fall decor to see if there was anything I could use to transform into more of a “Haloweenie” (no idea if that is a real word!) look.
Bingo! I found something…and it took me less than 5 minutes to make!
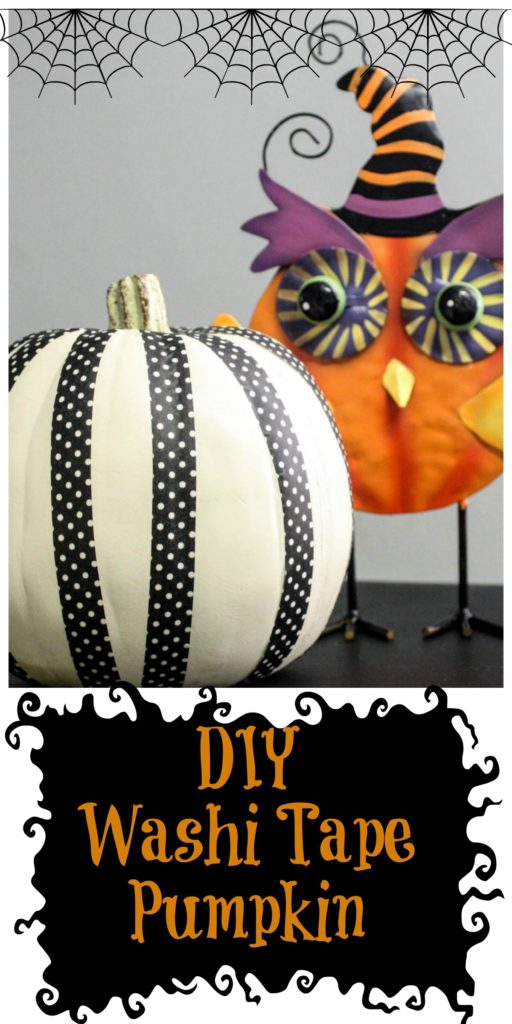
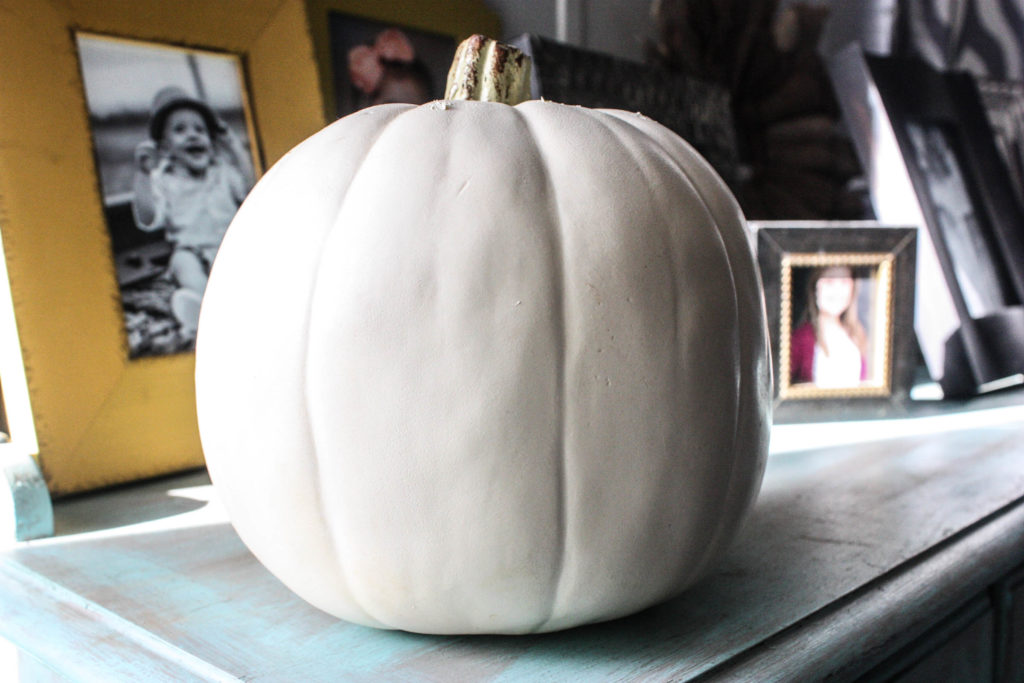
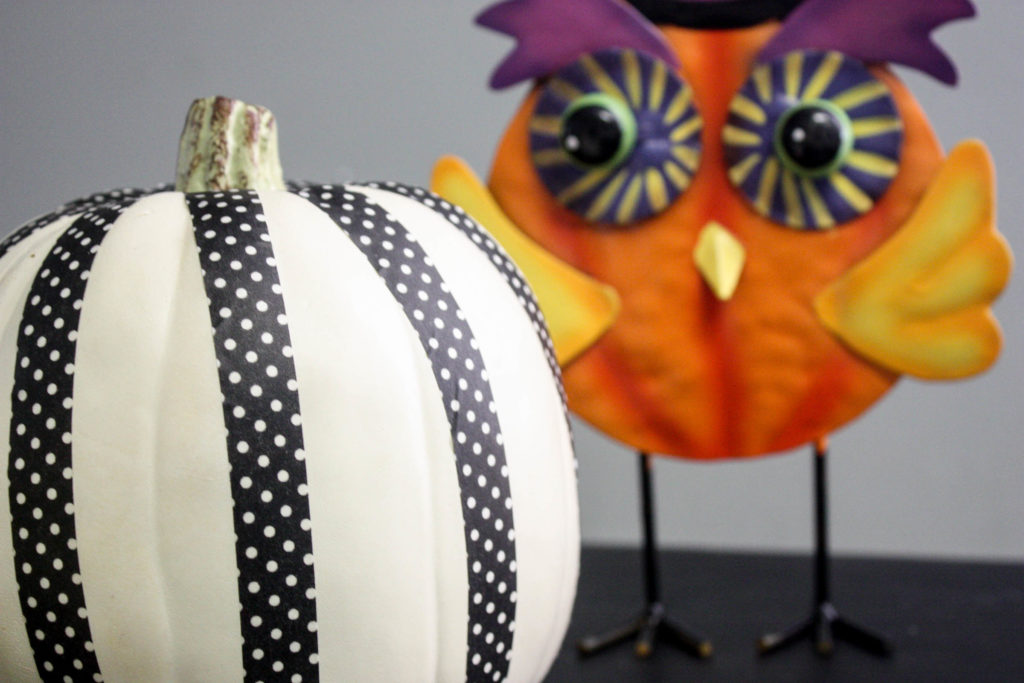
I started with this plastic white pumpkin that I had gotten several years ago from a craft store. I hadn’t planned to use it this year, but I had some leftover washi tape from my DIY Pumpkin Pallet Sign and decided to give it a quick makeover to see what I thought.
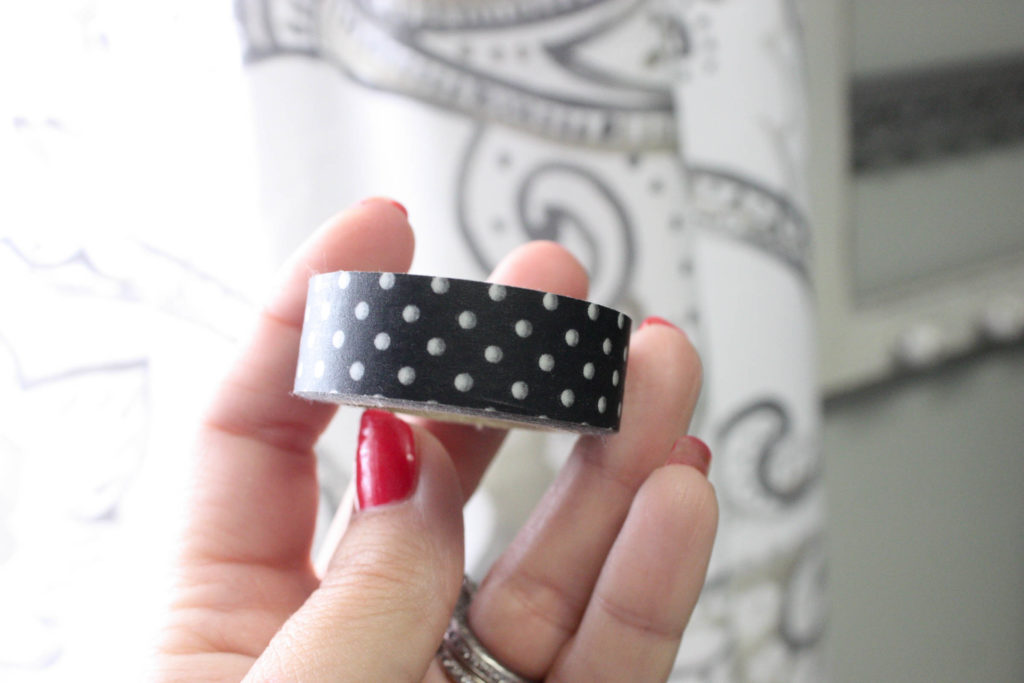
Here is the washi tape that I had left over! Just a cute little polka dot design. Nothing too themed, but it reminded me of Halloween! {And my nails are actually painted. There is a first time for everything, folks!}
To do this project, I simply took the washi tape, started at the top of the pumpkin and pulled the tape down to the bottom and tore it off. I did this all around the pumpkin! SO easy. This is what it turned out like in the end 🙂
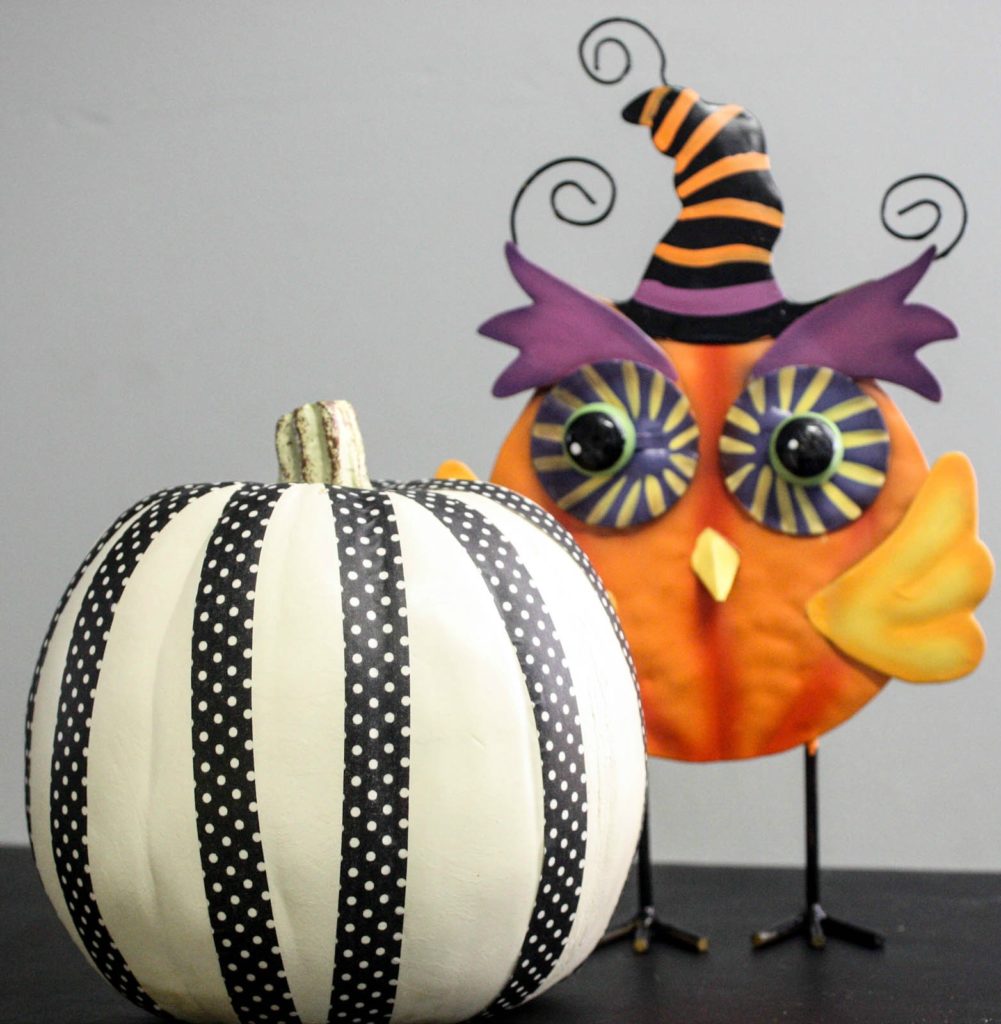
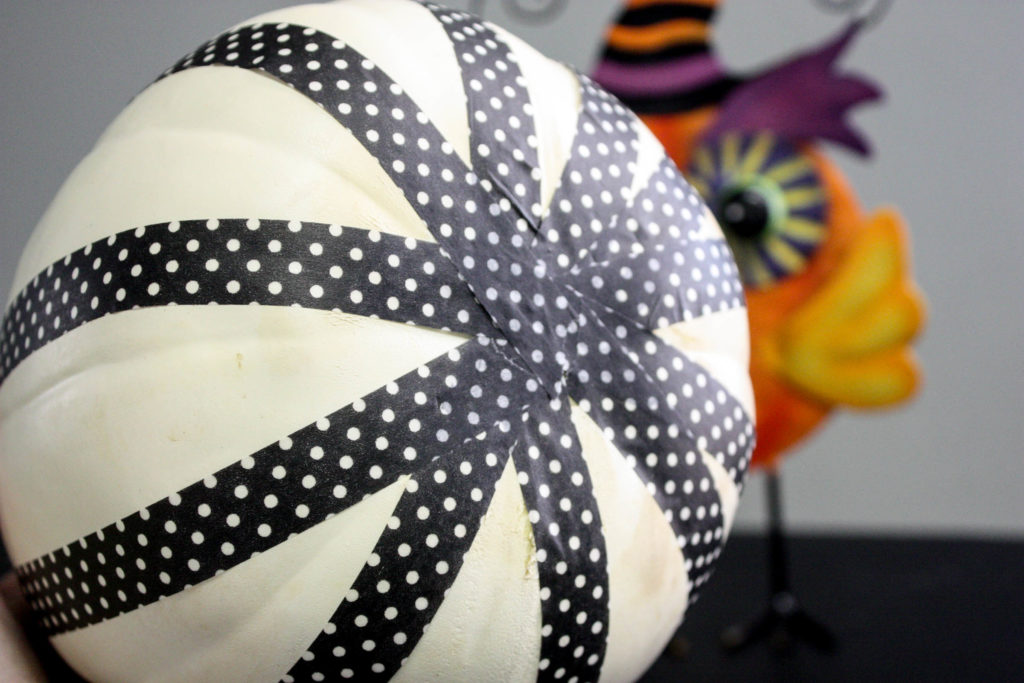
Here is the bottom where all of the tape meets up.
The BEST part about using washi tape for this is that when you are done, you can simply take the tape off and have a blank slate for next year. Washi tape does NOT leave any sticky residue and it comes off with no hassle whatsover, It is the best product ever for freshening up things around the home without being married to a design. You will see lots of use of this in the coming months leading to Christmas! It is my new best friend in decorating!
PIN ME! PIN ME!
Last Updated on October 10, 2016

Love it! So cute and easy!
I think even I can do this. Thanks!!
Cute!!!
CUTE, cute cute! Love this idea!
Very cute!