This is one of those projects that required a little bit of creativity. The best thing about it is that by being creative, I was able to do this entire projects with things I already had on hand, so basically, it was FREE! You see, the coffee table in and of itself was already free. Do you remember the story I shared with the Hexagon Side Table about my c0-worker whose family was having a yard sale? Well, this was one of those items. Only, it wasn’t in any of the pictures she sent, so I didn’t know I was getting it until I got there to pick everything up! What a great surprise!
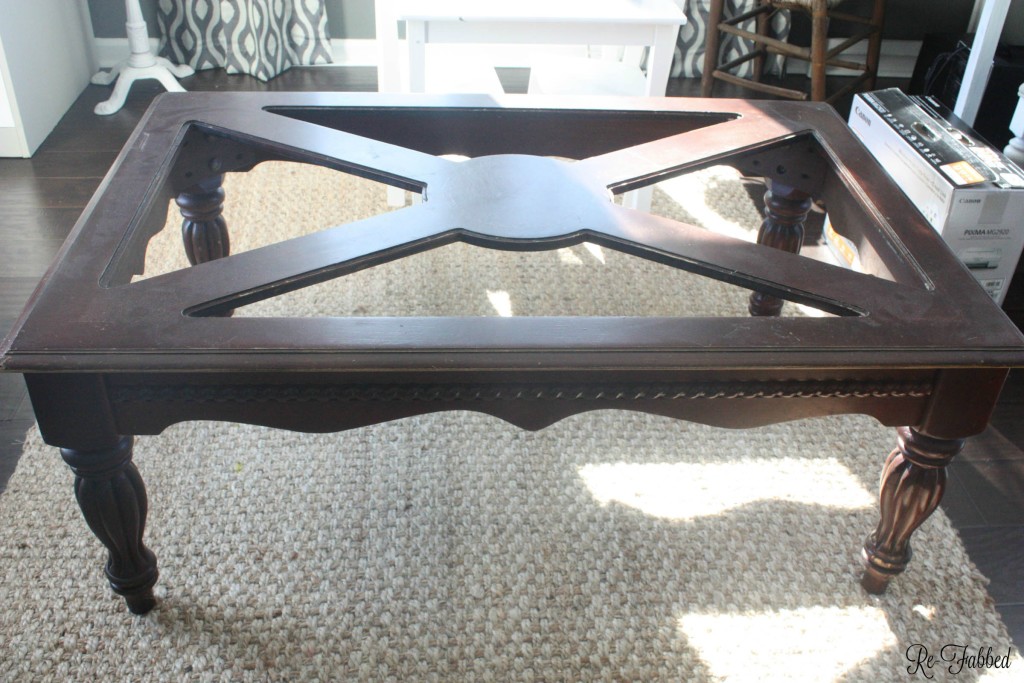
The only problem was, the glass that filled the inserts on the top was broken out, so it wasn’t usable in its current condition. It needed a little love and TLC, and that is where I came in. It has actually been sitting in my garage since August, but there are just only so many hours in the day! {And trust me, I have WAY more projects than hours!}
So anyway, I finally brought this beauty in and got to work. Here it is before:
The bones of this piece are fantastic. The top is neat, but it isn’t my taste, per say…so I knew I wanted a fresh start.
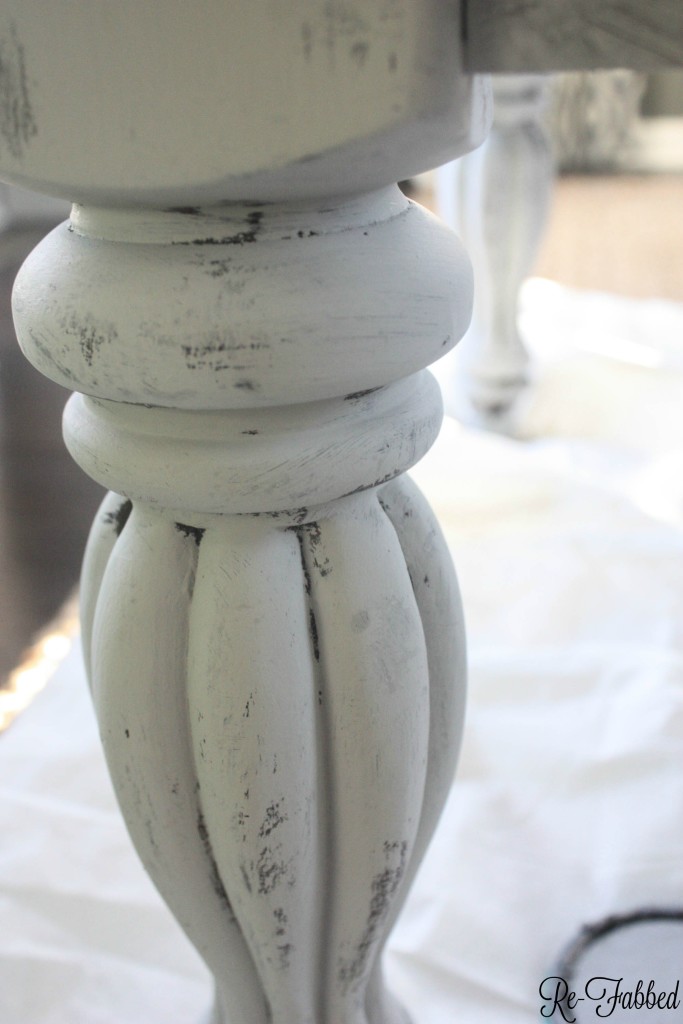
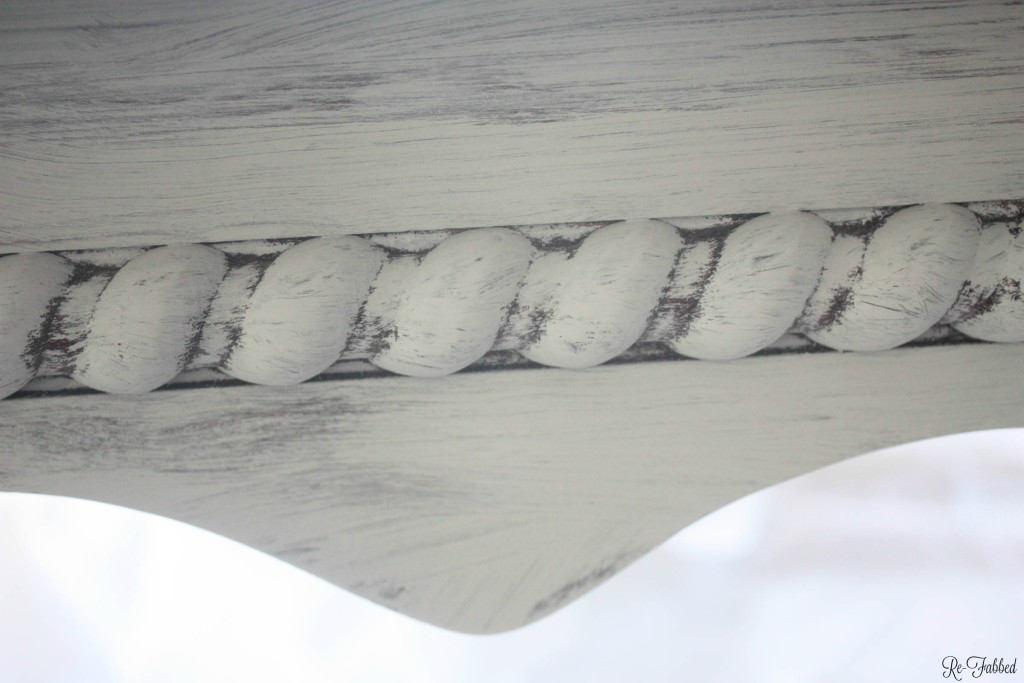
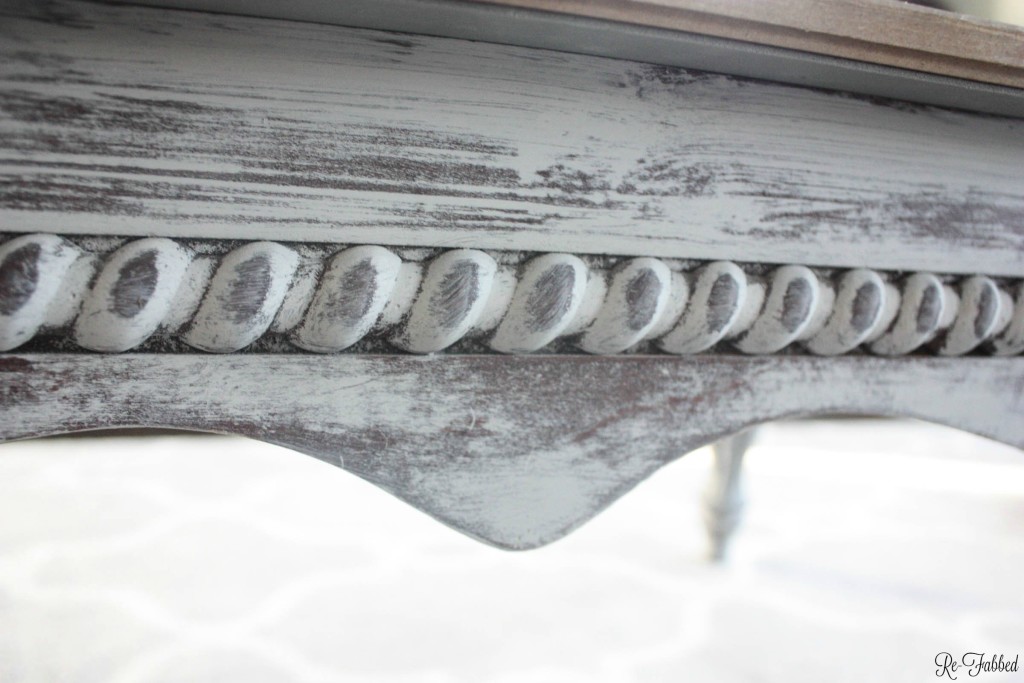
I love the detailing.
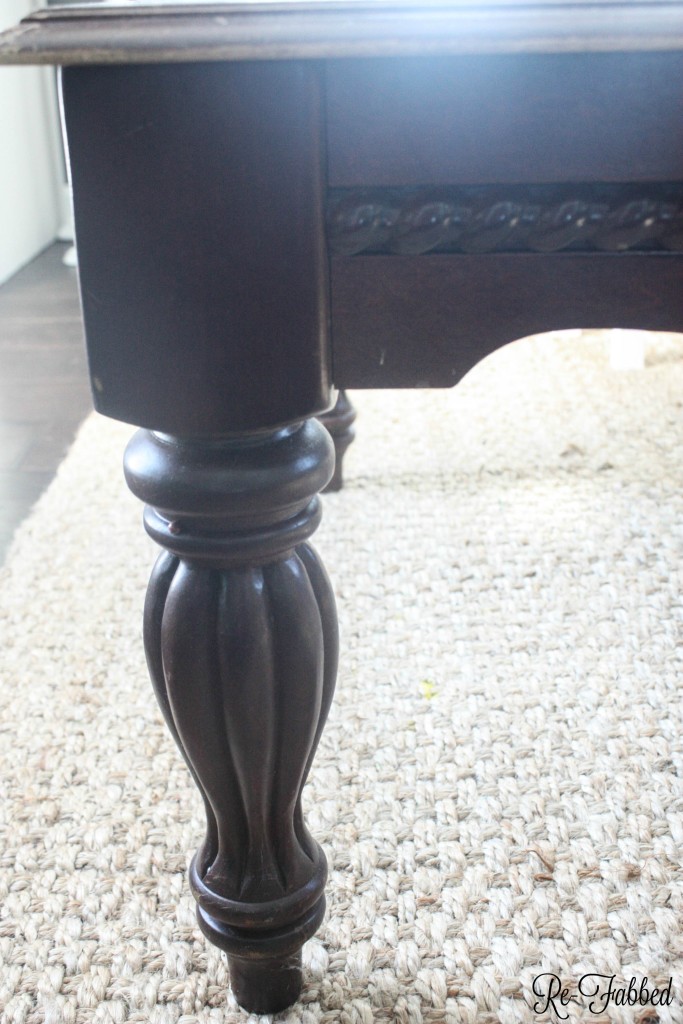
To me, this was a no brainer. I have been wanting to do another heavily distressed piece, so this one was perfect. {Can you spot the lady bug? I just noticed it as I was loading this picture! Definitely shows it has been outside for a while!}
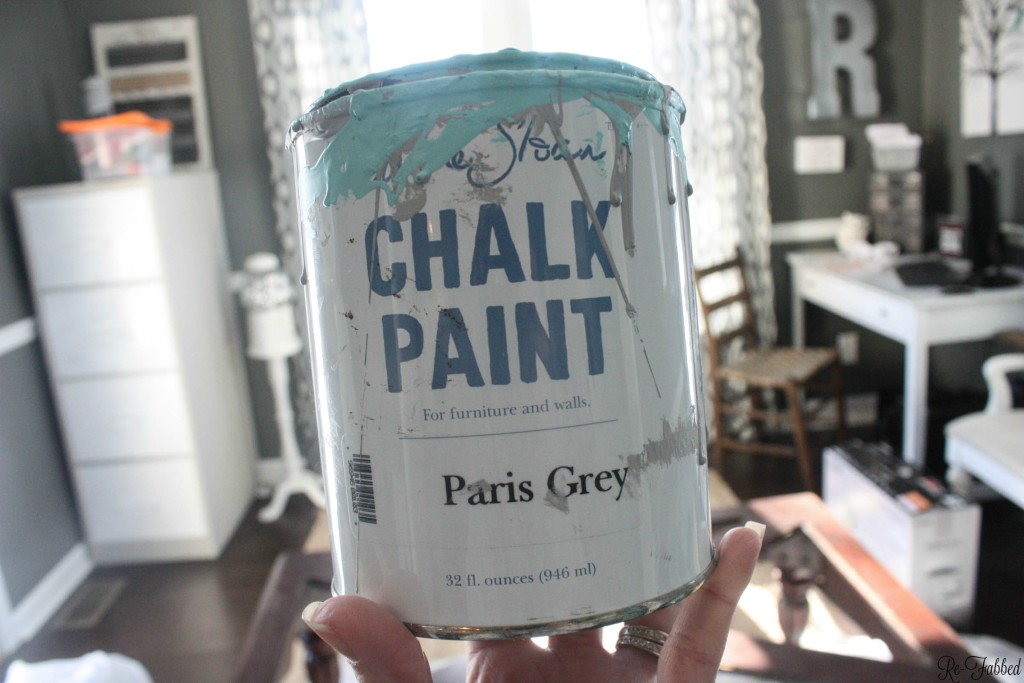
I had some leftover Annie Sloan Paris Grey chalk paint from forever ago, and it would be perfect for this piece. A really light color with the dark showing through would be gorgeous!
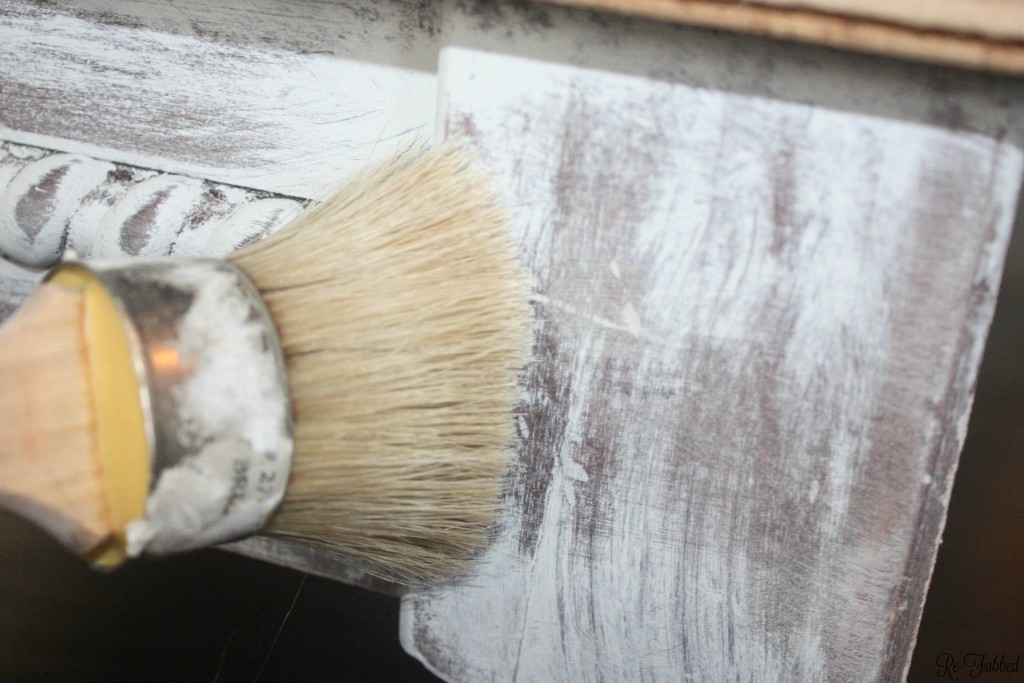
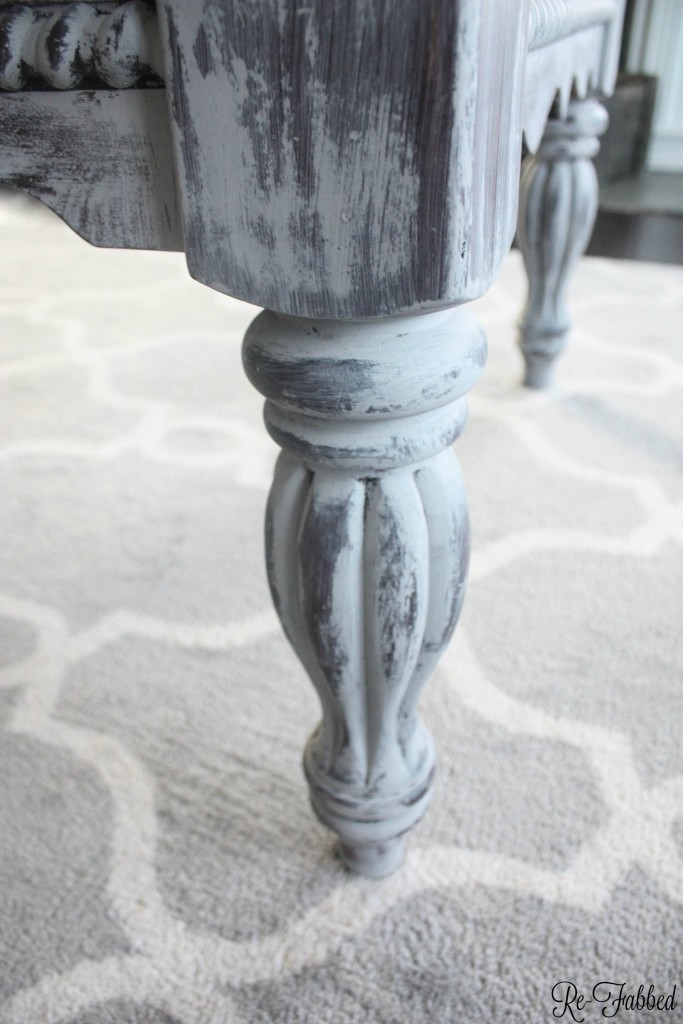
Here it is after 1 coat {which is all it took}. I just haphazardly put the paint on with a thin layer, not worrying about getting every inch. I actually didn’t want to get every inch. I just wanted a thin layer because I would be sanding it down ALOT to get the look I was going for. Having a thin layer makes it that much easier to sand too!
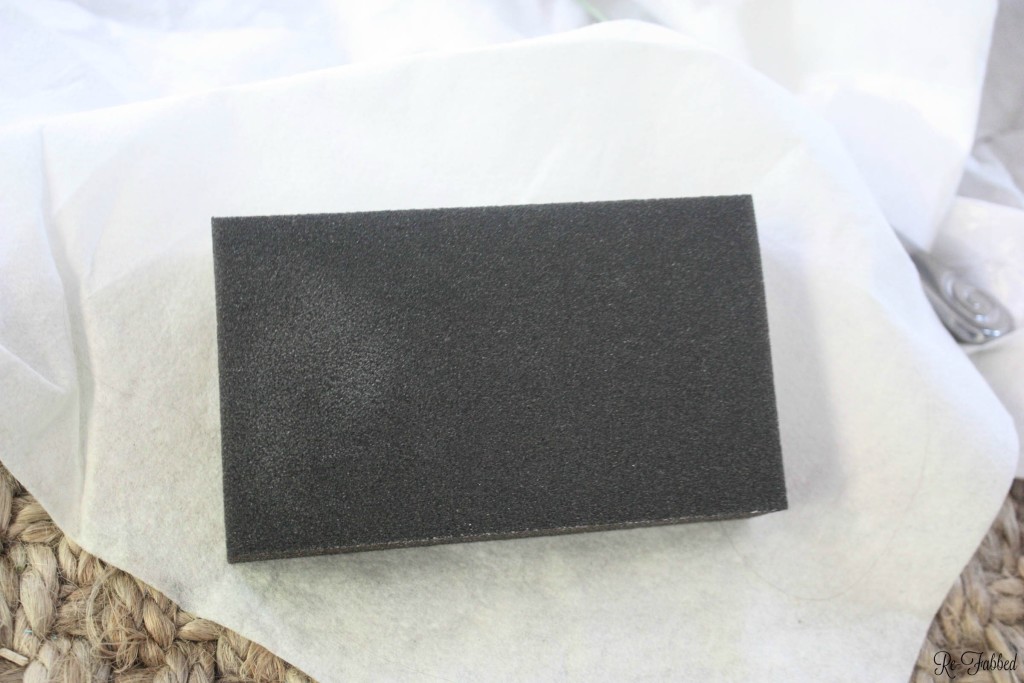
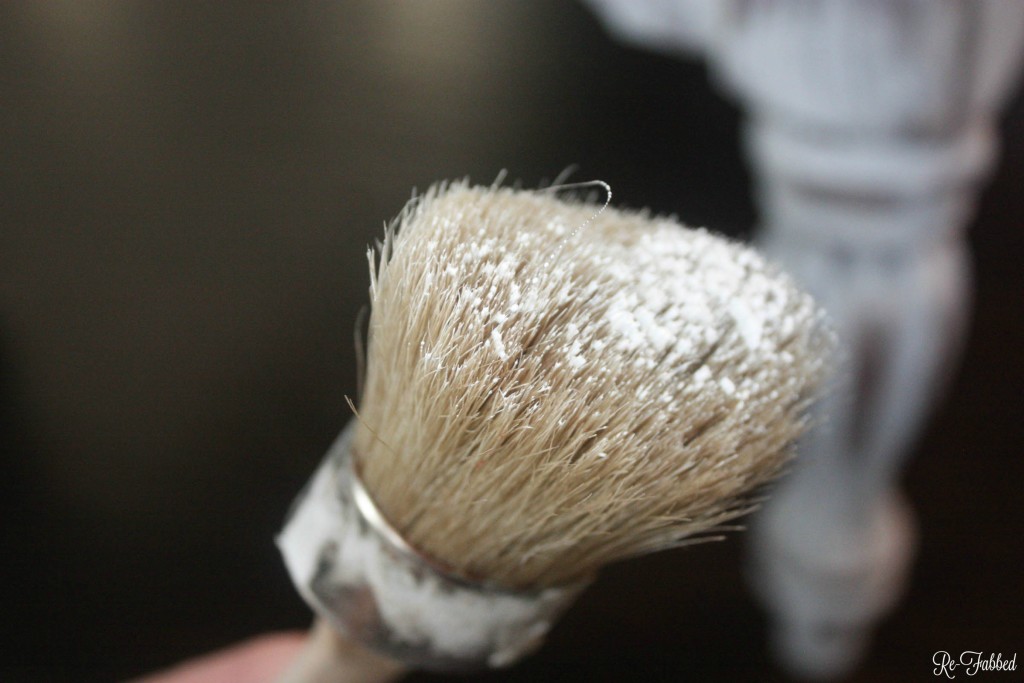
Honestly, I love these block sanders better than anything. I feel like I do some much better with them, and they always leave a buffed feel when I am done, which I also like.
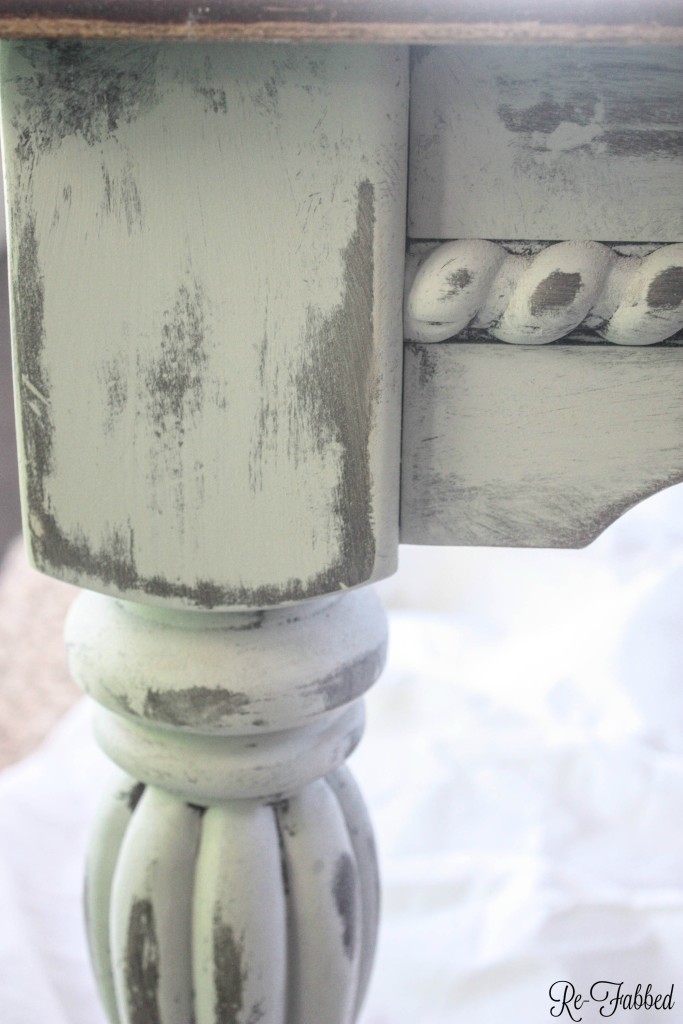
So, I got to sanding pretty much everywhere…and this is what it was starting to look like. {before I wiped it down to get the sanding dust off} I LOVE.
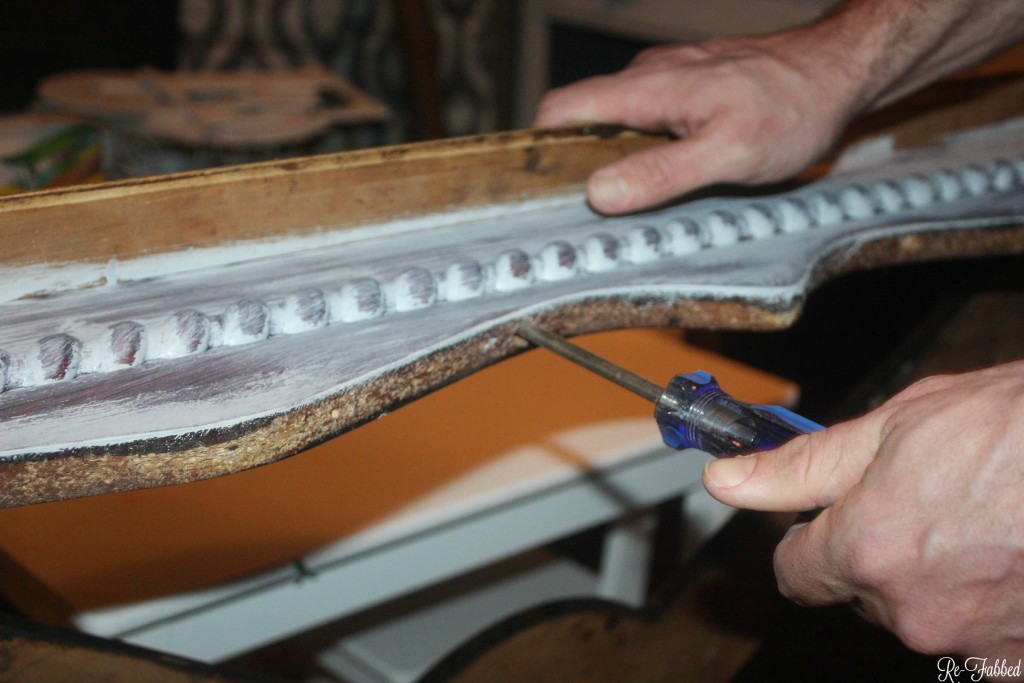
This may sound like a backwards way to do things, but I have never been real conventional. I actually left the top on for all of the painting. Why? Well, 2 reasons. One reason was that my husband was not home to help me get the top off, and two- I knew it wouldn’t affect any of my work and that the whole top would be re-covered.
So, when he got home, he unscrewed the top, and it popped off with a little jarring from me! It was pretty loud when it came off! Woke my 2 year old from his sleep. {NEVER a good thing!}
After the top was off, I decided it needed a little something else {but not anything that would change my color, because I loved that.}, so I decided to give it a light coat of the VM&D Pickled White glaze {which I also had on hand, but had never used yet}. It goes on smooth without changing your color. It gives it a little bit of a sheen and highlights the colors a little bit more.
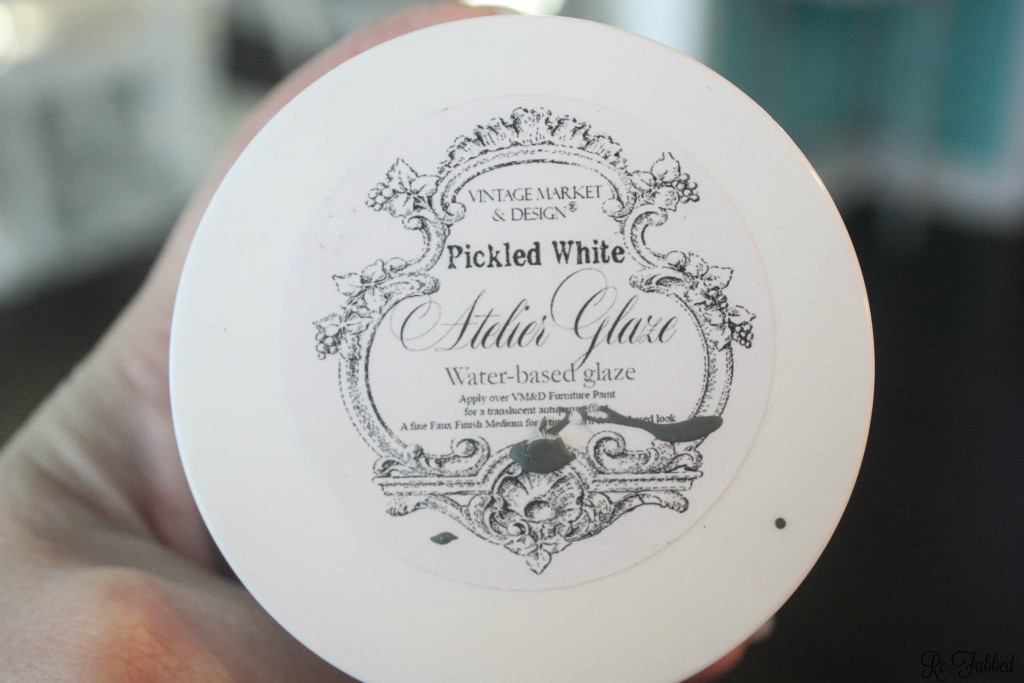
You just “paint” over the existing {after it is very good and dry} and let it sit. So easy.
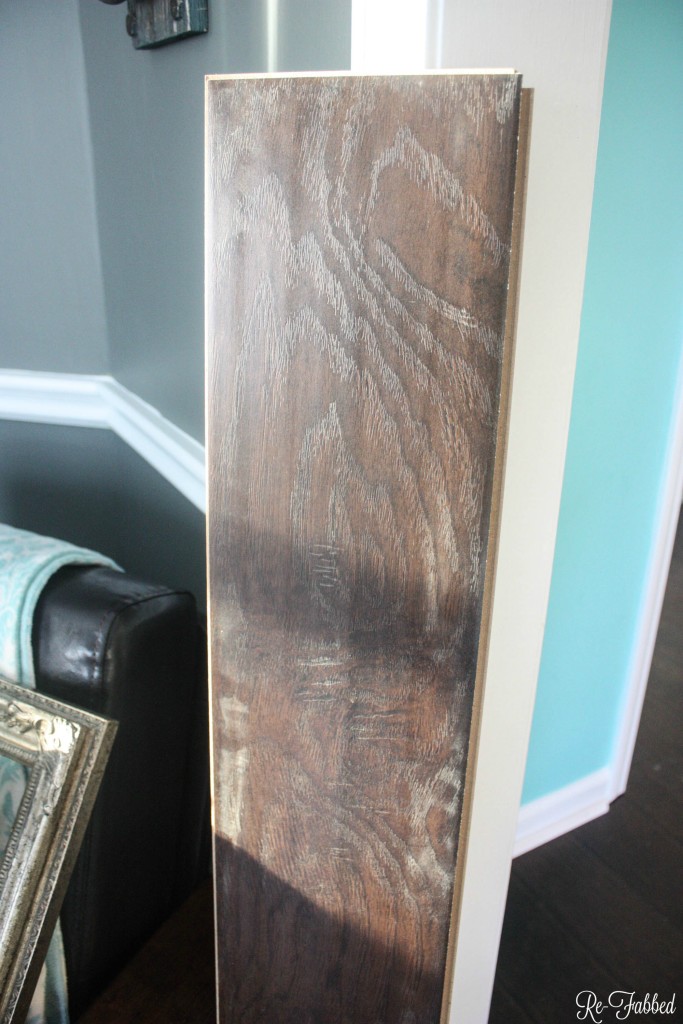
So, now that the bottom portion of the table was complete, I had to figure out just what I could use for the top, and here is the key…I wanted it to be something I already had on hand, so that this entire piece could be completely FREE for me. SO, my husband had a great idea. He suggested using some of our leftover flooring to go on the top! WHAT A CREATIVE IDEA! He is good at helping me come up with ideas. Thanks Mr. Re-Fab 😉
Here is our flooring {You can see it in the background too}. It is very dark, which goes perfect with the dark wood showing through on the bottom portion. They will go nicely together!
He took the leftover boards and snapped them together. We needed 4 to fit across this table. It is a very good sized table! They laid PERFECT across the top and did not have to be cut down or anything. I was amazed. We did have to trim the edges to give them a more clean look. To attach to the table, we used the same screws from the previous top. That made it lay down perfectly.
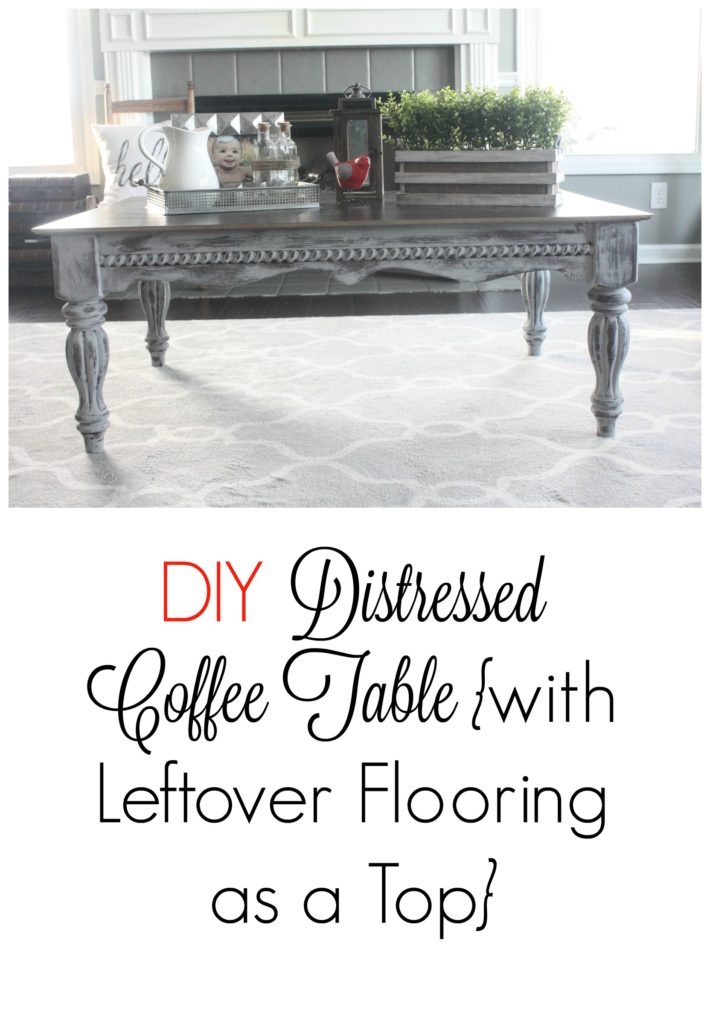
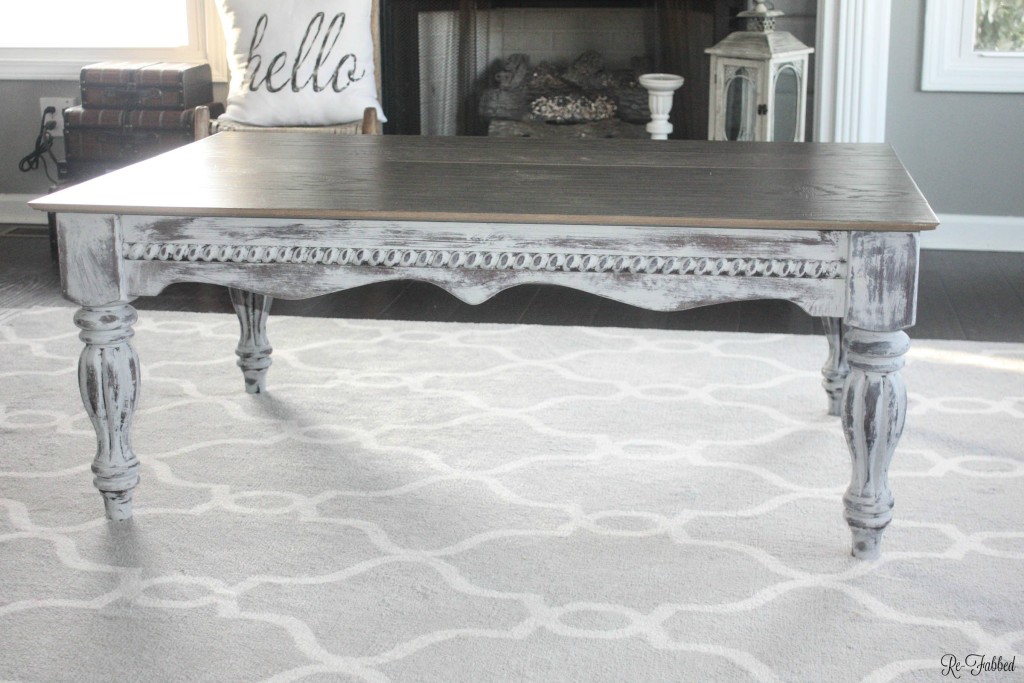
And HERE is the finished look of my FREE coffee table {and although a lot of people thought I needed a coffee table in the Living Room Layout post, I will not be keeping this in here! The kids have already had a hayday with it, so it will not work out for me in there!}!
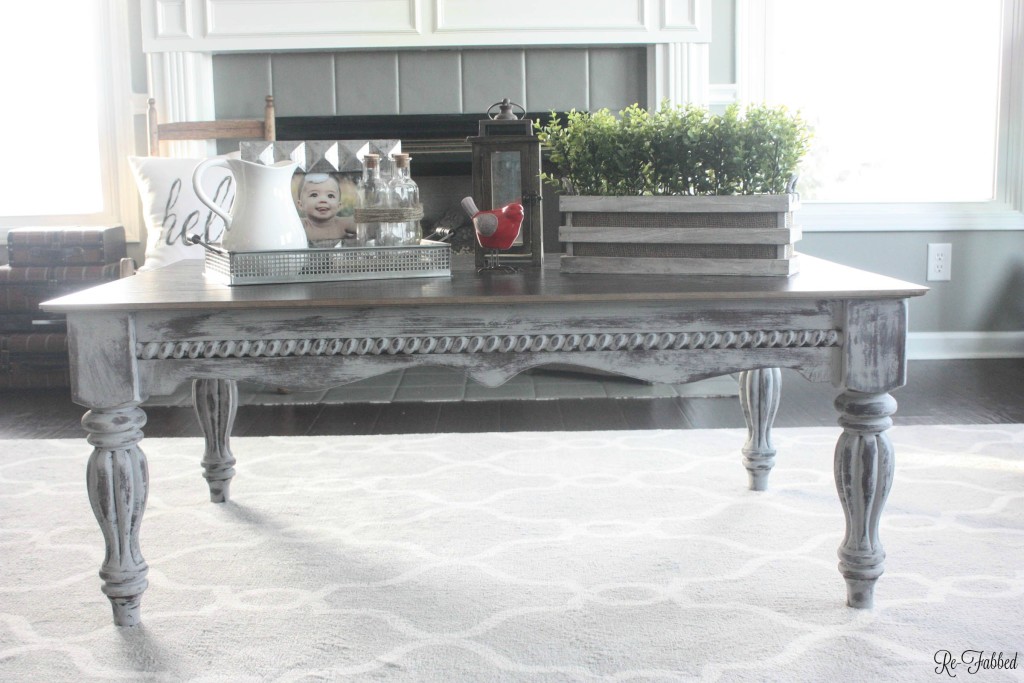
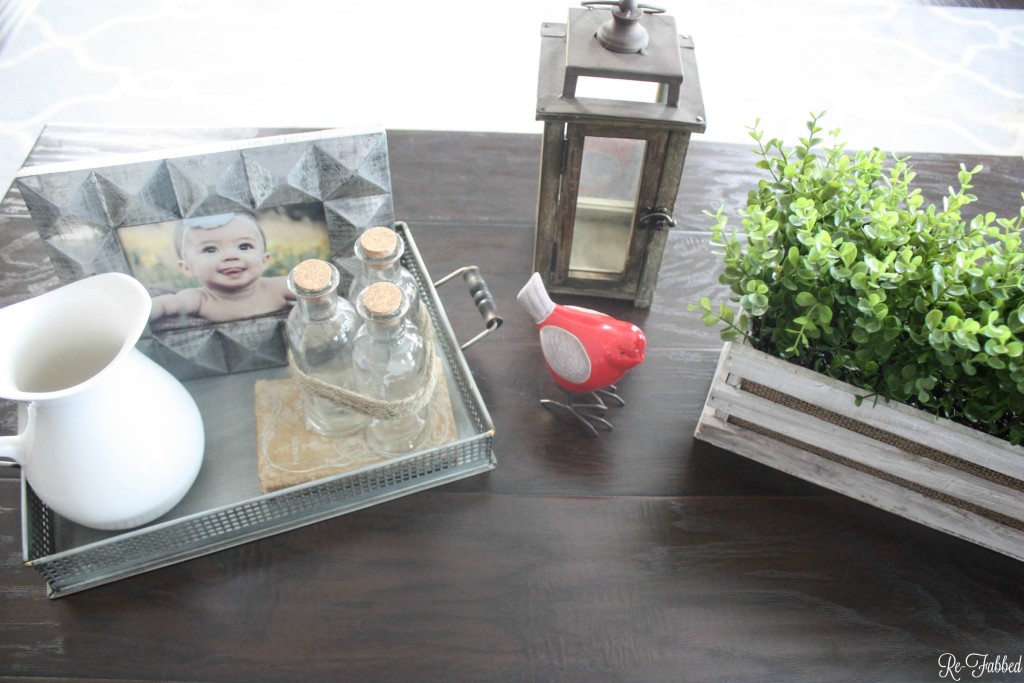
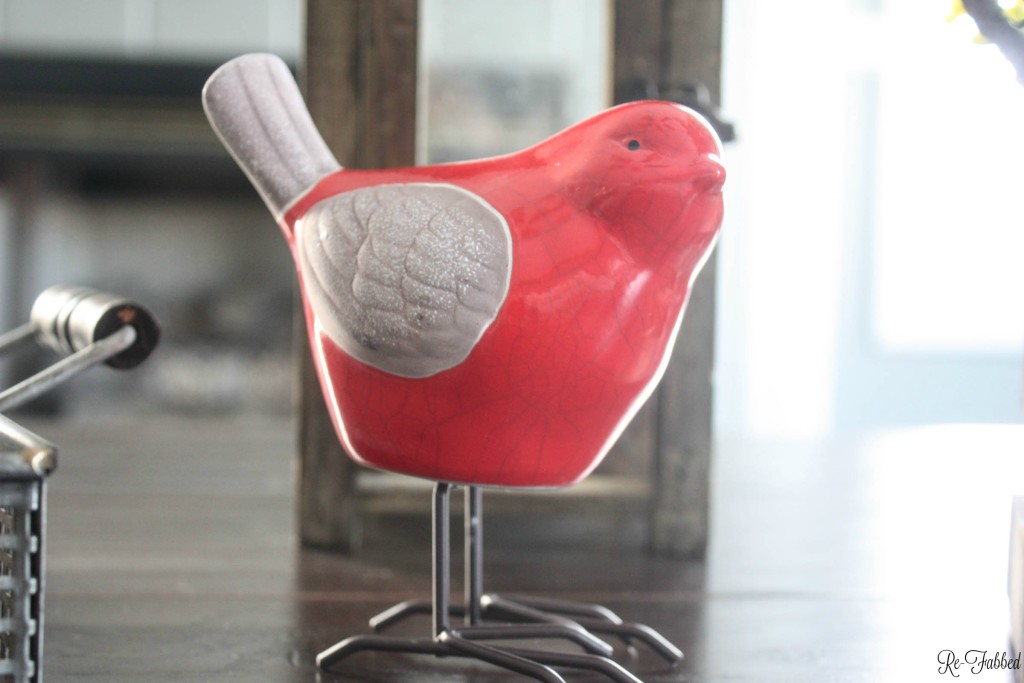
And I just love this little $2.99 red bird from Kirklands! Perfect touch of color.
So tell me? Do you like the finished product? What about the fact that it was all FREE, just using products I had on hand and a little creativity?
Pin for Later!
{Click here to find out how becoming an email subscriber will enter you to win décor items, gift cards, etc…JUST by getting emails when a new post is added!}

Thanks so much for checking out my new and improved coffee table! Would love to chat with you in the comments!
Last Updated on July 20, 2016

It’s beautiful Brooke & to say it was free even more so ??
Thank you, Denise!
Very nice idea. But isn’t one side of the table edge “unfinished” with the
groove in the flooring that interlocks to next piece?
Fabulous – love it!
Thank you, Lynne!
So pretty! Love your idea to use leftover floor boards.
Thank you, Amy! It is funny the things you can think of when you are trying to keep it free 🙂
Love it, Brooke! I LOVE using leftover flooring for projects, too!
Thank you, Kammy! I was happy with how it turned out 🙂
Can you share how you trimmed the edges to give the finished look? I love it!!
Well, I will tell you…I actually didn’t do anything. I left everything exactly as it was. I debated on sanding down or adding something to the edges, but in the end- the people who bought it liked it as it was, so I left it 🙂
Looks Awesome. Would love to see a picture more of the top part and how you trimmed the raw edges.
It’s beautiful, you have great taste. Do you have to sand it down at all before you paint on the chalk paint?
Thank you so much, Rose! The great thing about chalk paint is there is no sanding!!?
BEAUTIFUL, looked like a high-end piece of furniture !!!
Nice result but i would have had glass cut as a top and painted it white (just me). Seems a shame to cover the decorative frame top, but — to each his own!! 🙂
The top was completely removed. But yes, we all have different visions ❤️
WOW! this is gorgeous! I love all the carved detail on the legs.
I love the table! The legs have such character and distressing it looks great! The flooring for the top is ingenious!