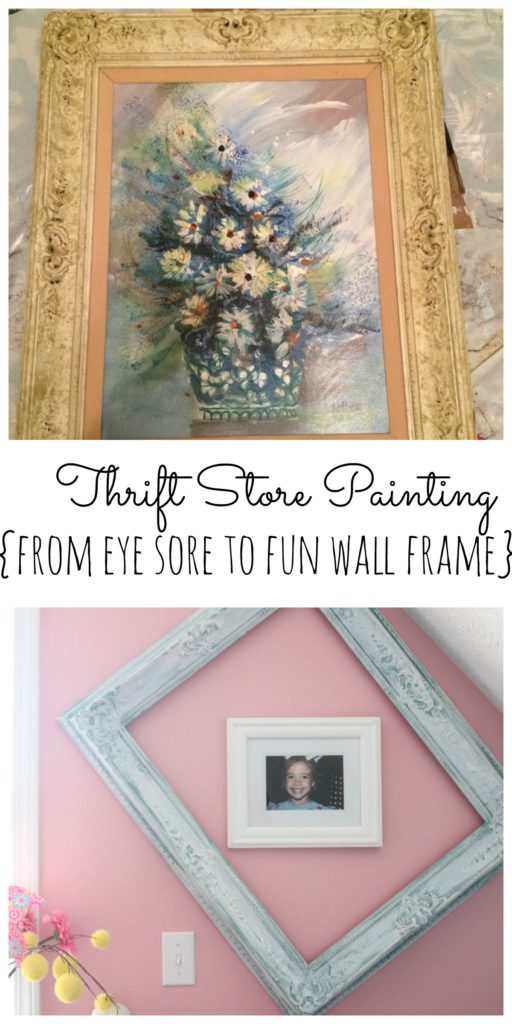
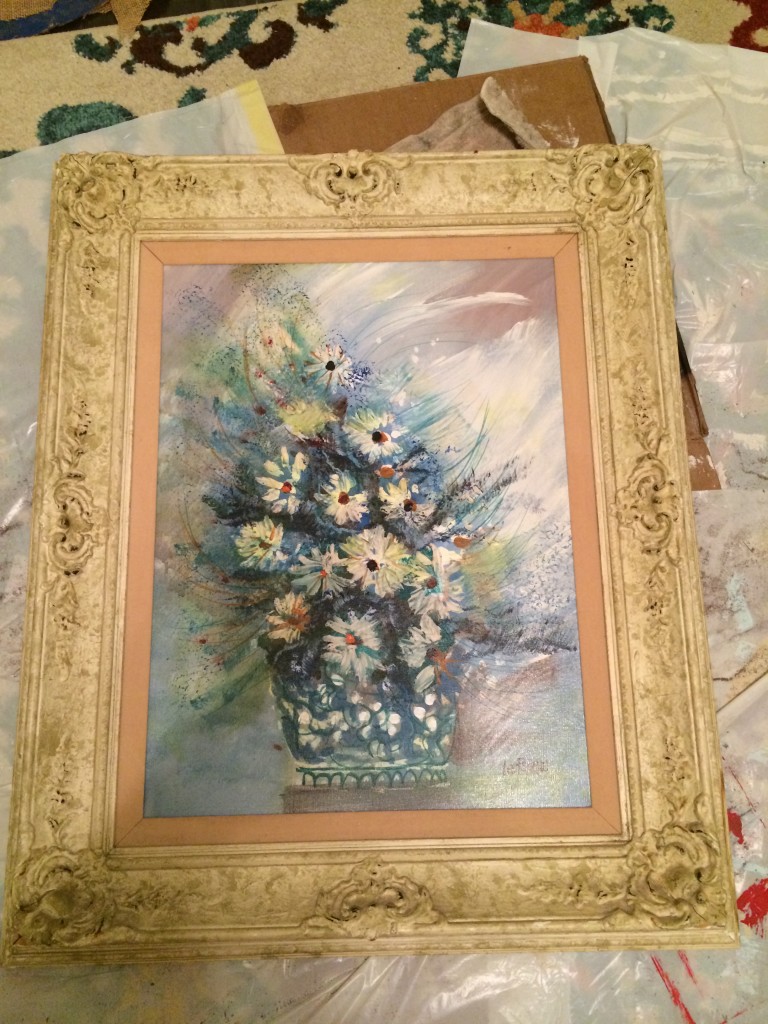
One day, as I was browsing our local thrift store, I spotted this $15.00 beauty! (Well, maybe beauty is a strong word…) I loved the look of the frame, but I hated the dingy color, and I was not a huge fan of the painting inside. I couldn’t wait to get home and get the staples out so that I could get to work.
This is the painting before anything was done to it! (Frame=YIKES!!)
Well, as luck would have it, it wasn’t NEARLY as easy as I had thought! (Why is that always the case?!) Those darn staples weren’t coming out without a fight! Just great! I had thought this would be an easy fix.
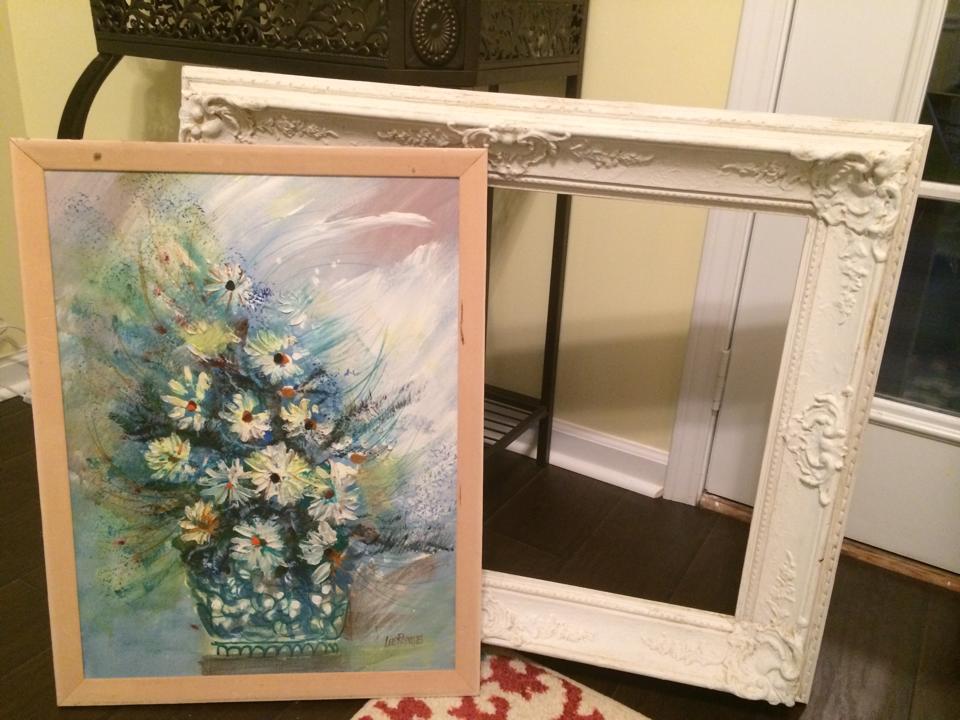
Hubby to the rescue! He came in with his drimmel and got that sucker right out of the frame in no time so that I could get to work on the FUN part~painting and waxing! (Is it weird that I get this excited over this kind of thing?!)
This is what it looked like after the painting was removed and I put one coat of Vintage Market & Design antique white chalk paint on. (Already a huge improvement!)
After painting the first coat onto the frame, I waited a day or two to decide what color I wanted to go with for the finished product. At first I wanted something fairly neutral in case I decided to sell instead of keep. (Who was I kidding, I knew I would never sell this frame! I love it too much!)
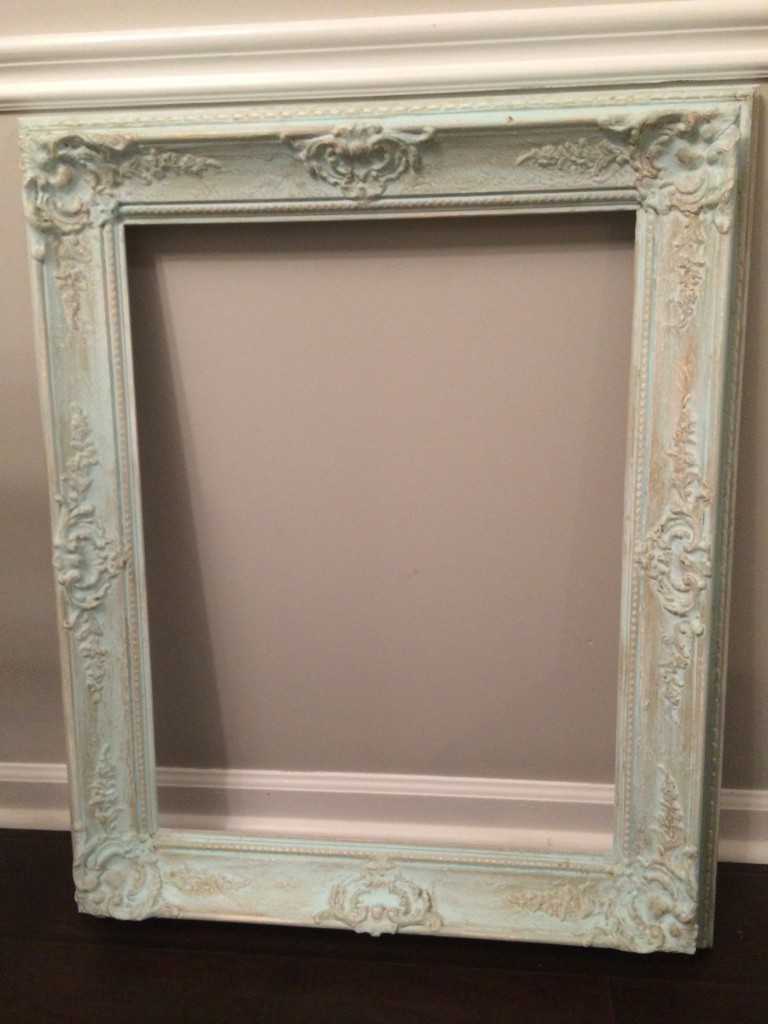
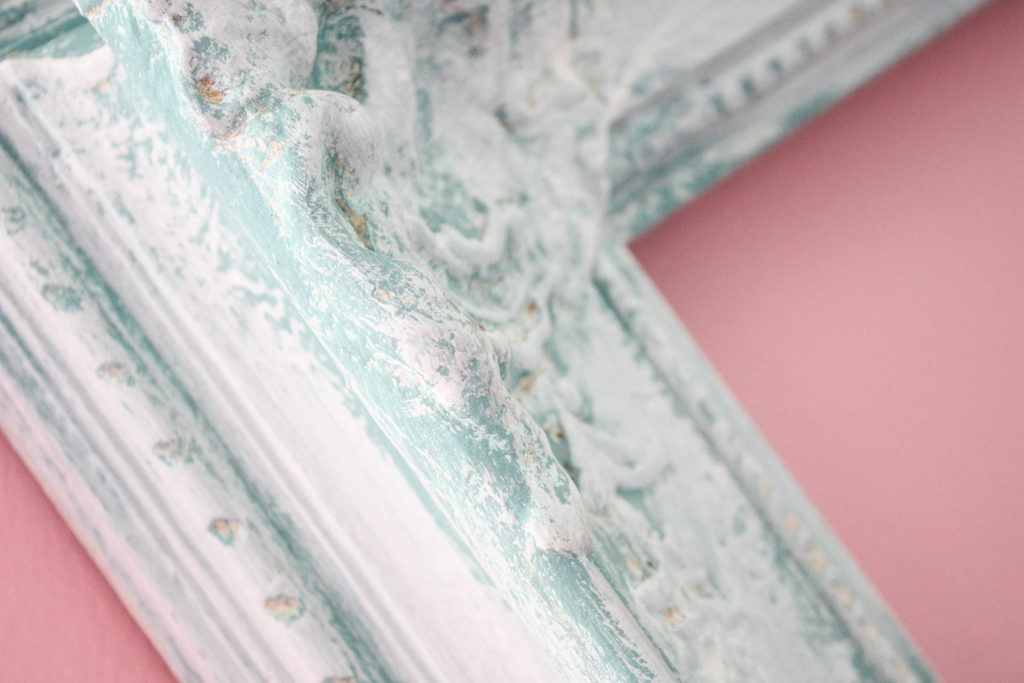
I decided on a light aqua color that I had on hand. You guess it, Vintage Market & Design chalk paint in Glacier. I also thought I would add some dimension by adding some dark wax into the crevices, so I used Annie Sloan’s dark wax for that part. This is what it looked like after that process.
Hmmm…predicament. I STILL was not 100% satisfied with the finished product. I didn’t think the wax looked good. In fact, it looked dirty, to me anyway. I mean, it was kind of cute, but I was certainly not in LOVE…not even in LIKE. So, I went at it again. I gave it another day or two so that I could decide on the right color, and I did! I happened to be at Walmart and noticed that they now carried a new line of chalk paint! They had the perfect color and amount for such a small project, so I went with it. The color is called Agave…and I truly loved it.
I got home, took my little handy chip brush and lightly brushed one coat of Agave over this existing color. I loved the bold pop of color, but I still felt like it needed something extra. I was not sure if I would ever get this frame to where I wanted it, to be honest! It is a huge frame with so much potential, but I was struggling to make it work.
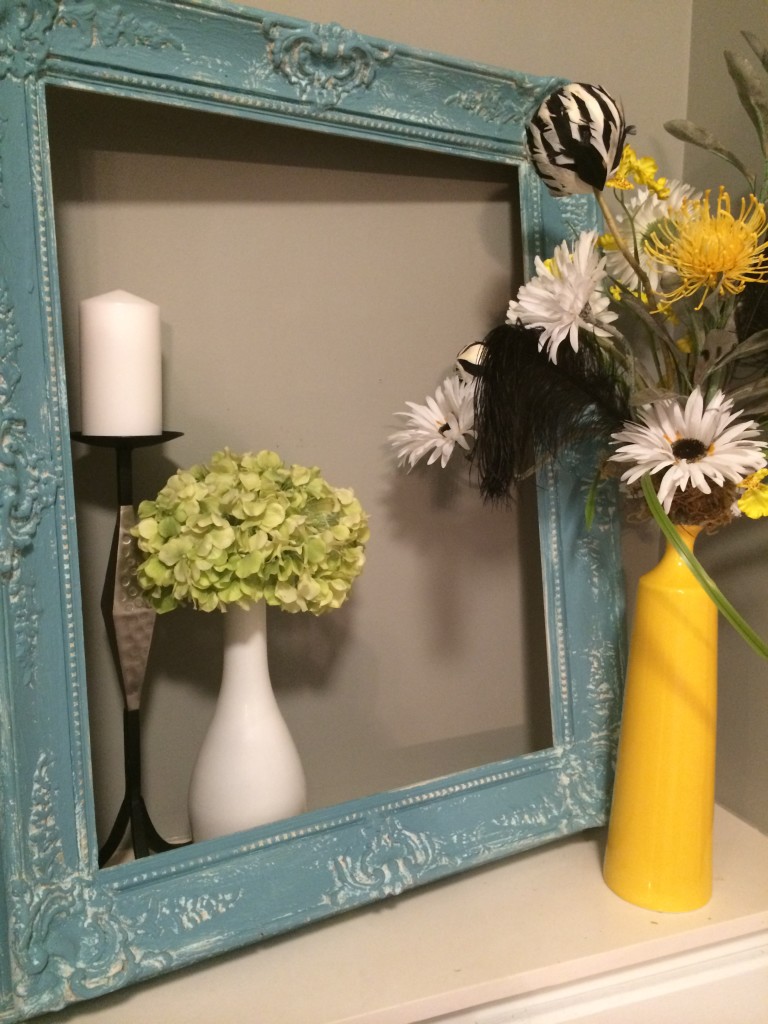
I finally decided to cover the Agave with a light brushing of antique white chalk paint that I had on hand {a very small amount on my chip brush}. When I finished, I felt like I had finally arrived at something that I really loved. It ended up going perfectly in my daughter’s fun room, over her bed. I hung it in a quirky way to match her fun and quirky room {which isn’t done and probably never will be! Ha!}, plus her walls are so awkward that it is very hard to hang things!
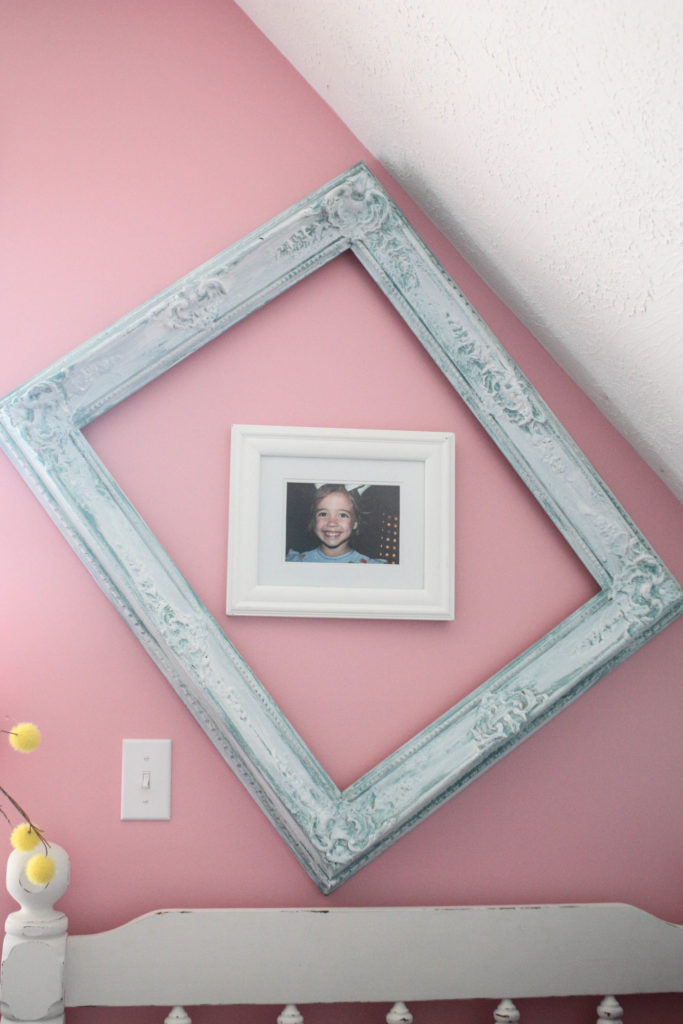
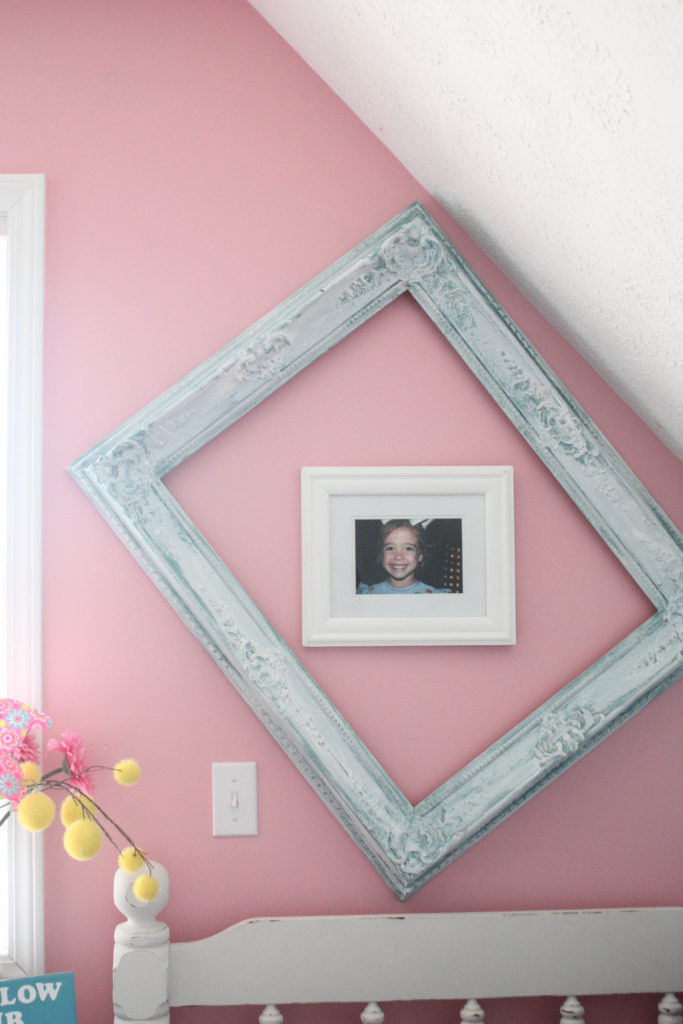
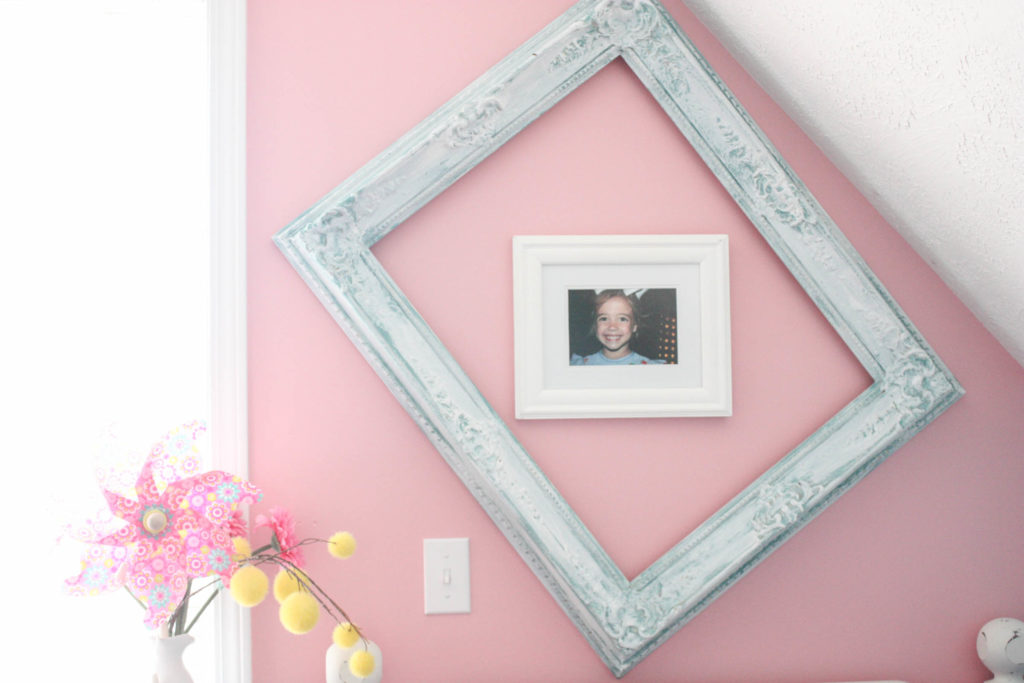
Turned out pretty darn cute, don’t you think? To me, it says FUN! And who doesn’t enjoy fun??
I wish I could finally get the vision to complete her room, but with us about to move, I have pretty much given up hope on that one! The kids will be sharing a room in our next home that we will live in while we prepare to build our dream home, so maybe I can share their space! 🙂
Her gallery wall was a fun project that I did complete in her room, if you want to take a look at that! It turned out super cute!
Last Updated on May 7, 2016

Looks great
Thank you so much, Carolyn! I really like it!
I like how you framed the candle, candle holder, vase and flowers. Did you keep the picture? Maybe you could flip it over and paint it w/ black chalkboard paint? Then if you tire of the empty frame you can insert the chalkboard back into the newly gorgeous frame. Do you love the monogram / initial trend? I do! And if you do, maybe you could chalk in your last name’s initial.
We did not keep the picture. It had textured paint, and you couldn’t easily paint over it without it looking odd. I have some ideas of how to use it later, but haven’t had a chance yet. The initial idea is great. Thanks so much!
I love the floral painting; the colors especially. If on canvas, I would have removed the other frame and painted the edges same base color and hung on my “flower” gallery wall. That wall is a soft turquoise similar to the print here on your blog. Also liked the frame and what you have done with it.
Sue
Love it! I’m new to the DIY thingy or should I say I’m new to this. Where did you get your Ann Slone wax at?
You are right ,the final color you chose is a awesome color but I feel everything you touch turns out amazing ,live to watch you ,you are a amazing speaker