Have you ever seen an item in a store and thought, “I have no idea what I’m going to do with this, BUT I GOTTA HAVE IT!”? I actually do this a lot, and then I justify my purchase later! When it comes to Christmas decor, can you ever have too much? Wait, don’t answer that! Ha ha!
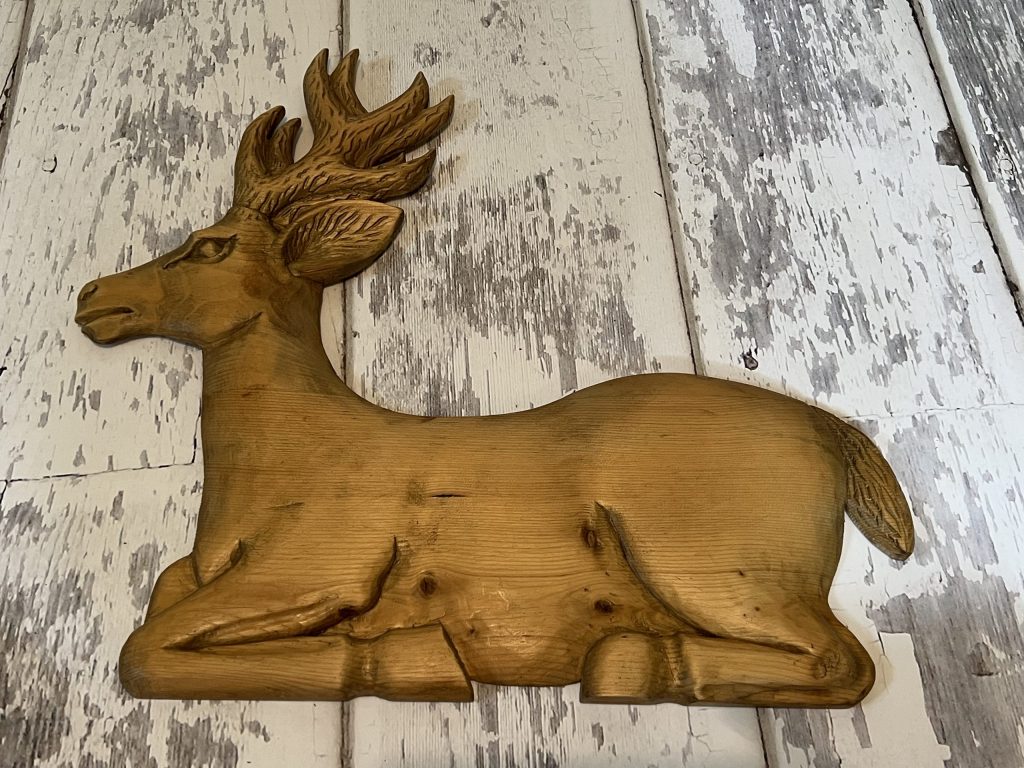
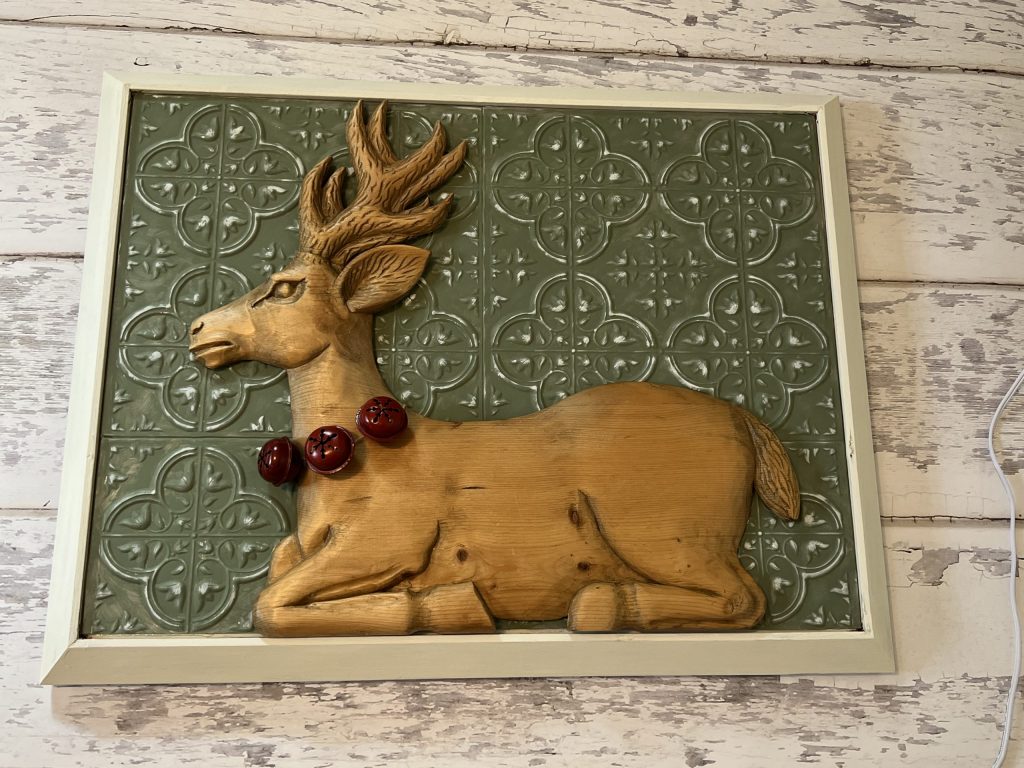
Recently, I walked into a thrift store and spotted a wooden reindeer, and it was love at first sight! It was not a free standing reindeer, so it was meant to hang against a wall or door. He was a great size and had amazing detail, and I really wanted those features to stand out!!!
Sooo…today, I want to show you how to take something (such as this beautiful reindeer) with a good detailed shape and transform it into a piece of ART by adding a background!!
For this project, I used the following supplies:
- Wooden reindeer – thrift store
- Wooden 18″x24″ frame – thrift store
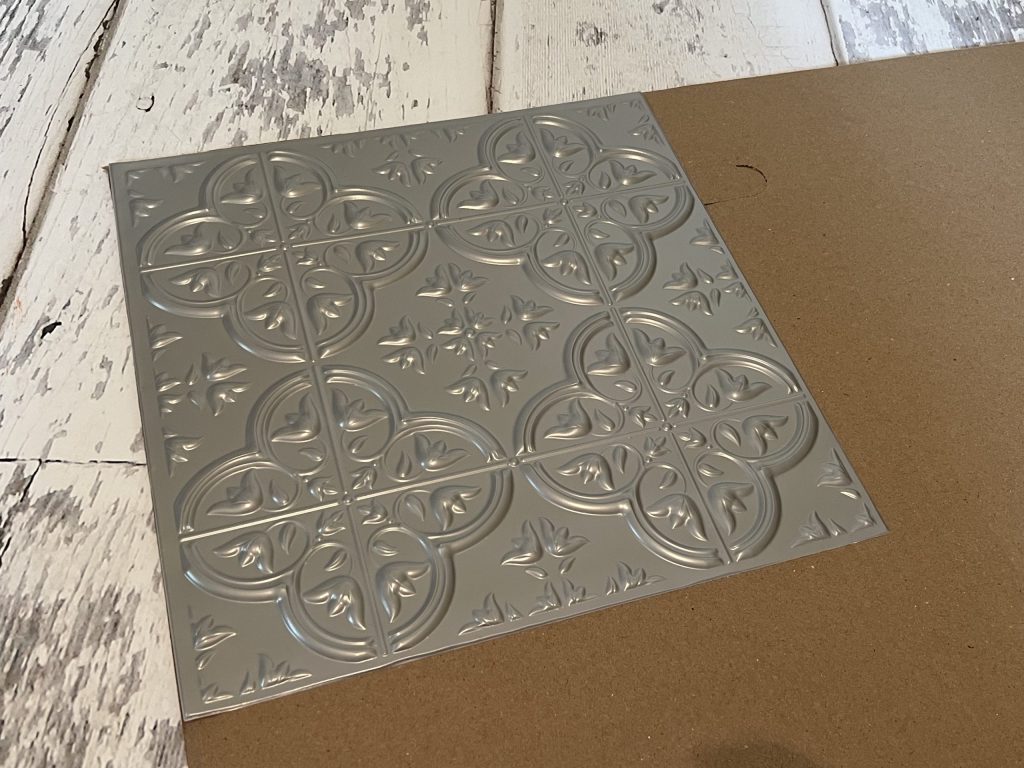
- Cardboard cut to fit in frame
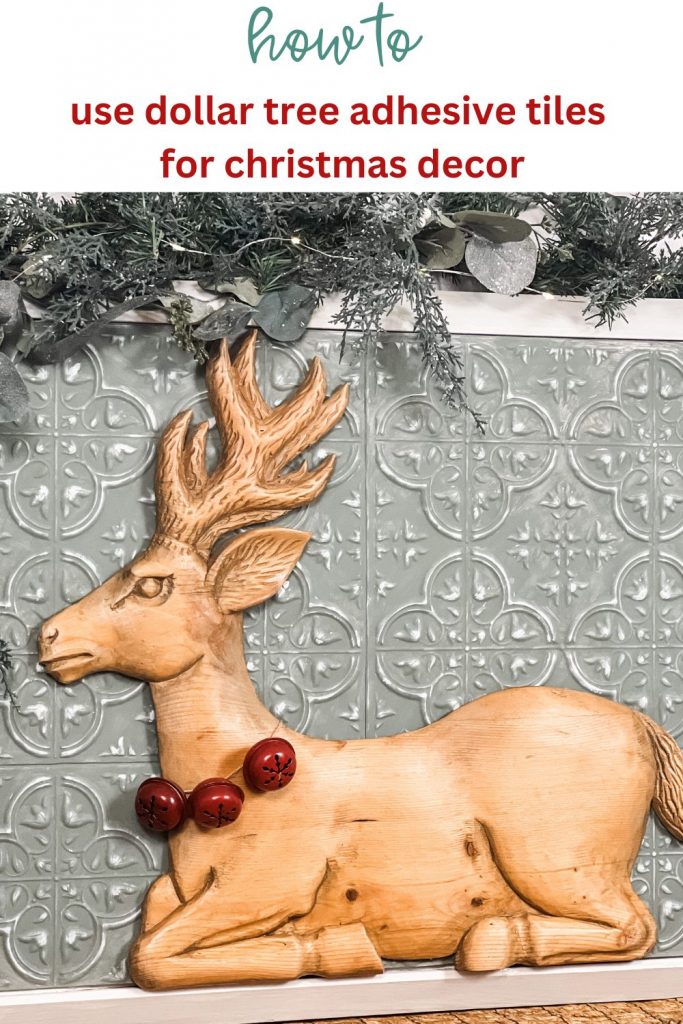
- (3) Self-adhesive wall tiles from Dollar Tree
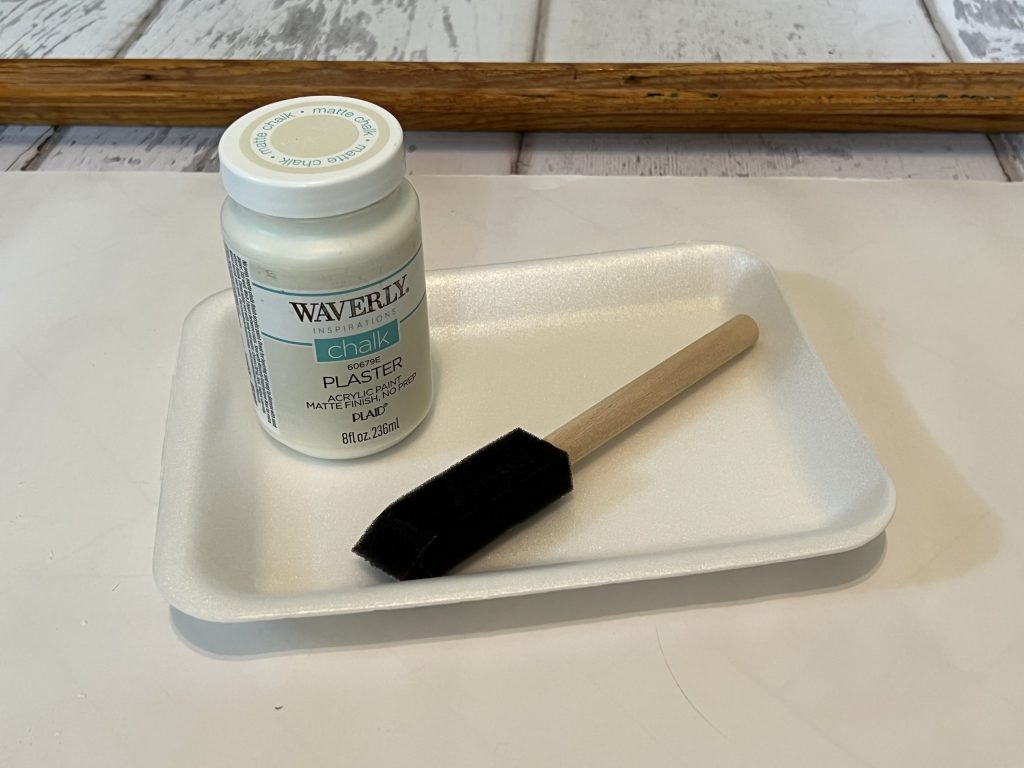
- Waverly chalk paint from Walmart in colors plaster and moss
- Foam paintbrush
- Jute string
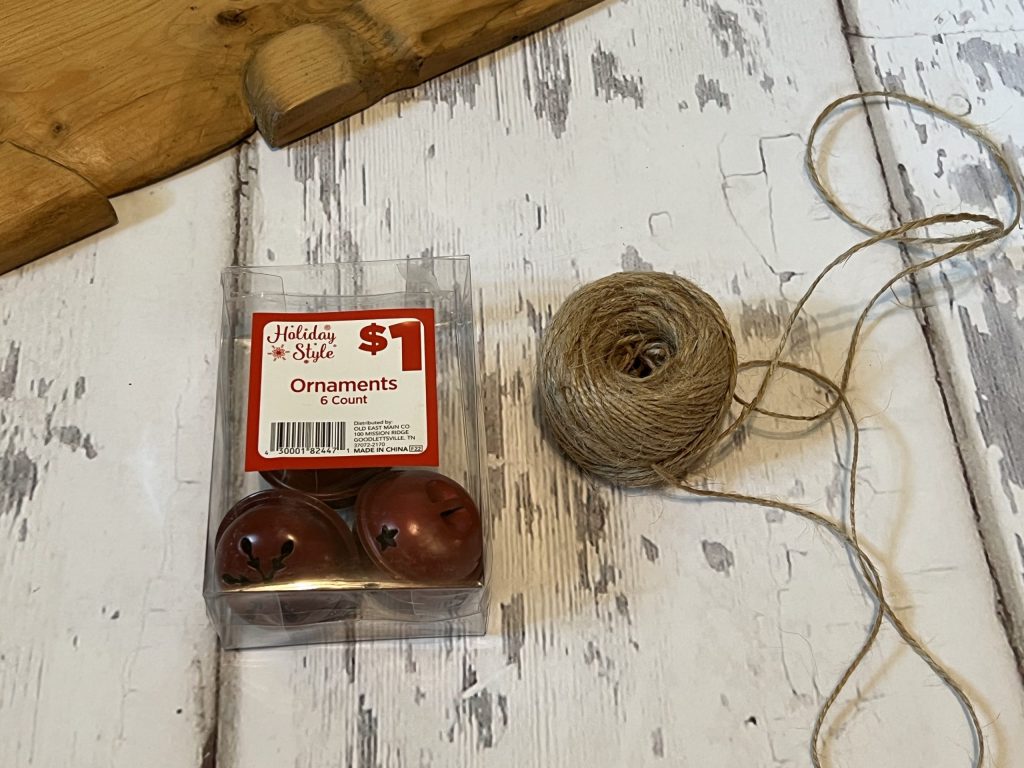
- Jingle bells from Dollar General
- Hot glue gun
- E6000 glue
- Utility knife

The first thing I did was clean the frame and paint it with Waverly chalk paint in the color plaster. It took two coats to fully cover the oak finish. Do not rinse out the paintbrush just yet…you will need it for the background as well!
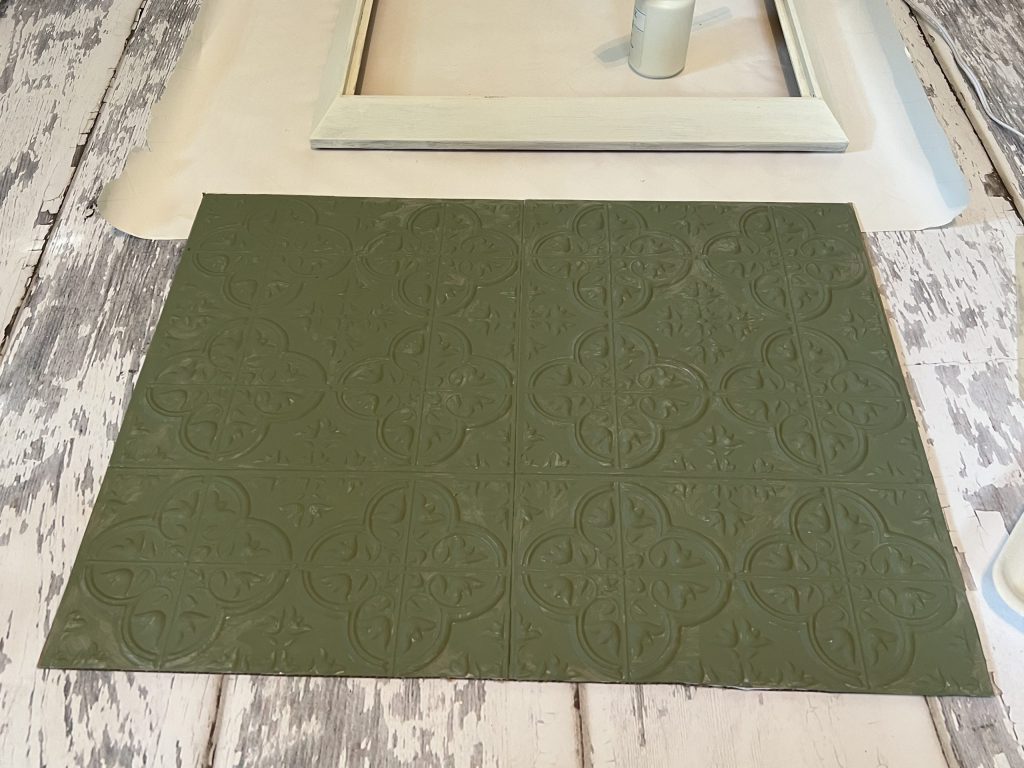
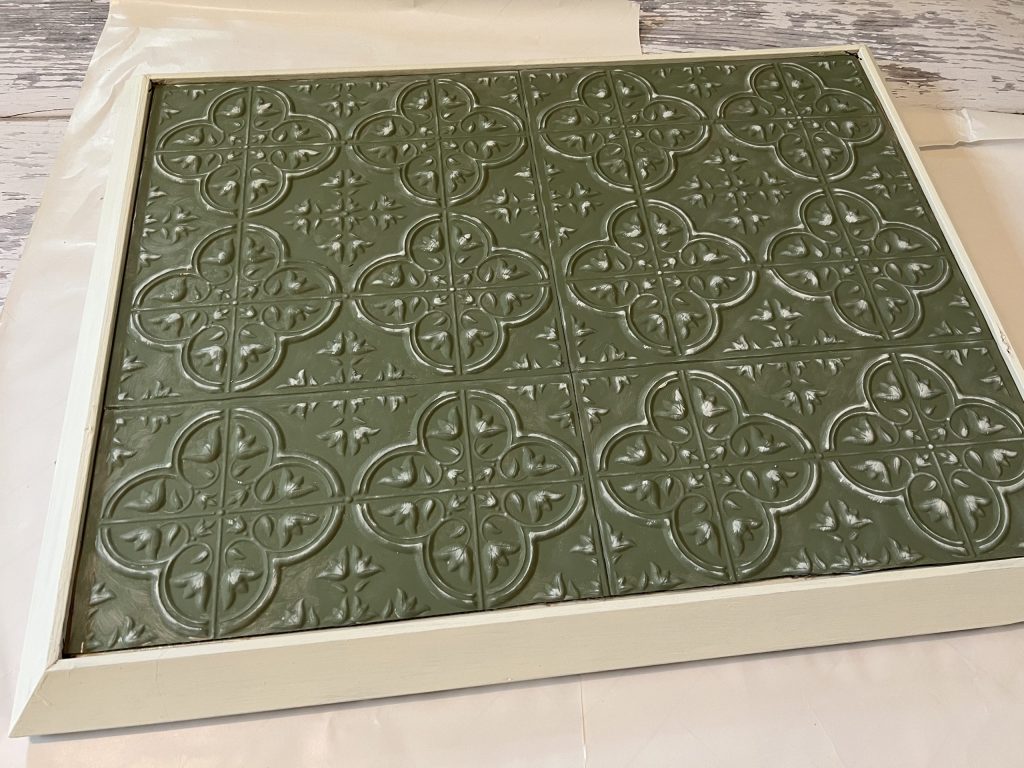
While the frame was drying, I began working on the background. I picked up these wall tiles from Dollar Tree, because I really liked the texture! It looks like embossing, and texture is everything when painting!
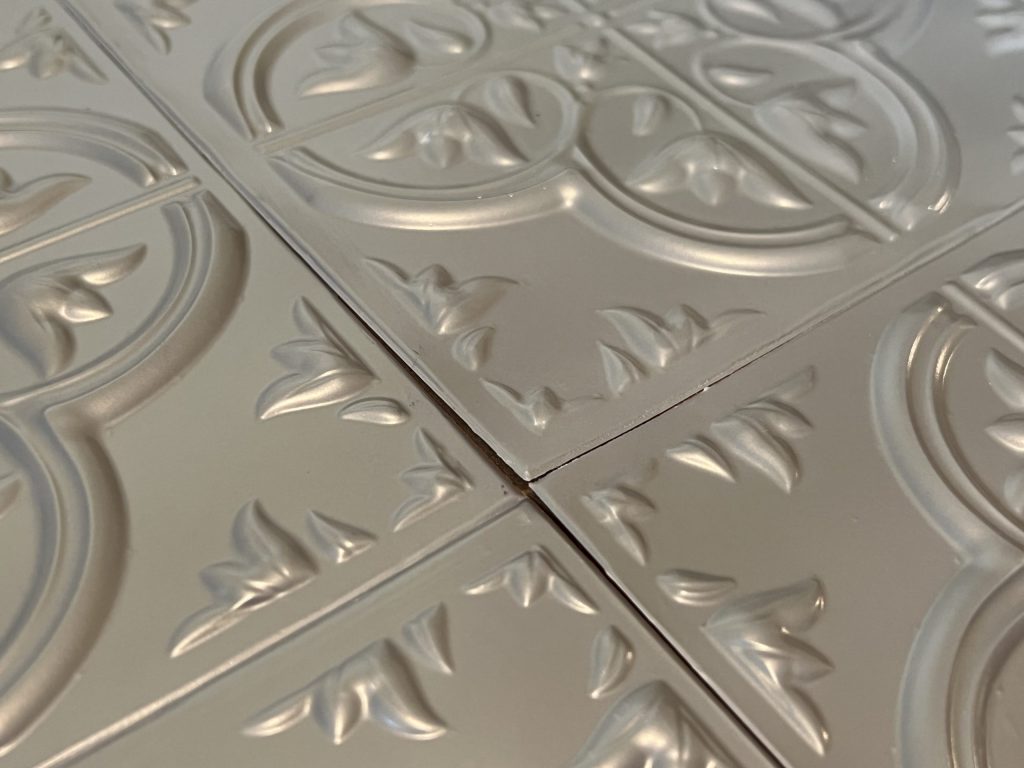
The tiles were super easy to work with. They are like a giant puffy sticker. I simply lined them up nicely and pressed down firm to attach them to the cardboard.
I used a utility knife to cut the bottom tile in half to complete the bottom portion.
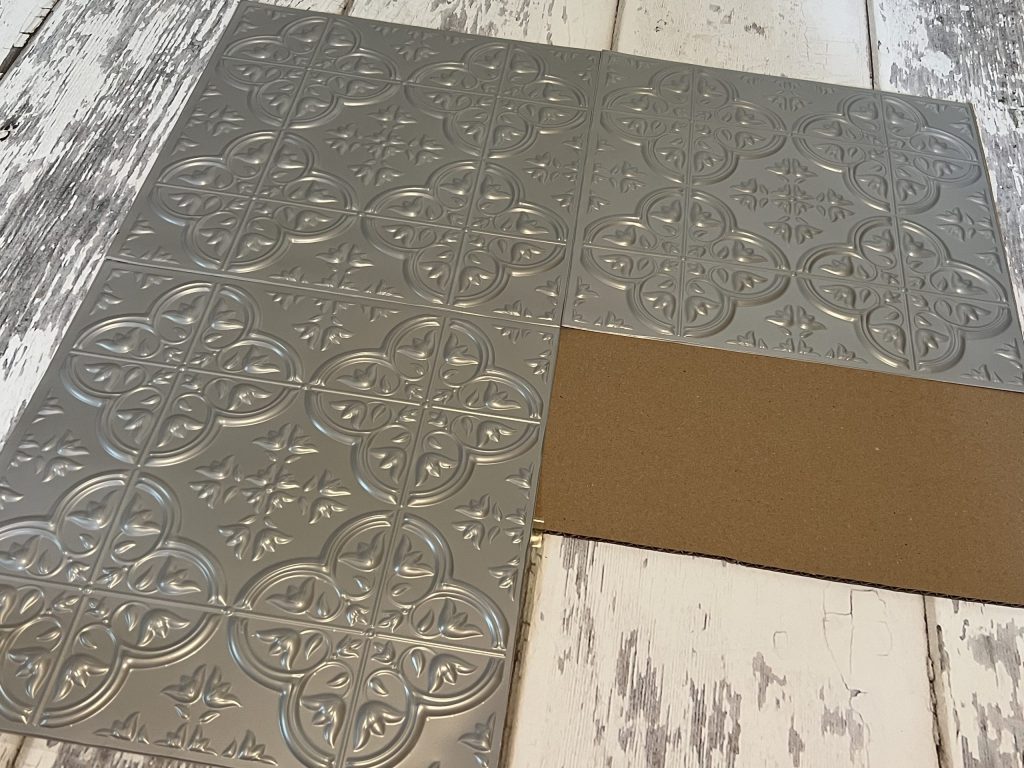
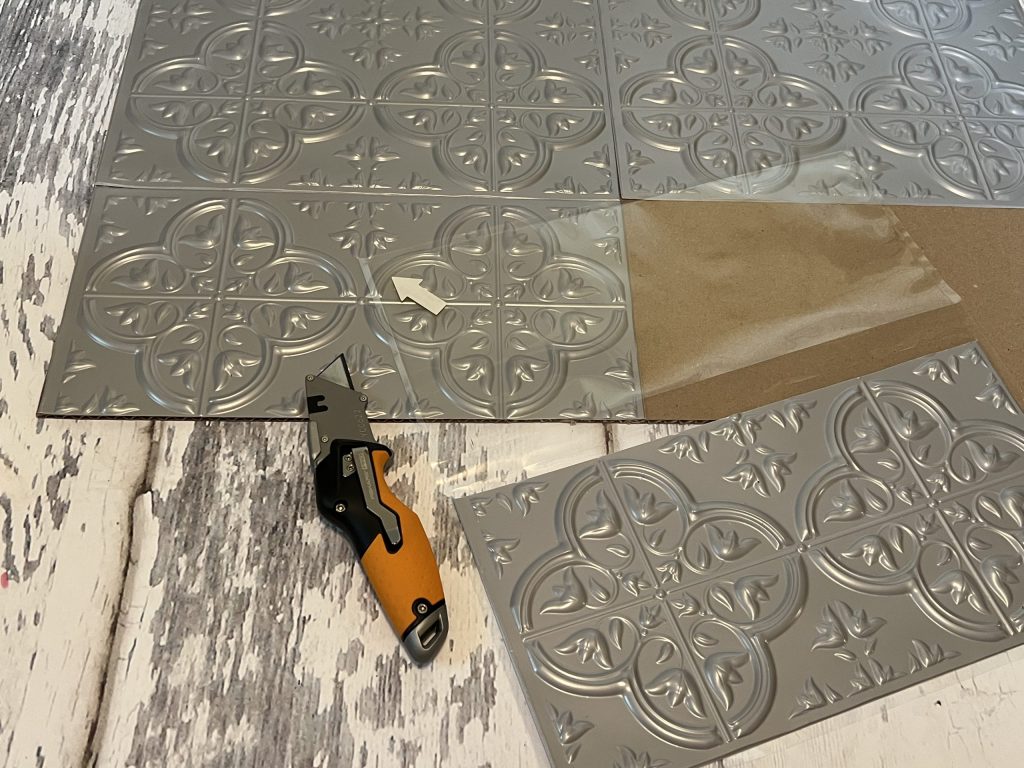
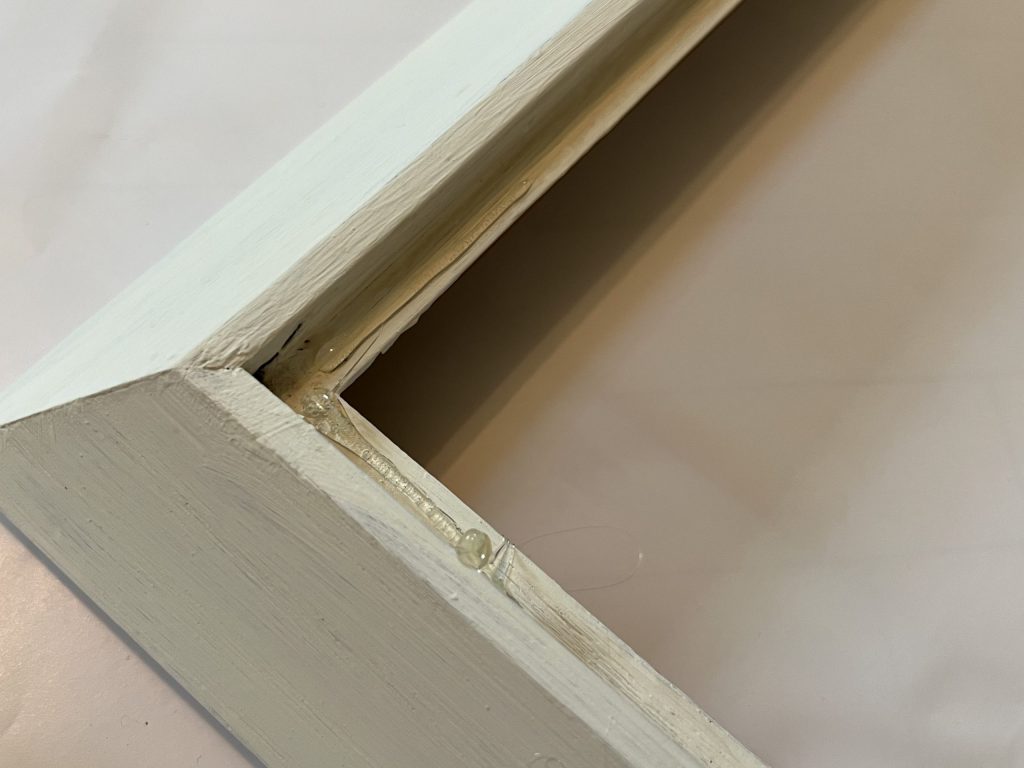
Before painting, I used a hot glue gun to secure any loose edges.
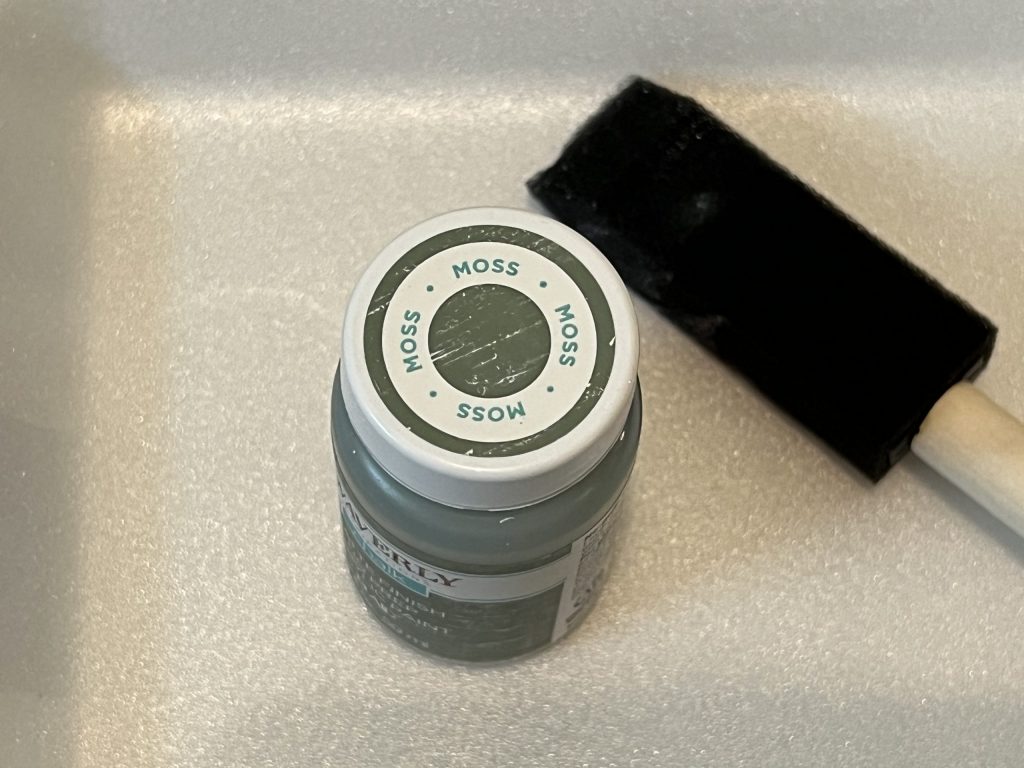
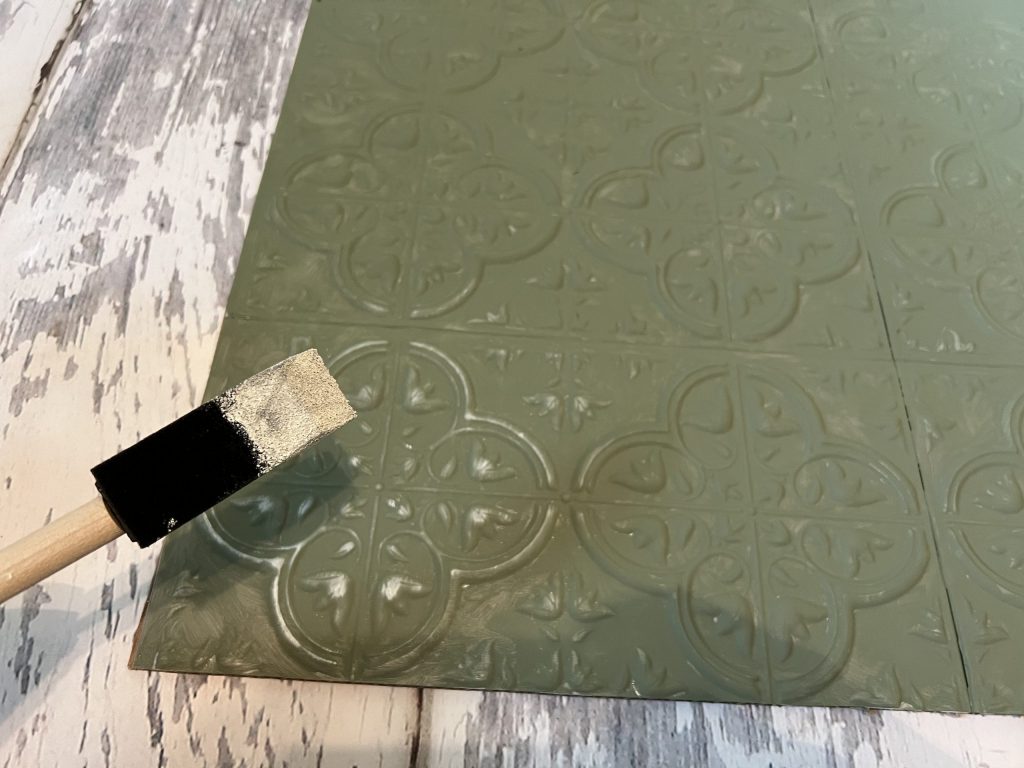
Next, it was time to paint! I chose this beautiful moss green color chalk paint from Walmart. A little jar of it is right under $2, and it goes a long way!
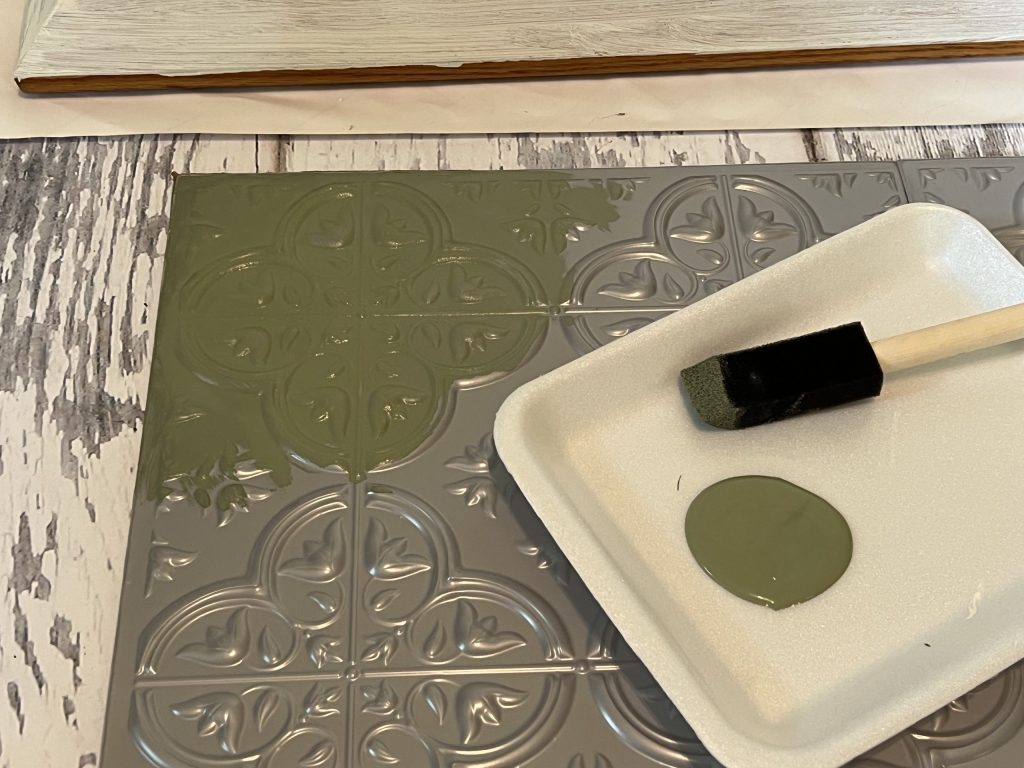
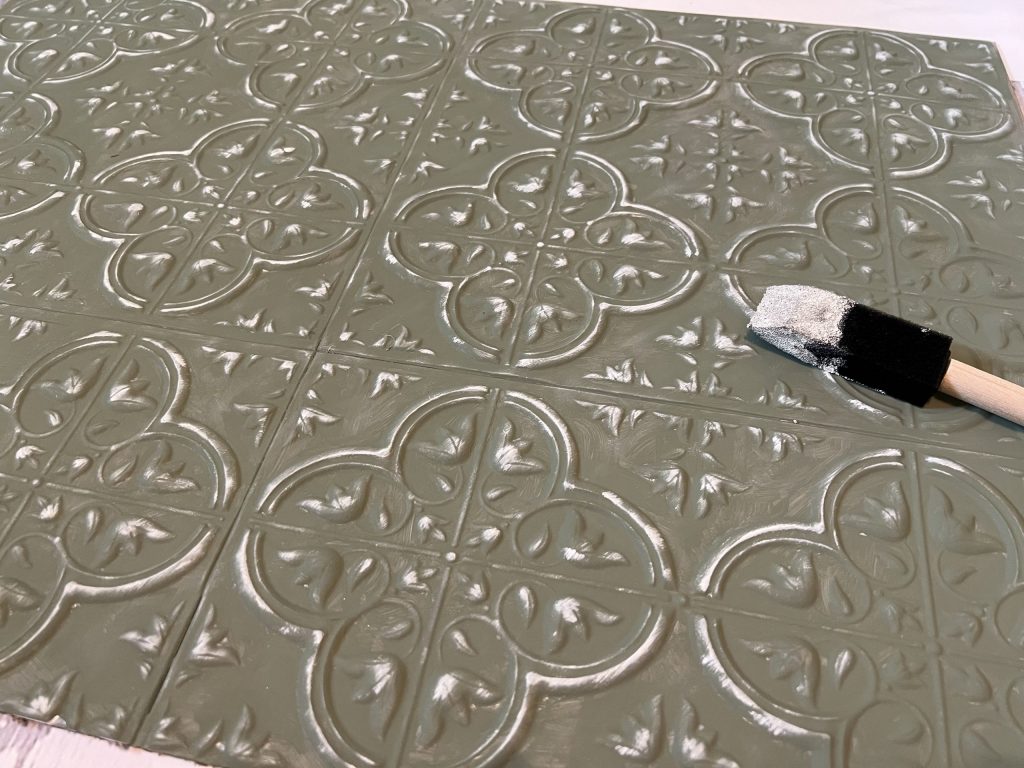
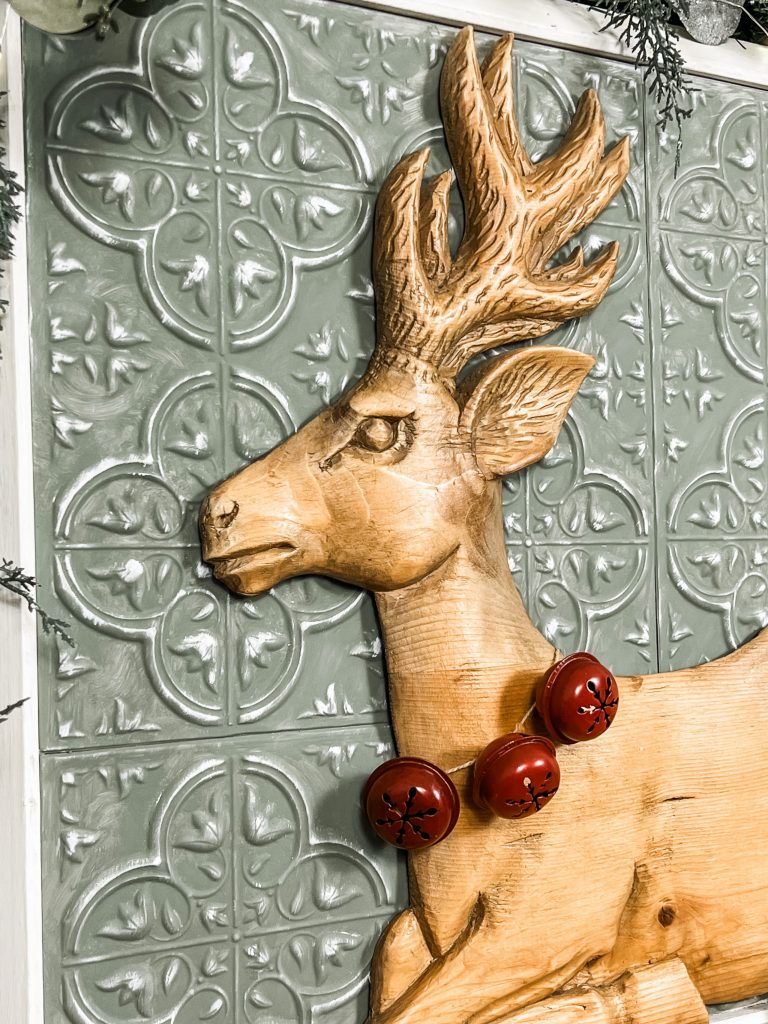
After the paint had completely dried, it was time to work some magic with this texture! Using the same foam paintbrush that I used on the frame, I turned the brush horizontally on its side and LIGHTLY grazed over the raised areas. I used swift strokes back and forth. I absolutely LOVE how the paint highlights all of the details!
Y’all, these tiles looked their price prior to painting, BUT look how fabulous they look with a little paint!
After everything had completely dried, I applied some hot glue around the inside perimeter of the frame and secured the cardboard to the frame.
Now it was time to add a touch of red to the reindeer! I had these bell ornaments left over from last year. They were purchased at Dollar General.
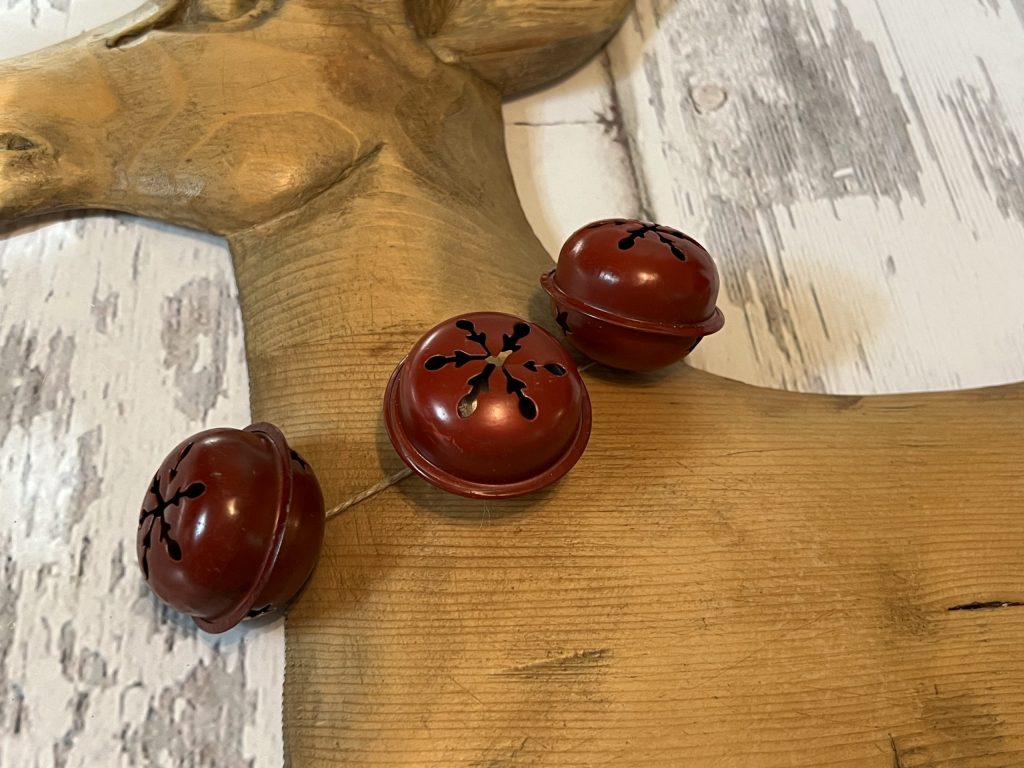
Using a bit of twine, I strung three bells and tied it around the neck of the reindeer.
I love how the bottom of the bells have snowflakes!
Finally, I applied E6000 glue to the back of the reindeer. I also added hot glue to help it hold while the E6000 was curing.
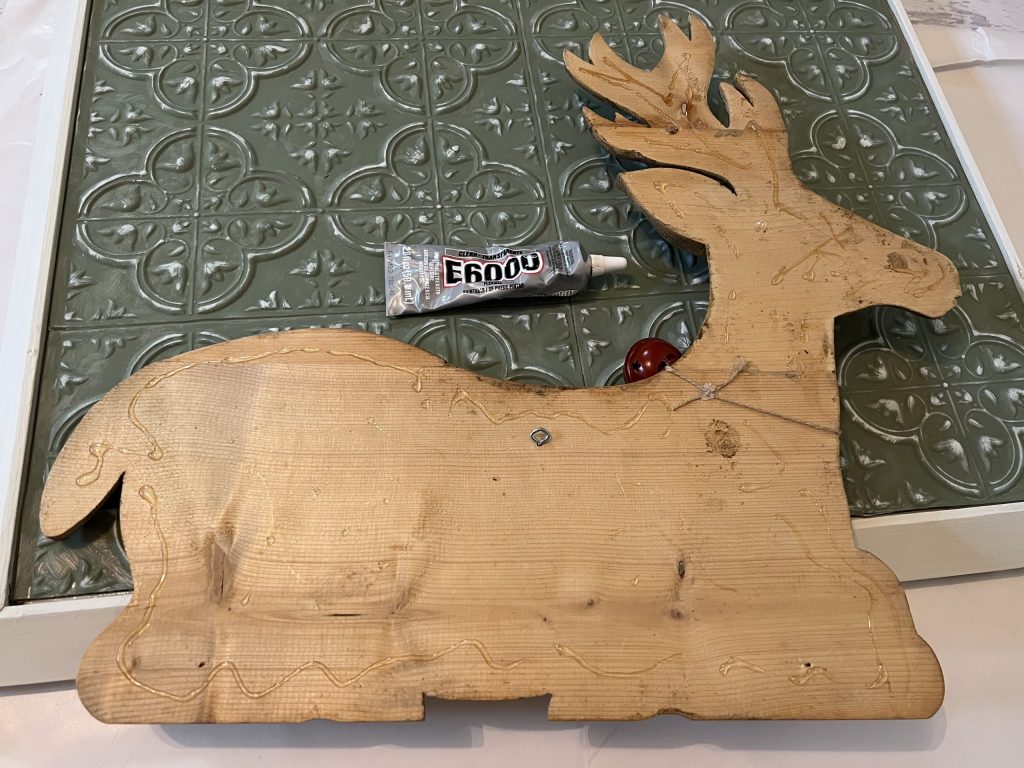
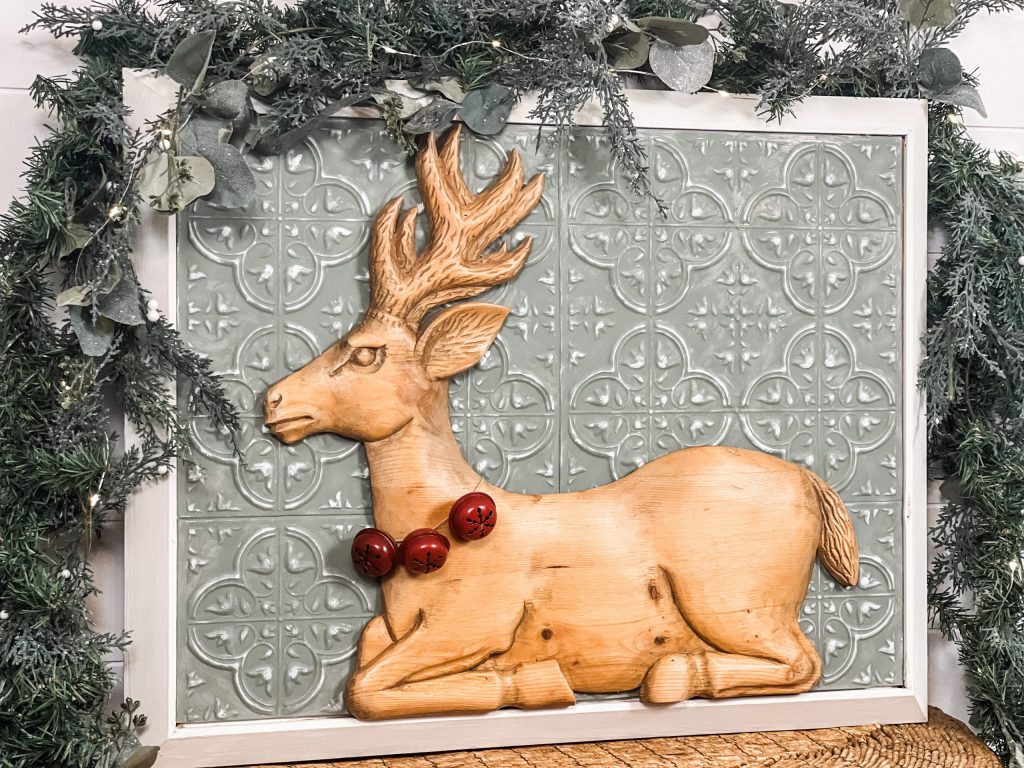
I attached the deer to the background and voila! What was once a lonely reindeer, has now become a piece of art! The beautiful background really helps accentuate the details of the reindeer, and it looks so much more expensive!
What do you think?
I’m telling you, run to Dollar Tree and pick up these tiles! You won’t be disappointed!
Last Updated on July 24, 2023

I love this. It is classic.
This is one of your best projects!
I absolutely love the reindeer! It looks so expensive! It is just gorgeous! Thank you for sharing this!
This is beautiful. Love the tiles. But that deer is awesome. Great find!
Love the picture and so simple!
I love, love, love everything about this!!! How lucky to find the beautiful deer!
This is amazing!! Thank you for sharing!!
This reindeer is gorgeous! You gave him the most fabulous background! Beautiful masterpiece!
The reindeer is just awesome.
OMG! Simply Gorgeous! I want one! Amazing find. Thank you for sharing!
Adorable