Hey, y’all! This furniture piece in my master bedroom was cute, but a little on the boring side! What does a DIY girl like me do when she finds something a little bland? A MAKEOVER, of course! Let me show you how I re-vamped this cutie with NO mess or paint!
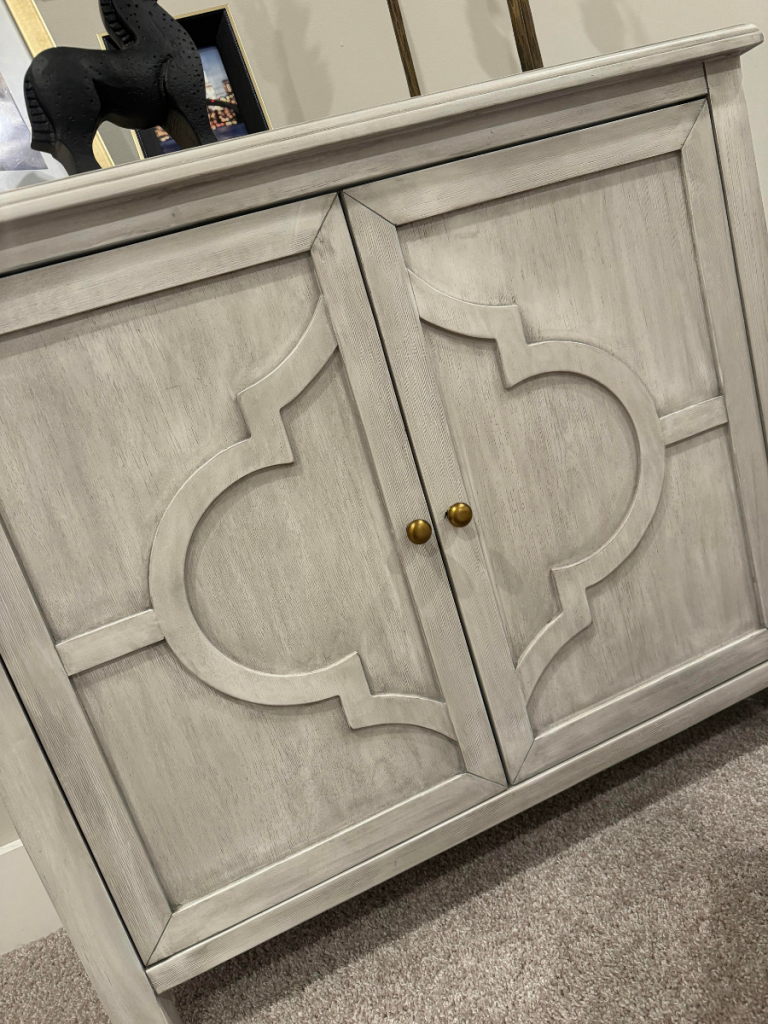
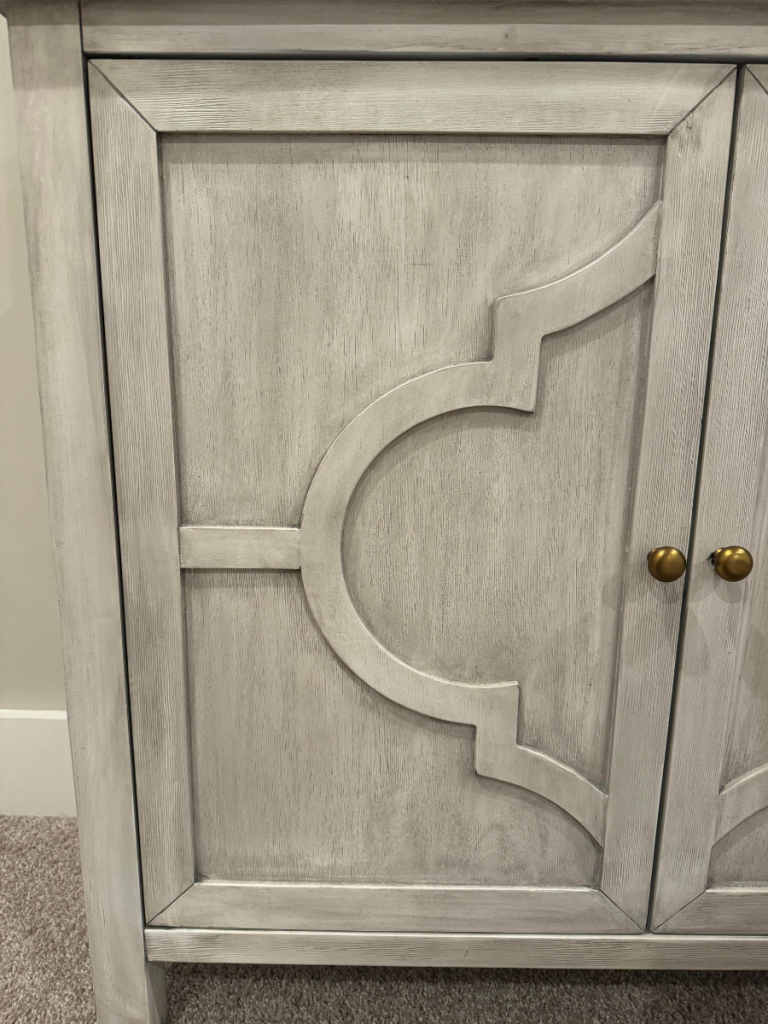
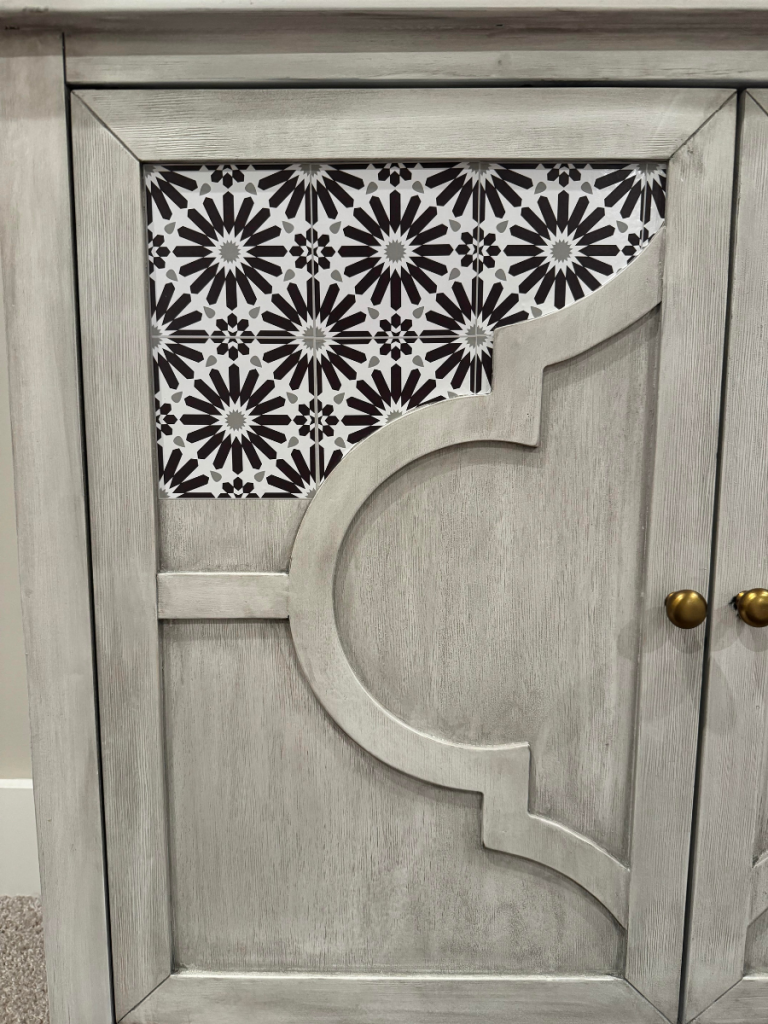
I loved the curvature and felt like it could have SO MUCH character added to it. I first thought I could paint the inserts or even do some fun wallpaper, but I just couldn’t make up my mind…
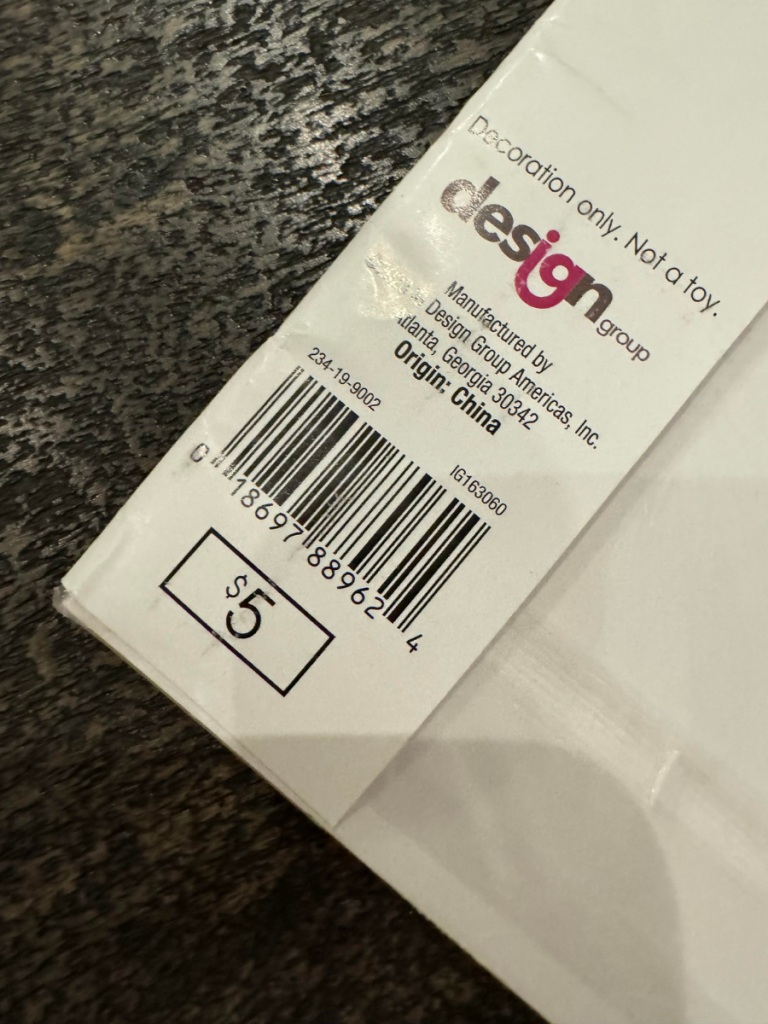
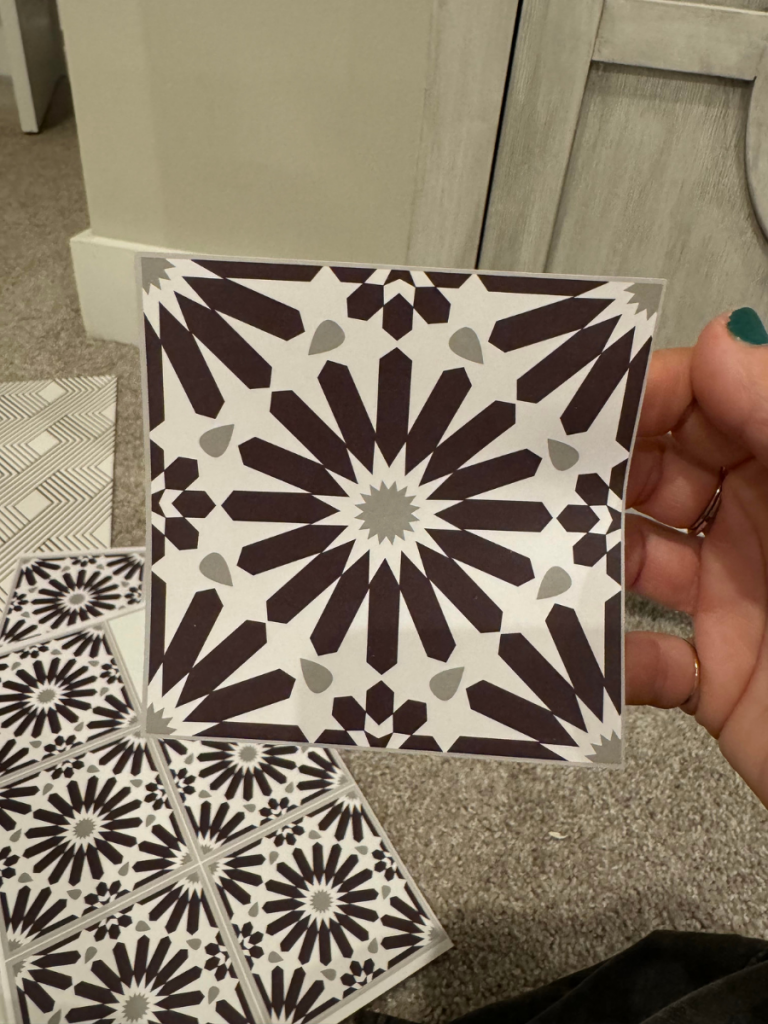
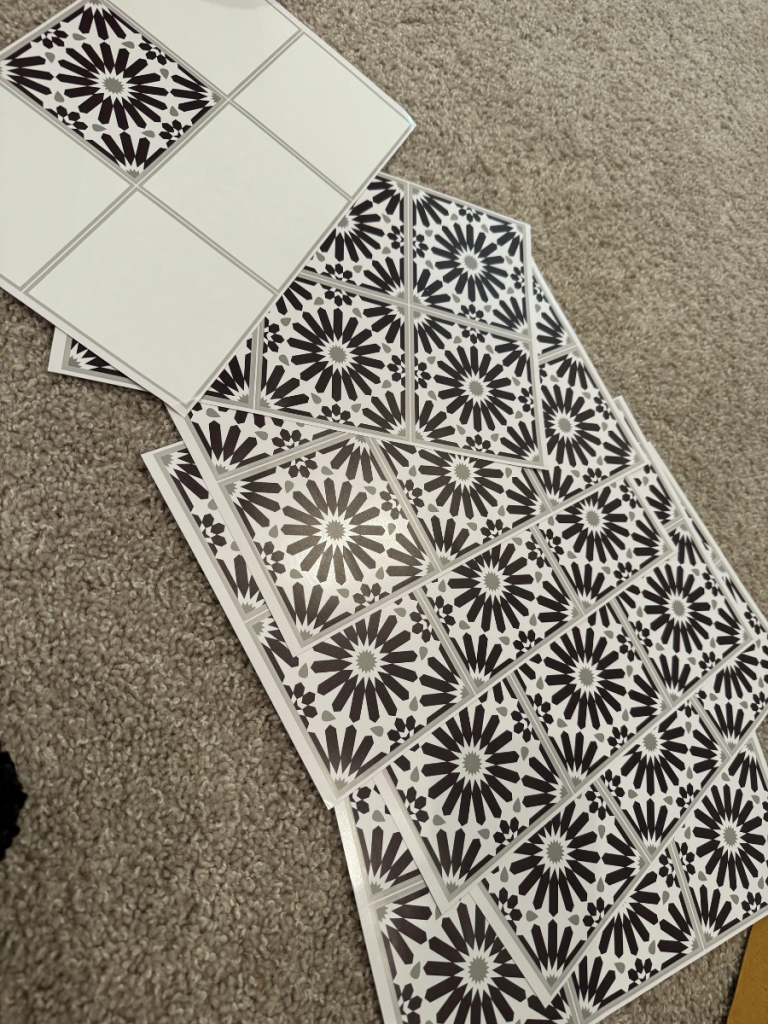
When I stumbled upon these $5 sticky tiles I picked up from Target some time ago, I KNEW they were meant for this!
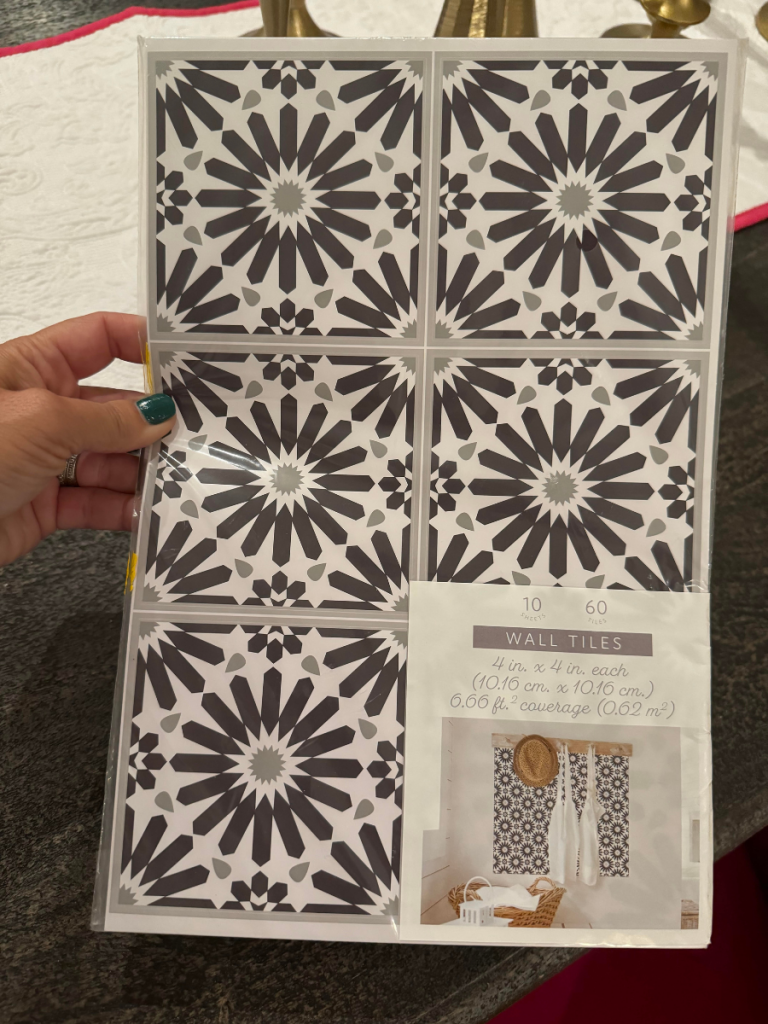
60 tiles for just 5 bucks??? Yes please!
I thought that these little tiles would be perfect because A.) they were small and less to maneuver around/cut and B.) the grey color in the tiles matched the piece perfectly! It was definitely meant to be!
To cut the tiles, I used this exact-o knife from this wallpaper kit I had on hand.
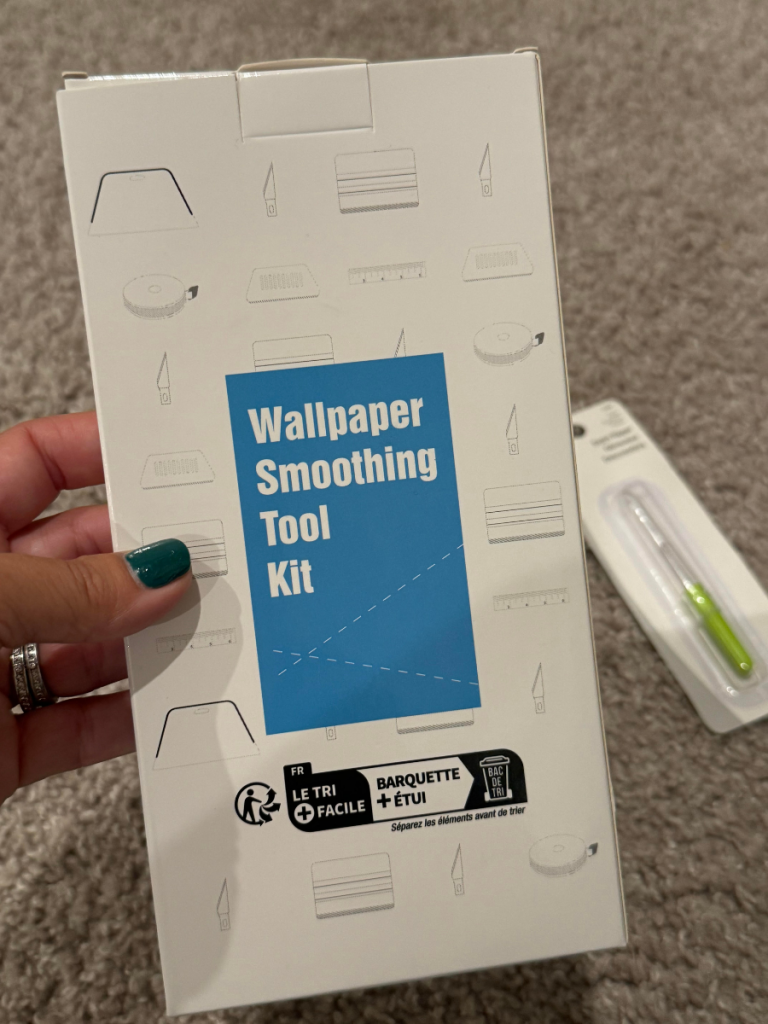
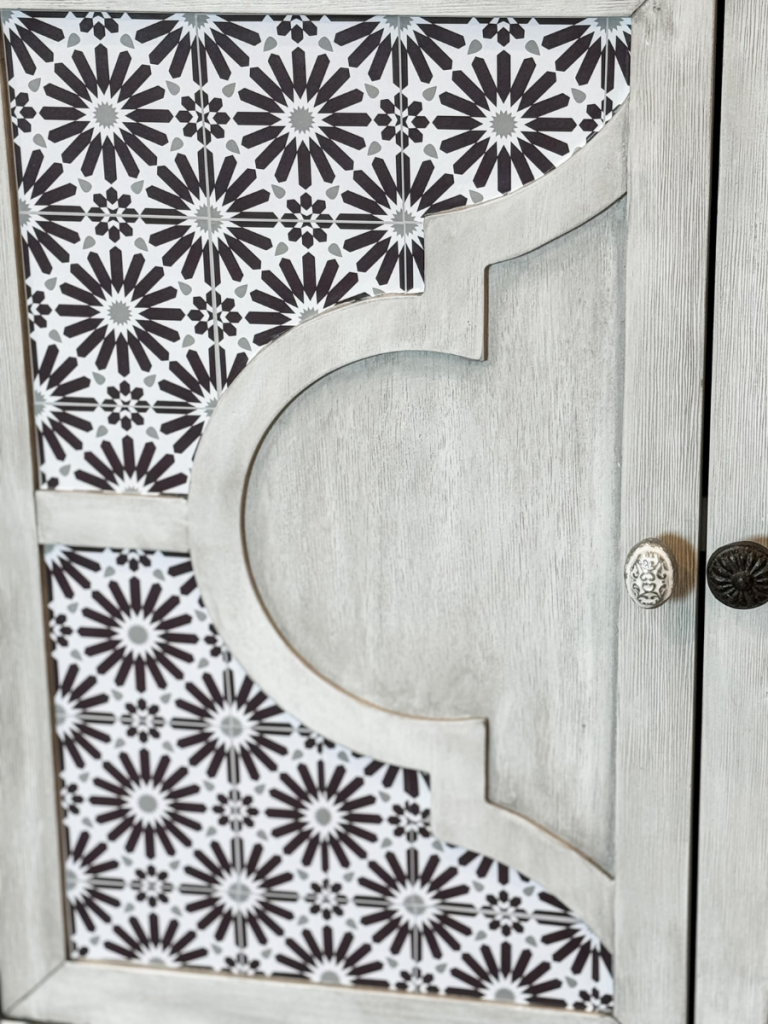
These tiles were fairly simple to cut, thankfully!
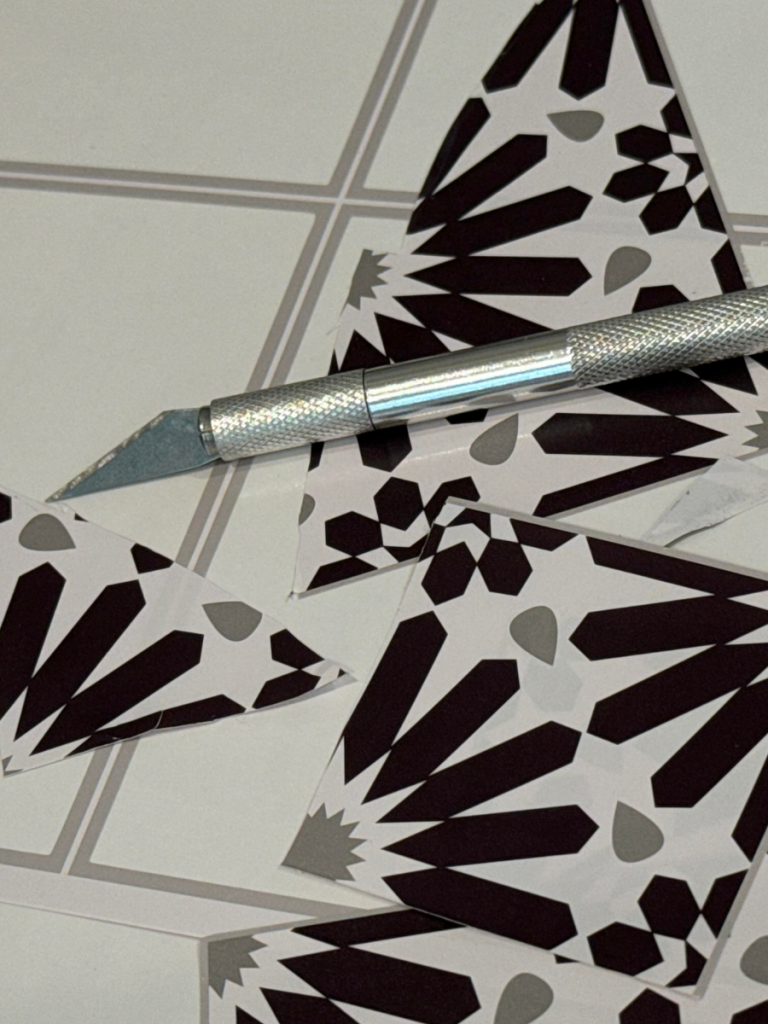
Super easy to stick on, too!
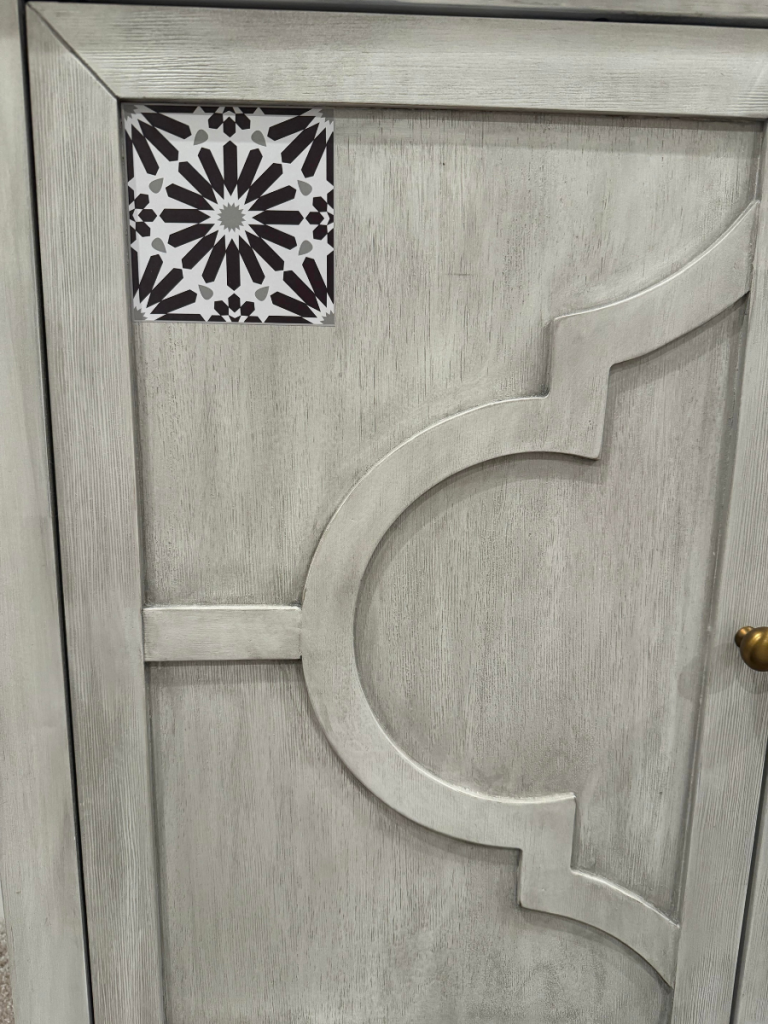
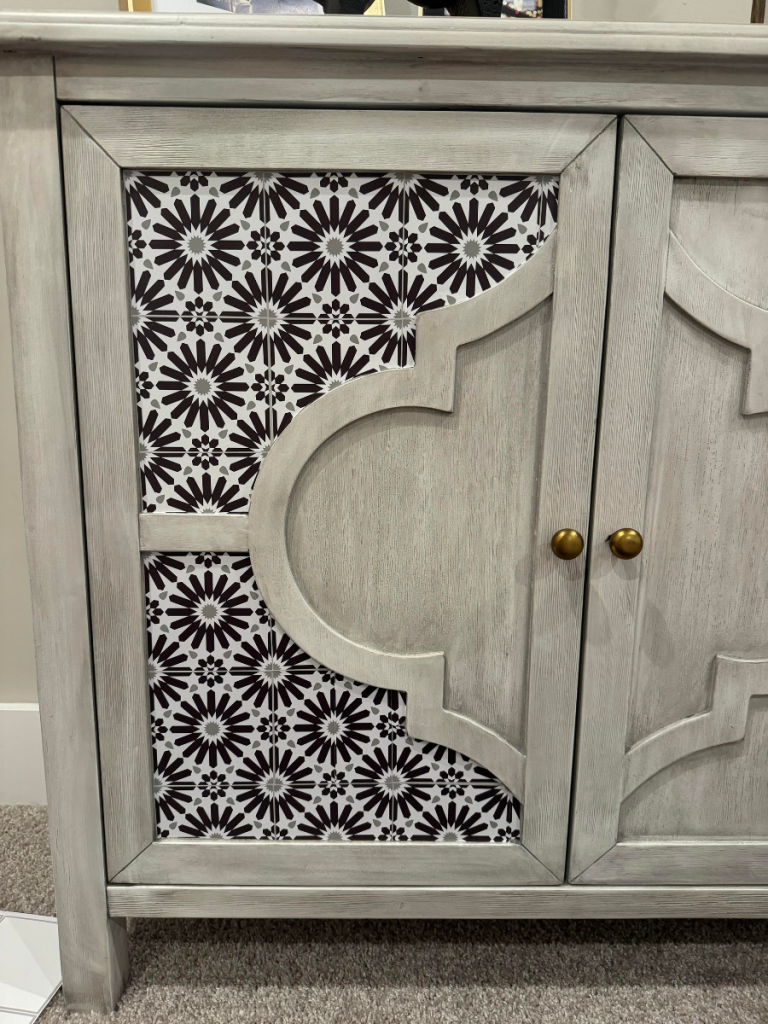
Are you seeing my vision yet???
I had planned to use these knobs I picked up at TJ Maxx for $7.99, but they didn’t fit! Brandon is going to cut them down for me, but in the meantime…
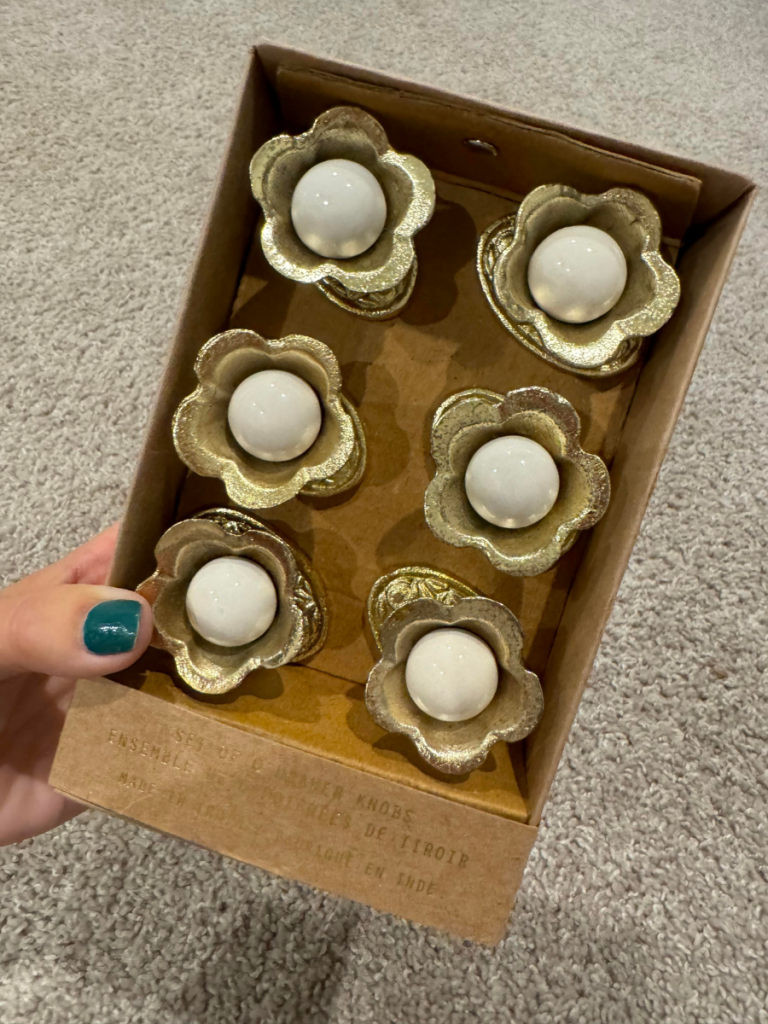
I found these two unique knobs in my stash and swapped them out! I liked the uniqueness of how different these were! I’m not sure where I got them, but I don’t plan to leave them like this forever! This is temporary until we can cut my TJ Maxx knobs down or find another set that fits.
These are all of the tiles I still have LEFTOVER! Hellloooo, more projects!
Are you ready to see the FINAL OUTCOME?!?
Drum roll, please!
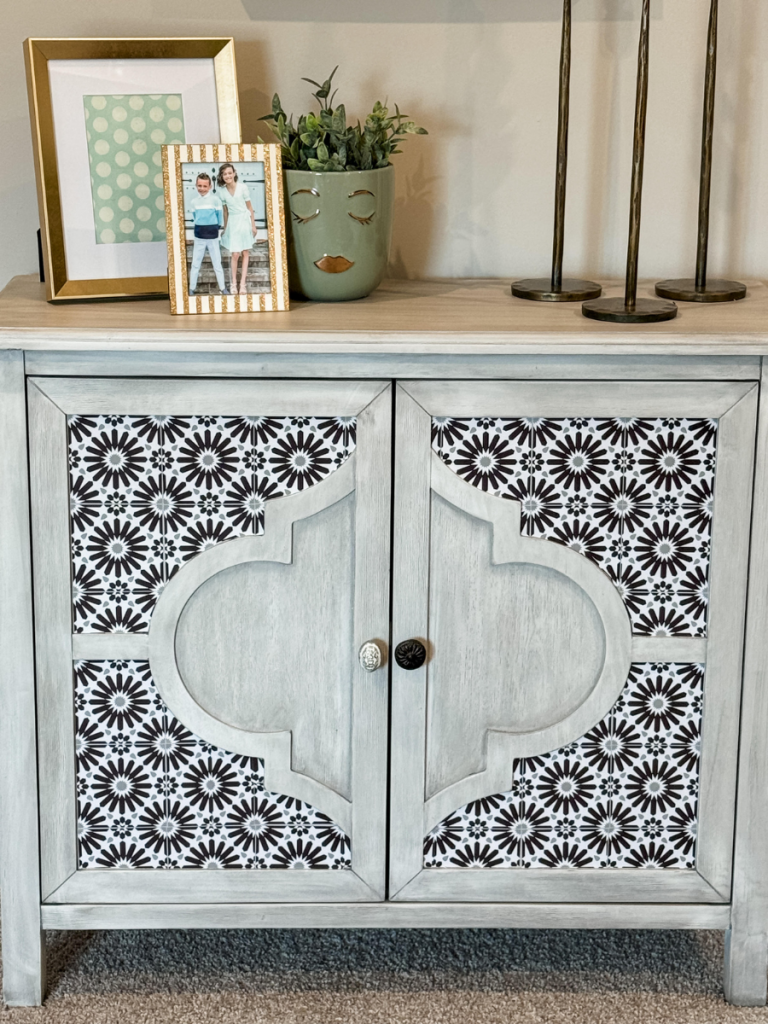
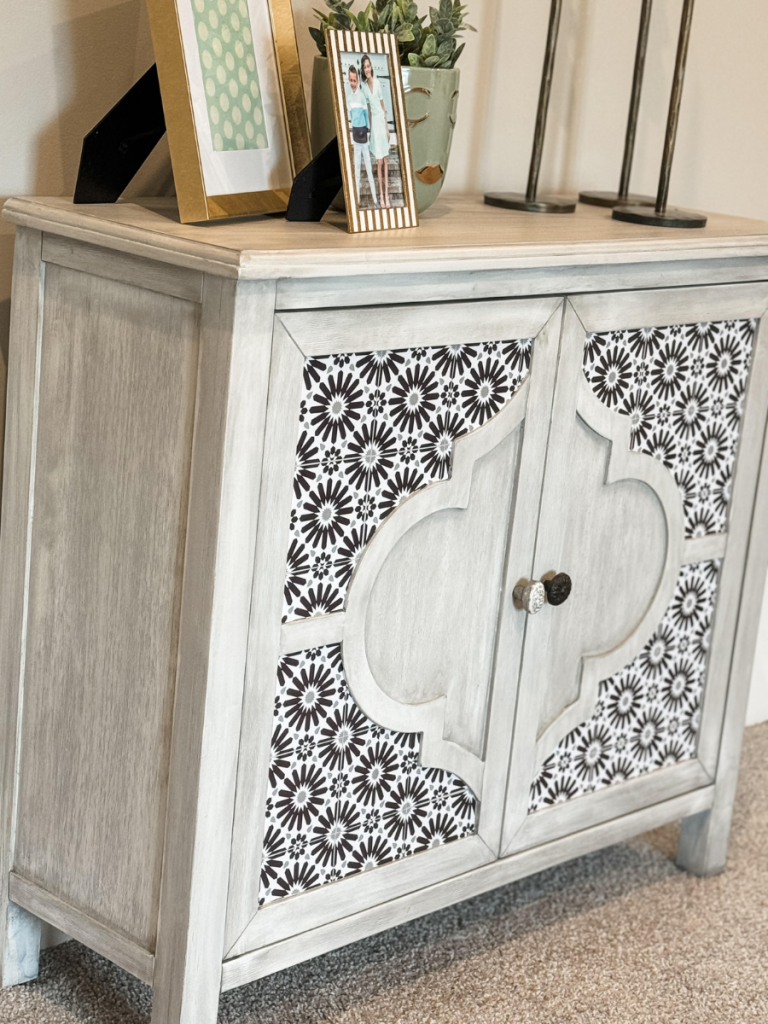
For just $5 and less than an hour of my time, I was able to totally transform this piece! Talk about BANG for your BUCK. Not to mention the tiles I still have left over for a future project!
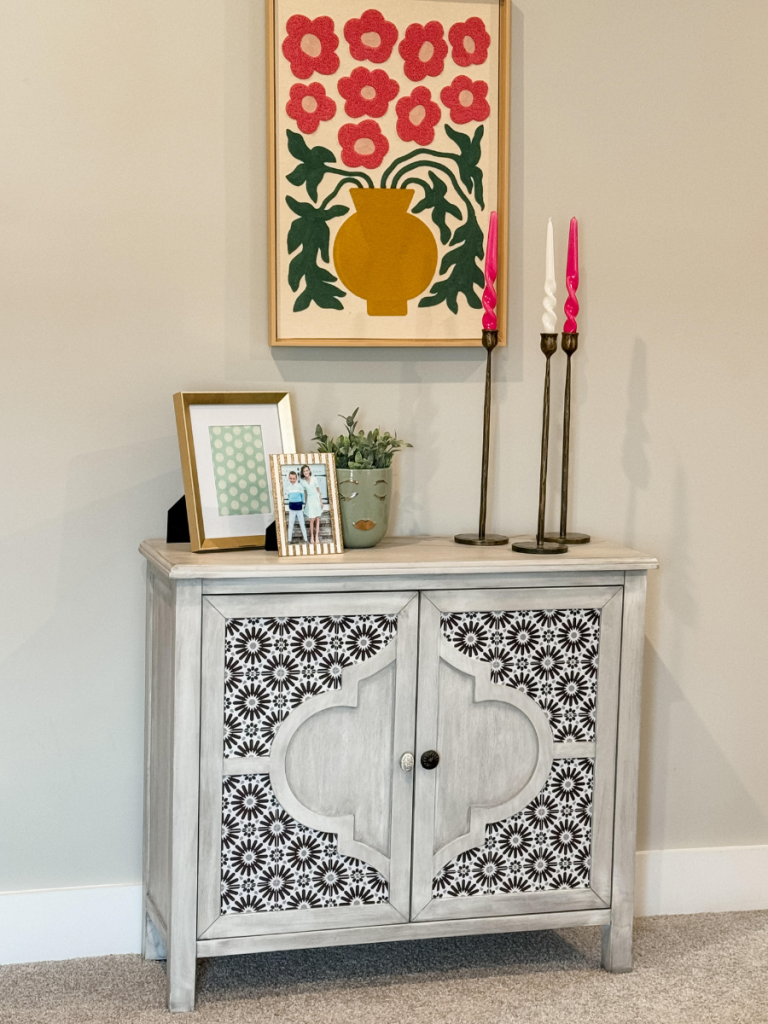
I hope this inspired you to see the potential in what a piece COULD be… I promise it doesn’t have to be expensive OR complicated!
BE SURE TO PIN FOR LATER!

Last Updated on September 3, 2024

i LOVE THIS!
Oh Brooke, I love this so much, it’s beautiful! It definitely has me looking around my house…. Thanks Gale❤️
Adorable. Love watching you. I do not have the eye or courage to attempt these projects. Carry on!
Thank you so much! ❤️
Love it! Looks really cute!
Love your makeover ideas !
I have to look for some tiles now! I have been wanting to revamp a piece similar to this and have been racking my brain on a simple change with big results. Thank you for sharing!!! LOVE THIS ❤️
The $5 tile looks amazing and yea you have once again in spired me ! Thank you so much for all you do to inspire us in so many ways of our life ! You’re an amazing person !
Thanks Robin
I love how this turned out! Great transformation!!!
That looks great !!! What a simple project that makes a stunning re-vamp !!!
Really pretty!
I love it!
Great idea!
Love it!
Wow!!! ❤️ And I passed up those tiles when I saw them????????♀️
I love this! Definitely one of my favorites. You’re so talented!
Wow! This looks fabulous, I love it!
Absolutely love this Brooke!!
I love what you did with that!! It’s gorgeous!!
I absolutely love it! What’s the trick to fit into the curvy areas so well?
Love it
Wow, love it!