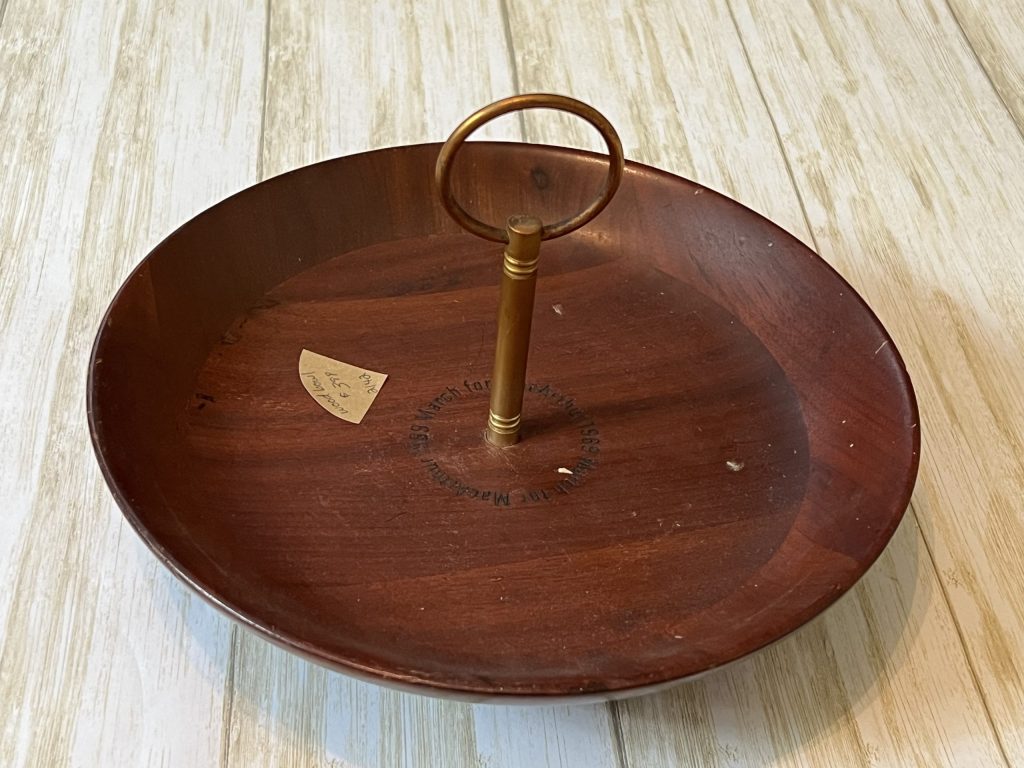
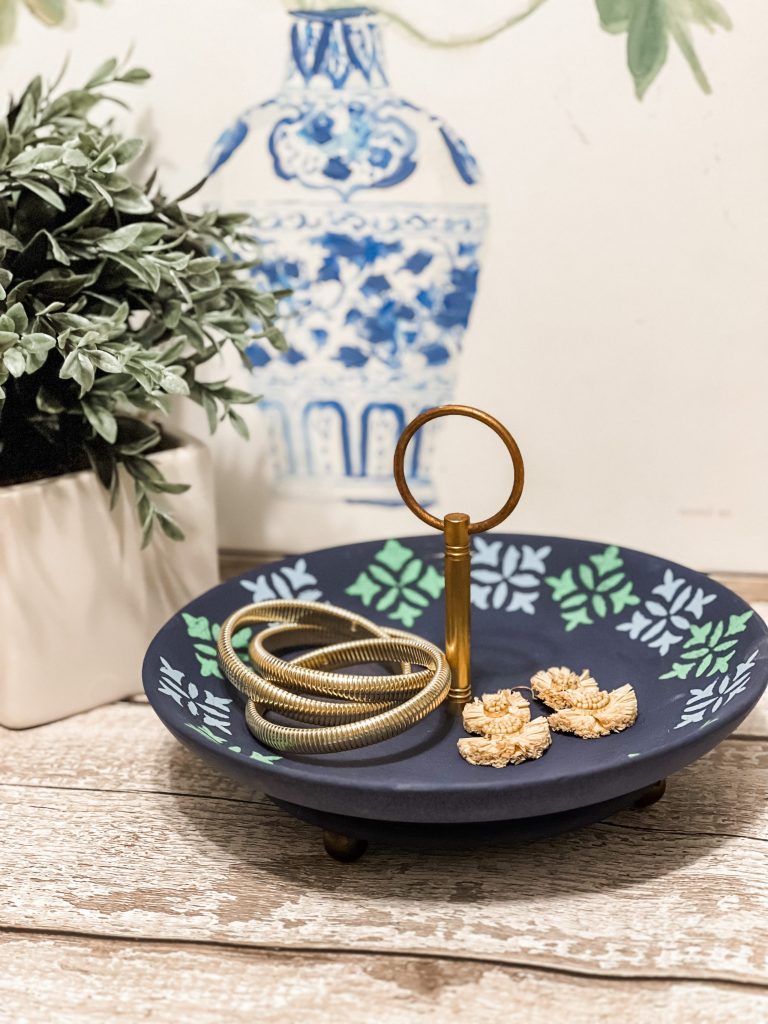
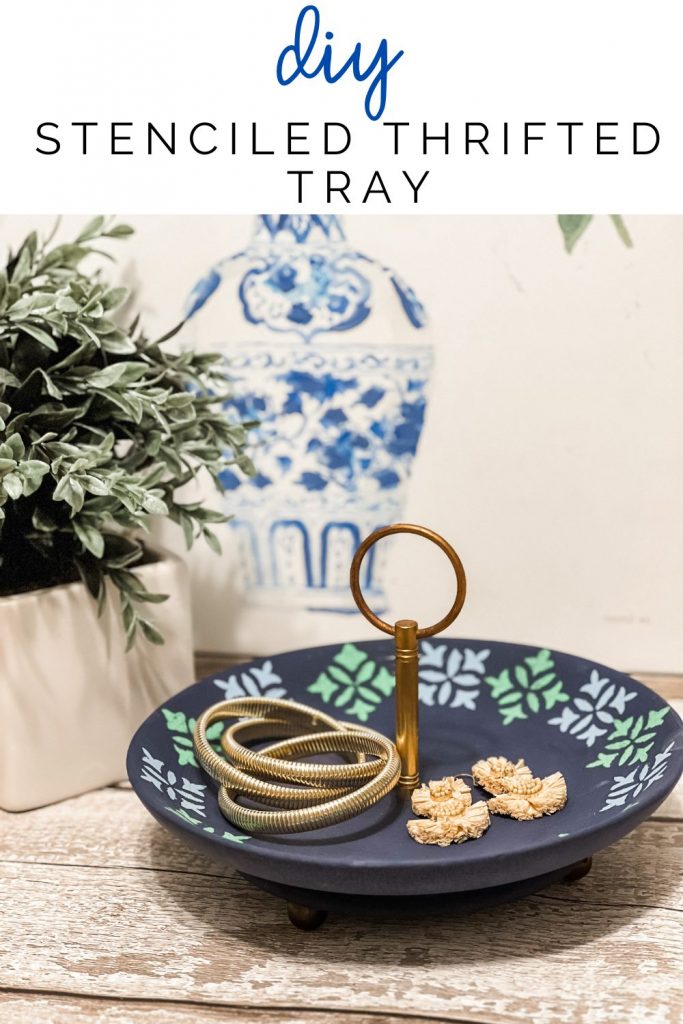
Trays are such versatile pieces in home decor! Whether it is tiered, square or round, a tray can be used in every room of the home. I recently spotted a vintage tray at a thrift store that had the cutest round feet and handle in the center. Overall, it was in great shape, but it looked VERY dated! I decided to take some stencils and give it a little refresh!
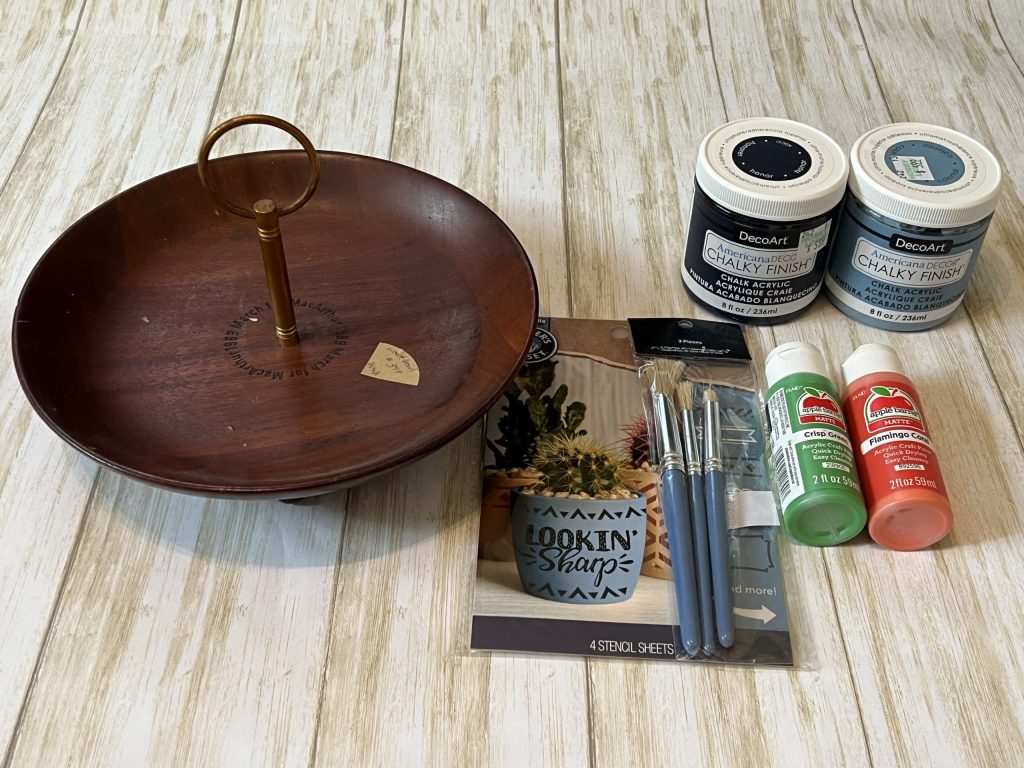
I used the following supplies to makeover the tray:
- DecoArt chalk paint in the colors Honor and Colonial
- Apple Barrel paint in the color Crisp Green (the photo below shows Flamingo Coral, but I did not use the color)
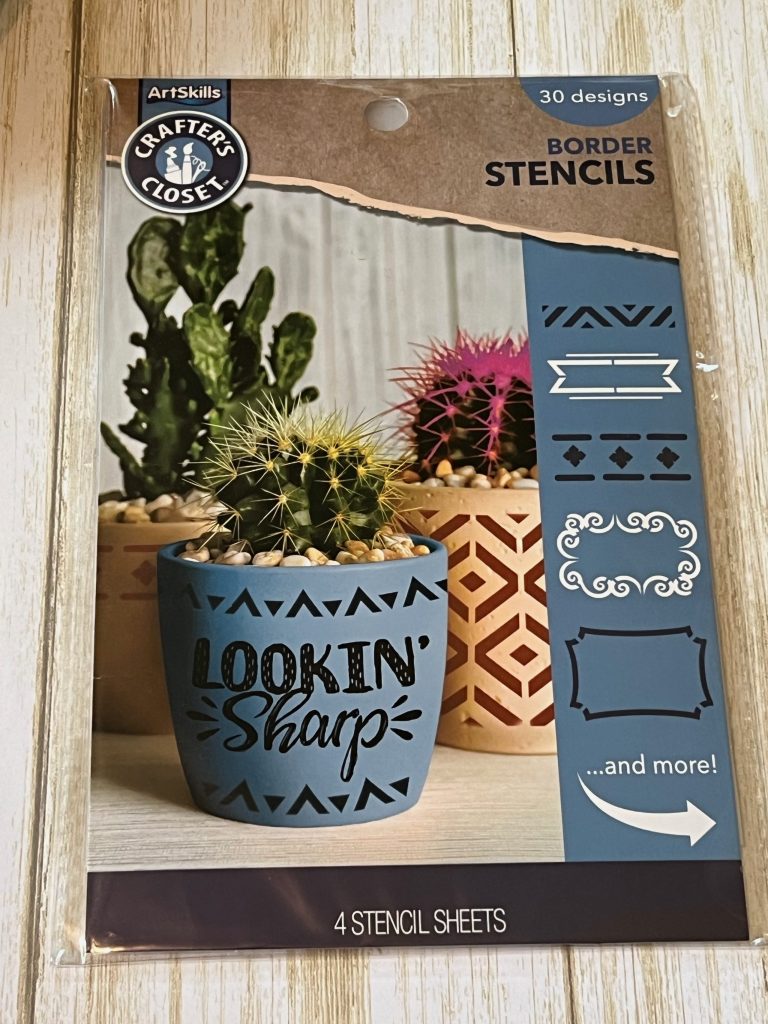
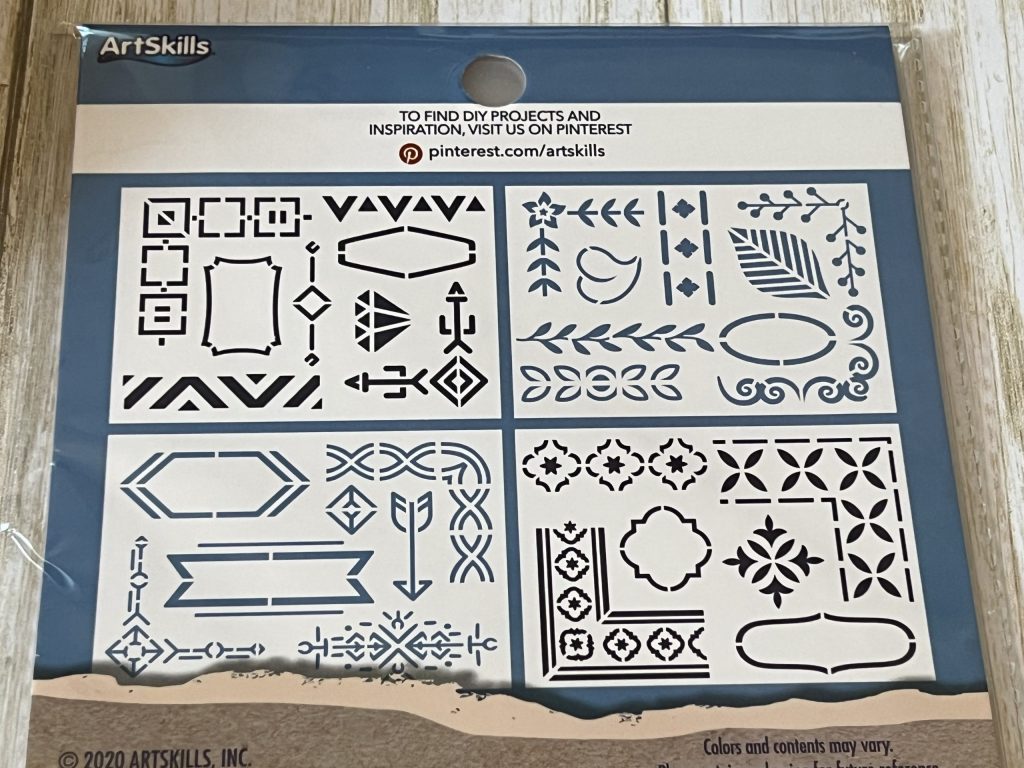
- Stencil pack from Dollar General for $1
- Stencil paintbrushes
- Screwdriver
Dollar General had a pack of stencils in the art supplies section for ONE DOLLAR! They had 30 designs, so I knew they would come in handy!
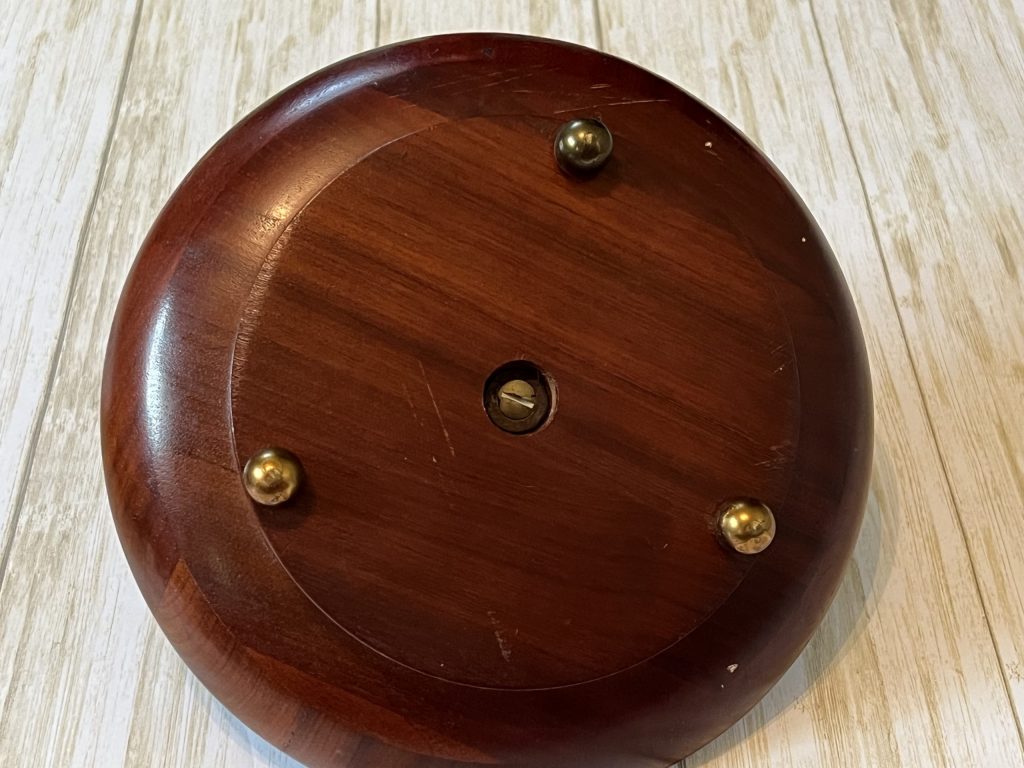
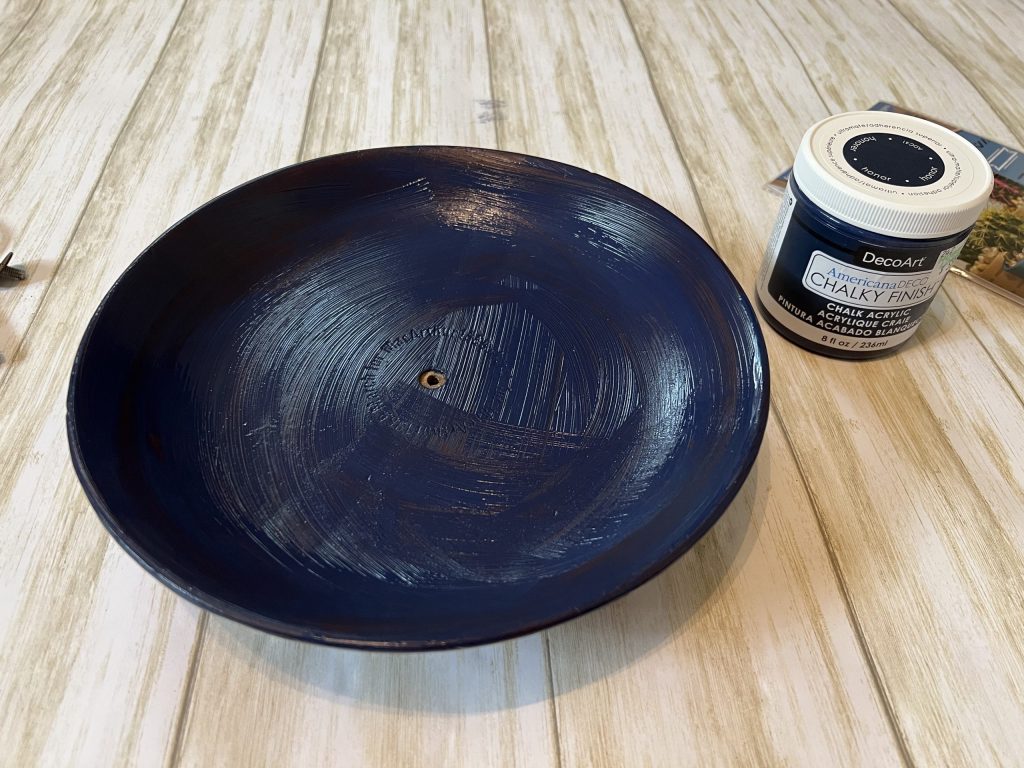
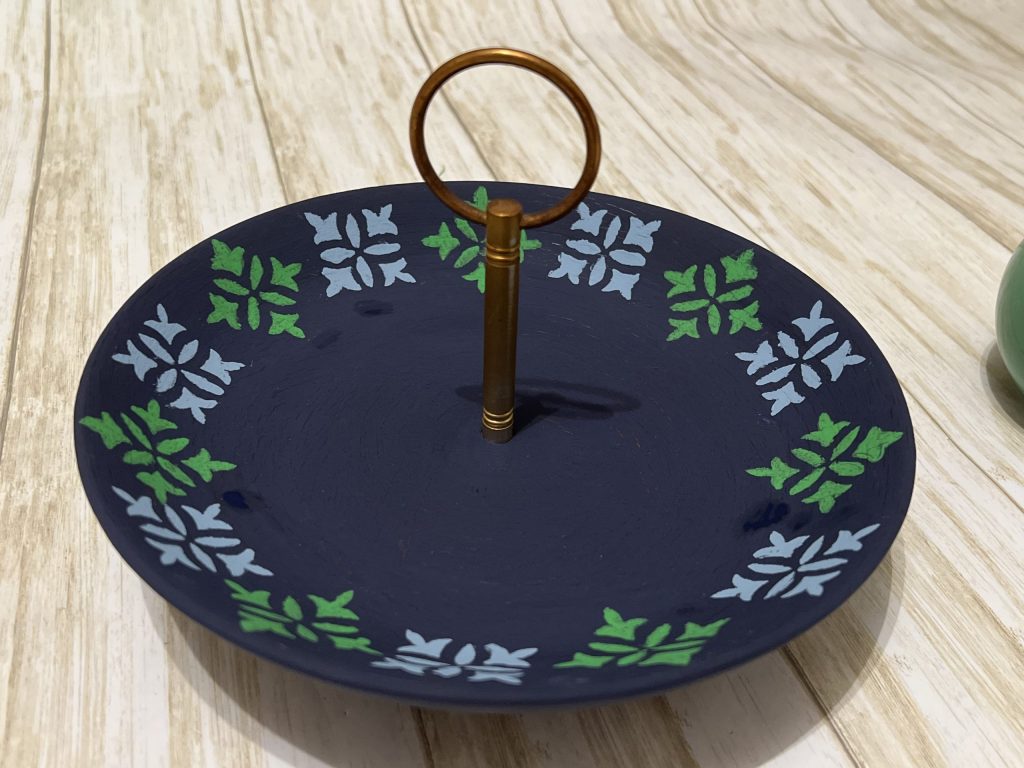
First, I removed the center stem with handle using a screwdriver.

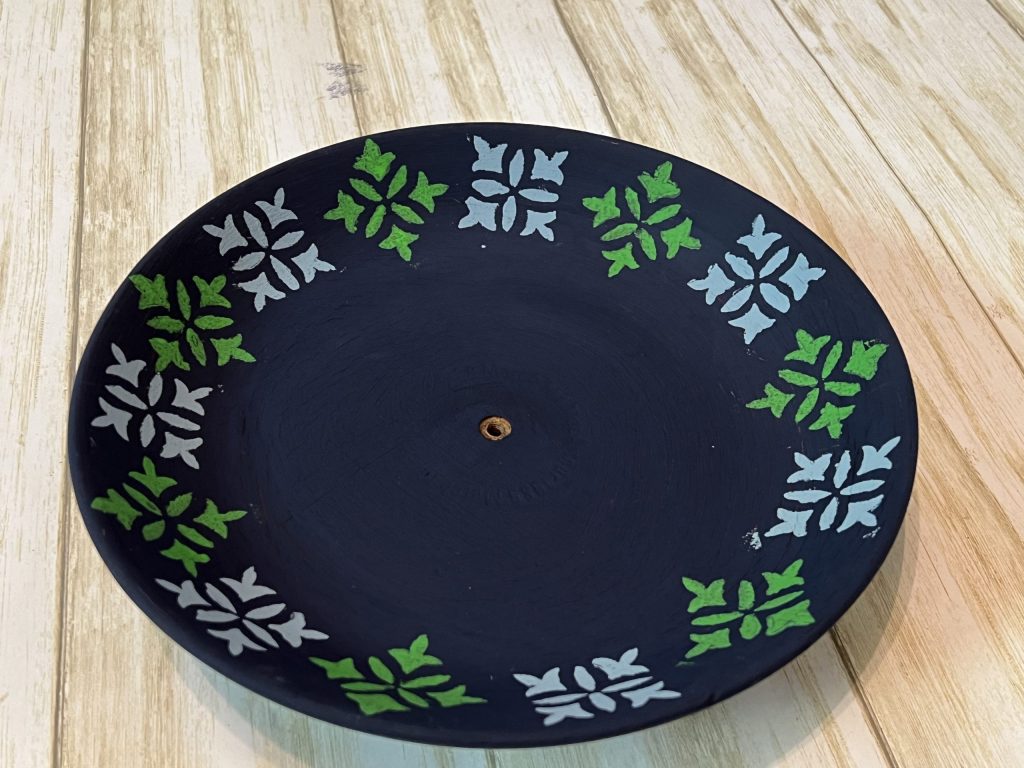
Then, I painted on a couple of coats of navy chalk paint. Chalk paint dries very quickly and provides great coverage!
After thumbing through the stencils, I decided on one and cut it out from the sheet.
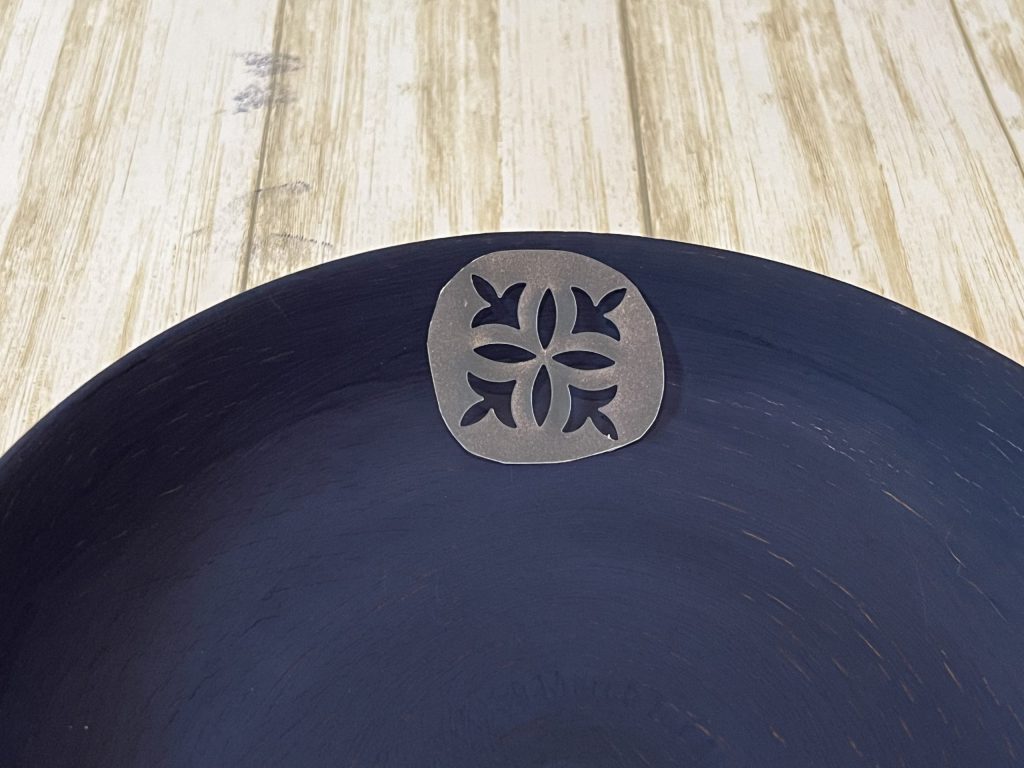
Using the light blue chalk paint, I stenciled the design around the rim of the tray. I knew I wanted to come in with a different color, so I left space between each light blue design.
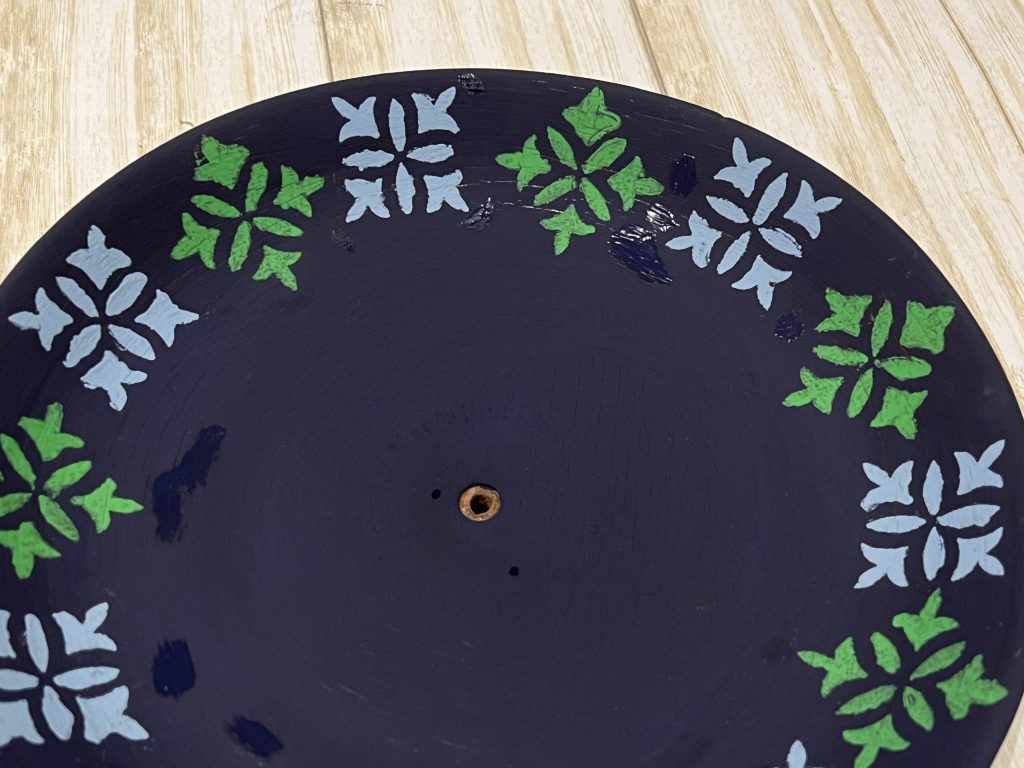
You can see how I got a little blue paint outside of the stencil. I wasn’t worried about it, because I was going to come in with my navy at the end and touch it up.
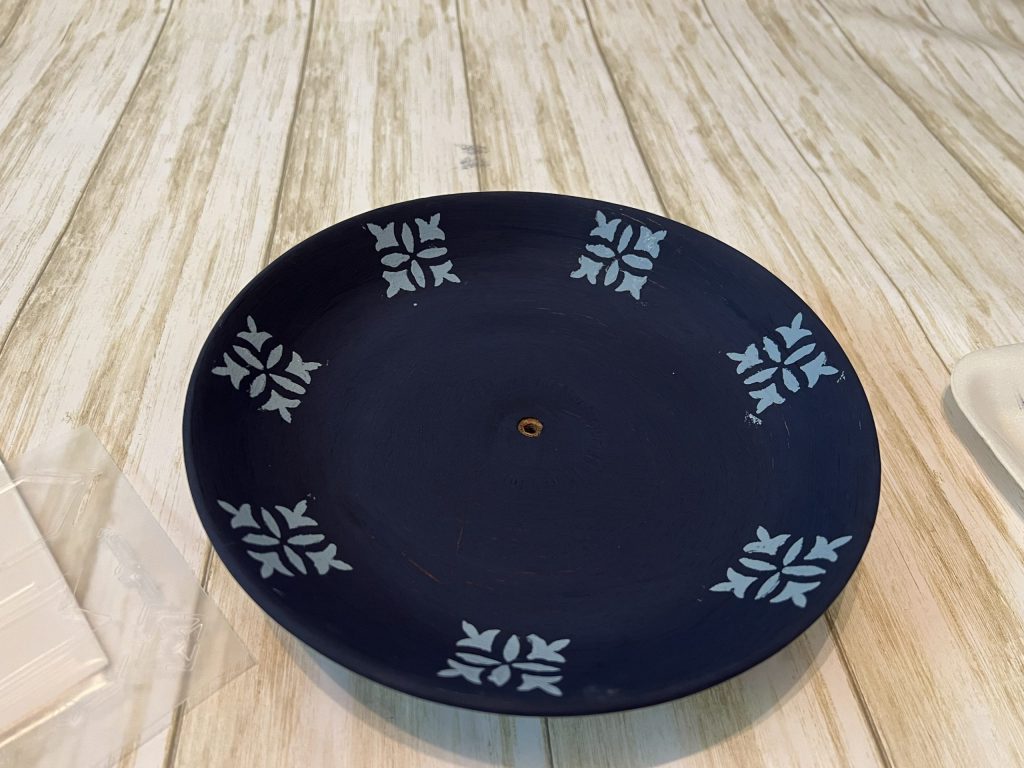
Next, I chose to rotate the stencil design a quarter of a turn and use green paint.
Green and blue are so trendy right now, and I love the contrast between the two colors.
After I was finished stenciling, I used my brush and a little navy paint to touch up any spots out of place.
Finally, I reinstalled the center handle.
I love how this SUPER simple and quick change completely transformed this tray! The hardest part was deciding which colors to use!
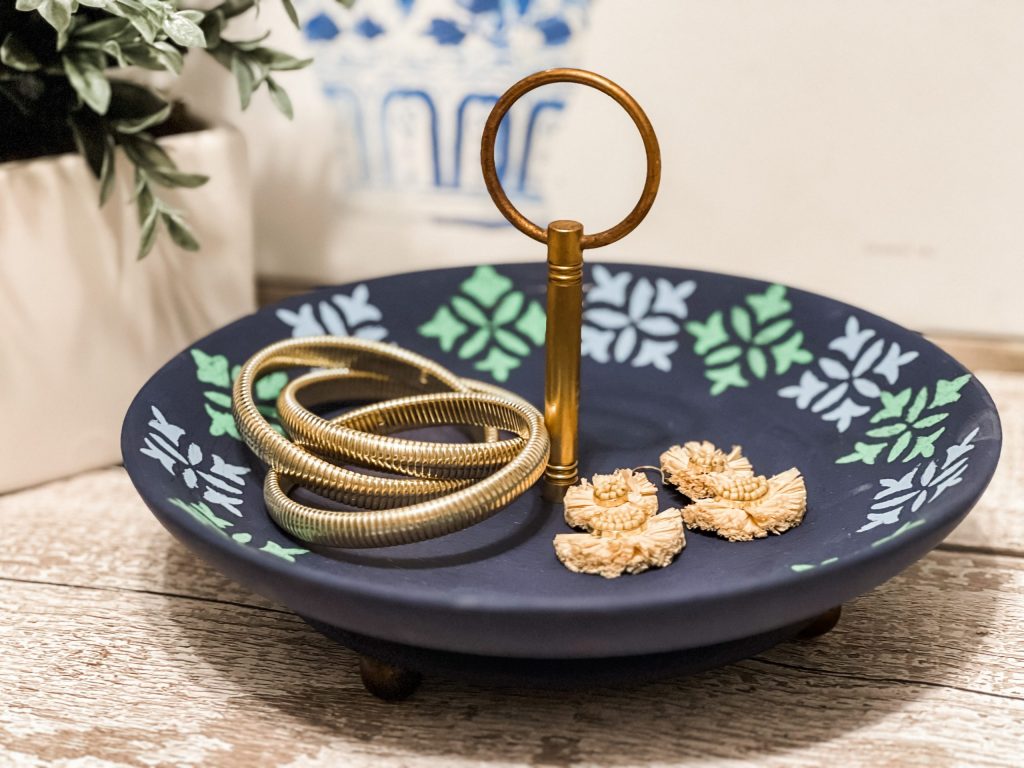
This will be a perfect jewelry dish for small stud earrings and other delicate pieces!
Don’t you love the blues and Kelly green?? I love that color combo!
Be sure to PIN for later!
Last Updated on May 29, 2023

So cute! Would look great in your new condo!
How darling! You are so clever!!!
Unless you have a cat(s)????
Love the two colors you choose. Very nice job.
It looks so much better after you added the stencils. Looks great!
Absolutely love this makeover!!!