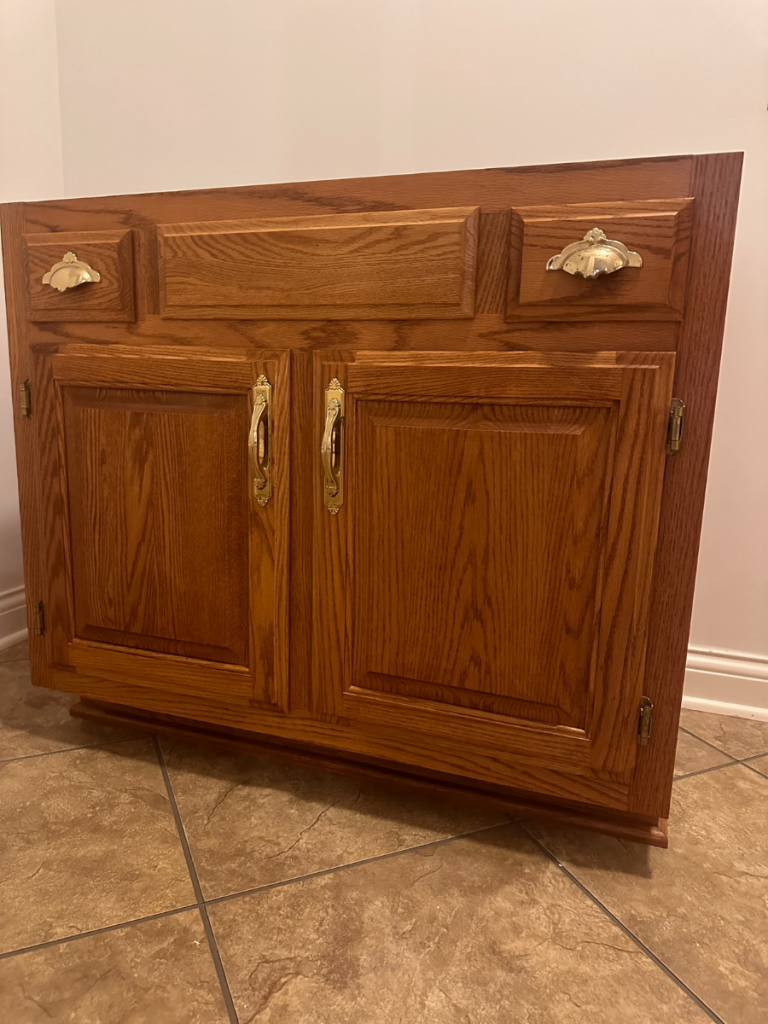
Do you have a bathroom in your home that is in DESPERATE need of a makeover, but you just don’t have the money for a full reno right now? My team member, Melanie, is currently in the process of updating the 1990’s home that she and her husband purchased from her in-laws earlier this year. You may have already seen her office makeover from a couple of months ago! The upstairs bath is one that won’t be used a lot, so they didn’t want to spend a ton of money on a total remodel, but a few updates – starting with this vanity – are giving it a modern look without a lot of expense! You won’t believe what a little “elbow grease” and paint can do!!!
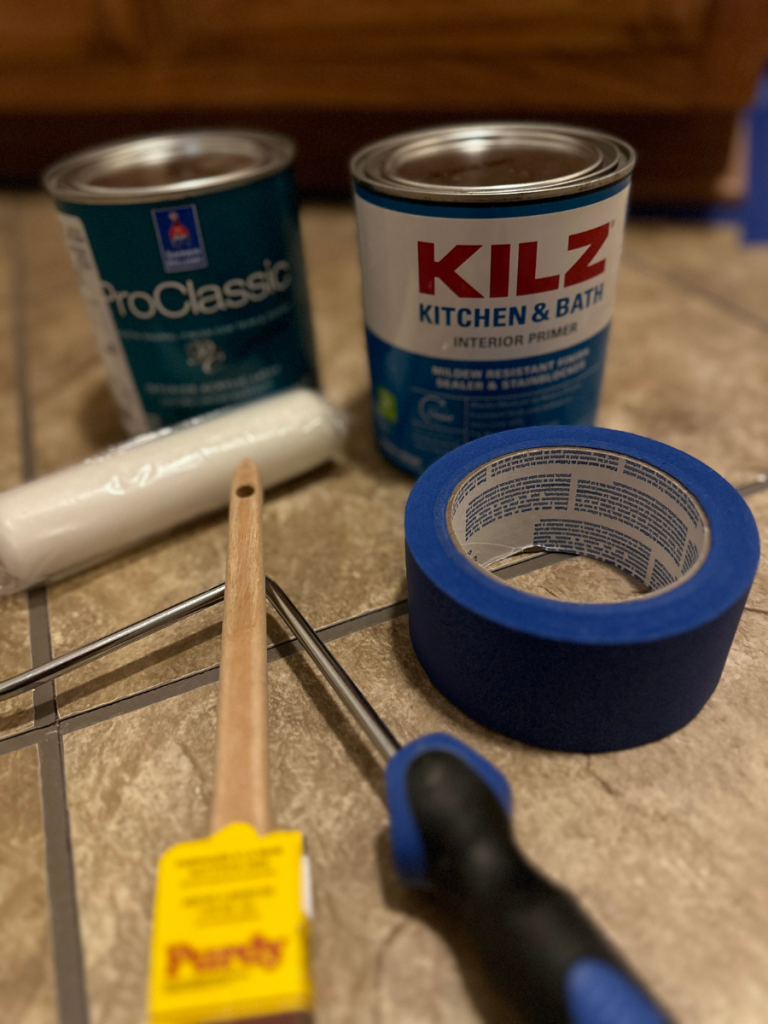
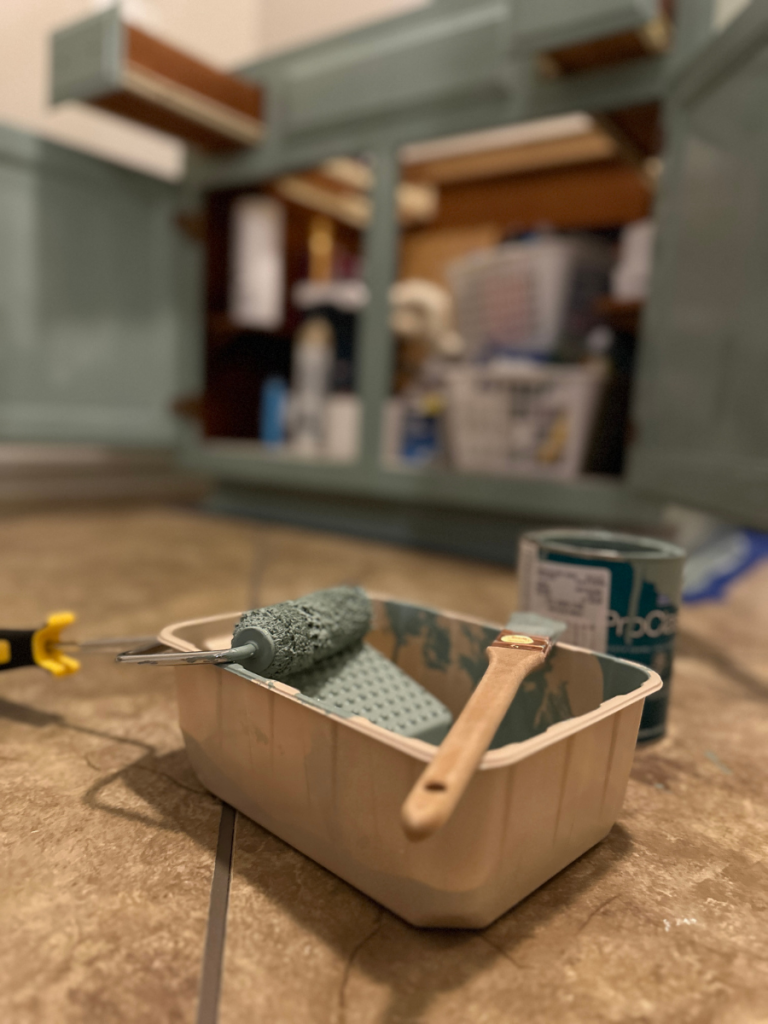
Here are the supplies she used (tap on the bolded items to shop my affiliate links!):
- Sherwin Williams Pro Classic Interior Paint in Jasper Stone
- Kilz Kitchen and Bath Interior Primer
- Small roller and tray
- Painters tape
- Small paintbrush
- Sanding block
- New handles from Amazon
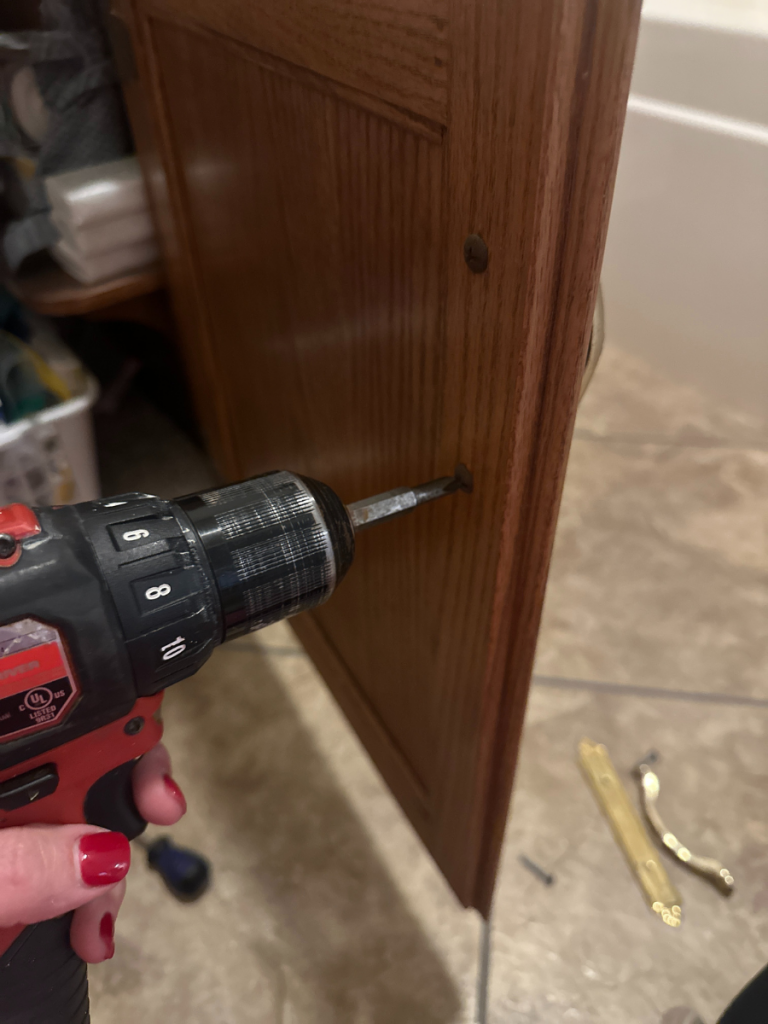
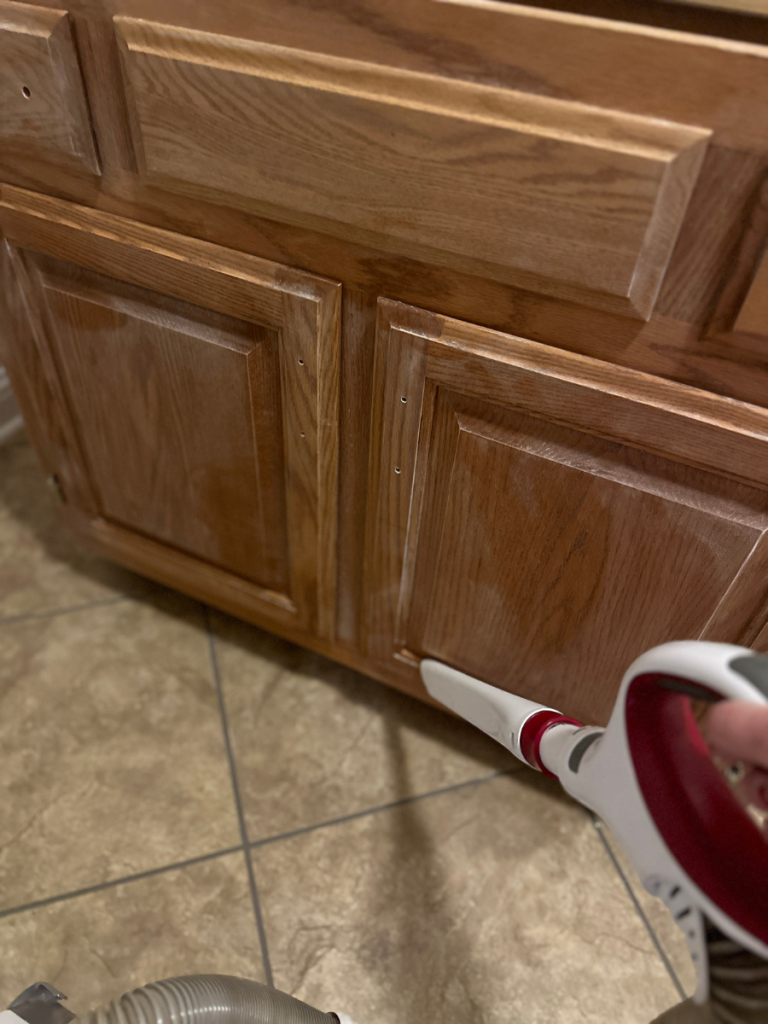
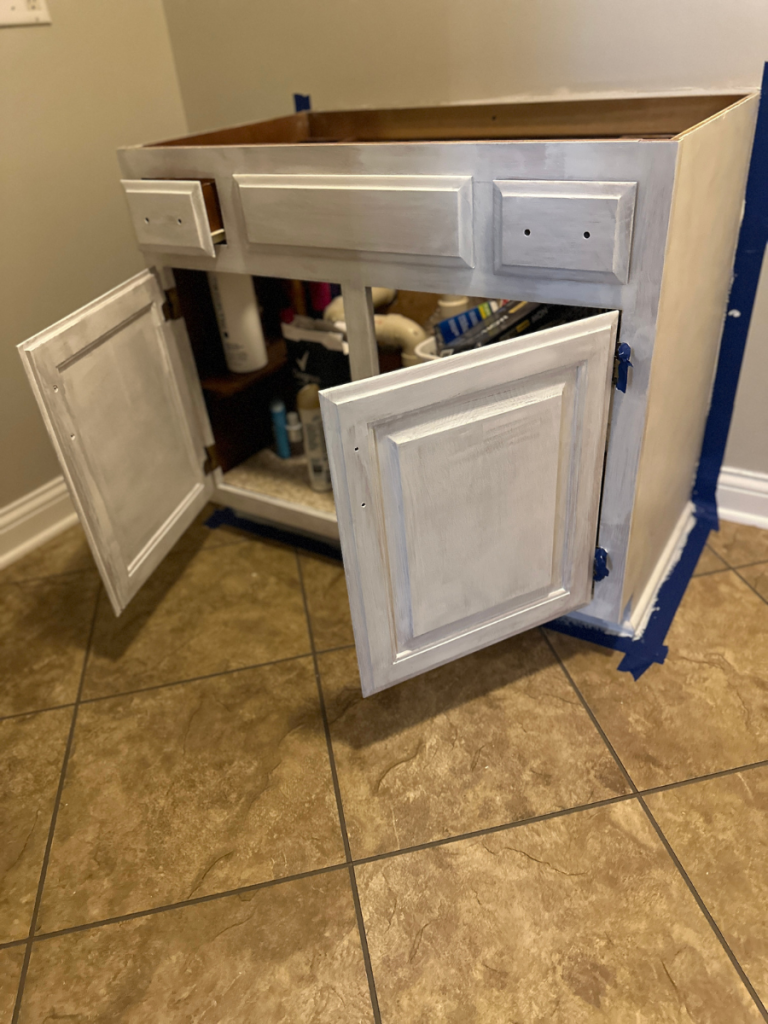
The first thing she did was to remove the old handles. She left the hinges on there since they were older and might be hard to find in the same size!
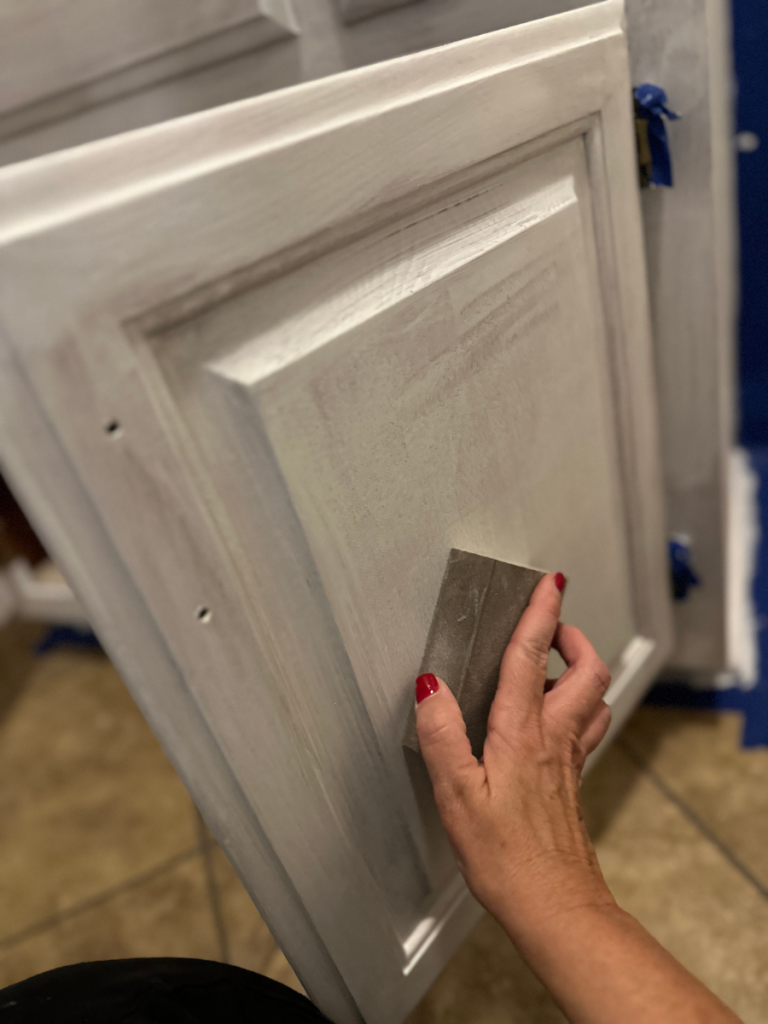
This vanity had a pretty high-gloss finish that was popular in the late 1990’s, so a good sanding was CRUCIAL to getting the paint to adhere! Whatever you do, DO NOT skip this step!!
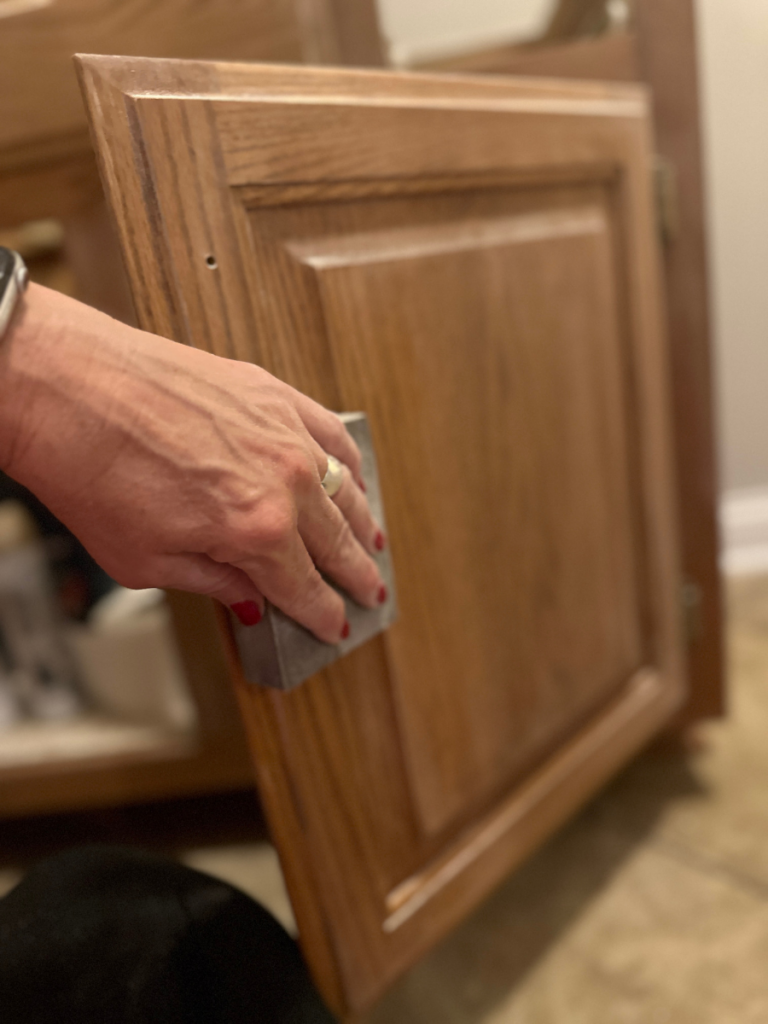
After a REALLY good sanding, she vacuumed up the dust and washed it off really well to remove any dirt or grease that might cause the paint to chip!
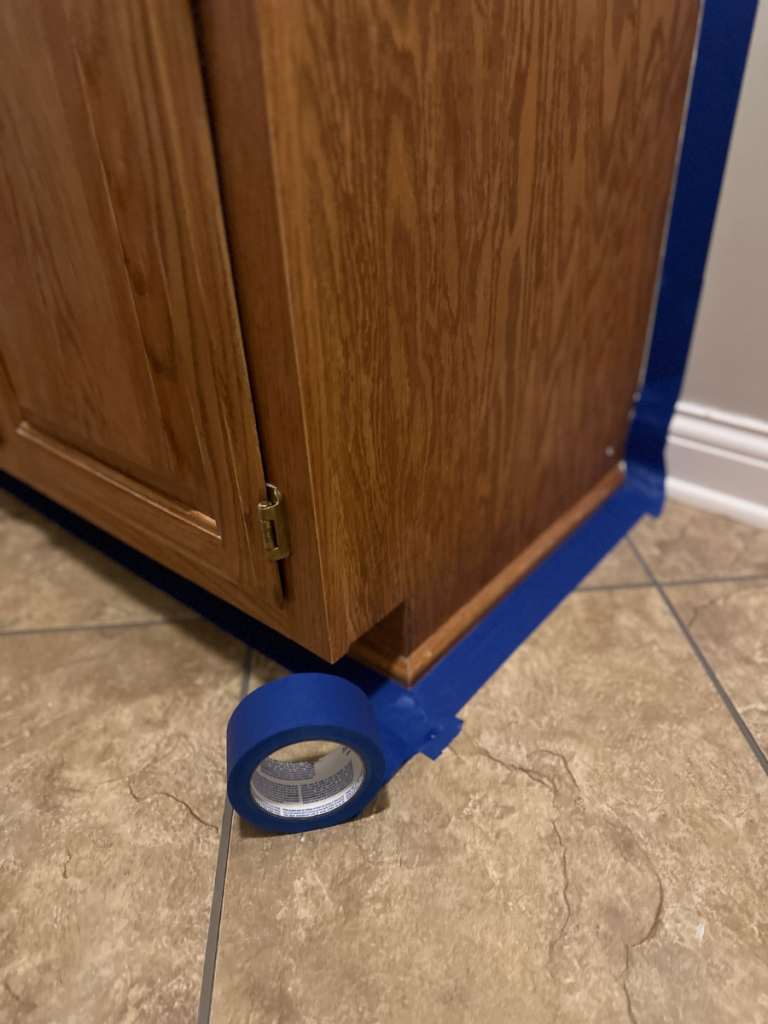
Painters tape is a MUST to keep from getting paint all over the floors and walls!
After all the prep work, she started with a coat of the Kilz Kitchen and Bath Primer. She chose this as added protection in a room with a lot of moisture.
That baby is primed and ready for the best part…PAINT!!!!
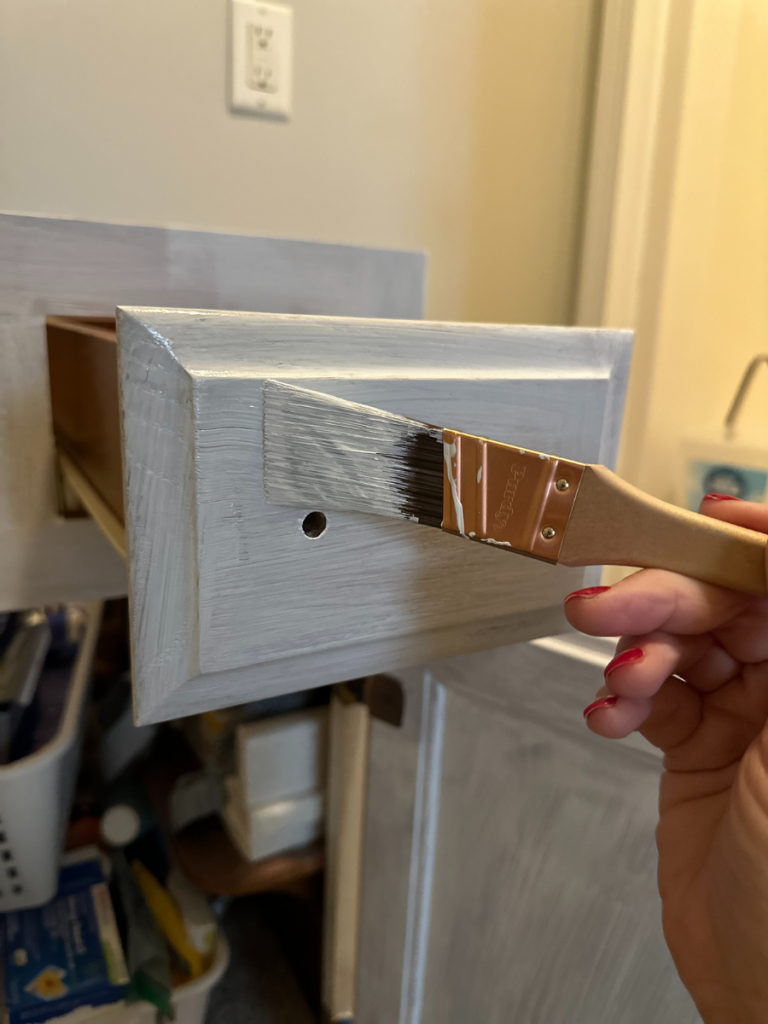
Before she added the first coat of paint, she VERY LIGHTLY sanded to remove any debris that may have been in the primer and wiped it off. This is gonna make that final product look PERFECT!
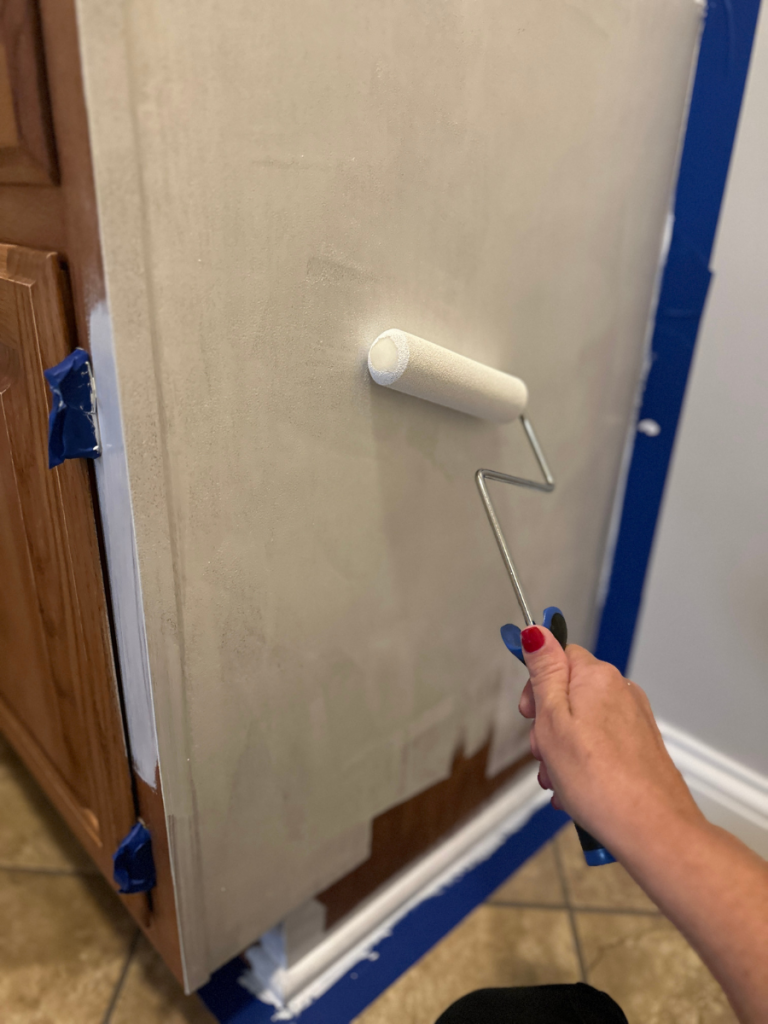
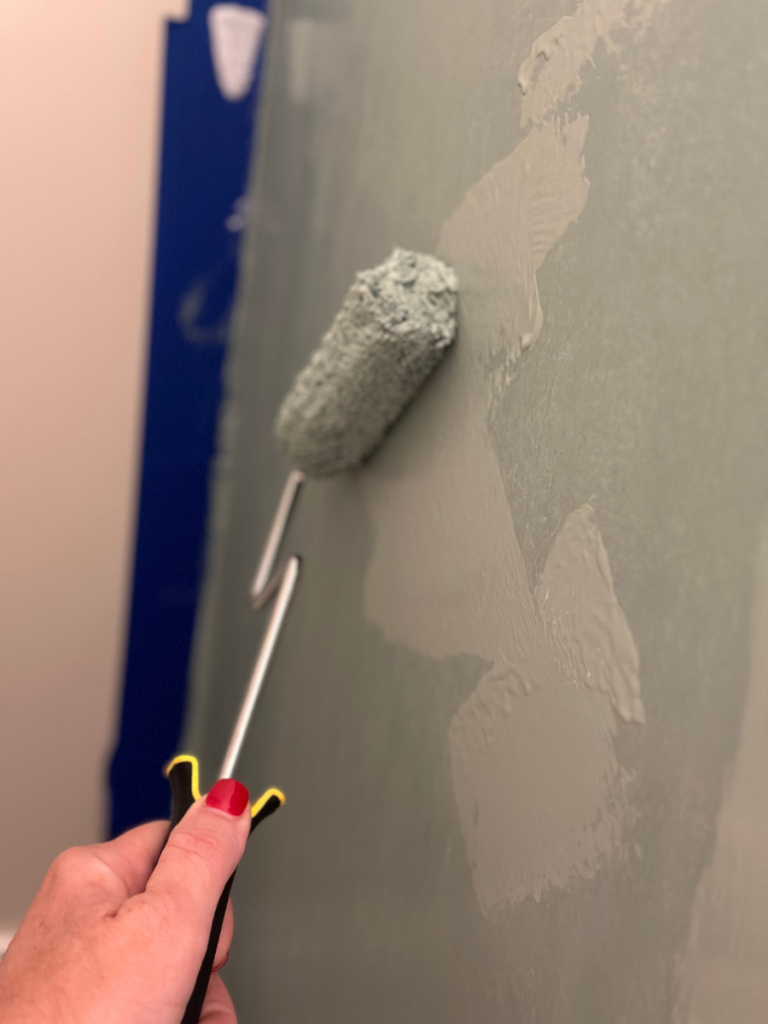
Next up was the first coat of paint. She used a roller for the big areas and a small brush for the details!
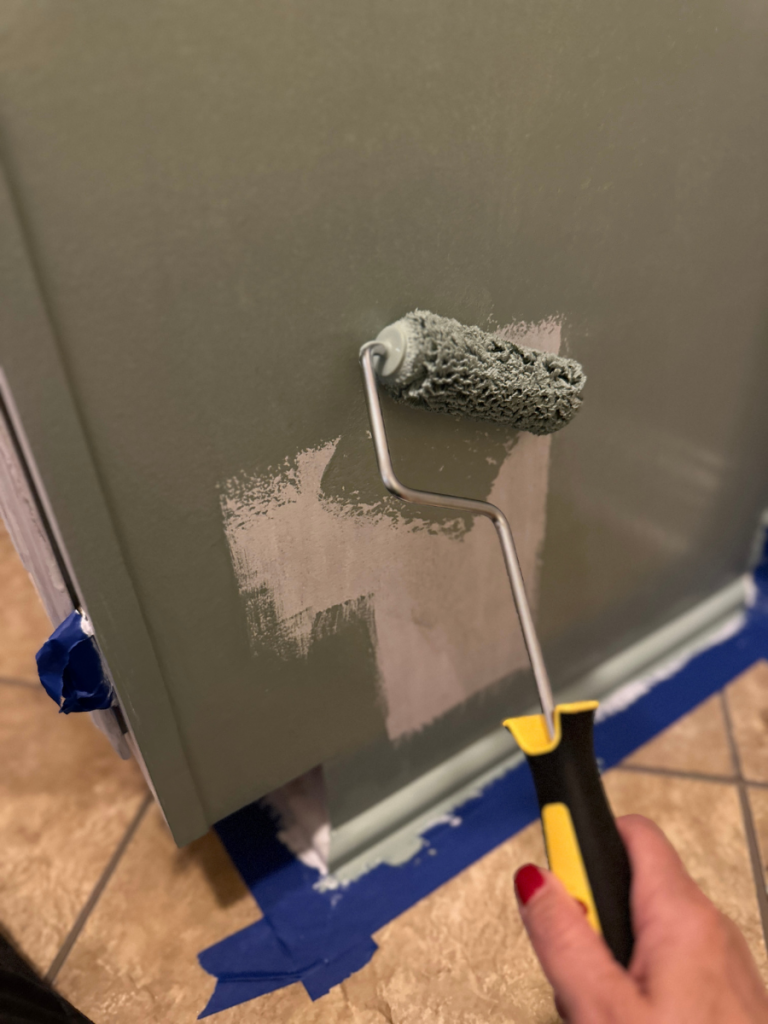
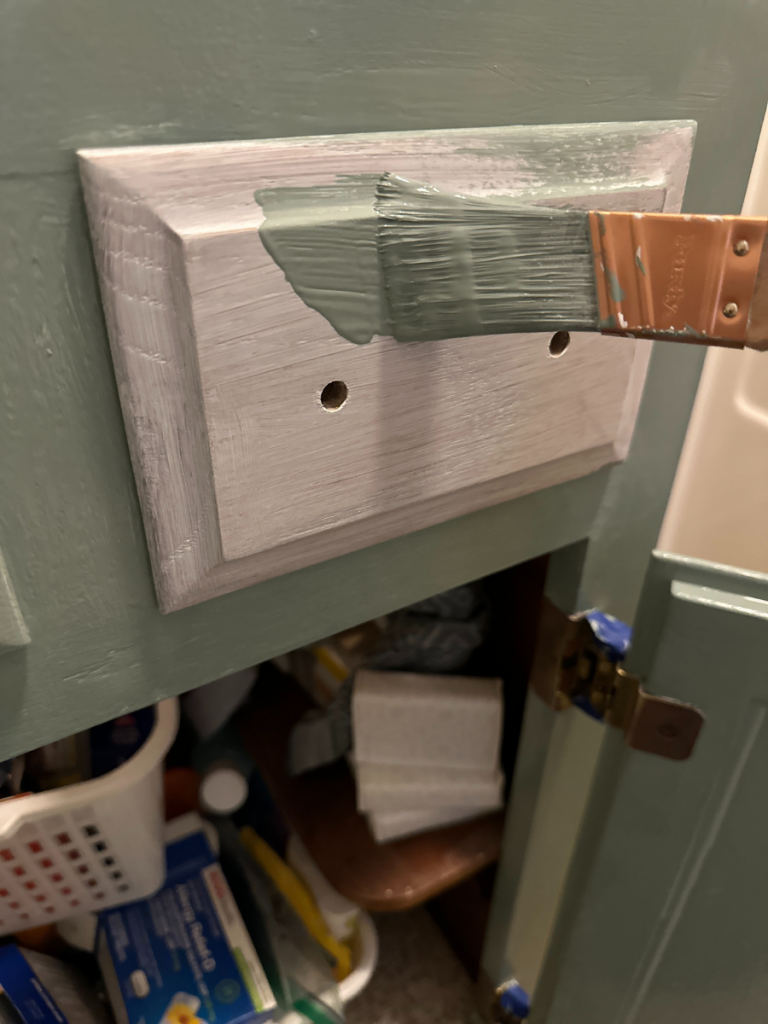
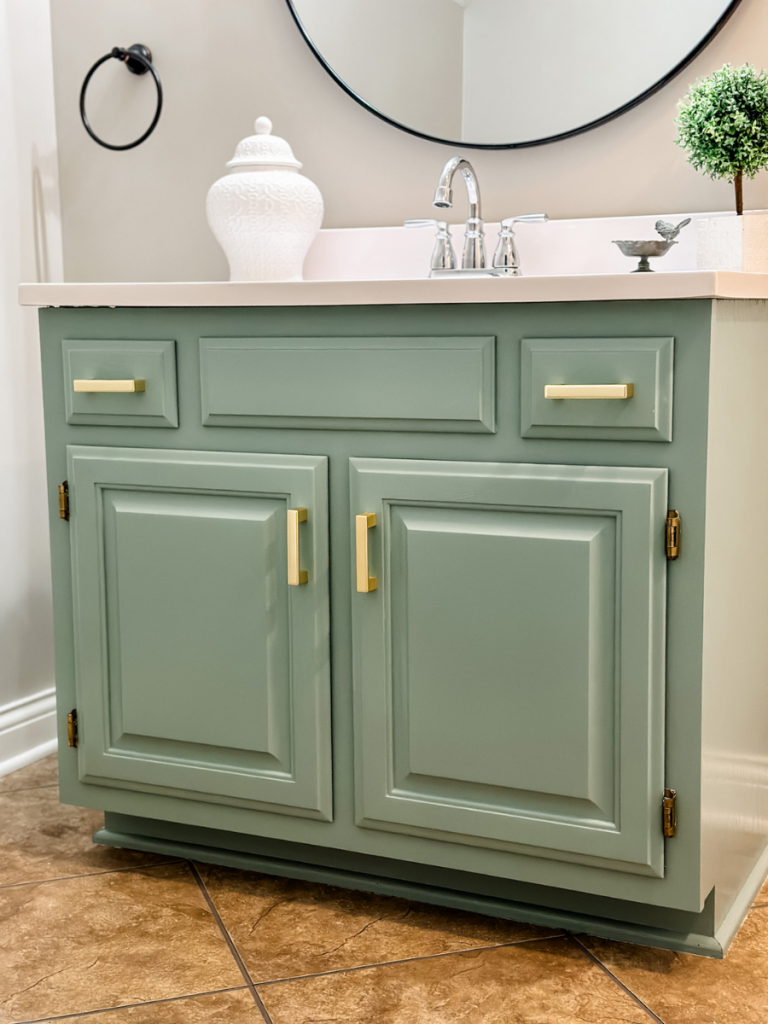
I am seriously LOVING this SW Jasper Stone!! It’s a gorgeous neutral green!!
One more good coat of paint is going to finish it up!
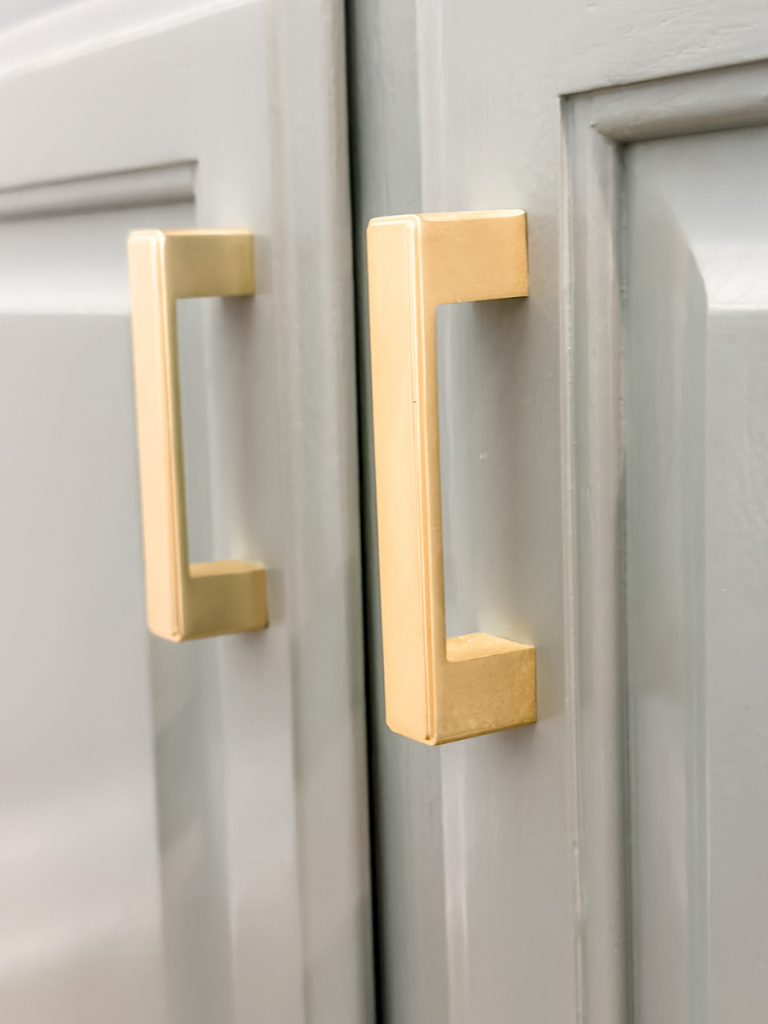
For the final touch, she added these AMAZING brushed gold handles from Amazon. They are such good quality and the PERFECT finishing touch to this project!!
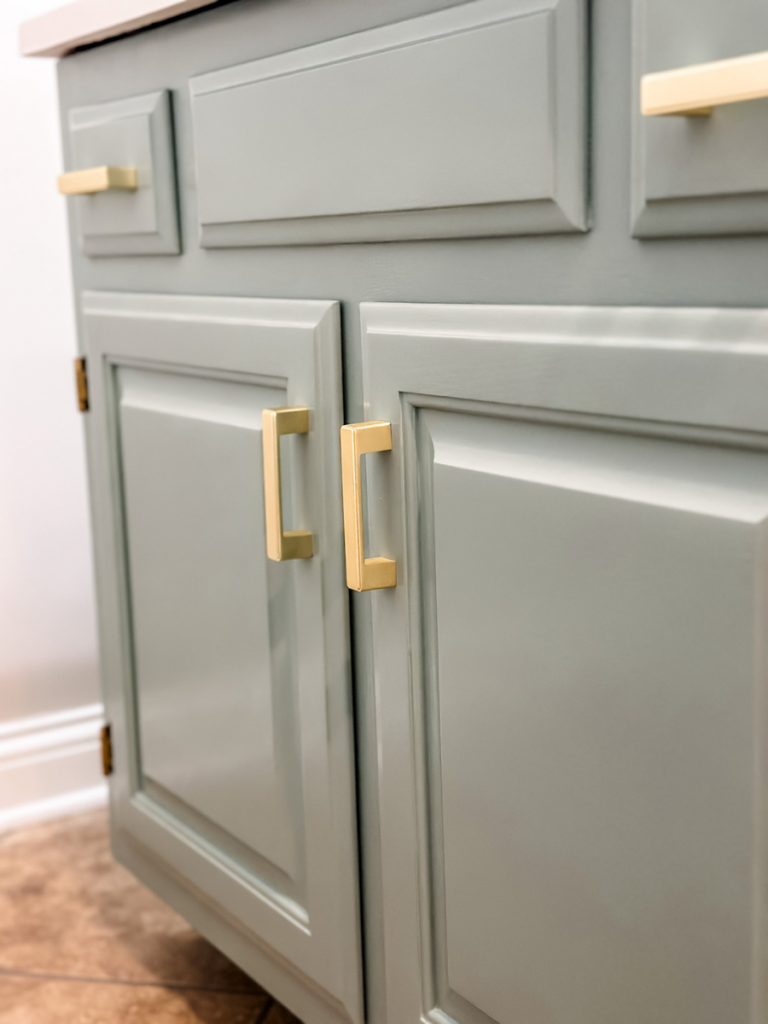
Y’all, I CANNOT BELIEVE the difference!!! This vanity makeover only cost a little over $50.00, which is why I ALWAYS tell you that DIY does NOT have to break the bank! Stay tuned for more of Mel’s 1999 house makeover posts!!
Be sure to PIN for later!!!
Last Updated on September 12, 2024

I love the new color!
Oh WoW!! I love it!! Fabulous job!!
Love love love the makeover!
Thank you! ❤️
Beautiful work! I love the color.
Thank you!
Absolutely love the color!
It’s so pretty! ????