EVERY time I pick up a bag of wood slices, my mind goes crazy thinking of all the adorable ways they can be used in crafting! With Christmas on my mind a little more than usual this month, I KNEW I could create the CUTEST Christmas tree EVER and I can’t wait to show you how easy it can be!!
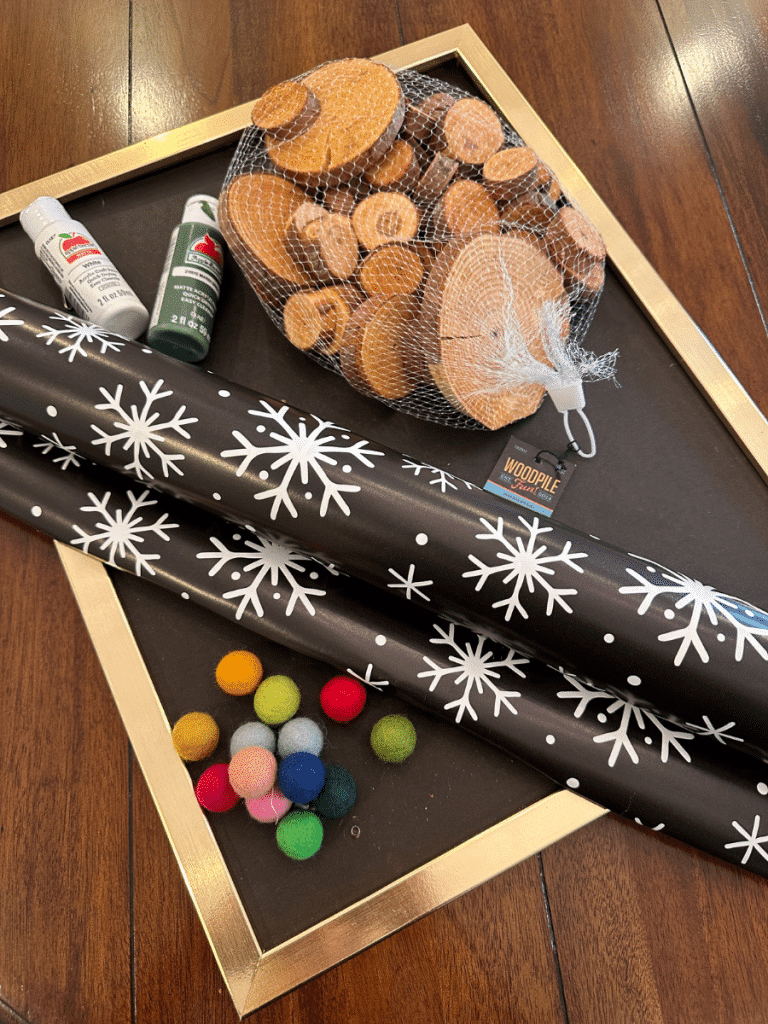
Here are the supplies you’ll need!
- assorted size wood slices
- green paint (I used Walmart Apple Barn “Marsh Green” mixed with a little white)
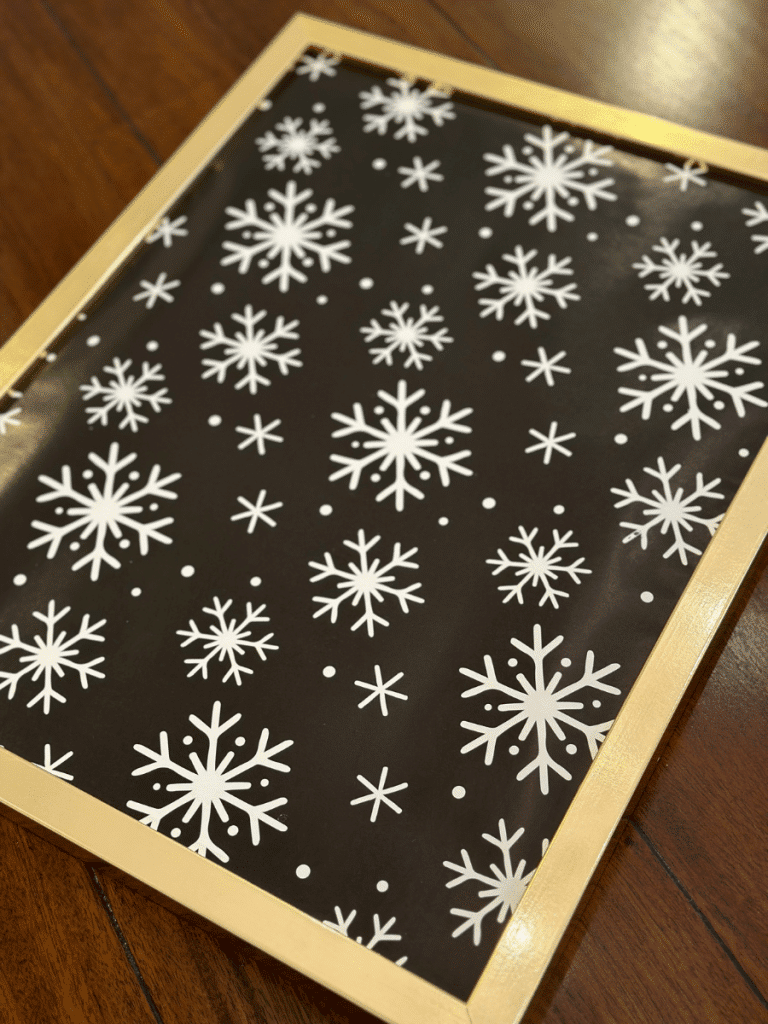
- wrapping paper
- frame
- wool felt balls
- hot glue gun (you knowwww which one I am using!!!)
- paint brushes (check out my faves!!!)
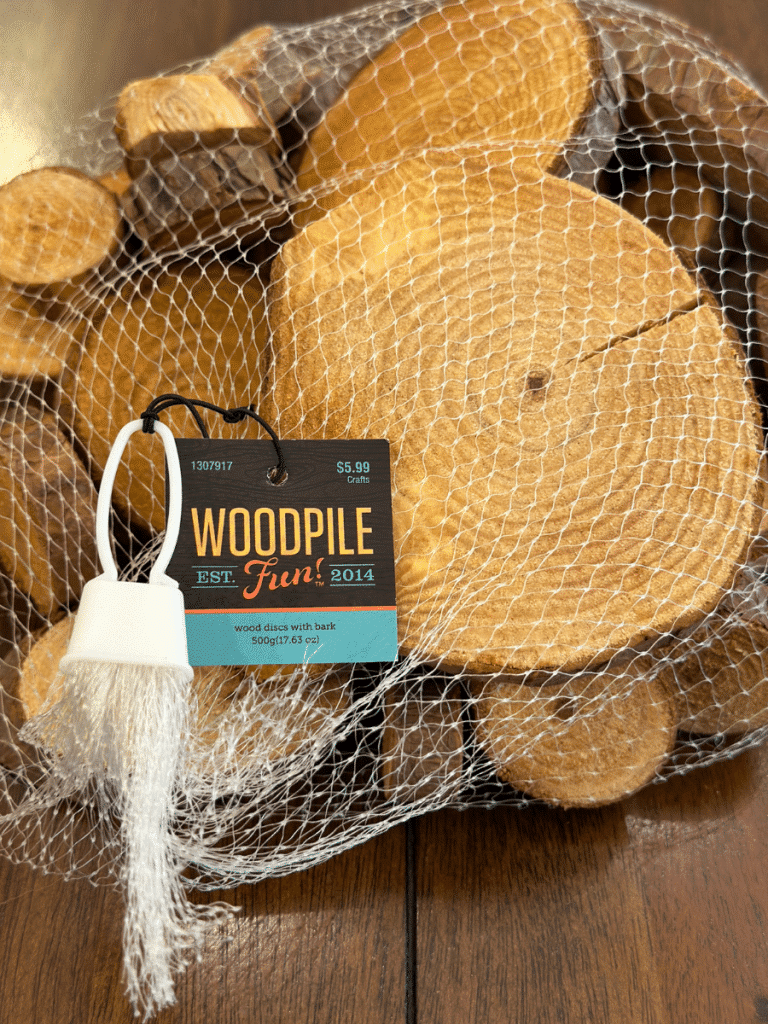
Wood slices are so versatile for crafting and that’s why I LOVE them! I scored these for 40% off at Hobby Lobby! If you love wood slices like I do, you will also love my DIY FLOWER CRAFT!
First, I removed the glass and the backing from the picture frame and “wrapped” the backing like a gift using this black and white wrapping paper. You can also use scrapbook paper for this step, especially if your frame is smaller. Check out my personally designed scrapbook paper packs HERE!
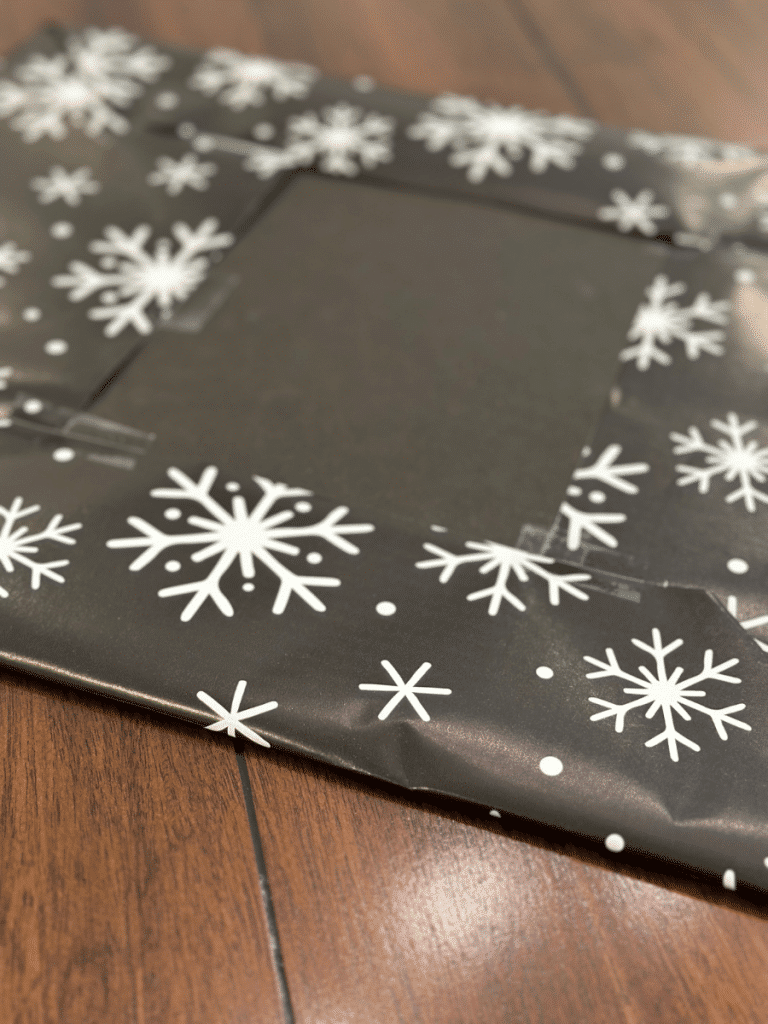
I then reinserted the backing into the frame and this gave me a perfect backdrop for my tree! This would be so cute just by itself! Framing any kind of paper is such an easy and cheap way to decorate for any season! You can see more ideas like that HERE!
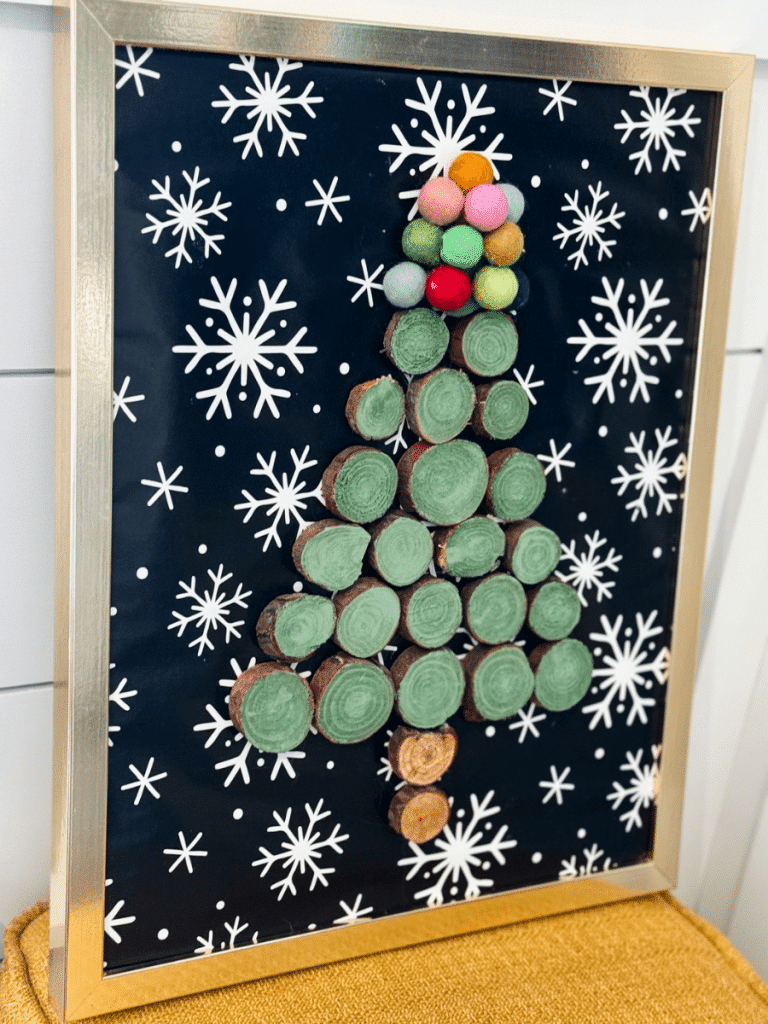
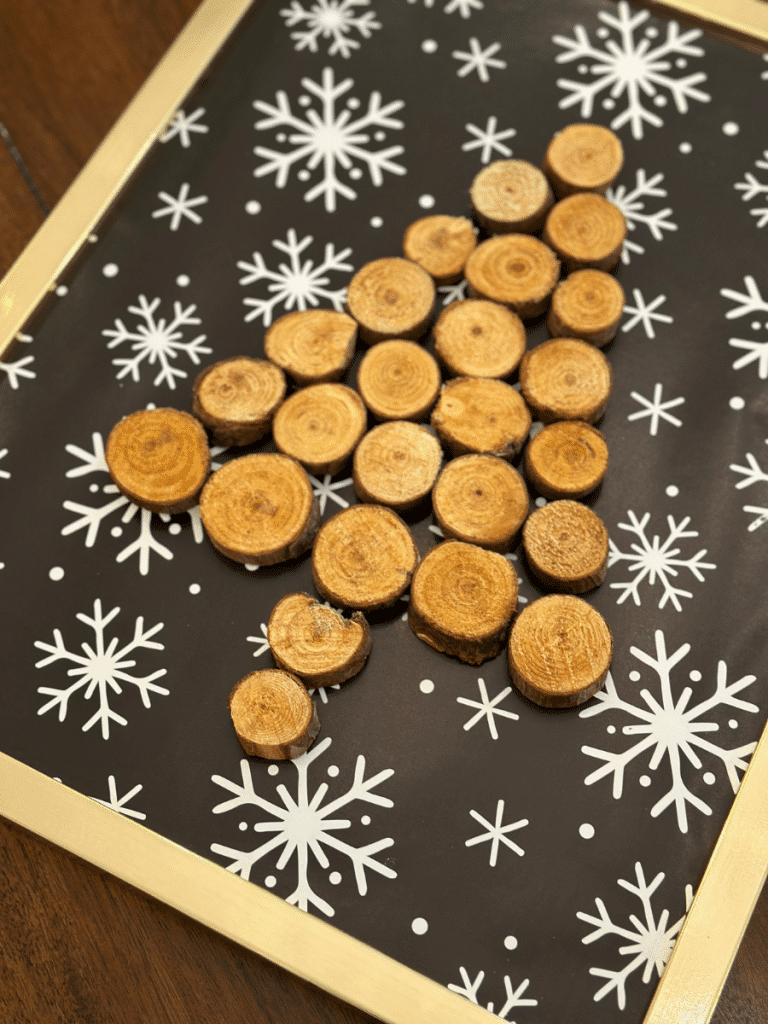
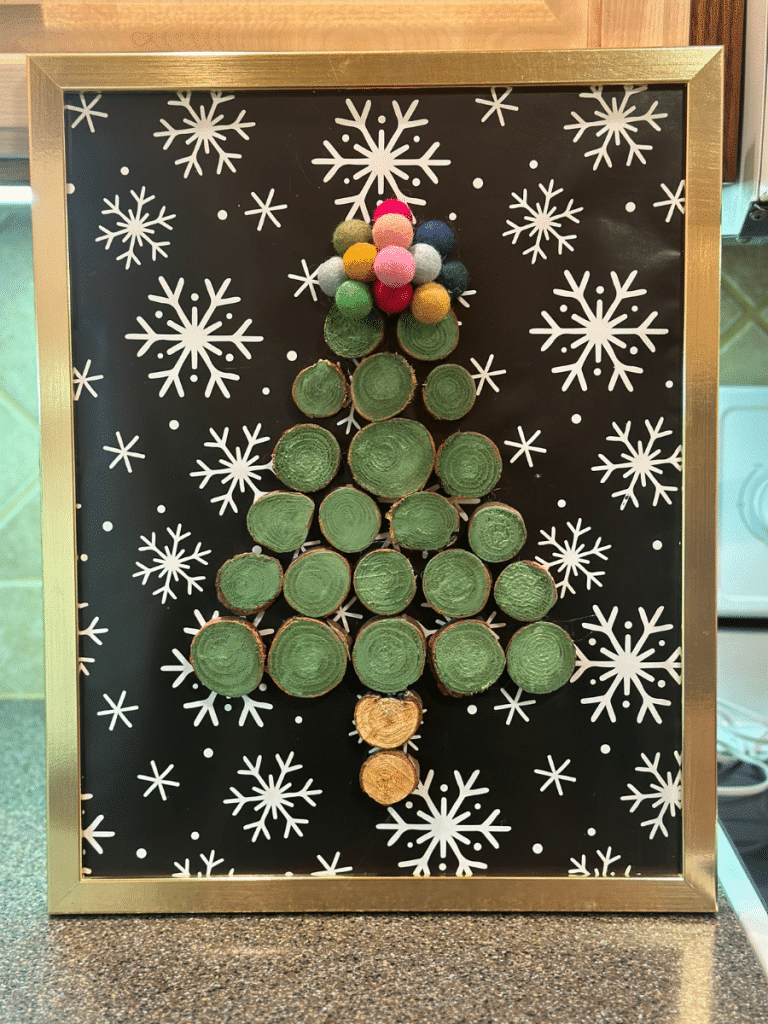
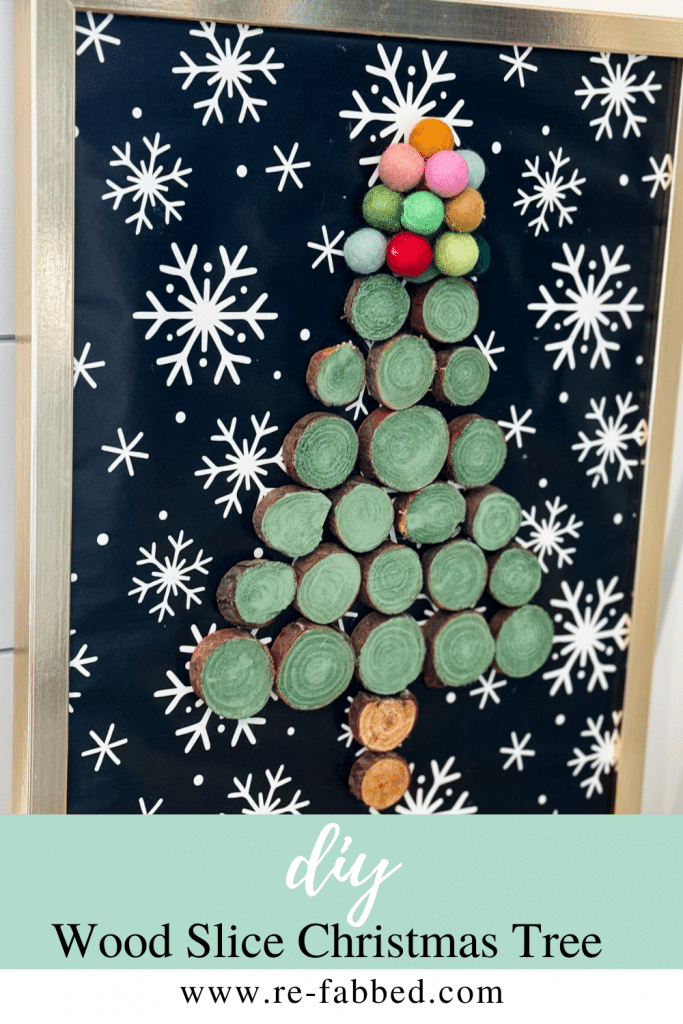
Next, I laid out my Christmas tree design on the background using the wood slices. This took a little time to get just the right configuration!
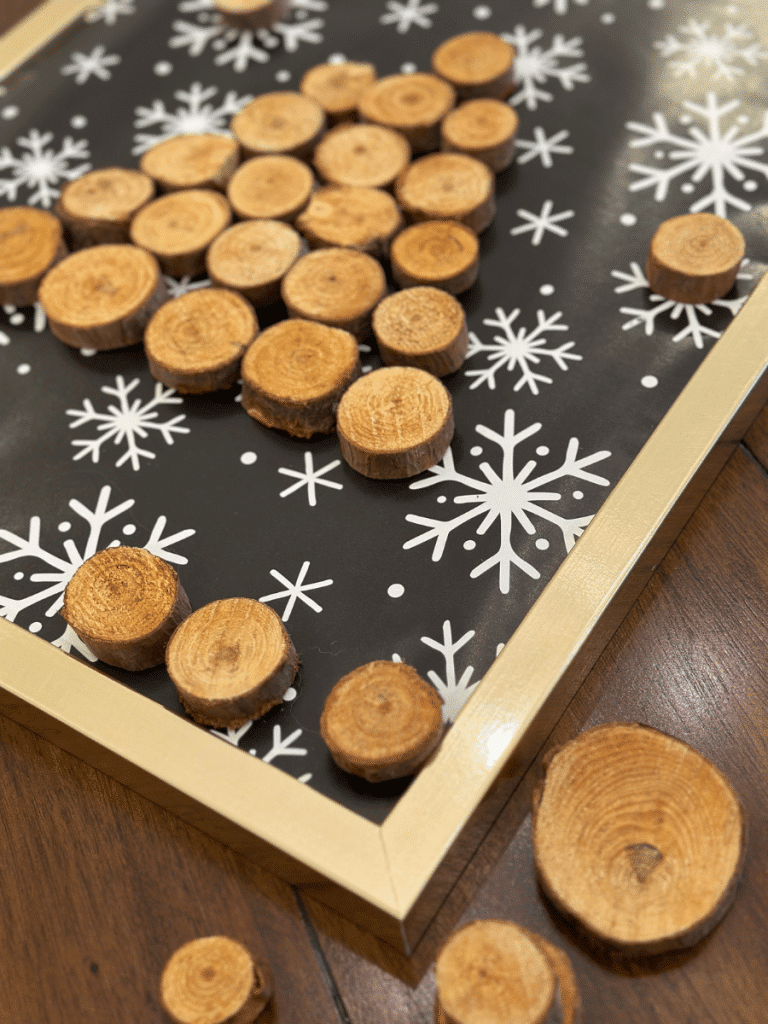
After deciding on my layout, I went ahead and glued down all the wood slices into my Christmas tree shape using my exclusive Re-Fabbed Hot Glue Gun.
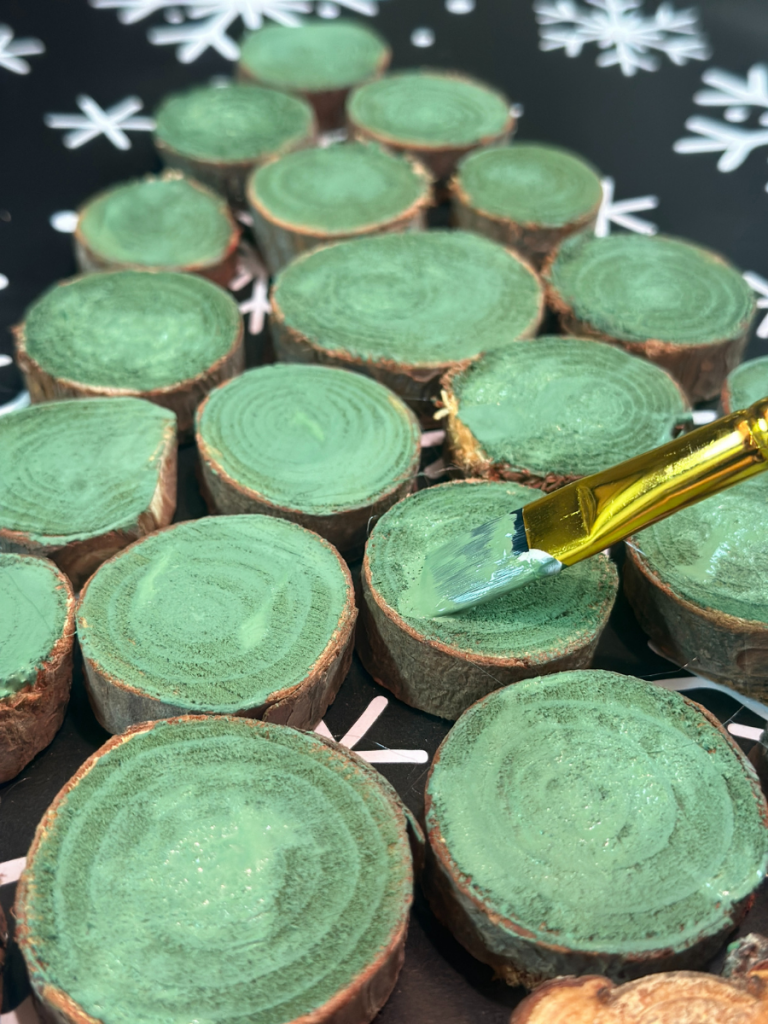
I let the glue dry for a few minutes, then grabbed my Re-Fabbed Paintbrushes to paint ONLY the top sides of each wood slice. I wanted to leave the sides natural for a rustic look! I also didn’t paint the slices I used for the trunk of the tree. Don’t forget that you can also choose to paint them FIRST and then glue them when they are dry! Either way works great!
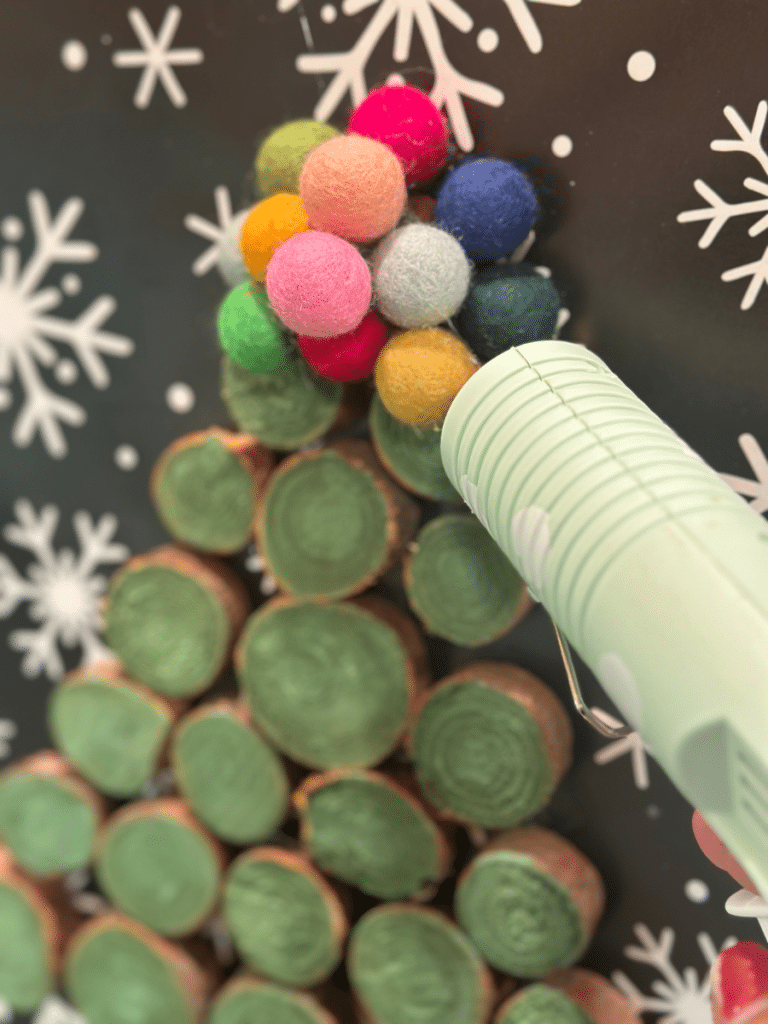
Because we know that every Christmas tree needs a little something on top to complete the look, I used assorted colors of wool felt balls to create a super-cute tree topper! Listen, I didn’t have any plan on this part, I just started gluing them on until it looked like I wanted!!
Y’all, I am seriously obsessed with how it turned out! Let me know what you think and if you plan to create your own!!
Don’t forget to pin for later!!
Last Updated on July 11, 2024

Very cute, I may need to make this.
Thank you! ❤️
Love this
I certainly do love this idea. I would love to make this, but my husband is a taxidermist, and right now our walls are filled with mounts. I sure am going to keep this one on my radar though.
We have LOTS of mounts too in the basement! ????
This is so stinking cute-I need to make this. This is even something kids could do to.
I love ???? this -simple but really cute.
My favorite type of project! ????