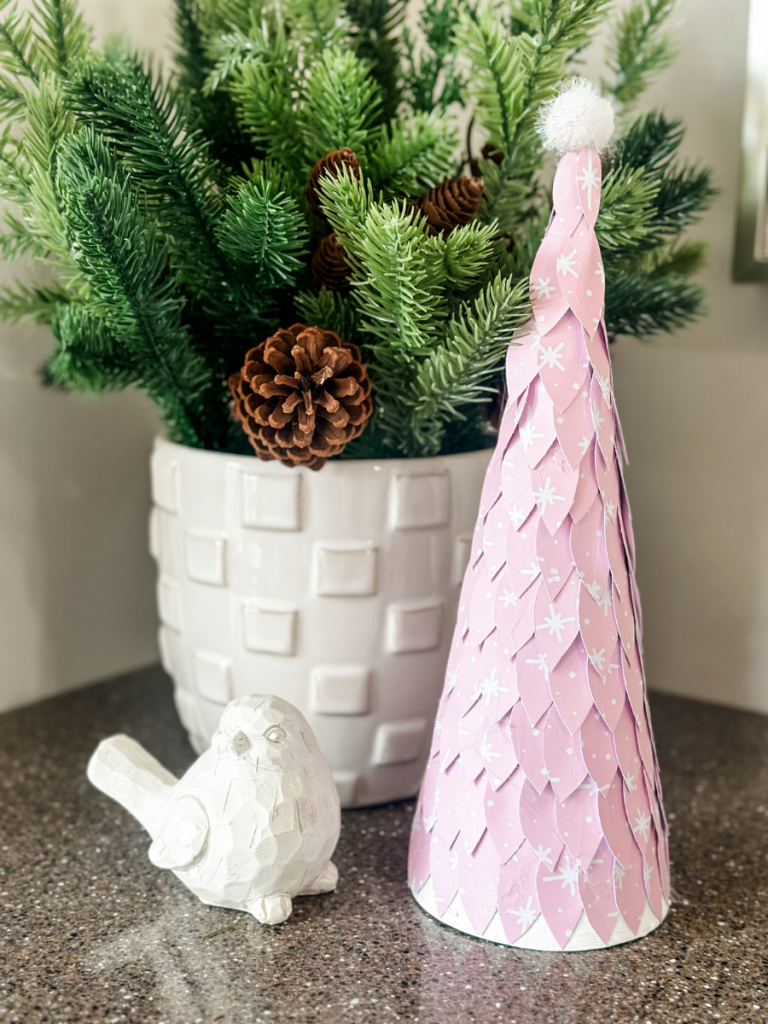
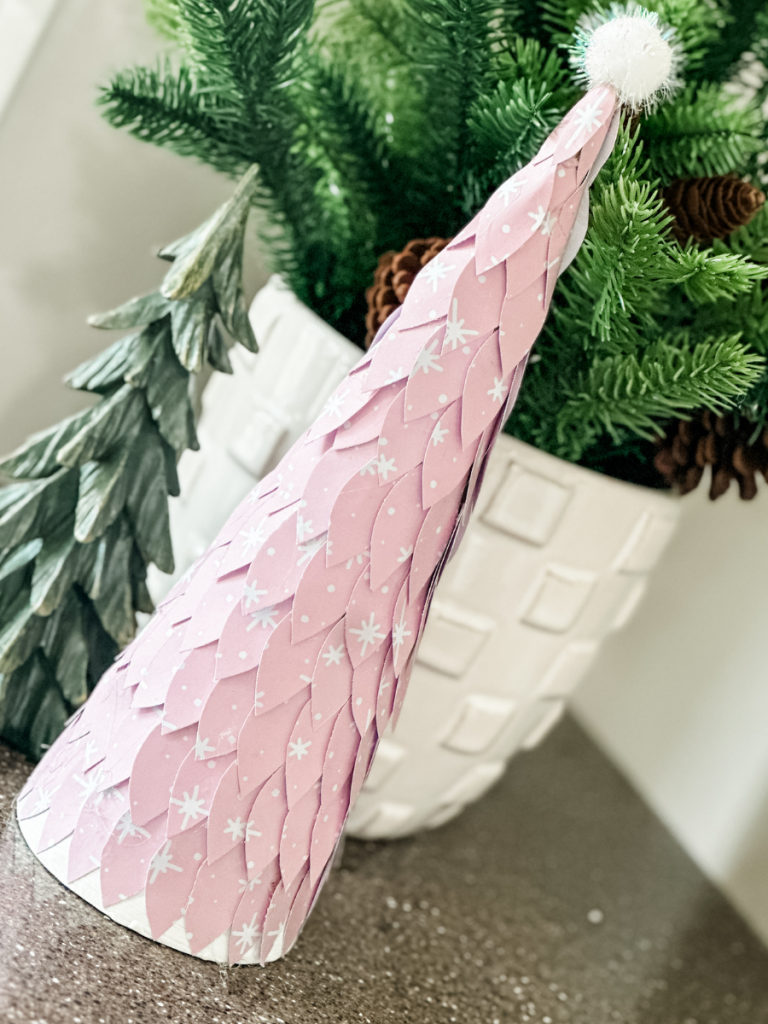
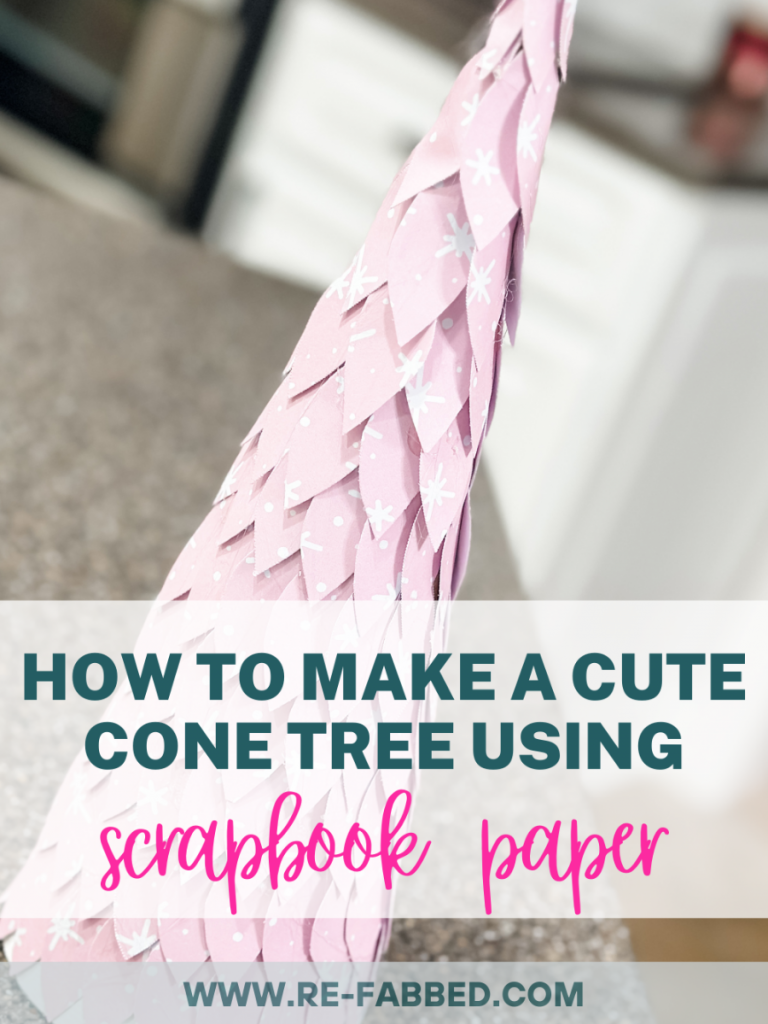
If you are looking for a fun and easy craft, we have got you covered!! These cone trees are literally EVERYWHERE right now and they are SOOOO versatile for crafting!! Click HERE to see the tree we created using FEATHERS! For this one, we used scrapbook paper and a few other supplies we had on hand and the result is SO STINKIN’ ADORABLE!!!
Affiliate links are used on this page. If you purchase an item, I receive a small commission at NO additional cost to you
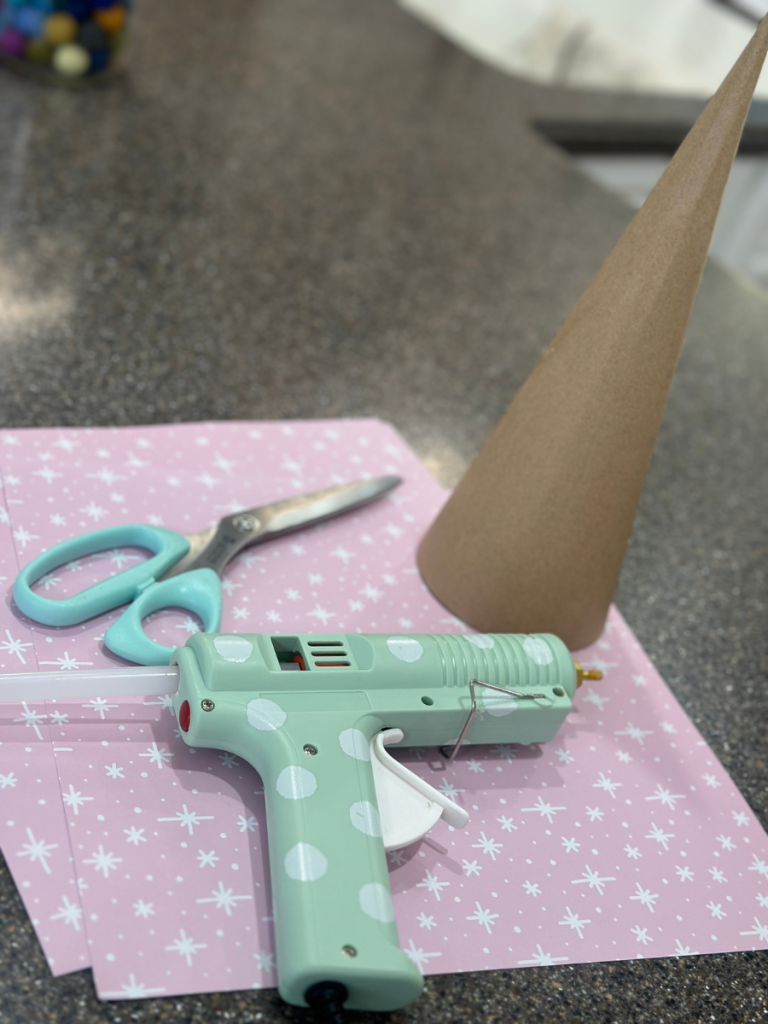
Here’s what we used:
- 3-4 sheets of scrapbook paper
- paper mache cone tree (HERE are tons of options on Amazon!)
- Re-Fabbed branded glue gun
- Re-Fabbed branded scissors (literally the BEST scissors ever!!)
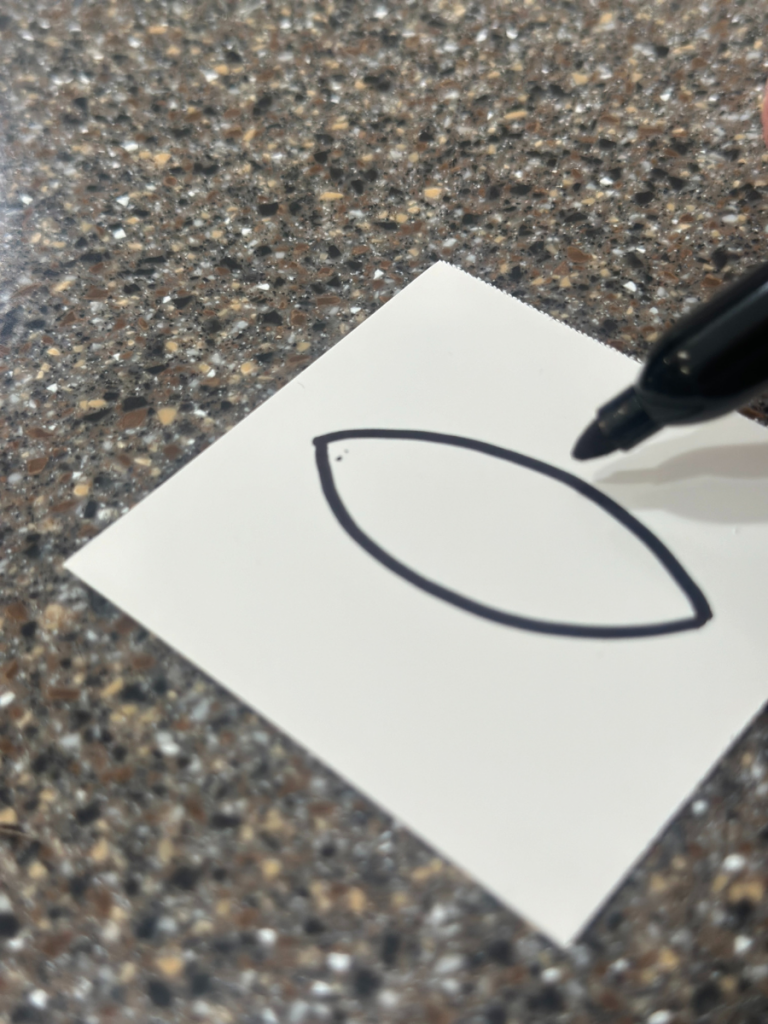
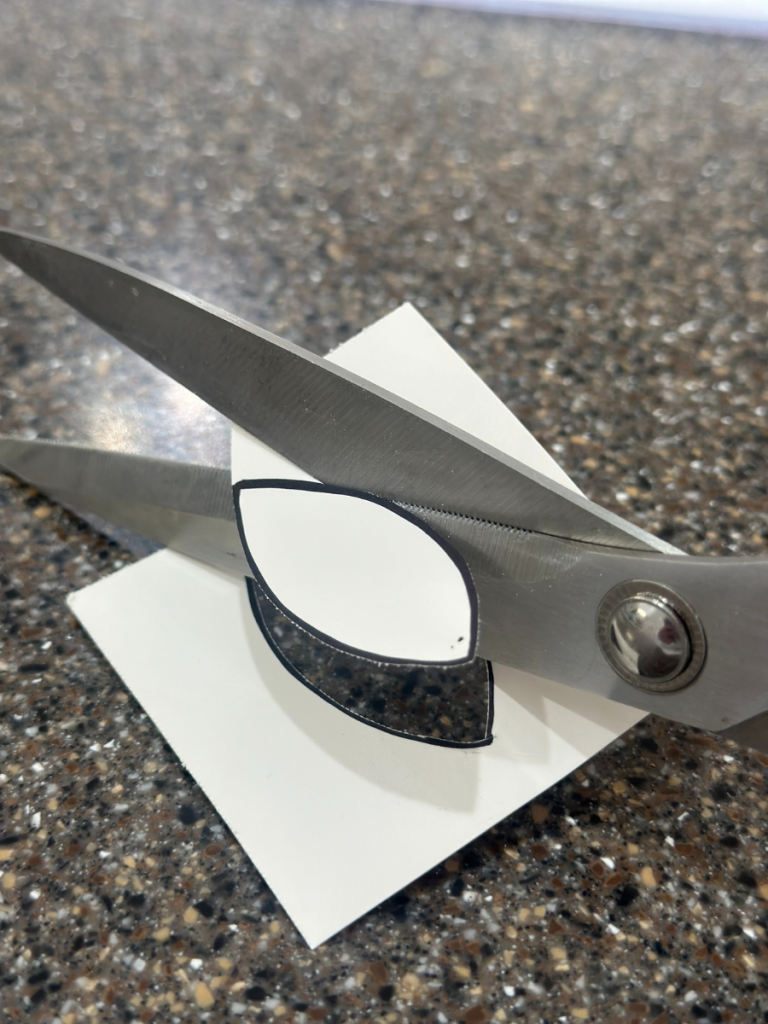
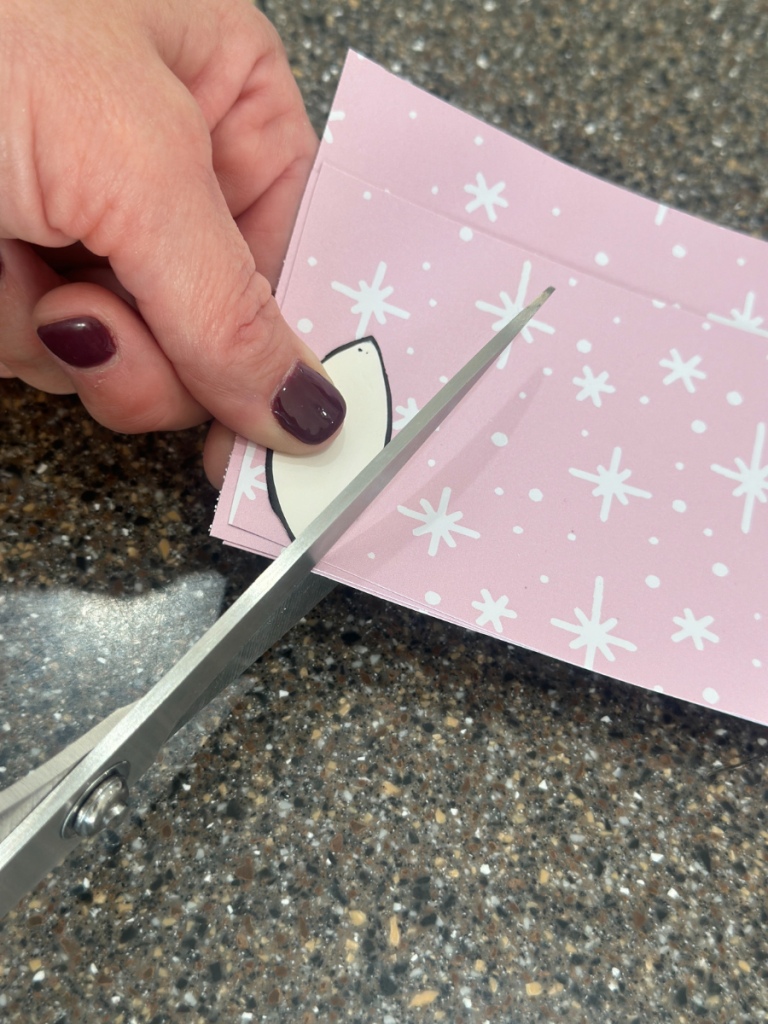
First, we drew out a pattern for our “leaves” on a piece of cardstock, then cut it out so that all of our pieces would be consistent. This can be whatever size you like and will vary, depending on the size of your cone tree!
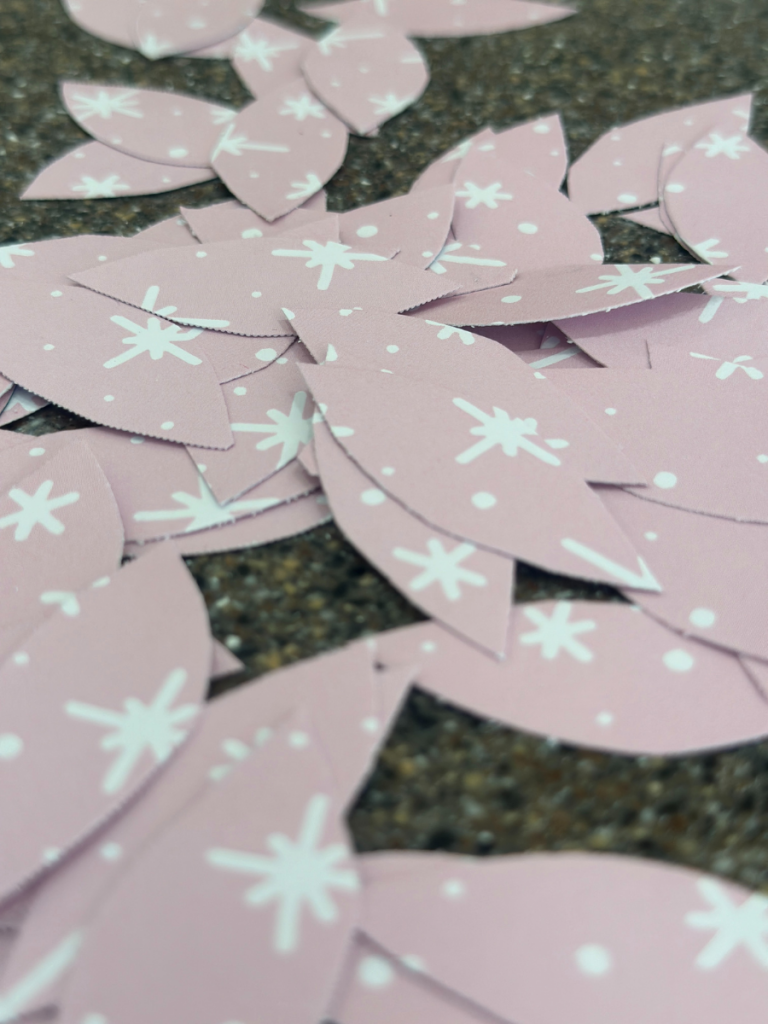
Next, we cut our scrapbook paper into strips that were wide enough to fit the leaf pattern we created.
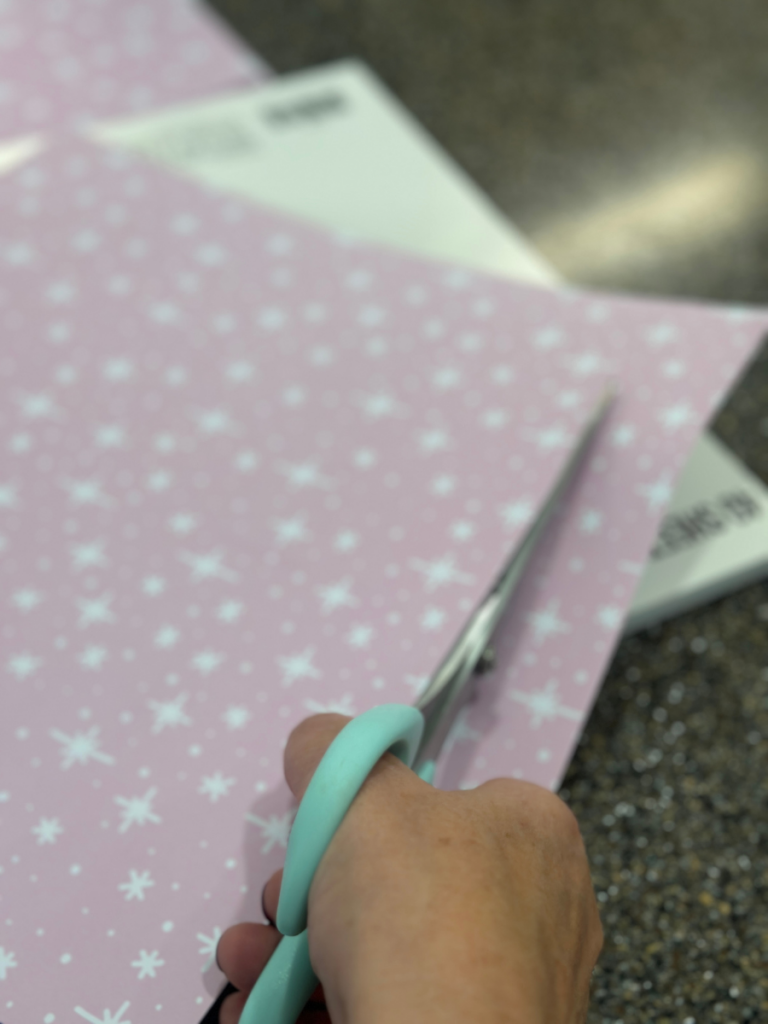
You can use your pattern to draw on the paper, but we thought it was easier to just hold it on there and cut around the shape. This doesn’t have to be perfect!
Because our leaf pattern was a little on the smaller side, it made A LOT of leaves! Just remember that you’re going to have to cut all of those out, so plan accordingly!!
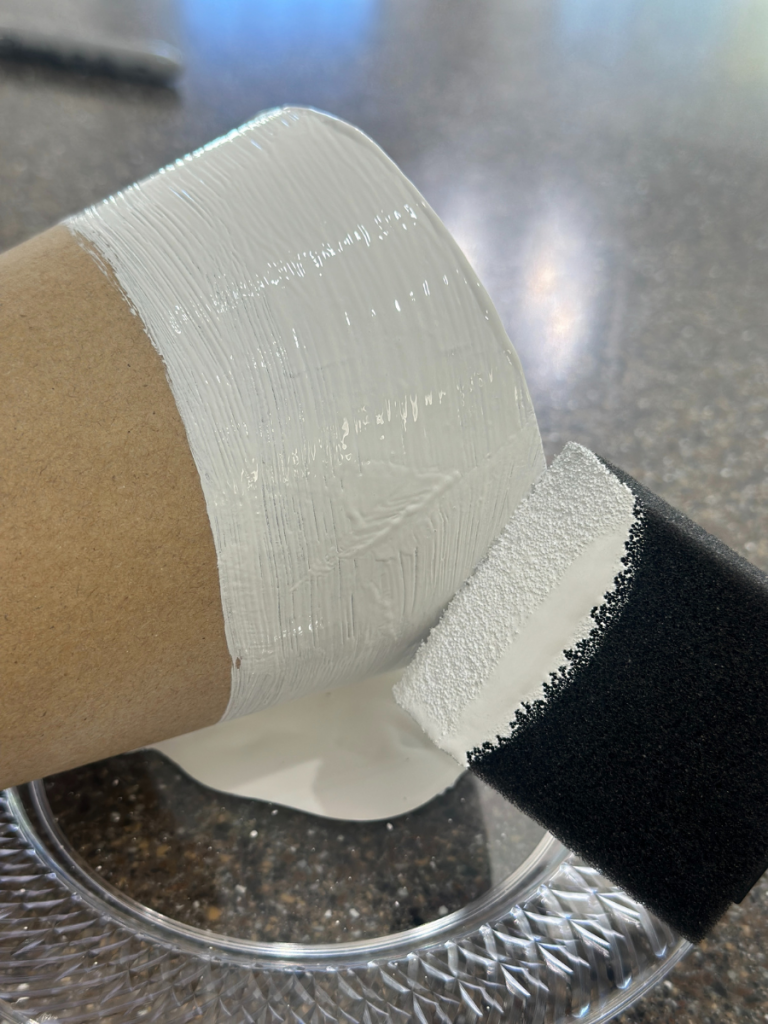
The first row of leaves on the bottom won’t fully cover the cone, so we decided to throw some white paint on there! For a different look, you can also glue pieces of the scrapbook paper you are using to cover up the cone.
Once the paint dried, we started gluing on the leaves. Make sure to keep them as even as possible! We staggered each row to cover up the spaces in between leaves.
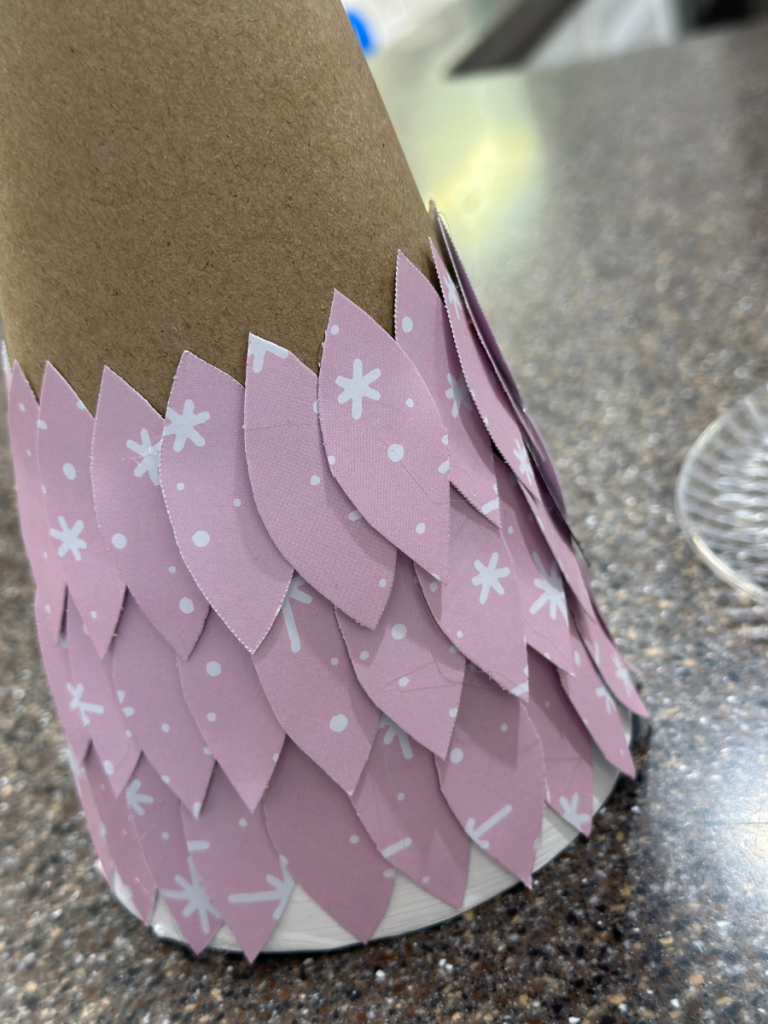
Watch your fingers because that glue is HOT…ask us how we know!!!!
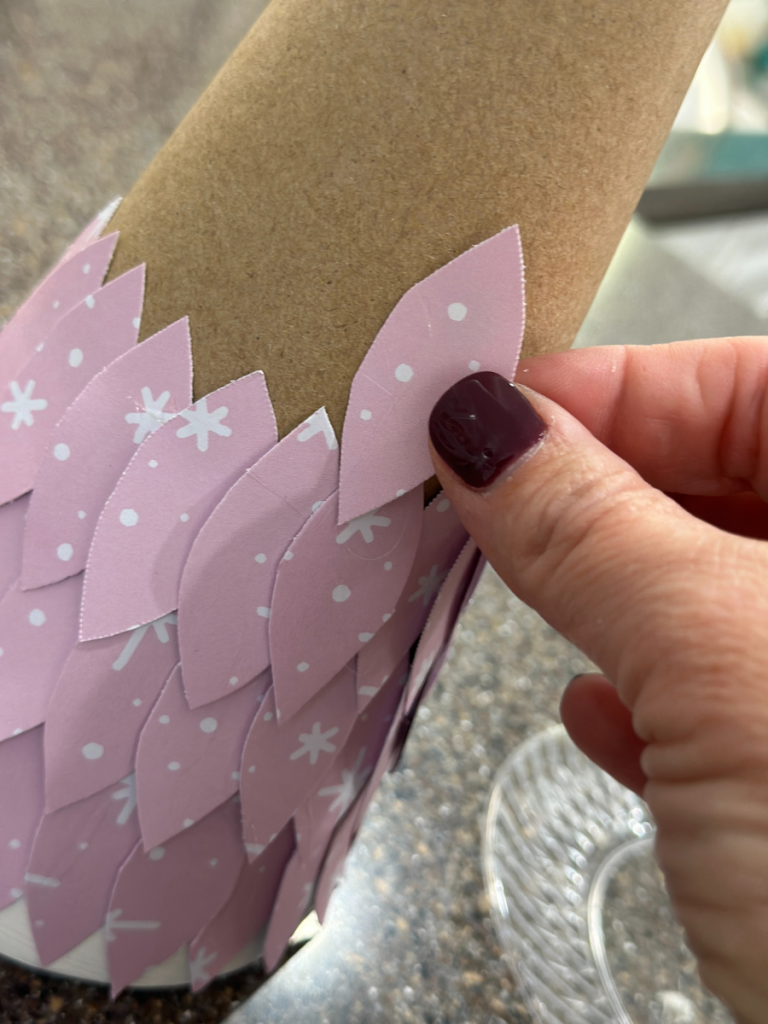
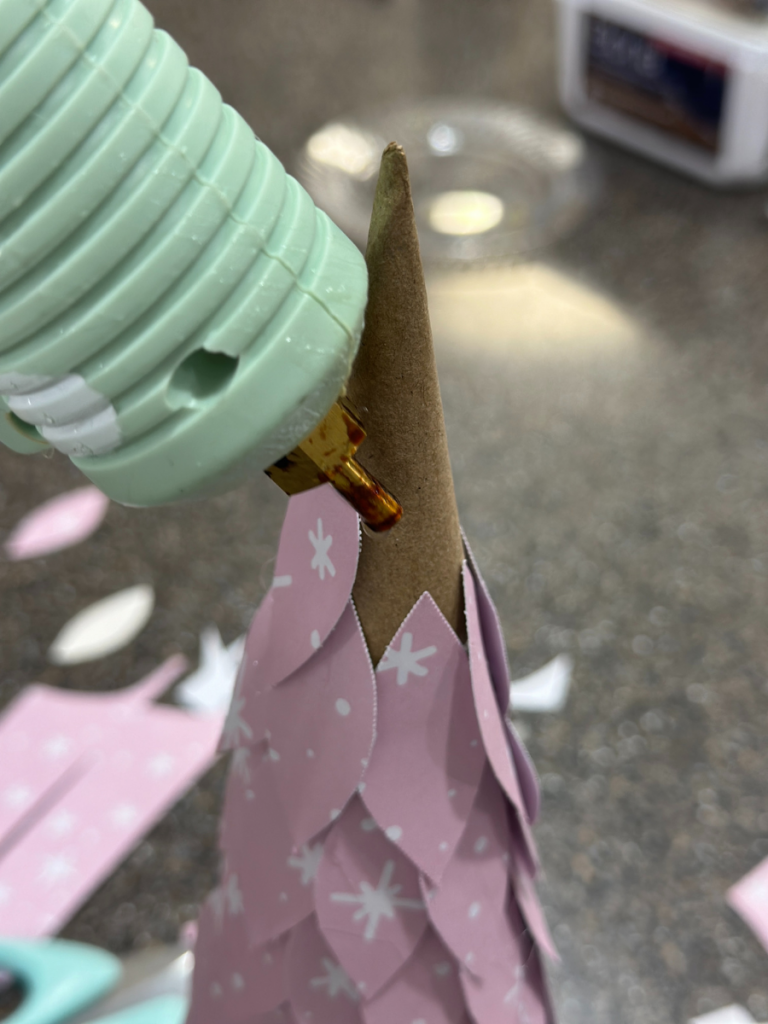
We had to use a little extra glue at the top so that the leaves would lay down on the cone!
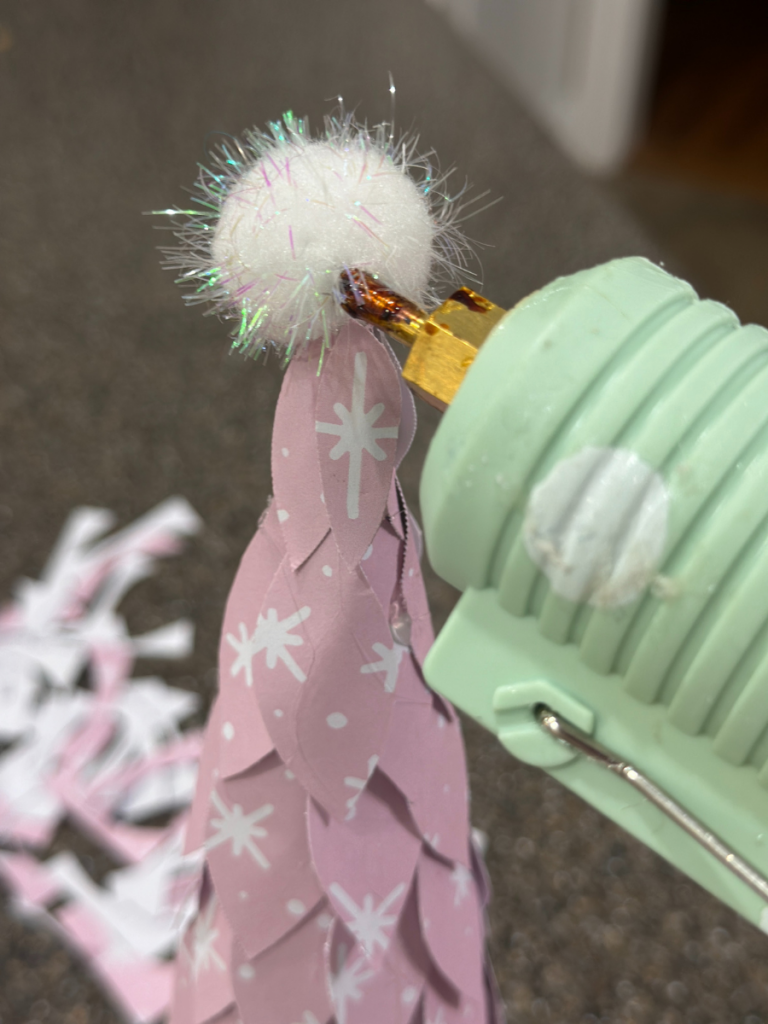
We thought this cute ball would be a perfect addition to the top of our little tree!
We are just IN LOVE with this fun and easy craft! There is literally NO LIMIT to what you can create using these cones! Scrapbook paper, felt, pom-poms, and HERE is one from Blooming Homestead that even uses PEARLS!!! We want to hear if you make a cone tree and what you use!!! Let us know!
BE SURE TO PIN FOR LATER!
Last Updated on November 5, 2024

this is so cute.
How adorable! Love how it turned out!