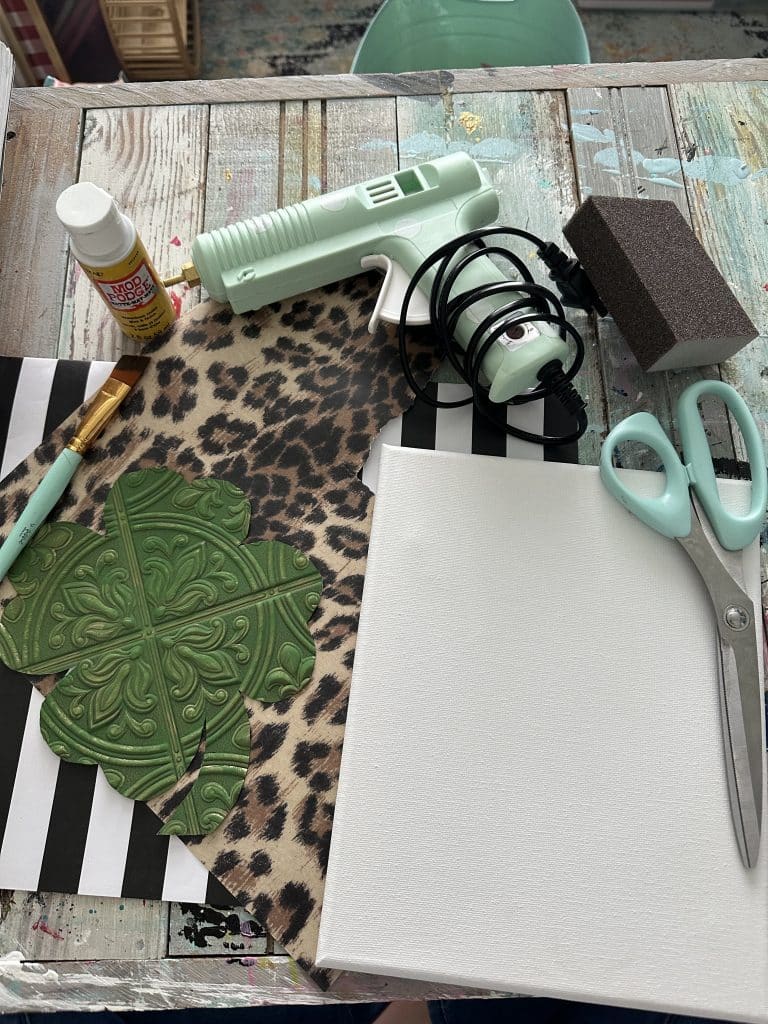
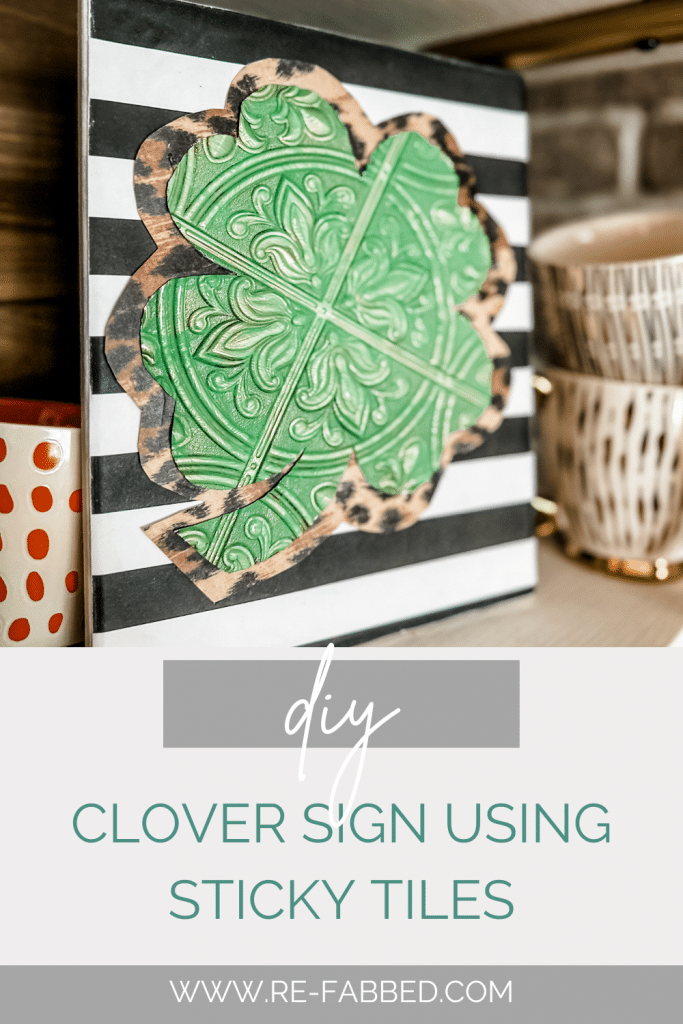
I am not a big St. Patrick’s Day gal, and to be honest, I don’t decorate for it…but I still enjoy a good clover craft and to have fun making things to share with y’all for this holiday! Today I want to share with you how to make a clover sign using sticky tiles from the dollar tree!
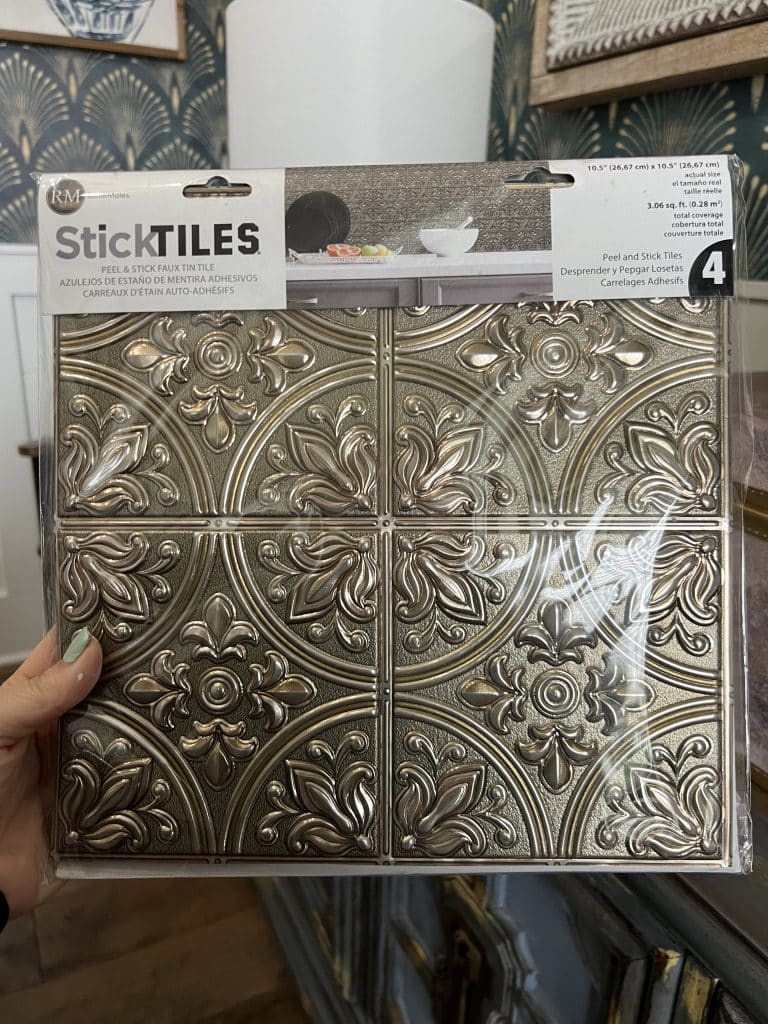
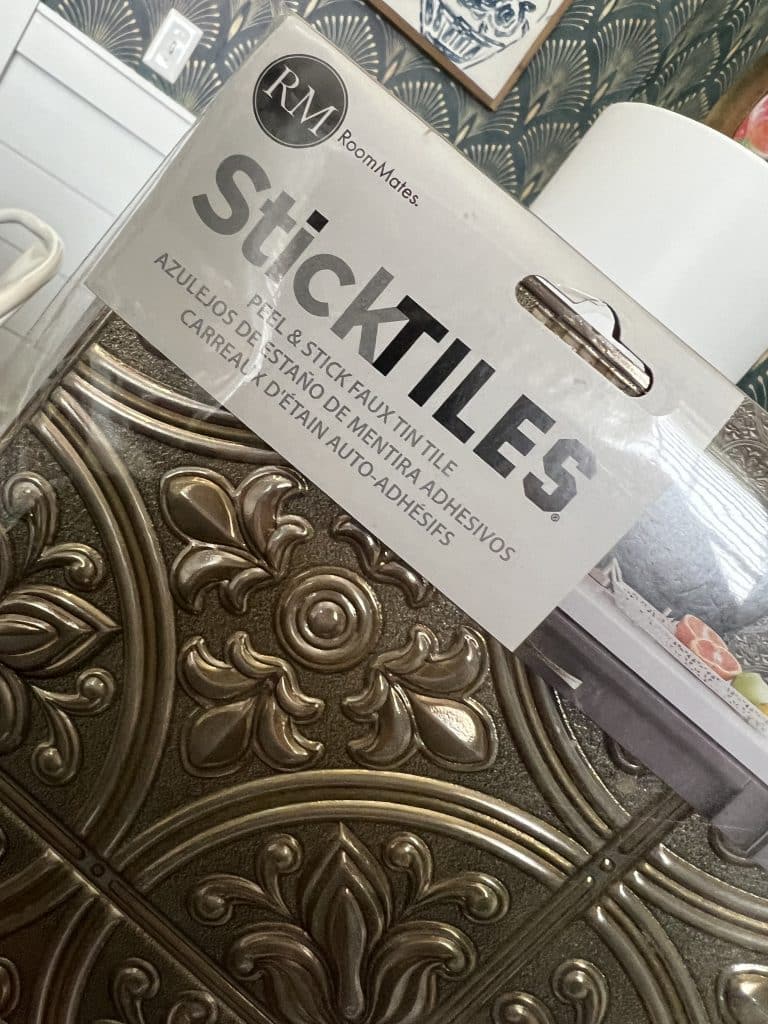
If you have never used the sticky tiles from Dollar Tree, I will tell you now…they are a game changer. They have been around for a long time, but my local DT never had them, so I really never used them. I found some the other day, and I am hooked!
This project was relatively easy, and I will do my best to walk you through all the steps to create this for your own home. You can even make some easy tweaks to make it your own!
First, I found a clover online that I liked the shape of and printed it out on my printer.
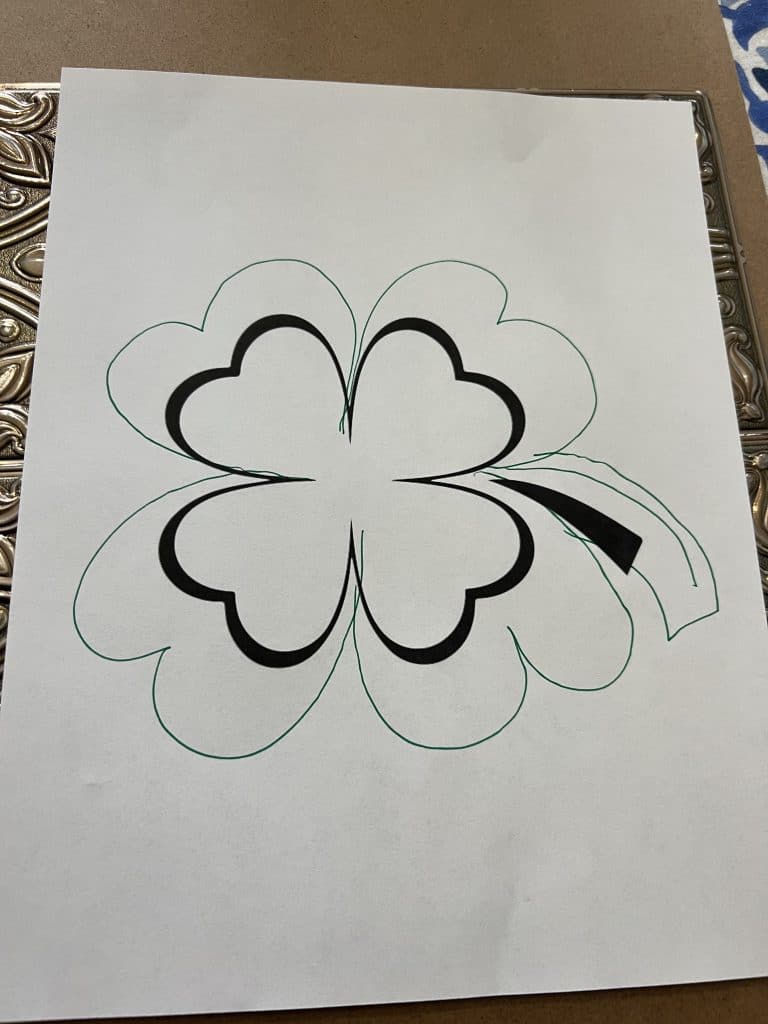
Then, I traced the clover- except mine was too small, so I made the shape a little larger and traced that.
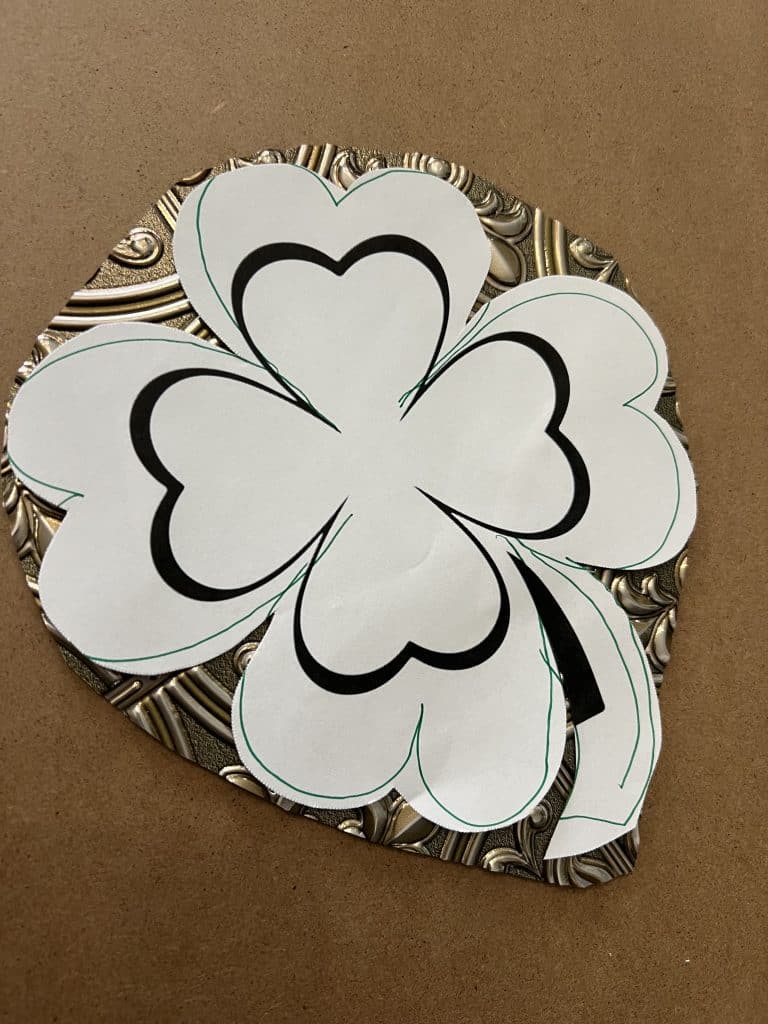
I then cut my clover out, which just requires regular scissors because it is so easy to cut!

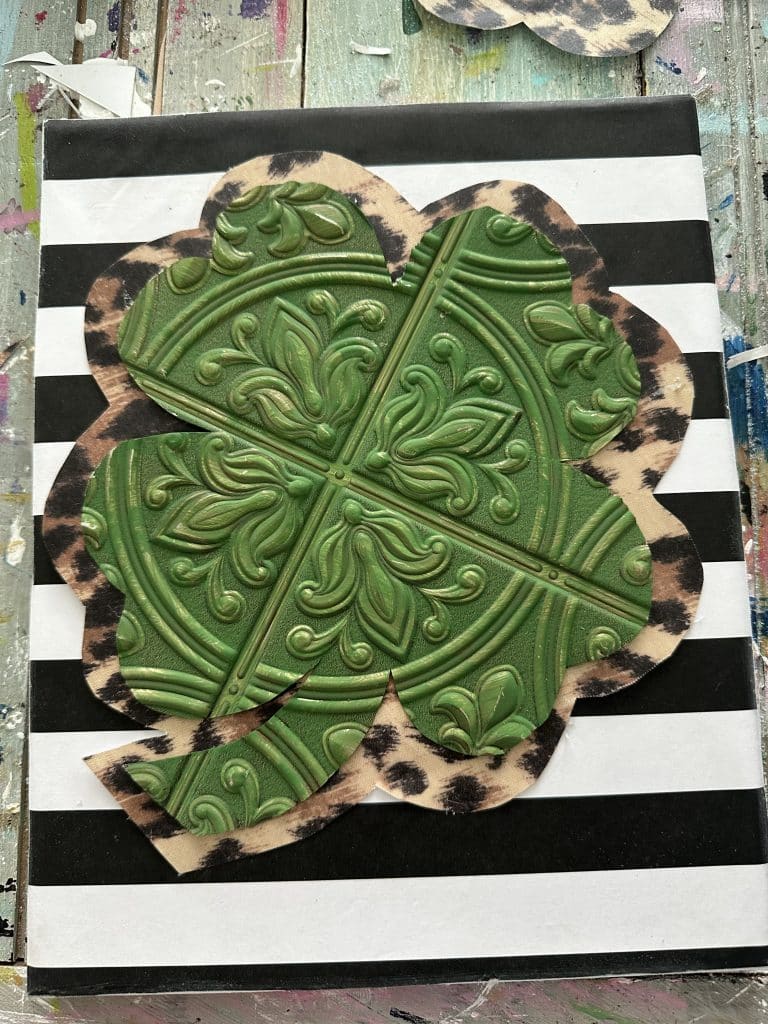
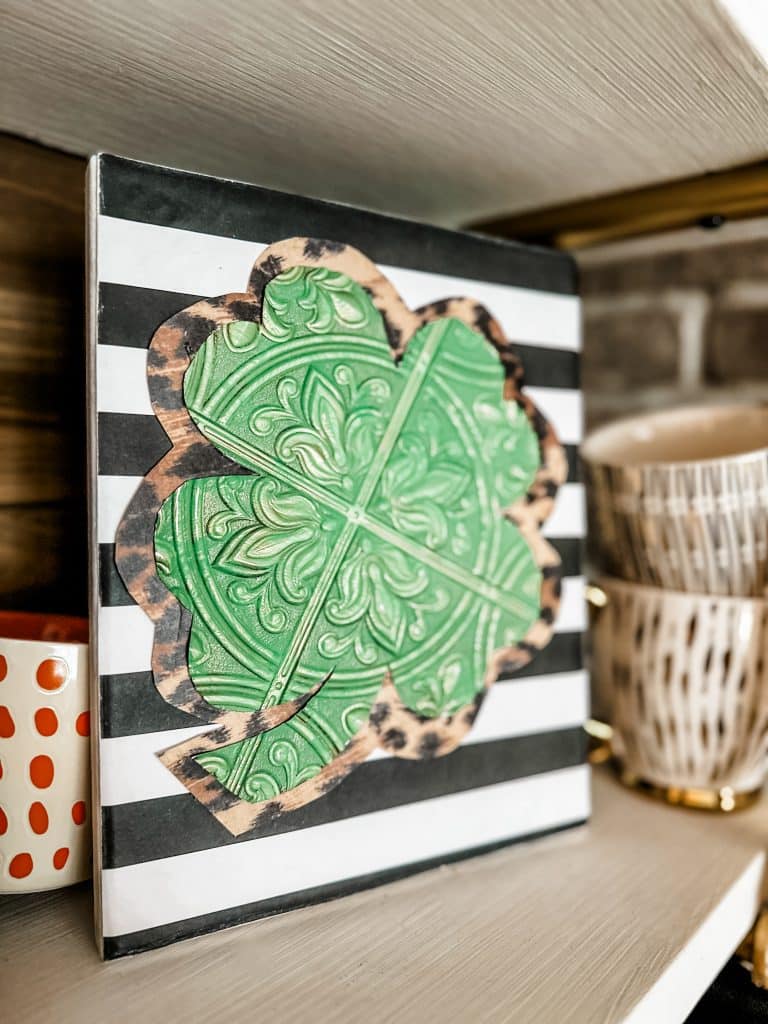
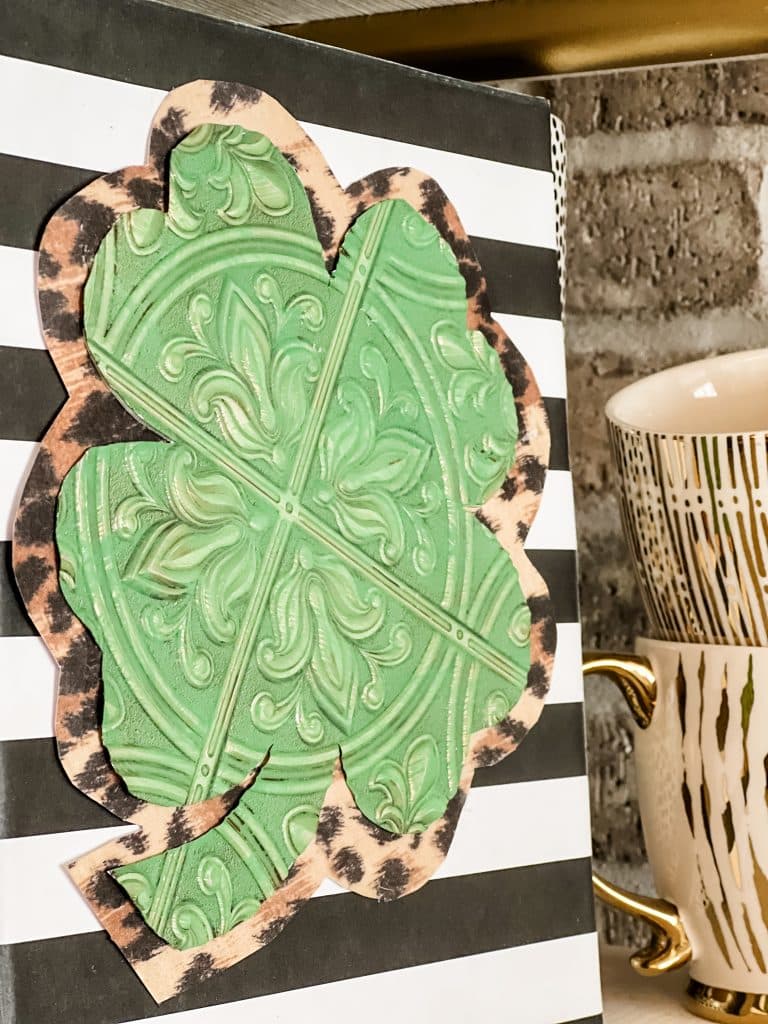
After cutting it out, I painted the clover with a couple coats of paint, and it covered perfectly. I used marsh green from Walmart’s Apple Barrel collection, and it was a great color.
At this point, I really wasn’t sure what I wanted to do with the clover, but I decided to give it some extra dimension and use some fun scrapbook paper with it! Leopard is always a good idea!
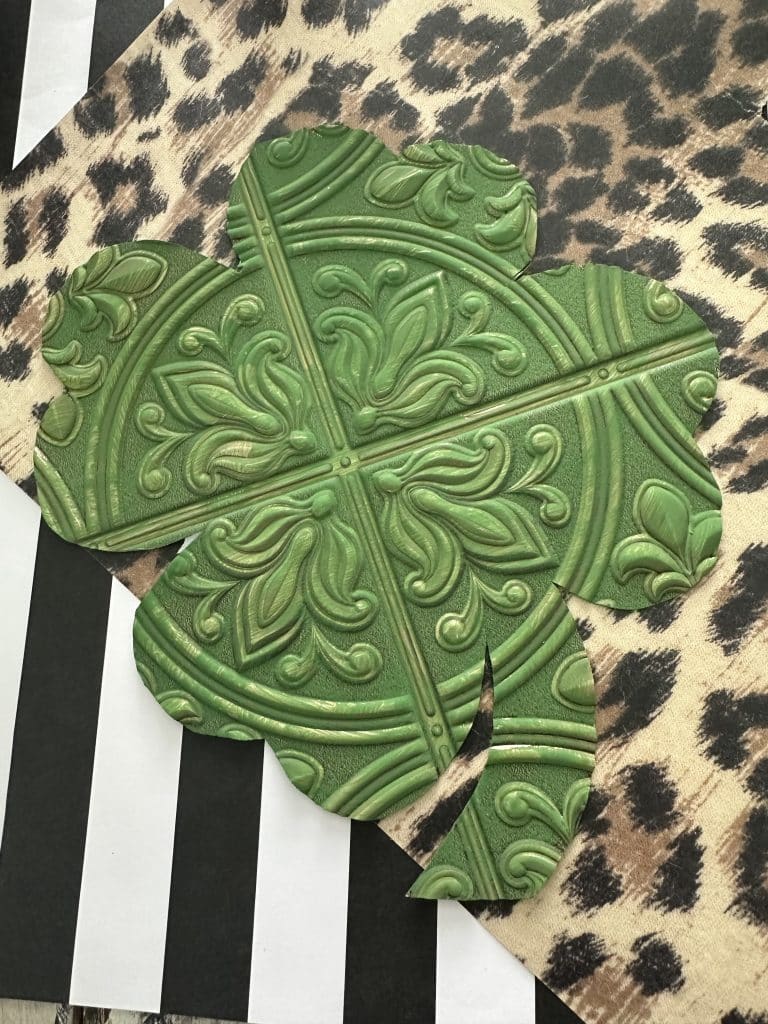
I simply laid my painted clover onto my scrapbook paper and traced around it, leaving some excess around the rim so you could see the leopard design.
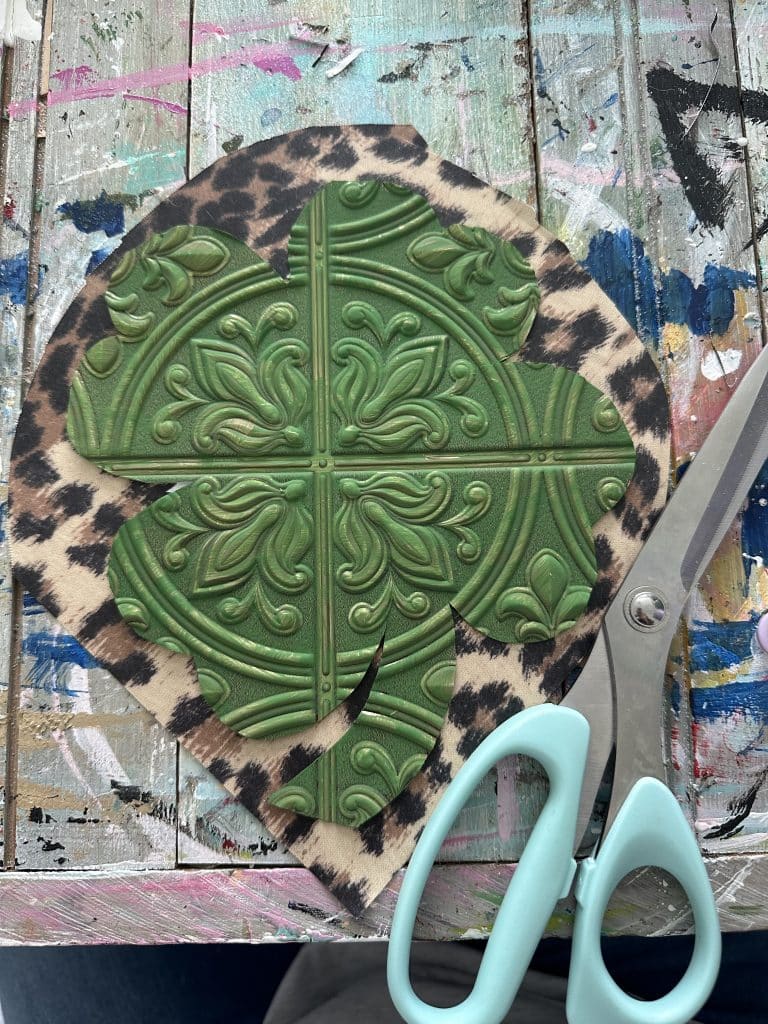
I glued the clover onto the leopard clover.
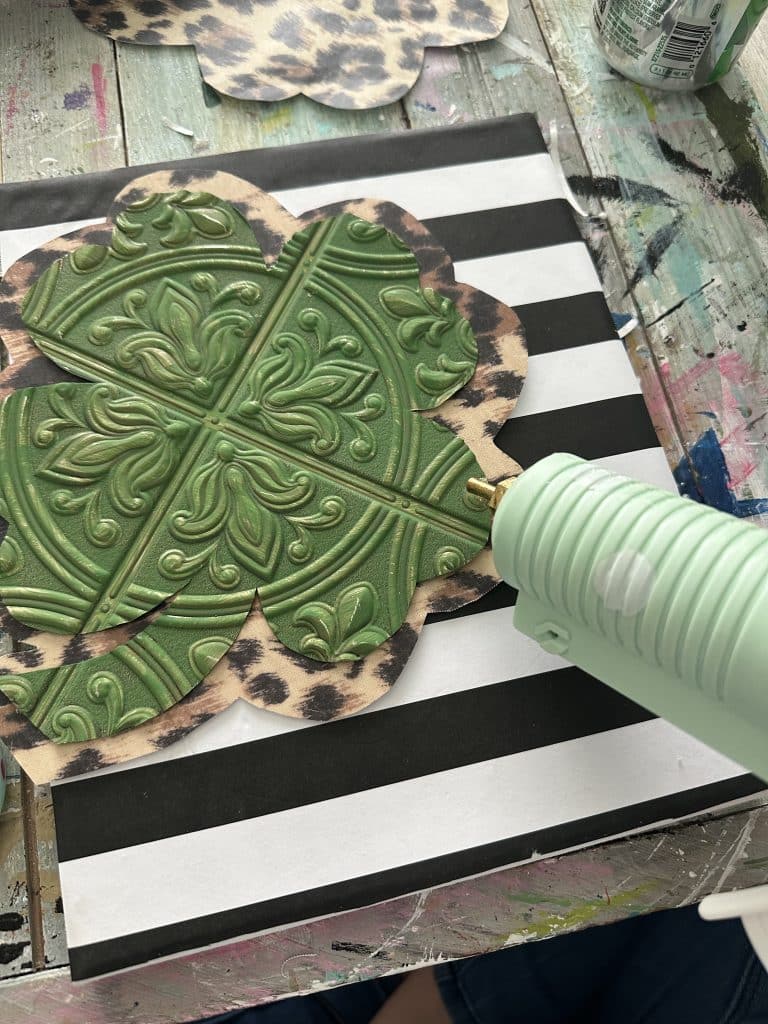
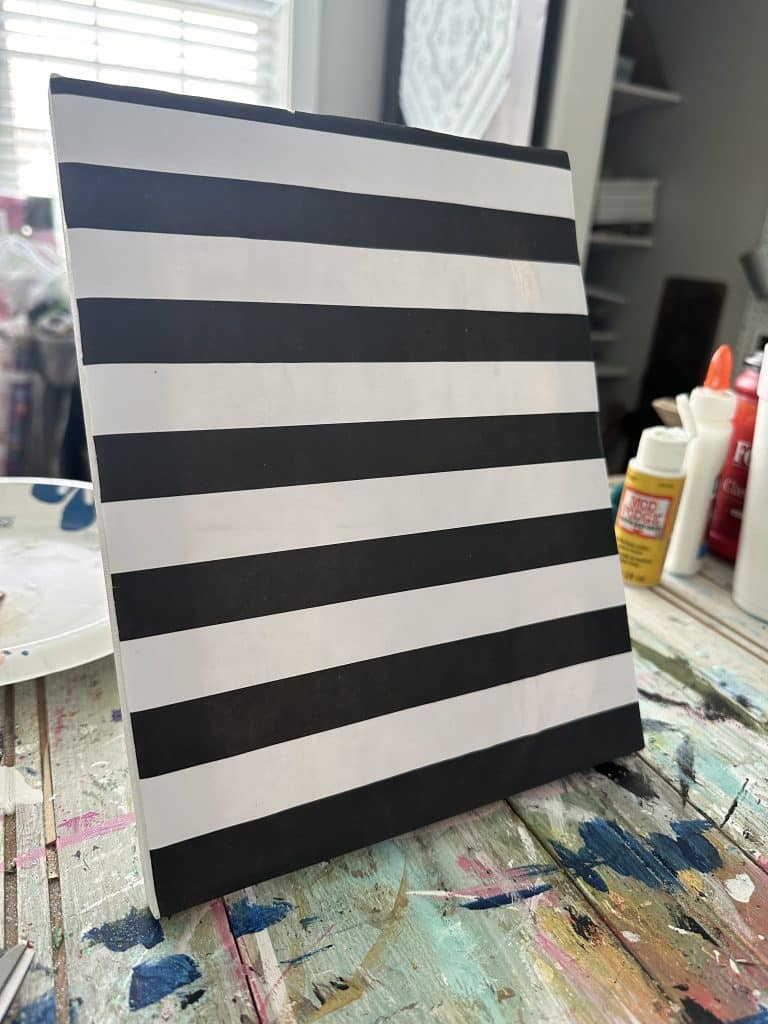
I had a piece of wood that I used mod podge to cover with a piece of black and white scrapbook paper. I didn’t take a good pic of that piece, but you can see it in the original pic of my supplies!
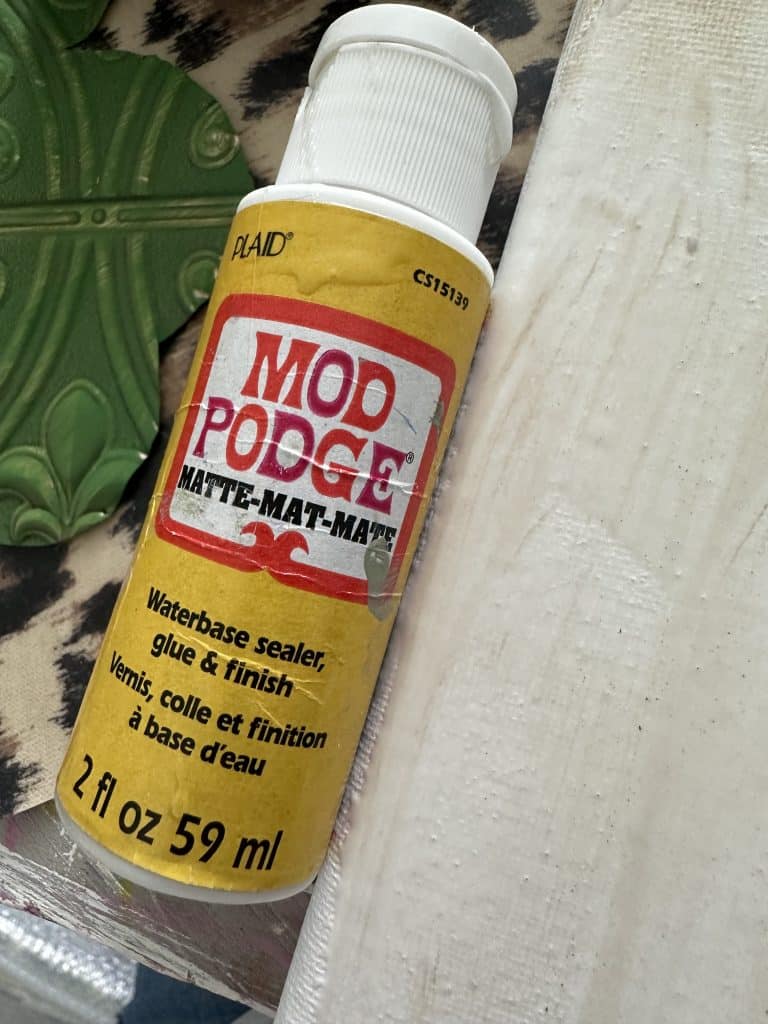
You definitely need to try your best to get all the bubbles out, but it’s ok if it isn’t perfect. You will be covering it with your design anyway!
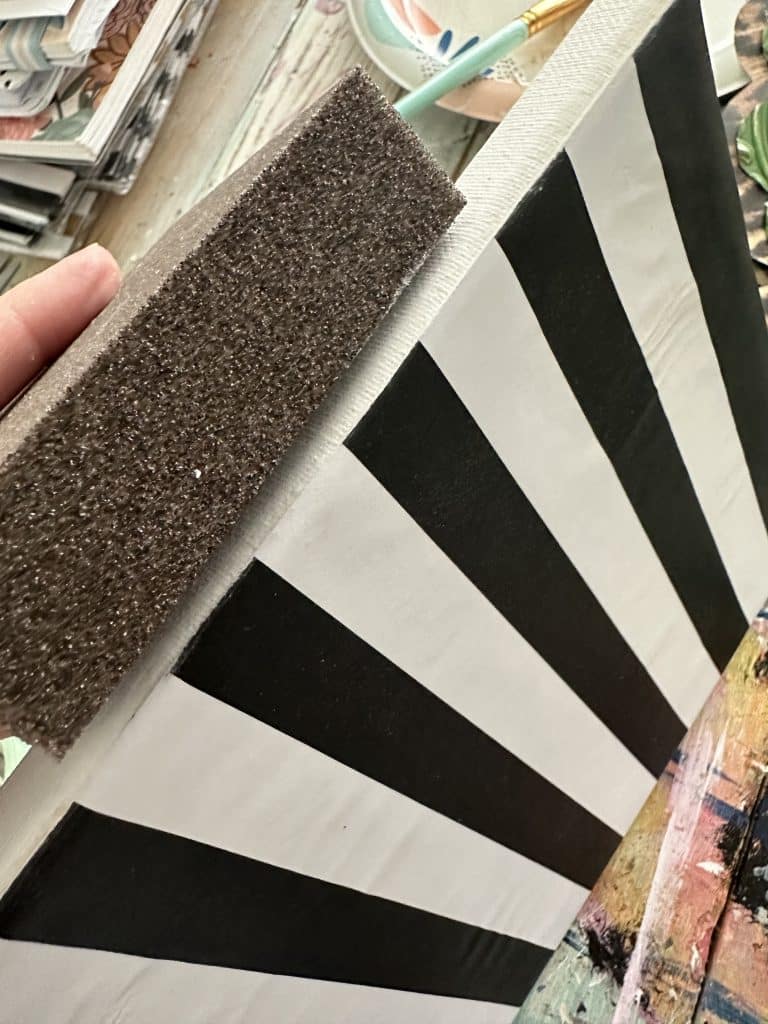
Sand down the edges to give a more finished look!
Isn’t this the cutest?!
And here it is on my coffee bar! Isn’t it adorable?!
You can check out the blog for more St. Patrick’s Day inspiration by clicking RIGHT HERE!
Be sure to PIN FOR LATER!
Last Updated on March 13, 2024

Super cute
Love your whimsical style. Very cute.
So cute
Great! I don’t usually decorate for this holiday. I did enjoy your tile . Thank you, very cute!
St. Patrick’s Day is my favorite holiday and I’m really hoping this year you will do some really cute St. Patrick’s Day projects! I know it’s not a big holiday for everybody but maybe a few cute ones if you can would be awesome!