
Sometimes I just like to share a quick and easy project that I think people may have not thought about doing! This one is almost too simple for a post, to be honest! Aren’t those the very best kind?? I tend to think so! The quicker and easier, the better. Ain’t nobody got time for extensive home decor projects!
I would venture to say that all of us like monograms in our home. I don’t think I have been to a home in the past few years in which I have not seen multiple monograms throughout. You can even get monogrammed toilet paper! {Who knew, right??} Many times monogrammed items are pricey, but they certainly don’t have to be. Today, I am sharing an easy trick to add a monogram that will look cute and stylish and can be changed every day, if your heart so desires.
What you will need:
Frame
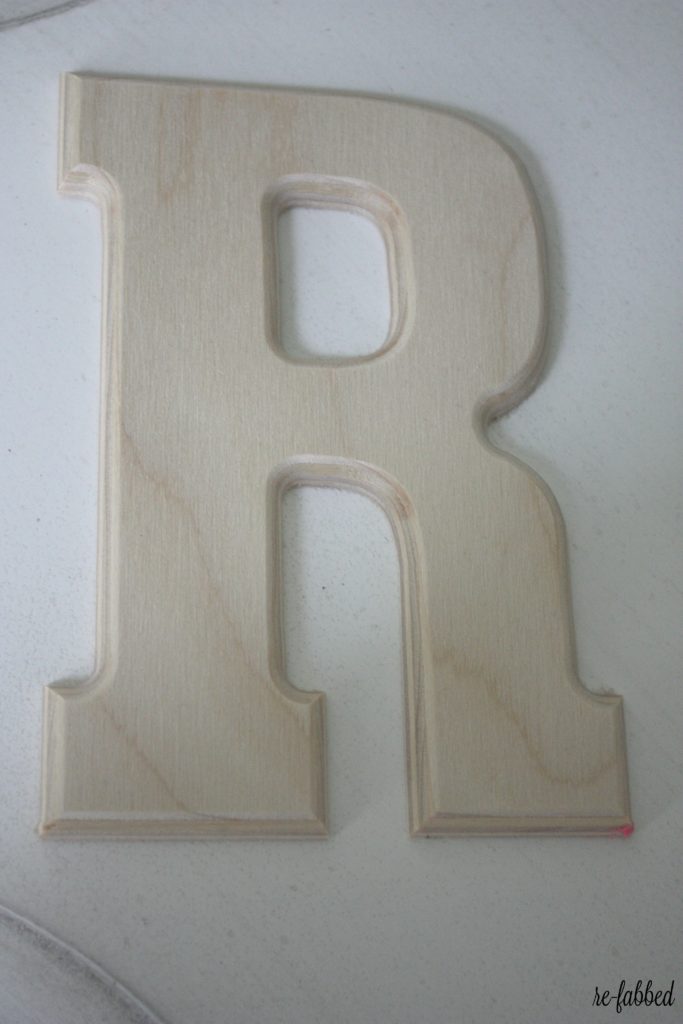
Wooden letter {get one that is thin enough to go in your frame} *I got mine at Hobby Lobby for around $.50
Spray paint or acrylic paint {I used spray because it is so fast!}
Piece of scrapbook paper
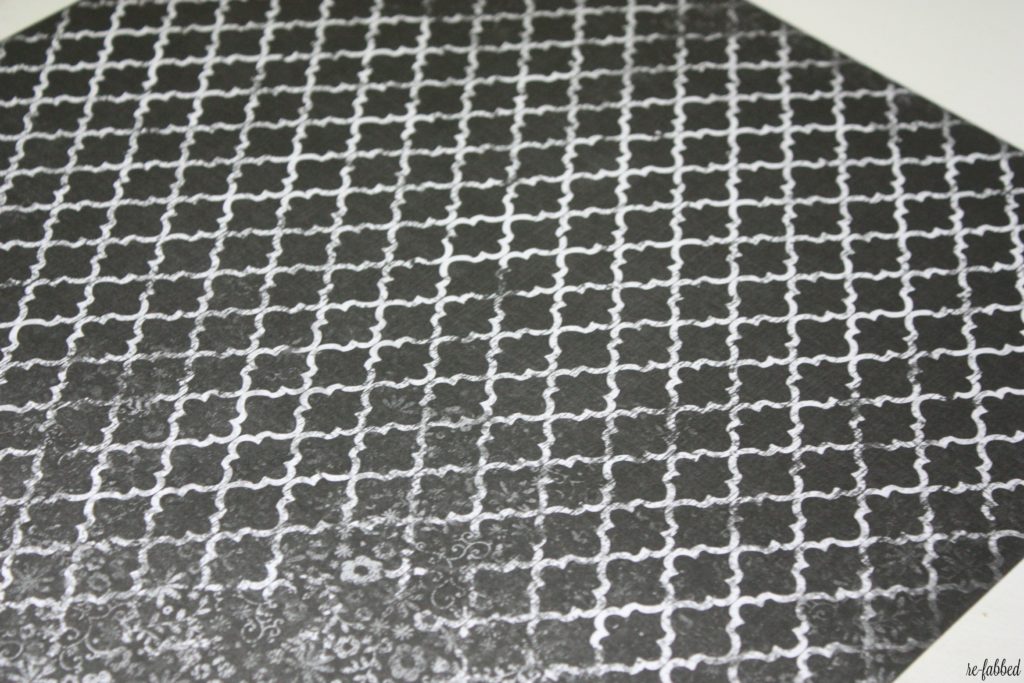
Now, all you gotta do is paint your letter {white was my choice so that I could use it over and over again…and it would match everything!}, put some scrapbook paper in your frame, put your letter over the paper and you are DONE! Yes, I told you there wasn’t much to this one!
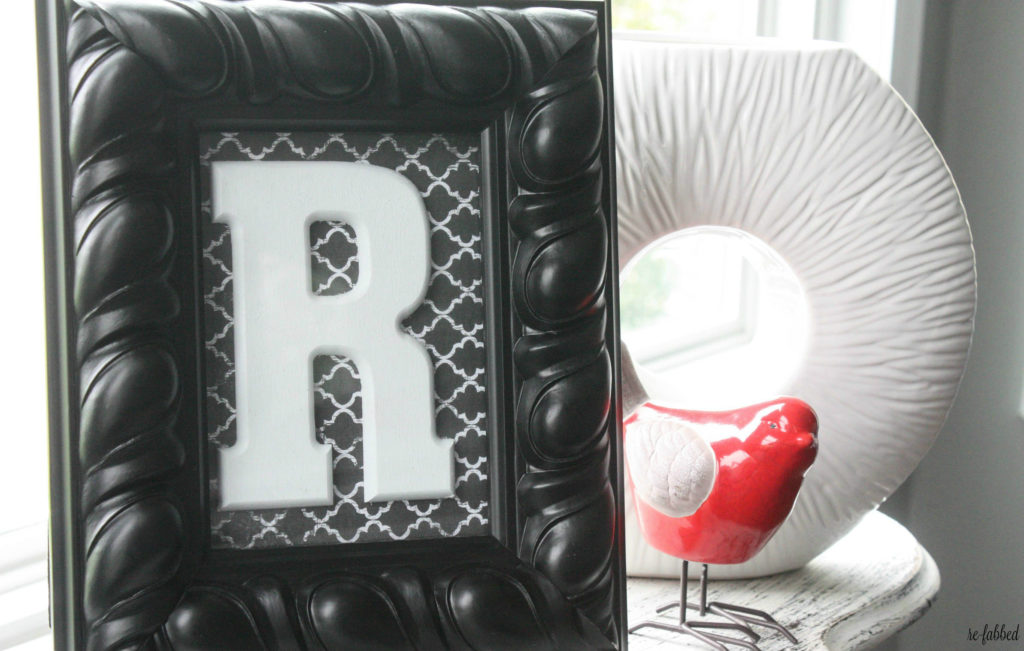
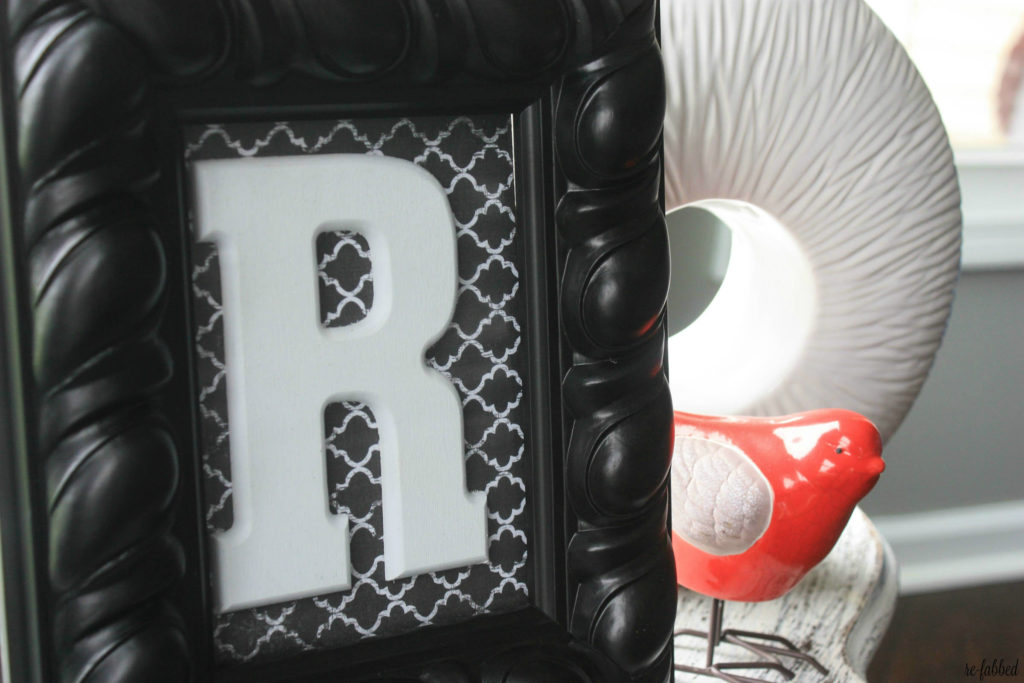
What do you think? SO simple, yet really adds some jazz to your frame! I like it because you could use seasonal paper or anything–and change as often as you like!
Last Updated on May 2, 2016

Totes Adorbs! Couple-a questions: how did you affix the letter to the paper? Is there glass over the letter? I re-read the easy instructions and hope I didn’t miss this part.
Thank you, Lynne! The letter is not attached to the paper (so that you can reuse easily), and it is behind the glass like a normal picture 🙂 It stays in place because of the pressure of the glass. Good questions- I should edit the post to include that!
Great !